A Valtech and Contentstack project.
This readme is in progress! 🚧
Please pardon the dust.
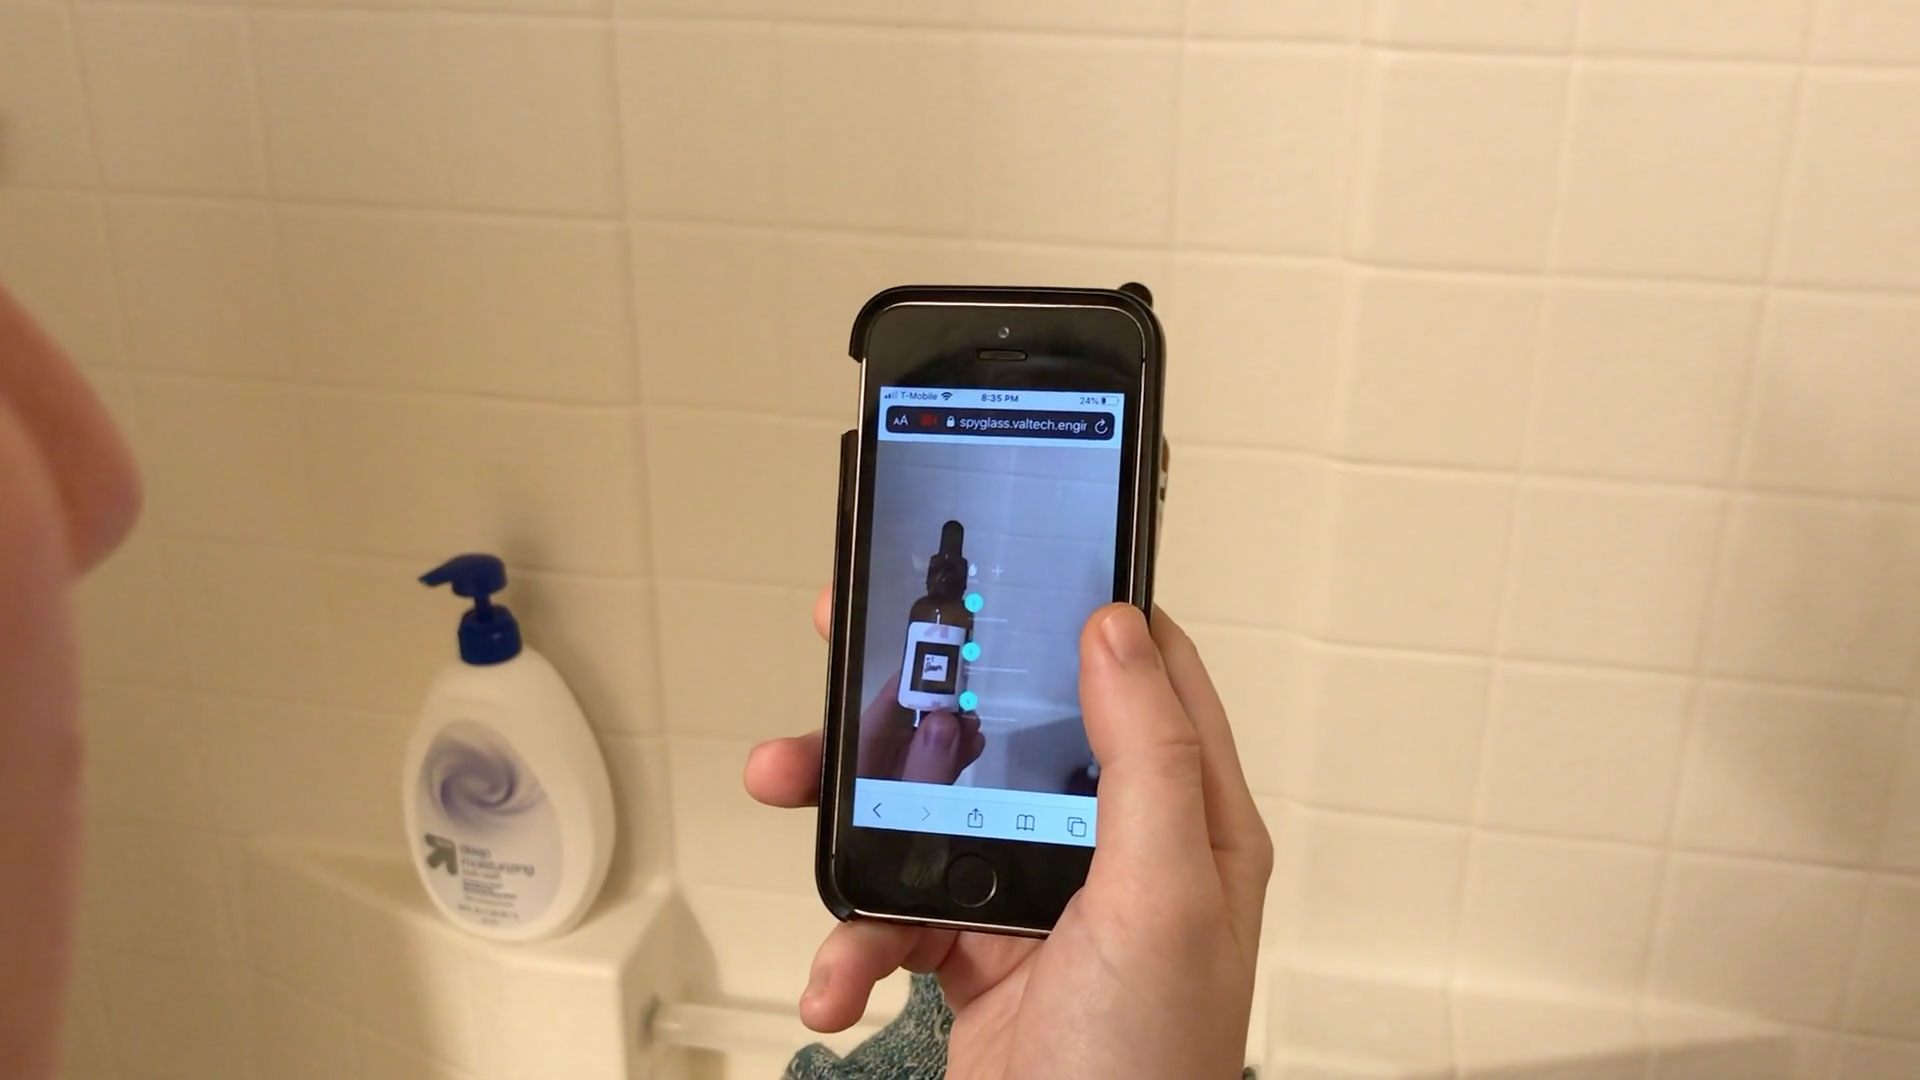
Project Spyglass is a web-based augmented reality demo using Contentstack as a headless content management system. Our current demo is focused on retail skincare products.
- Pull data from Contentstack
- Populate imagery and text assets
- Display and animate content based on marker and/or image tracking
- Explore different ways that markers can be used for UI control
We are using AR.js and A-Frame for image / marker-based tracking and displaying graphics. A-Frame uses Three.js under the hood, but provides some convenient features like an entity-component system and a handy way to inspect a scene in the browser. It's based on HTML tags, but can be manipulated programatically as well.
AR.js has separate builds for both Three.js and A-Frame compatibliity. In addition, there are separate builds for accessing the marker tracking and image tracking (NFT) features. Additional versions of AR.js are included in script tags in our inital index.html file (but some are commented out).
- Three.js has an NPM module
- A-Frame has an NPM module
- AR.js's NPM module is currently non-functional...and including some things as modules and some things as scripts is not playing nicely at the moment (to be examined)
npm install
to install dependencies. (We currently only have development dependencies, as the libraries that we are using are hosted on CDNs.)
npm run dev to run a script that will serve the app on https://localhost:1234 with self-signed certificates. You may need to enable self-signed certificates in your browser's security settings. HTTPS is required because we are accessing the device's camera.
If you're sharing an in-progress branch, ngrok is broadcasts your localhost dev server with the team or with your phone (in a way that might not require moving self-signed certificates over to your phone).
-
Sign up for an account on ngrok
-
Follow the instructions on the site to
- download the ngrok command line app
- unzip it per their instructions
- add the authtoken to tie it to your ngrok account
-
Run your dev server (e.g.
npm run dev) -
In a separate terminal window, run ngrok, like so:
./ngrok http https://127.0.0.1:1234It will give you a URL to use (e.g.
https://c17b3dd34d21.ngrok.io).
If you need to actively develop while sharing, you may want to temporarily point the server to a different source so that you can switch branches or make changes without affecting the running build. One way could be to move the --out-dir of the parcel script in your package.json to point to a copy of the source folder, in a directory not being modified, so that you can leave the server running while you continue work. Another way might be to add an npm script that runs parcel build to an external folder, and then serve it with something like https-server.
The samples folder contains the code sketches we created as we were building this project. We plan to clean these up a bit, but they exist here as a reference. You can launch them individually with the dev: scripts in the package.json.
Originally we were going to keep the marker files in this repo (and you can still find them in the src/markers folder), but we are now hosting them on Contentstack as assets. They are served as .patt.txt to ensure they have a text/? content type, rather than application/octet-stream. To be added here: notes on how to generate your own custom markers.
To be added here: notes on how to import our content types into your own Contentstack account to create a new stack to use with a fork of this code.
All files in the docs directory on the main branch will be served at https://spyglass.valtech.engineering.
Running npm run build should put the latest into docs/skincare/, which will live at https://spyglass.valtech.engineering/skincare/.
This project is hosted on Github Pages and is using Jekyll to build the site. It is recommended that you use rbenv for your Ruby and GEM environment. Here is a decent guide if you need help setting up Ruby.
Install the bundler by running:
$ gem install bundler:2.1.4
To set up your development environment first run the following from the docs directory:
$ bundle install
To build the site and make it available on a local server:
$ bundle exec jekyll serve
NOTE: There is NO external CI for this project. Code with build steps must be built manually locally before pushing to this
docsfolder.