The pydeck library is a set of Python bindings for making spatial visualizations with deck.gl, optimized for a Jupyter Notebook environment.
For interactive demos, click the binder logo below:
See further documentation here.
pip install pydeckIf you are installing this for a Jupyter notebook server, you'll have to enable the widget extension. To do this, run:
jupyter nbextension install --sys-prefix --symlink --overwrite --py pydeck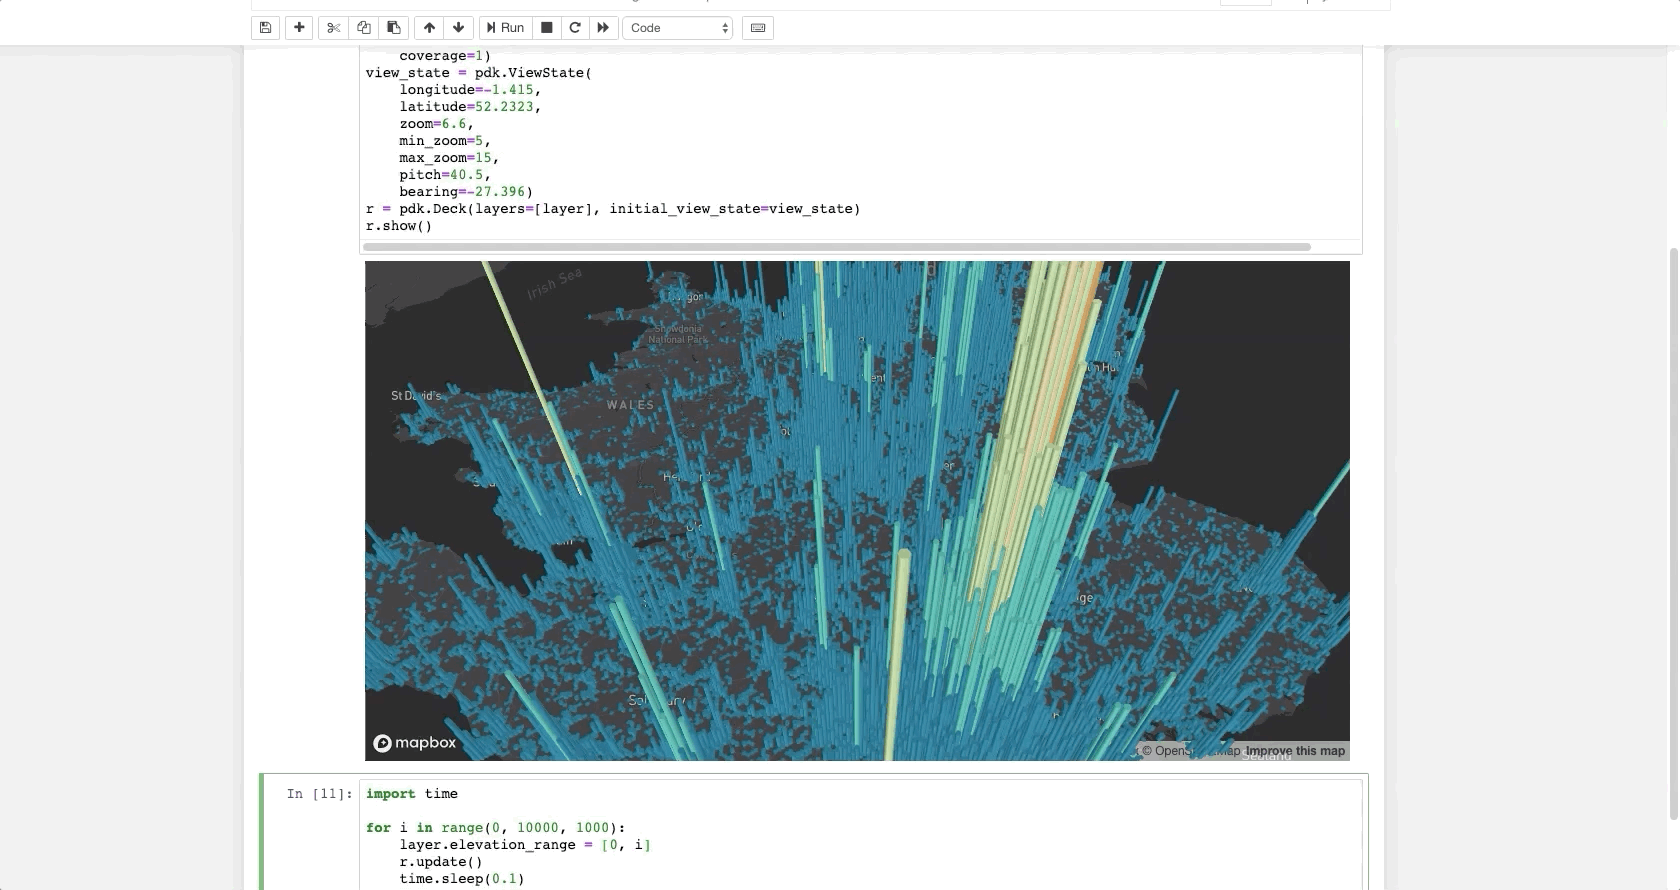
jupyter nbextension enable --sys-prefix --py pydeckThe following code renders a visualization similar to the one above in a Jupyter notebook:
import pydeck as pdk

# 2014 location of car accidents in the UK
UK_ACCIDENTS_DATA = 'https://raw.githubusercontent.com/uber-common/deck.gl-data/master/examples/3d-heatmap/heatmap-data.csv'

# Define a layer to display on a map
layer = pdk.Layer(
    'HexagonLayer',
    UK_ACCIDENTS_DATA,
    get_position='[lng, lat]',
    auto_highlight=True,
    elevation_scale=50,
    pickable=True,
    elevation_range=[0, 3000],
    extruded=True,
    coverage=1)

# Set the viewport location
view_state = pdk.ViewState(
    longitude=-1.415,
    latitude=52.2323,
    zoom=6,
    min_zoom=5,
    max_zoom=15,
    pitch=40.5,
    bearing=-27.36)

# Render
r = pdk.Deck(layers=[layer], initial_view_state=view_state)
r.to_html('demo.html')
For more, check out the docs and Binder examples above.
Currently, some errors in pydeck will only appear in your browser's developer console. If a visualization fails to render, open the developer console. Error handling will be expanded in future handling of pydeck.
If you encounter an issue, file it in the deck.gl issues page and include your console output, if any.
# Clone the deck.gl repo
git clone https://github.com/uber/deck.gl/

# Navigate to the pydeck module
cd deck.gl/bindings/python/pydeck

# Create a virtual environment
python3 -m venv env3
. env3/bin/activate

python3 setup.py installgit clone https://github.com/uber/deck.gl/
cd deck.gl
# Build the entire deck.gl project
yarn bootstrap
# Optional but recommended: Run a hot reloading development server
cd modules/jupyter-widget
yarn watchTo specifiy a non-default URL for the webpack dev server, you can set a URL in the PYDECK_DEV_SERVER environment variable,
e.g., export PYDECK_DEV_SERVER=http://localhost:8081.
Elsewhere, run:
export PYDECK_DEV_SERVER=http://localhost:8080
cd deck.gl/bindings/python/pydeck

# Create a virtual environment
python3 -m venv env3
. env3/bin/activate

pip install -r requirements.txt
pip install -r requirements-dev.txt
pip install -e .
Tests are handled by pytest. In this folder, you can type:
pytestTests expect the development build of pydeck, specified above. Click on the URLs in the test output to see visualizations generated by the tests.