Published on dev.to
When implementing end-to-end automated testing of an application with one-time password (OTP) authentication, we need to establish a way to test the entire flow of OTP delivery to the user. Here I provide two classes that are ready to be used in this kind of test to receive OTP via email sent by the backend and a step-by-step guide on integrating into your framework.
To implement this approach, the following conditions must be met:
- The QA team manages a dedicated email account.
- Emails delivering OTP have a known constant Subject text
- A known constant phrase precedes OTP in the body of the email
- The OTP length is fixed
Along execution, an autotest:
- Creates and keeps an instance of the Email Provider service based on the configuration settings (Email Provider API credentials)
- Gets and keeps a pointer to the last received email with a subject that is set for OTP emails (or retains null if no one was received before)
- Triggers the OTP generation and delivery
- Waits for email delivery to the Email Provider
- Gets the email message
- Parses OTP from the message
- Uses OTP to verify login to the application under test
Steps 1-2 and 4-6 are implemented in the code provided.
To make the approach flexible, the EmailProviderHandler interface has been declared. The implementation must provide the following:
- a service initiation to expect emails with specified subject
- checking if a new email with the subject has already been received
- getting the message from the received email
I have implemented the interface for Gmail (below), but you can implement it for another provider you use.
To process emails with OTP, use the EmailedOTPHandler class.
An EmailedOTPHandler instance should be created for a specific combination of an
email Subject, a passphrase followed by an OTP in the email body, and an OTP length.
To give the handler a tool to access emails on a particular Email Provider,
we should inject an instance of the implemented EmailProviderHandler.
Before using an EmailedOTPHandler instance for getting OTP, you need to initiate it using the init() method.
Then you can trigger OTP generation and delivery by either mimic user login behavior through your application's UI or by querying the BE endpoint.
To get the OTP from an email, use the getOTPEmailSent() method. The method waits for a new email with Subject set and then tries to parse the OTP from it.
If there is no new message within the time period, NULL is returned.
GmailHandler implements EmailProviderHandler to handle a Gmail service through API.
To start the Gmail service and get credentials are used methods described in the Google Gmail Java quick start guide.
On the first call to the Gmail API, GmailHandler creates a credential file in the project to authenticate all future access to the Gmail service (see detailed description below).
- To enable Java
assertvalidation, use the JVM parameter-ea
IntelliJ IDEA (Click to expand)
-
Before using the class, you must enable and configure the API for your Gmail account, as shown below.
-
GmailHandlerextracts OTP from the email snippet. If your OTP in the email body is too far from the beginning and therefore not included in the snippet, usegetPayload()instead ofgetSnippet().
Before moving on, you must activate and configure the API for the Gmail account you will be using to receive OTP emails. Using the Google Cloud Console follow the steps below.
How to set up the Gmail account API - details (Click to expand)
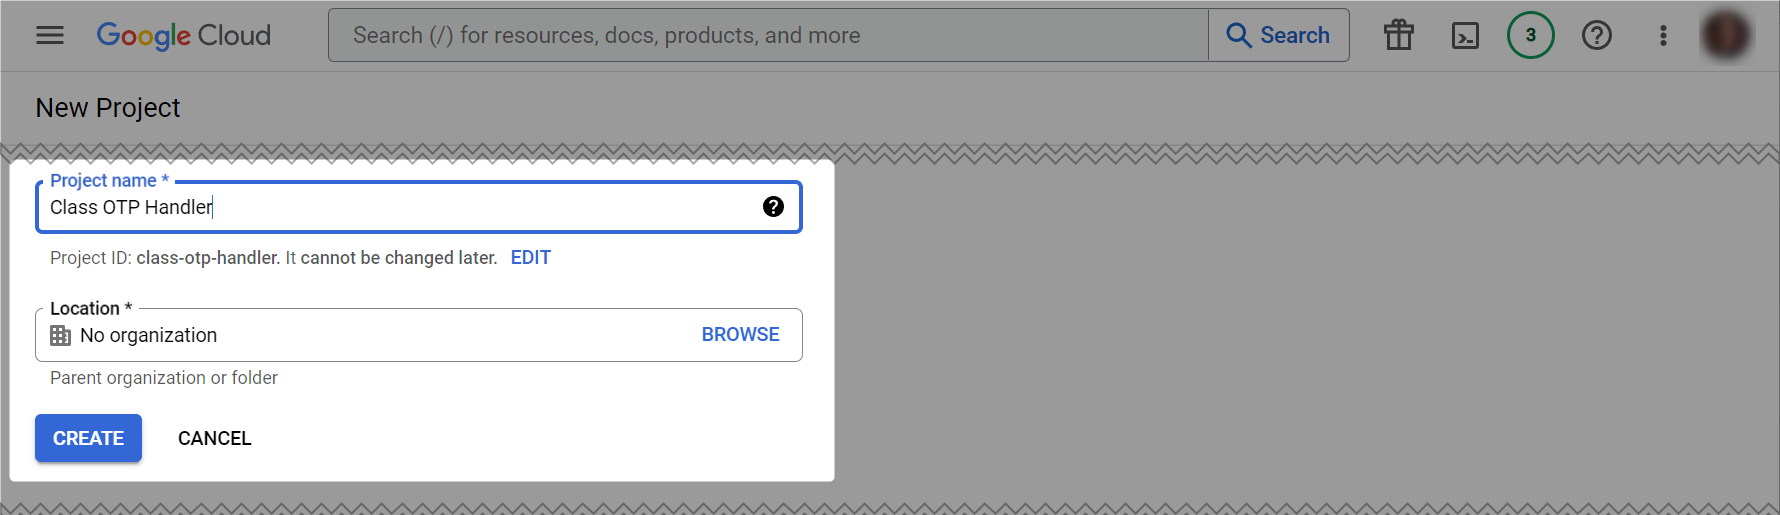
- Click on CREATE PROJECT.

- Then give your project a name.
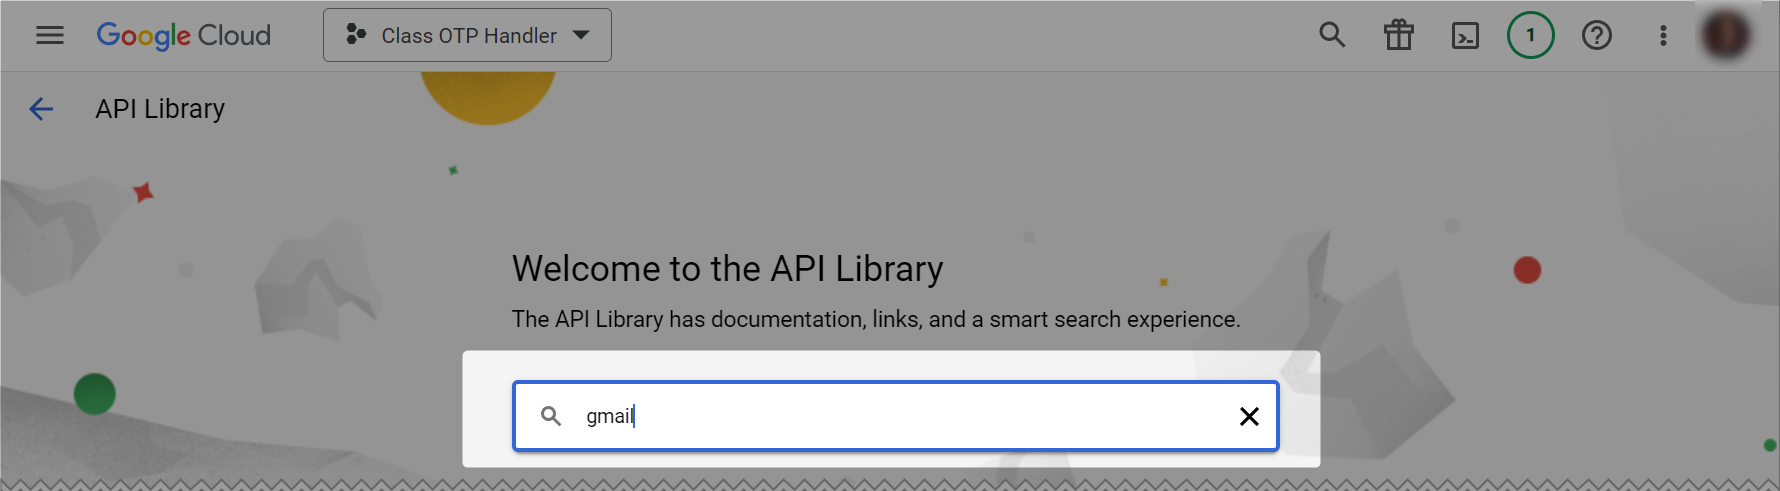
- Click on ENABLE APIS AND SERVICES.

- Search for Gmail in the API Library.
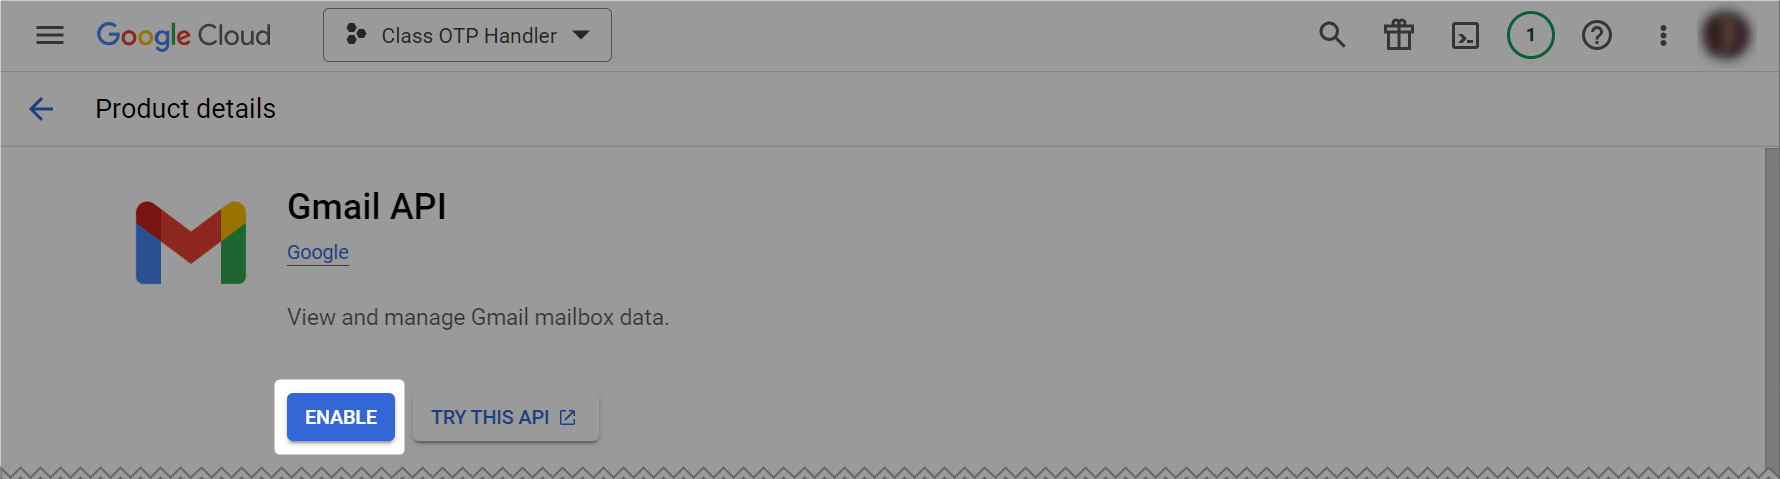
- Enable Gmail API
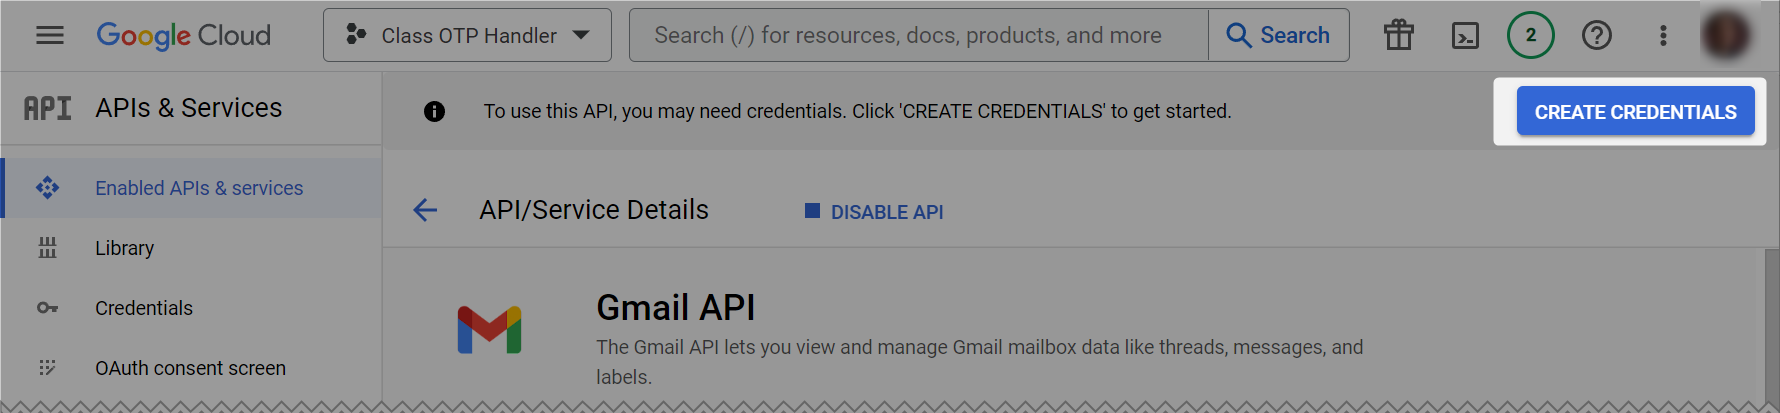
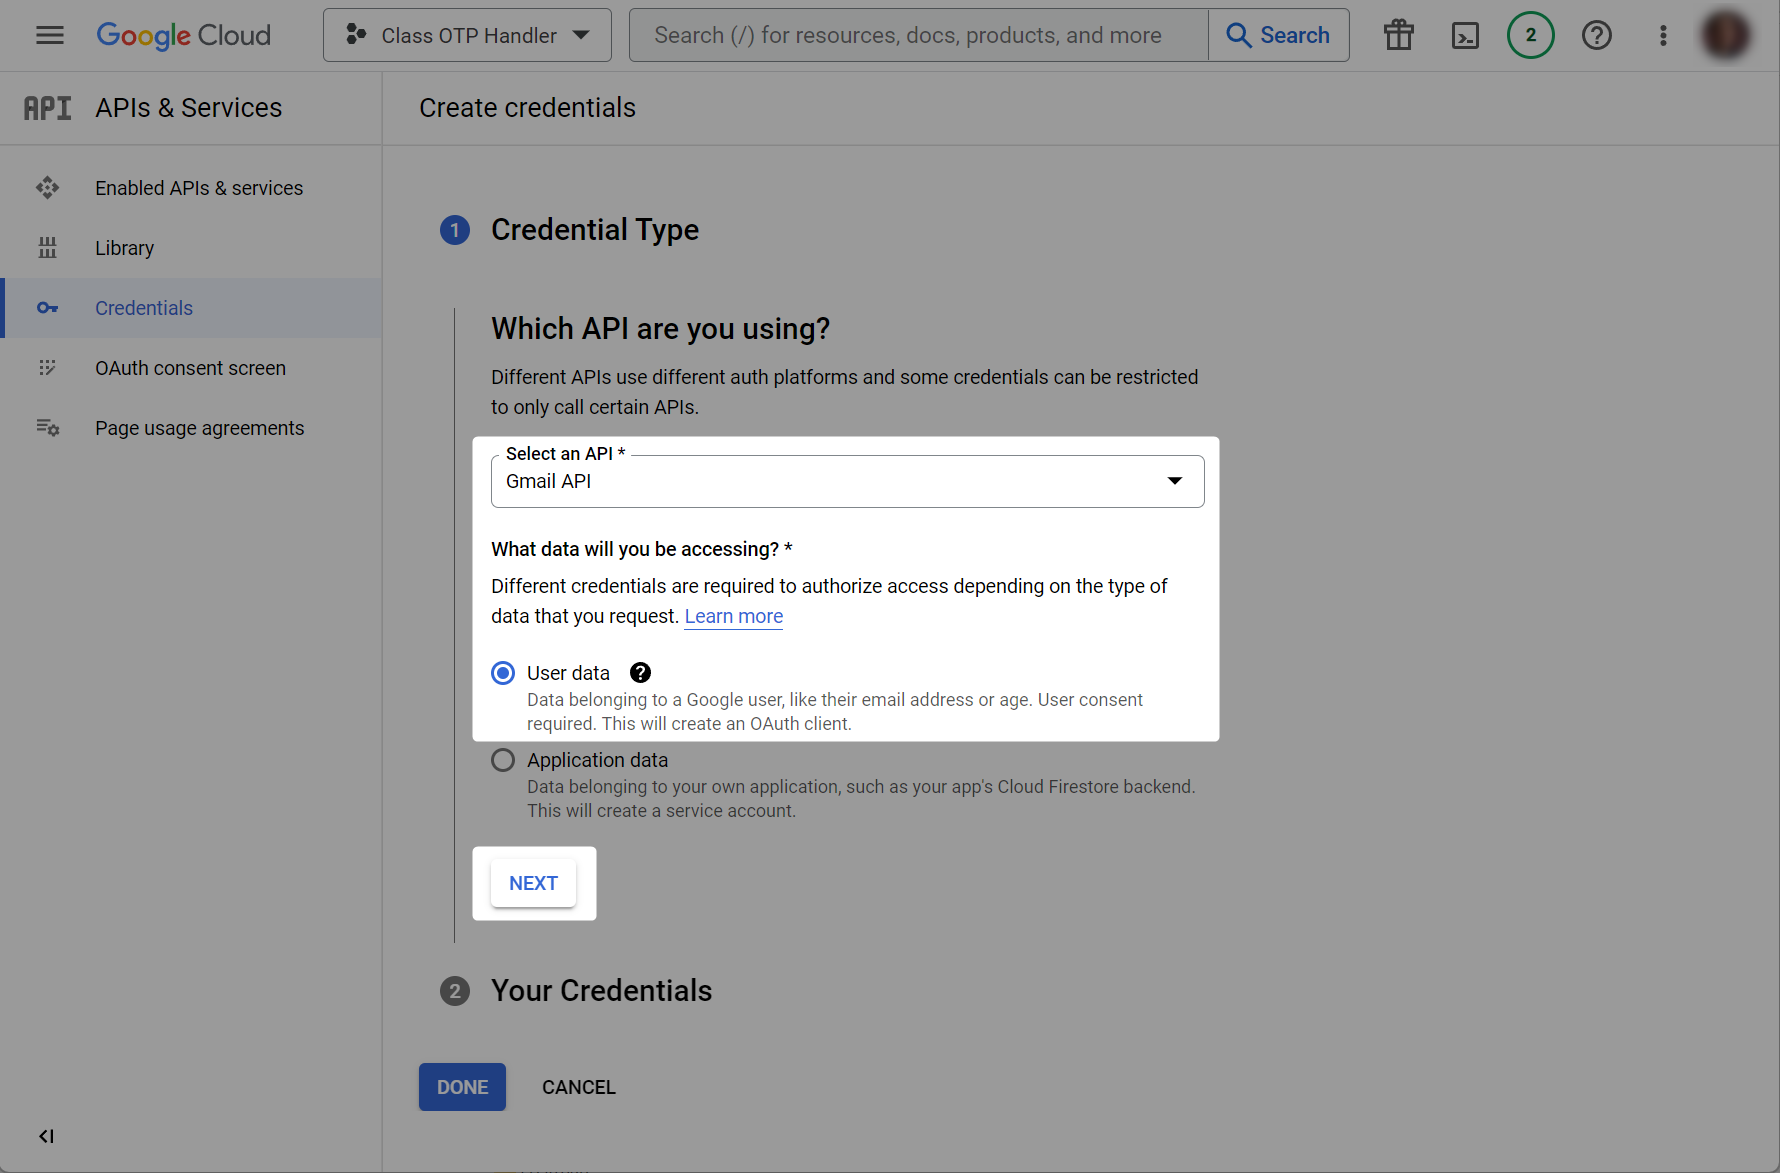
- Click on CREATE CREDENTIALS.
- Choose for Gmail API a
User datatype.
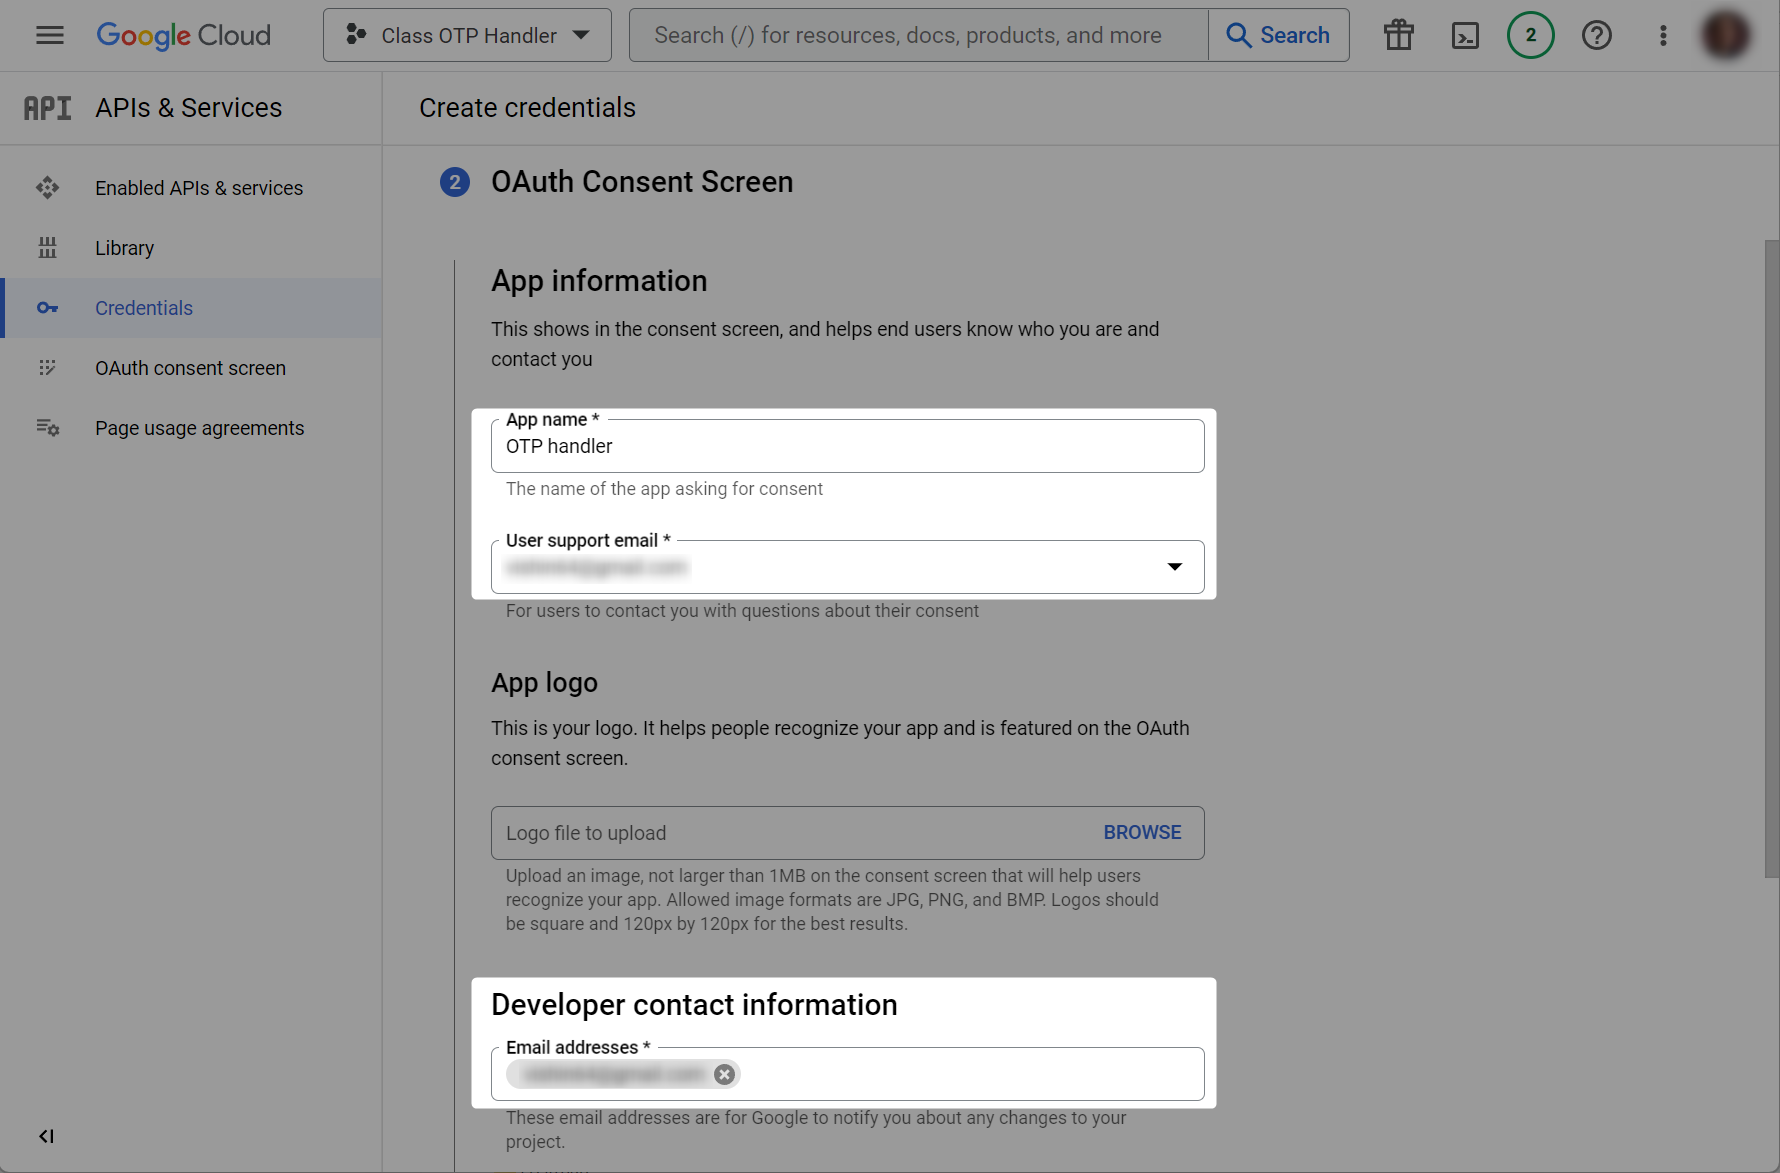
- Customize the OAuth Consent Screen - enter any name for the app and add your contact email address
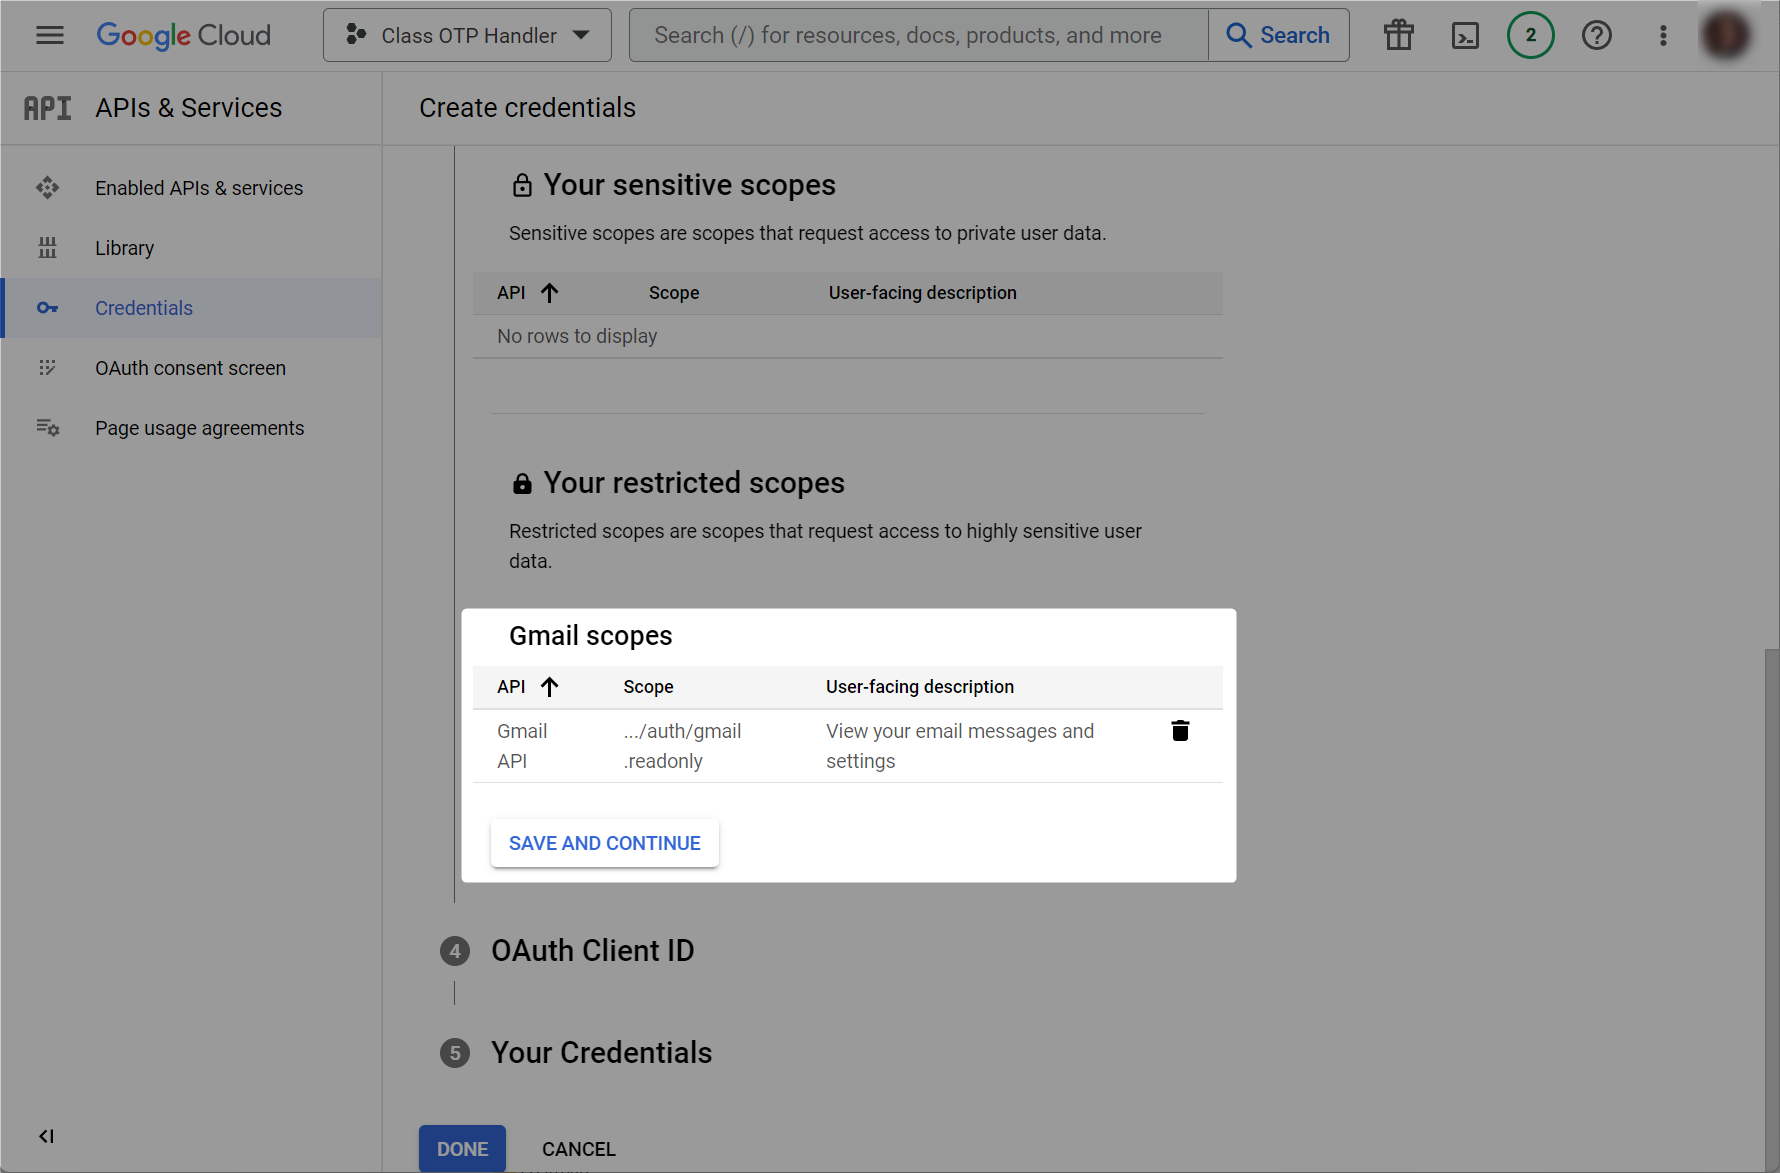
- Set the scope
It make sense to choose the
read onlyscope

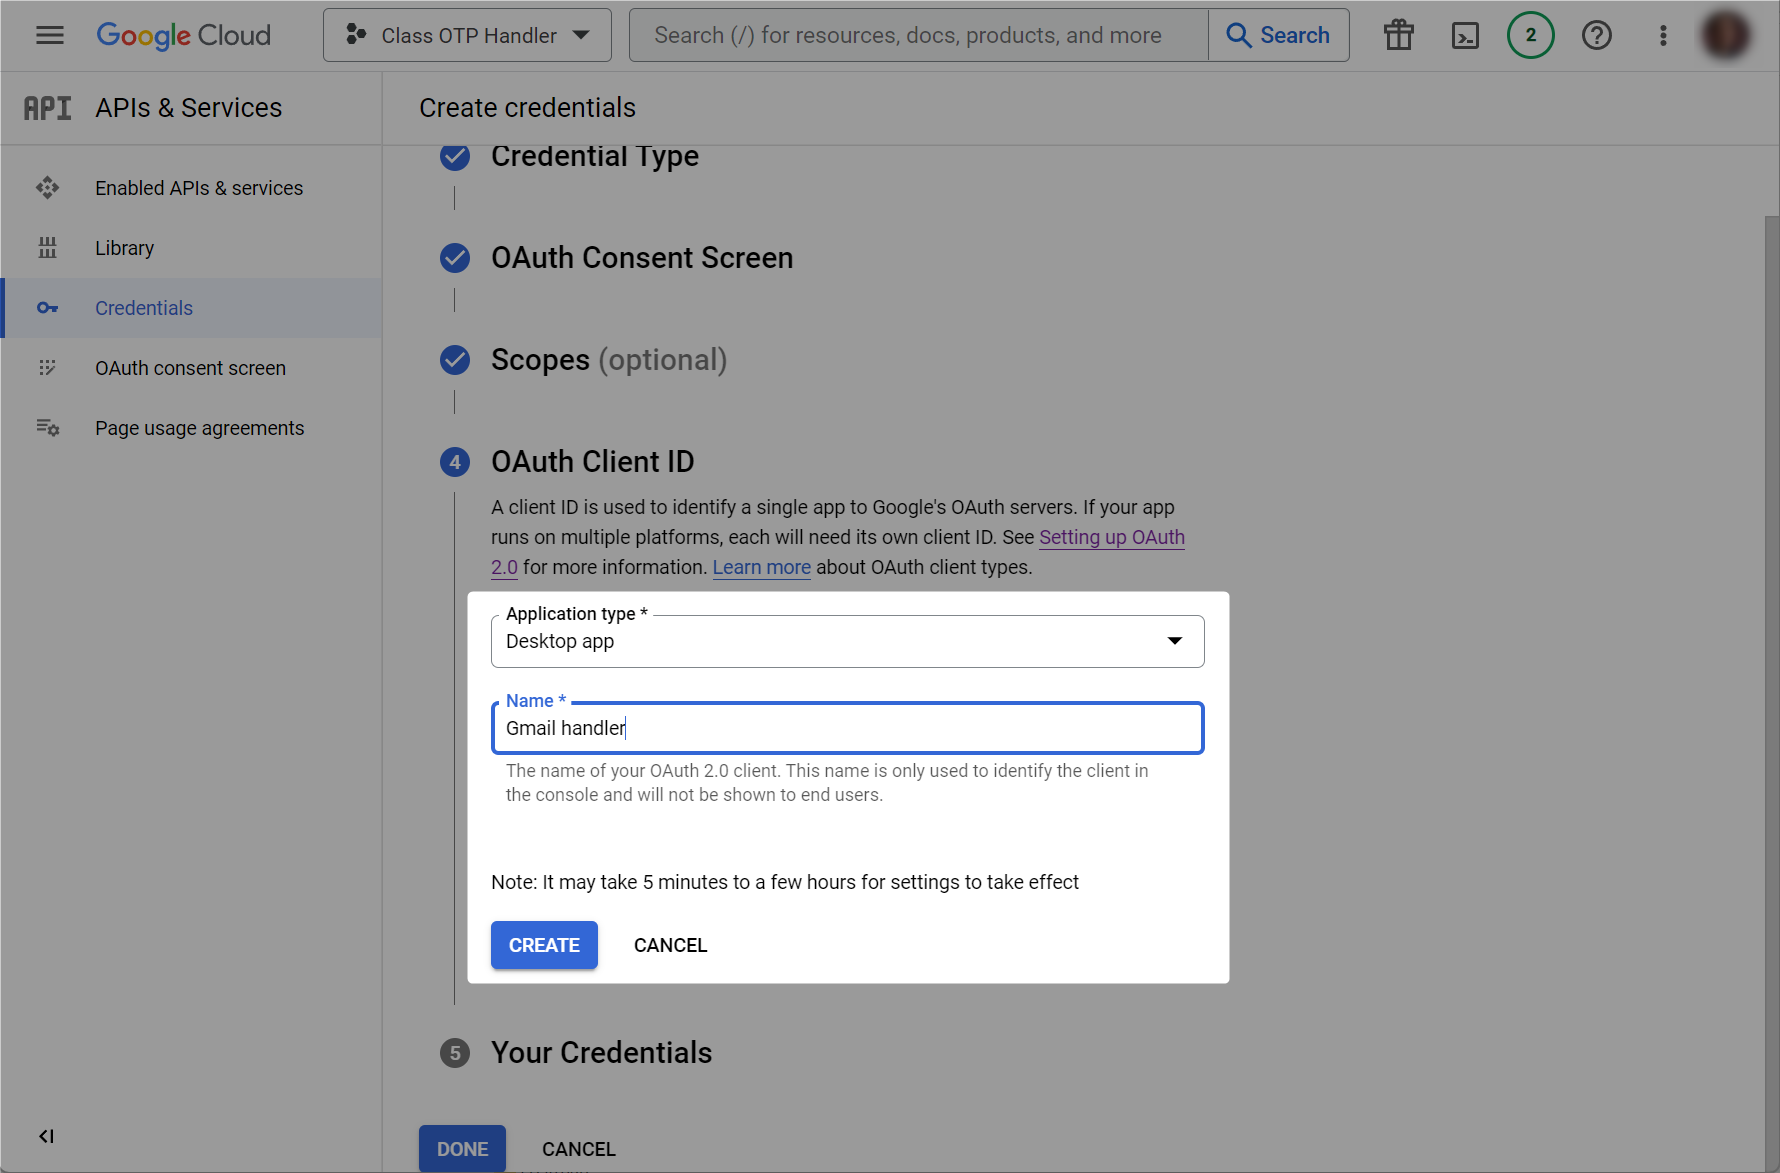
- Choose the
Desktop appapplication type and give it a name
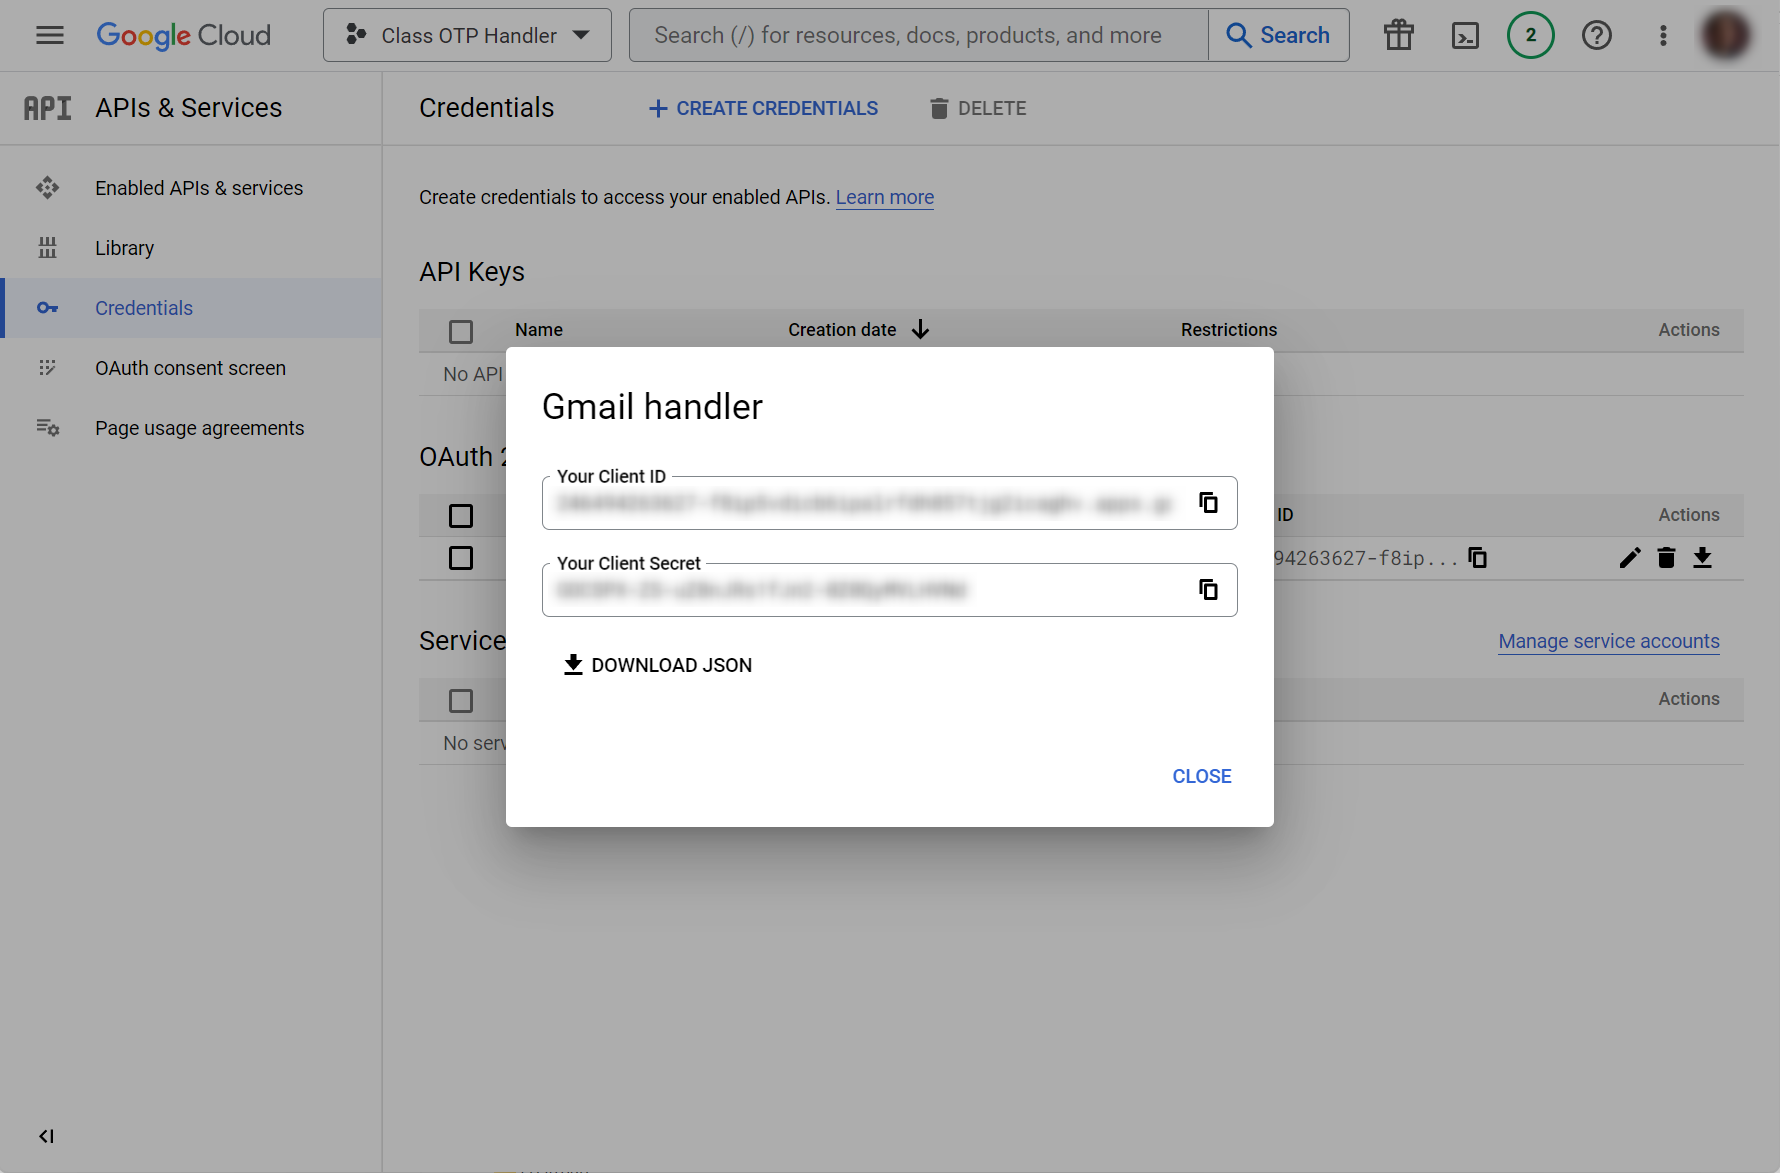
- Your credentials have been created; you need to download the Client ID file in JSON format.

- You can also customize your credentials at any time in the Credentials tab and then download the updated JSON file.

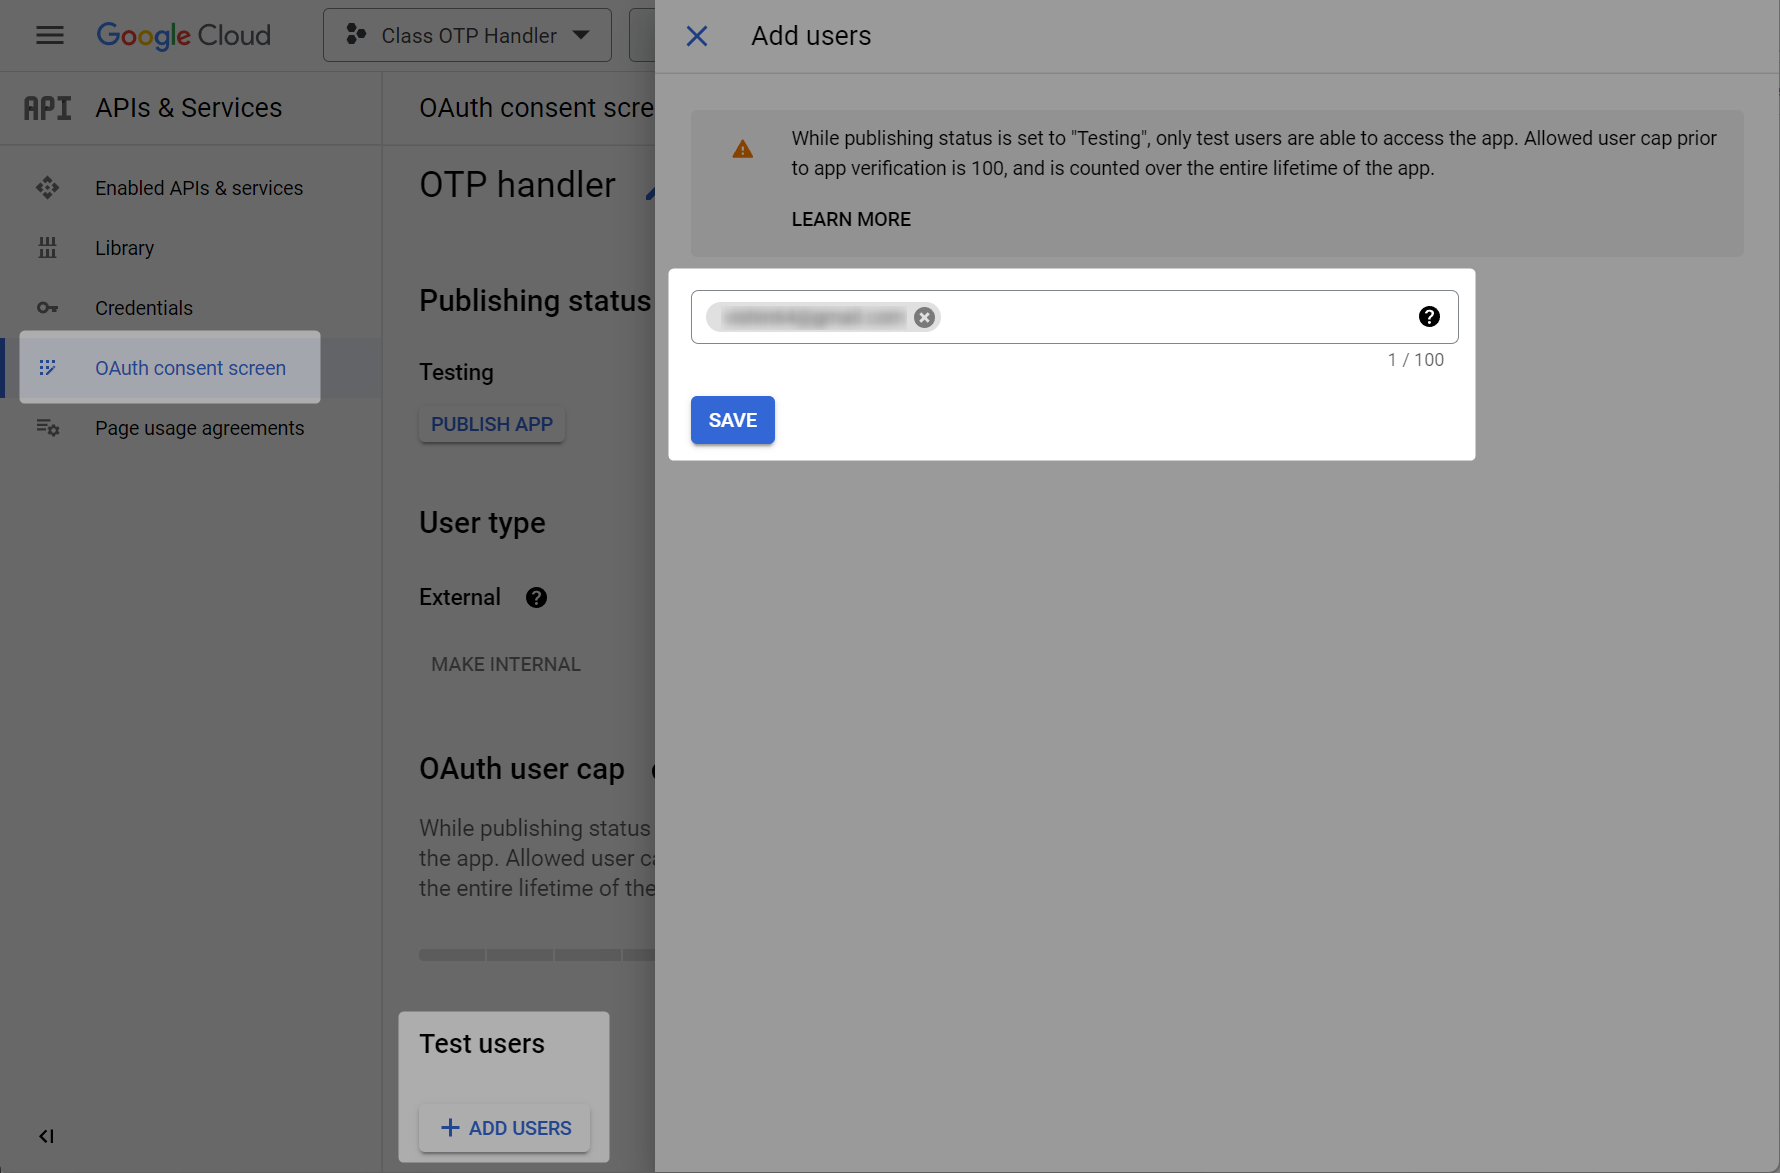
- Navigate to the OAuth consent screen tab and click on
ADD USERS
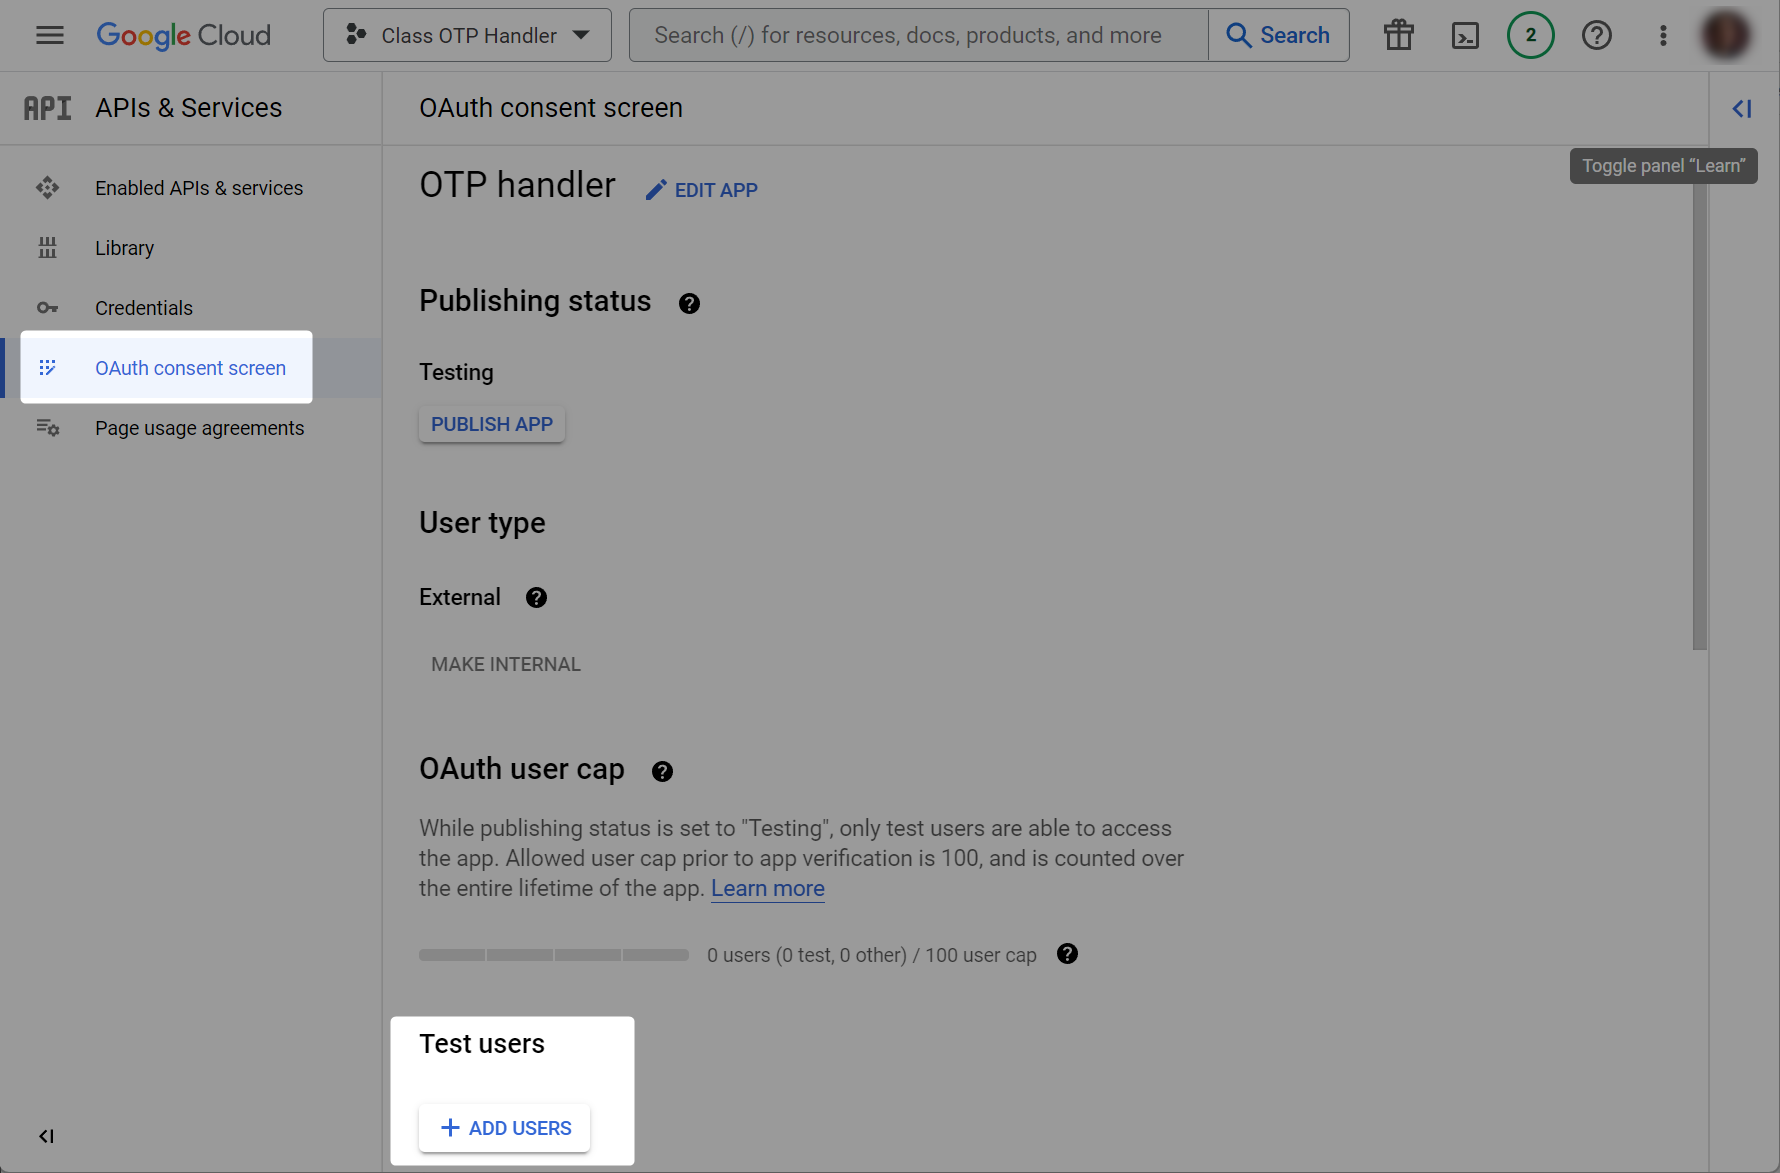
- Add your any real Gmail account email address. You will need to act under this account later to verify access for the Client ID
After receiving the Client ID file in JSON format (as shown above), you must exchange it for the StoredCredential file the first time you call the Gmail API.
How to add the Gmail account credentials to the project - details (Click to expand)
- Put the file into
src/main/resources/credentials.

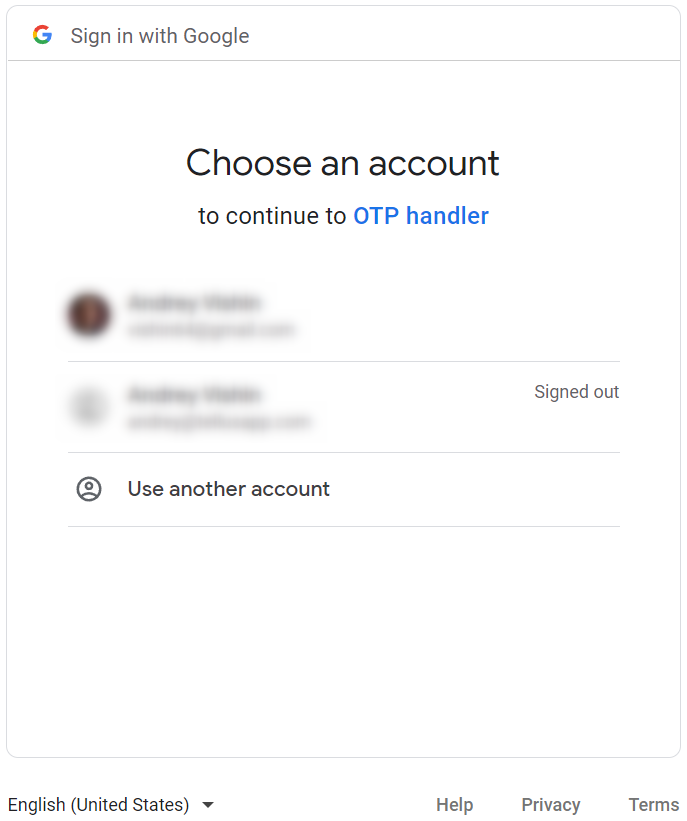
Run your project first time. At the first call to the Gmail API, a browser will be opened by Google. Your should follow the Google dialog.
- Choose the account you add on the Register a trusted test user step.
- Click on
Continueto verify the app

- Click on
Continueto grant the access

- Check for the confirmation

- Stop the first test project execution.
- The
StoredCredentialfile should already be created automatically insrc/main/resources/credentialsduring your first Gmail API call; if it is not, repeat this section again.

If you change the Gmail API configuration in the console in the future, you should delete the StoredCredential file and repeat these steps to add a new one.