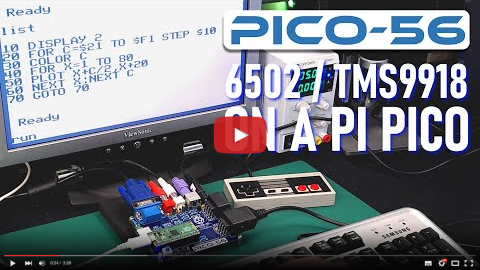
My HBC-56, a 65C02/TMS9918A homebrew computer on a backplane, fully emulated on a Raspberry Pi Pico.

Emulating the following HBC-56 hardware
- 65C02 CPU
- 65C22 VIA
- TMS9918A VDP
- Dual AY-3-8910 PSGs
- Dual NES controller inputs
- PS/2 keyboard input
- 96KB Banked RAM/ROM
Making use of my various emulation libraries (and more):
- vrEmu6502 - 6502/65C02 CPU emulation library (C99)
- vrEmu6522 - 6522/65C22 VIA emulation library (C99)
- vrEmuTms9918 - TMS9918A/TMS9929A VDP emulation library (C99)
Follow along on YouTube here: youtube.com/@TroySchrapel
To set up your development environment for the Raspberry Pi Pico, follow the Raspberry Pi C/C++ SDK Setup instructions.
For Windows users, there is a pre-packaged installer provided by the Raspberry Pi Foundation: https://github.com/raspberrypi/pico-setup-windows/releases/. Once installed, just open the pre-configured "Pico - Visual Studio Code" from your start menu.
In the Episodes, I build the code from the ground up and provide a number of working demos. These are a work in progress with more to come as the videos come out.
In this episode, I build a VGA circuit on the Raspberry Pi Pico and write an intitial generic VGA output library and a number of VGA test programs from a test pattern through to moving sprites and an 800x600 framebuffer.


In this episode, I incorporate my TMS9918 library and create some test programs to test the TMS9918 functionality on the Pi Pico.
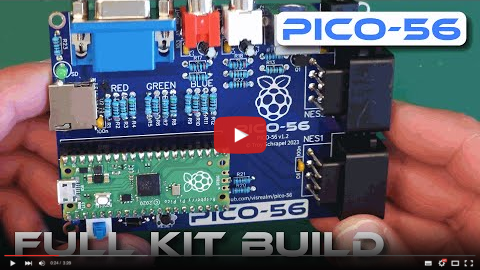
Complete PICO-56 kits are now available on Tindie:
/i/214054/products/2023-12-21T04%3A30%3A01.986Z-pico-56-kit-components.jpg?1703104328)

Gerbers for the PICO-56 v1.4 are now available. See /schematics
If you would like to support this project, you can order your PCBs from my PCBWay project link

| Qty. | Description | Code |
|---|---|---|
| 1 | PICO-56 PCB | PCB |
| 5 | 100nf (104) ceramic capacitor | C3,C4,C5,C6,C7 |
| 3 | 10uf (106) electrolytic capacitor | C8,C1,C2 |
| 3 | 4kΩ 0.25w resistor (3.9kΩ ok) | R1,R5,R9 |
| 2 | 10kΩ 0.25w resistor | R20,R21 |
| 6 | 2kΩ 0.25w resistor | R22,R2,R6,R10,R17,R18 |
| 9 | 1kΩ 0.25w resistor | R3,R7,R11,R13,R14,R15,R16,R19,R23 |
| 3 | 500Ω 0.25w resistor (510Ω ok) | R4,R8,R12 |
| 1 | 2N4401 transistor | Q1 |
| 1 | 1N5819 diode | D1 |
| 1 | Blue LED | LED1 |
| 1 | Green LED | LED2 |
| 1 | Push button | KEY1 |
| 1 | Push button (locking) | PWR1 |
| 1 | Barrel jack connector | 5V |
| 1 | VGA connector | DSUB1 |
| 2 | RCA connector | J2,J3 |
| 2 | NES connector | NO1,NO2 |
| 1 | PS/2 connector | PS2 |
| 1 | Raspberry Pi Pico (plus headers) | U1 |
| 1 | MicroSD card connector | U2 |
There is a more detailed BOM in the /schematics folder. Alternatively, I have created a Mouser project for this which contains everything except for the NES connectors which can be obtained from AliExpress.
A 3D printed case is available. All STLs are in the /case directory.

Thanks to PCBWay for supporting this project.

- Windows Development Environment Installer
- Raspberry Pi Pico C/C++ SDK (PDF)
- HBC-56 Project
- vrEmu6502 - 6502 CPU Emulation Library
- vrEmu6522 - 6522 VIA Emulation Library
- vrEmuTms9918 - TMS9918A VDP Emulation Library
This code is licensed under the MIT license