- Development Environment Setup
For testing code locally, you will need a very basic setup. There are a few requirements. These instructions have been made for working with Linux, Windows and macOS. You need:
- GitHub account
- Python 3.9.1 minimum
- Node.js (current LTS version)
- GitHub account
- Git 2.13.2 minimum
Go to https://github.com/webcompat/webcompat.com/ and click on the Fork button (top right). This will create a copy of the project in your own account environmment on GitHub.
This project requires Python 3. This is not available per default on most platforms. You will need to install it on your computer. The download section of the Python website has binaries for most platforms. Choose the 3.9.1 or more version minimum.
This project requires NodeJS for building the application and running certain tests. The NodeJS website provides installers in the downloads section. Choose the current LTS version if you don't have NodeJS installed, or have an older version.
Now that you got a copy of the project on your github account, you will clone it locally on your computer. Open a shell console on your computer.
# clone the repo
# change <username> to your GitHub username
git clone https://github.com/<username>/webcompat.com.git
# change to directory
cd webcompat.com
# initializing project
npm run setupNote: if you got an error message, you may need to install pip before running npm run setup again.
Note: if you get an error message about missing rights to install the setup through npm, please do not run sudo npm. You just need to fix your permissions for usr/local.
Once Windows Subsystem for Linux and Ubuntu distribution are installed, open the Ubuntu terminal and finish any installation prompts, if necessary.
From the terminal, you can install python, pip, and nodejs and npm with the following commands:
sudo apt-get update
sudo apt-get install python3.9
sudo apt-get install python3-pip
sudo apt-get install nodejs
sudo apt install npm
It's a good idea to update npm after this (to speed up npm install): sudo npm install npm -g
At this point, you can skip over the Installing pip section and continue with the Installing virtualenv directions.
We use pip to install other Python packages. You may want to check the version of pip associated with your system.
pip --version
# or in case python2.7 is the default on your system.
pip3 --version
If you get an error message, follow the docs on installing pip for your platform.
Note: Windows and Linux users can do the following via the terminal:
sudo apt install python3-pipGo to https://github.com/webcompat/webcompat.com/ and click on the Fork button (top right). This will create a copy of the project in your own account environmment on GitHub.
# clone the repo (change <username> to your GitHub username)
git clone git@github.com:<username>/webcompat.com.git
# change to project directory
cd webcompat.com
# set up virtual environment. This creates env/ folder which will have all the tools to be able to work with python 3 on your project.
python3 -m venv env
# This will isolate your folder for python modules installation and will remove any uninted effects with other projects.
source env/bin/activate
# optionally install Pillow image lib dependencies (only required if you plan on hacking on image upload features)
#  OSX: https://pillow.readthedocs.io/en/stable/installation.html#macos-installation
#  Windows: https://pillow.readthedocs.io/en/stable/installation.html#windows-installation
#  Linux: https://pillow.readthedocs.io/en/stable/installation.html#linux-installation
# install rest of dependencies
pip install -r config/requirements-dev.txt
# In Ubuntu: if ImportError: No module named flask.ext.github occurs, it means the dependencies in requirements-dev.txt are installed in /usr/lib instead of <project_repository>/env/python<version>/site-packages.
# In this case, use virtual environment's pip from <project_repository>/env/lib/pip folder of the project repository instead of the global pip.We use a handful of npm packages to build the project.
Install npm dependencies:
npm installWhen that is done, you can build the site via the npm run build command (if you miss this step, when you try to start the server and view the site locally or run functional tests, you won't get the compiled css or templates!):
npm run buildThis will be using webpack to compile all the assets and put them in the right directories, you will see a detailed list of output.
Note: if you get an error message about missing rights to install the setup through npm, please do not run sudo npm. You just need to fix your permissions for usr/local.
By default, environment.py sets ISSUES_REPO_URI to webcompat/webcompat-tests/issues for local development. This way we can file test issues without worrying about making noise in the real issues. You probably don't need to change this.
If you would prefer to have your own sandbox for test issues, you may choose to create a repository on GitHub. For example, the user miketaylr has created a repository called "test-repo" for this purpose.
Important: If you create your own test issue repository, it needs to have exactly the same milestones that we have in our test-repository: needstriage, sitewait, duplicate, incomplete, contactready, needscontact, invalid, needsdiagnosis, wontfix, worksforme, non-compat and fixed.
Your secrets are stored in .env at the root of your project directory. The .env file will follow this syntax:
# Secrets. DO NOT SHARE.
GITHUB_CLIENT_ID='your_github_id'
GITHUB_CLIENT_SECRET='your_github_secret'
OAUTH_TOKEN='your_token'
SECRET_KEY = 'a_secret_key'
HOOK_SECRET_KEY = 'SECRETS'
Do not be afraid to put any secrets in there, this file is part of the .gitignore and will not be committed into the code.
-
You have the option of creating a "bot account" (a dummy account for the purpose of testing), or using your own account for local development. Either way, you'll need a personal access token to proceed – this is the oauth token we use to report issues on behalf of people who don't want to give GitHub OAuth access (or don't have GitHub accounts).
The instructions for creating a personal access token are given on GitHub. Select public_repo to grant access to the public repositories through the personal access token. Once you have created the token you can add it in the variable
OAUTH_TOKEN = "". -
Add values for
GITHUB_CLIENT_IDandGITHUB_CLIENT_SECRET. Create your own local application (instructions here) — when prompted for an "Authorization callback URL", usehttp://localhost:5000/callback, and take note of the client ID and client secret GitHub gives you.Note: Cloud 9 users should use
http://yourapp.c9users.io:8000/callbackfor the Authorization callback URL instead.When you have the client ID and client secret, put them in the corresponding lines in
.env:GITHUB_CLIENT_ID='your_github_id' GITHUB_CLIENT_SECRET='your_github_secret'
-
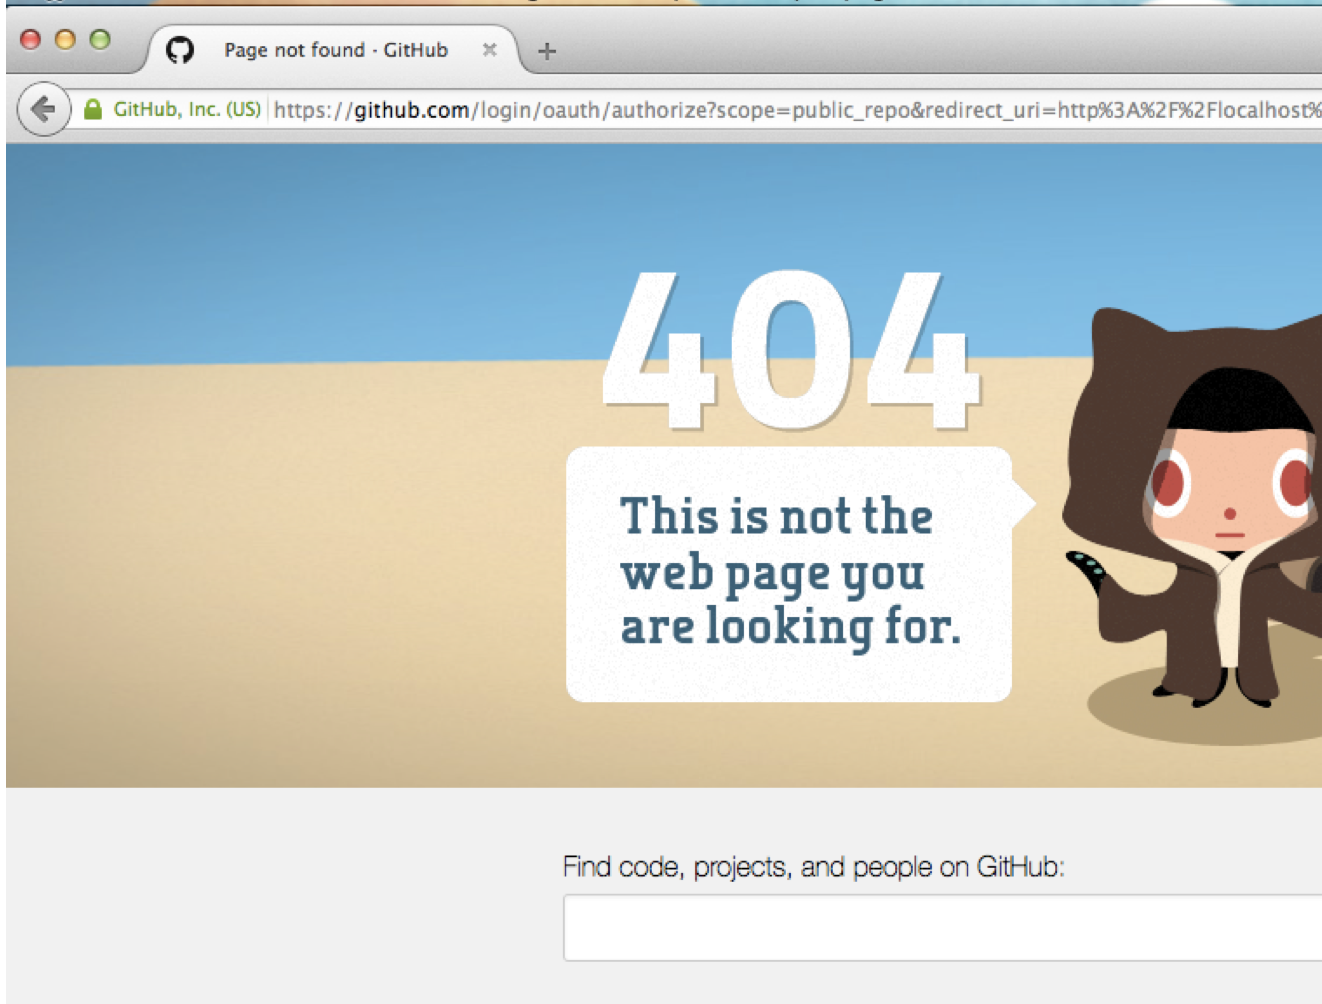
Click on Log in to authorize the application and get access to the issues.
Note: If you get a 404 at GitHub when clicking Log in, it means you haven't filled in the
GITHUB_CLIENT_IDorGITHUB_CLIENT_SECRETin.env.

# start local server
flask run
You should see this:
 * Serving Flask app "webcompat:app" (lazy loading)
 * Environment: development
 * Debug mode: on
 * Running on http://127.0.0.1:5000/ (Press CTRL+C to quit)
 * Restarting with stat
Writing logs to: /Users/username/code/webcompat.com/tmp
Statuses Initialization…
Oooops.
We can't find /Users/username/code/webcompat.com/data/milestones.json
Double check that everything is configured properly
in .env and try again. Good luck!

Fetching milestones from Github…
 * Debugger is active!
 * Debugger PIN: 327-604-721
Writing logs to: /Users/username/code/webcompat.com/tmp
Statuses Initialization…
Oooops.
We can't find /Users/username/code/webcompat.com/data/milestones.json
Double check that everything is configured properly
in .env and try again. Good luck!

Fetching milestones from Github…
Milestones saved in data/
Milestones in memory
Milestones saved in data/
Milestones in memory
or you can type
# start local server
npm run startNote: If you are using Cloud 9, you have to update
run.pyand replaceapp.run(host=os.getenv("IP", "0.0.0.0"), port=int(os.getenv("PORT", 8080))).
You should now have a local instance of the site running at http://localhost:5000/.
Please file bugs if you need further assistance.
First you should have a look at the logs located in webcompat.com/tmp.
When you start the local server, it will print the location of the logs to the console:
Statuses Initialization…
Writing logs to: /Users/username/code/webcompat.com/tmp
…
The logs are saved in the file webcompat.log.
After certain kinds of changes are made, you need to build the project before serving it from a webserver will work.
- Python: the Flask local server will detect changes and restart automatically. No need to rebuild.
- HTML templates: the changes should be served from disk without the need for rebuilding.
- JS and CSS: We use webpack for asset bundling.
See main webpack commands below:
You can build the entire project (CSS stylesheets, JavaScript code) by executing this command in a new terminal tab:
npm run buildThis build is meant for development and does not include optimizations for production. Note that this command will not watch for changes in JS or CSS.
If you need to watch for changes and rebuild the assets on the fly, run this command instead:
npm run devWe use linting, which will check that the code respects some syntactic rules defined for this project. To run linters:
# linting style, JS, CSS and python.
npm run lint
Fixing static JS files with project coding styles, if an error occurs:
# fixing linting style JS
npm run lint:fix:js
or CSS:
# fixing linting style CSS
npm run lint:fix:css