

 The most powerful TFT firmware for the Artillery X1 and Genius, keeping the vanilla essence but with incredible tools.
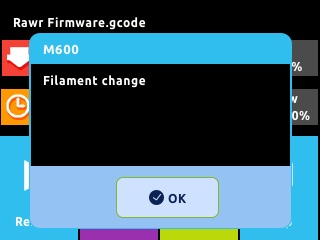
- M600 from USB and MicroSD (Pause, Change Filament, and Resume, without changing Marlin)
- Pre-Heat
- PID for ABS and PLA
- Extruder Calibration (E-Steps)
- Filament Change
- Baby Steps
- Change configuration without rebuilding (config.ini file)
- Auto Leveling and Manual Leveling (5 points).
- Gcode Console
📐 For auto-leveling, you might need to make some changes in Marlin firmware and add additional hardware.
🐙 If you want to use M600 with octoprint check RewriteM600
🖨 ✅ Working on Artillery Sidewinder X1 and Artillery Genius
👷🏽♀️ If you try it on another 3D printer with TFT28, please add it to the readme file.
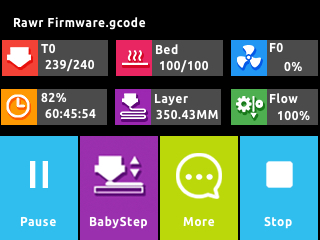
| Status page with flow and speed | Status page clasic |
|---|---|
 |
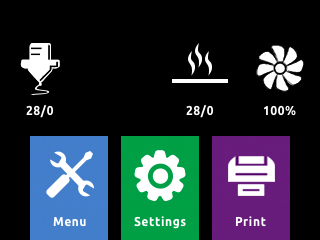 |
| Main menu | Settings menu |
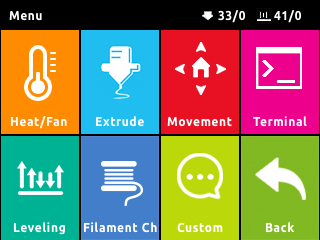 |
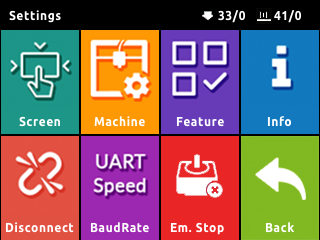 |
| Printing menu | M600 |
 |
 |
- Download the latest release from https://github.com/wgcv/RAWR-TFT-Firmware-Artillery3D/releases
- Unzip the downloaded file.
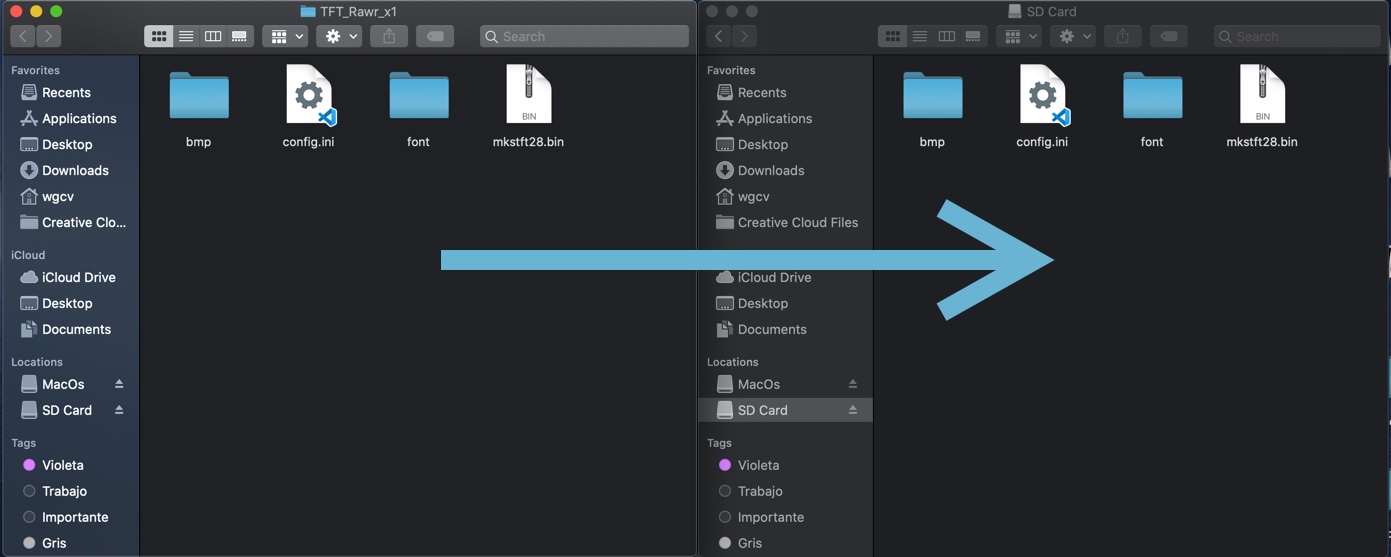
- Copy the files
mkstft28.bin,config.ini, and the foldersbmpandfontto the root of a blank SD card (<8GB and formatted as FAT32). - Insert the SD card in the TFT's SD card slot and restart the TFT by pressing the reset button or disconnecting and connecting the power cable.
- Wait for the firmware, configuration, font, and icons to update.
Failing to update your icons & fonts will result in missing icons and/or unreadable text
The firmware can be configured using the config.ini file.
- To edit the preheat values, check lines
224to231. TheTis the extruder temperature andBthe bed temperature. - To edit the bed size, modify line
155. For the X1, the default value issize_max:X300 Y300 Z400and for the Genius,size_max:X220 Y220 Z250. - To show the flow and speed on the status screen, change line
308toshow_status_speed_flow:1.
To update the firmware configuration:
- Edit the settings in config.ini.
- Copy the config.ini file to the root of the SD card (the SD card capacity should be less than or equal to 8GB and formatted as FAT32).
- Insert the SD card in the TFT's SD card slot and restart the TFT by pressing the reset button or disconnecting and reconnecting the power cable.
- The TFT will update and store the configuration from the config.ini file.
You can create your own themes by changing the BMP images and sharing the link by opening a PR.
To reset the TFT's touch screen calibration, create a blank file named reset.txt and place it in the root folder of the SD card. Insert the SD card into the TFT's SD card reader and power cycle your printer to start the reset process.
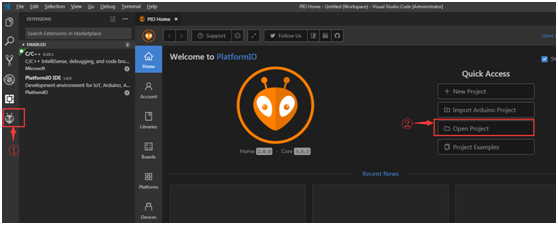
- Set up Visual Studio Code with PlatformIO following these instructions
- Click on the PlatformIO icon (1) and then click on Open Project (2):
- Find the firmware source directory, then click Open:

- After opening the project, edit
platformio.iniand set thedefault_envsto one that matches your TFT model and version. For the Artillery, it is:[platformio] src_dir = TFT boards_dir = buildroot/boards default_envs = MKS_28_Clone_V1_0
- Click the check mark (✓) at the bottom of VSCode or press
Ctrl+Alt+B(Windows) /Ctrl+Option+B(macOS) to compile.
- A
mkstft28.xx.xbinfile will be generated in the hidden.pio\build\MKS_28_Clone_V1_0folder. Follow the update process outlined in the How to setup the TFT Firmware section above to update your TFT to the latest version. - @usua69
You can report issues, create themes, implement new features with PR or Sponsor it on PayPal.