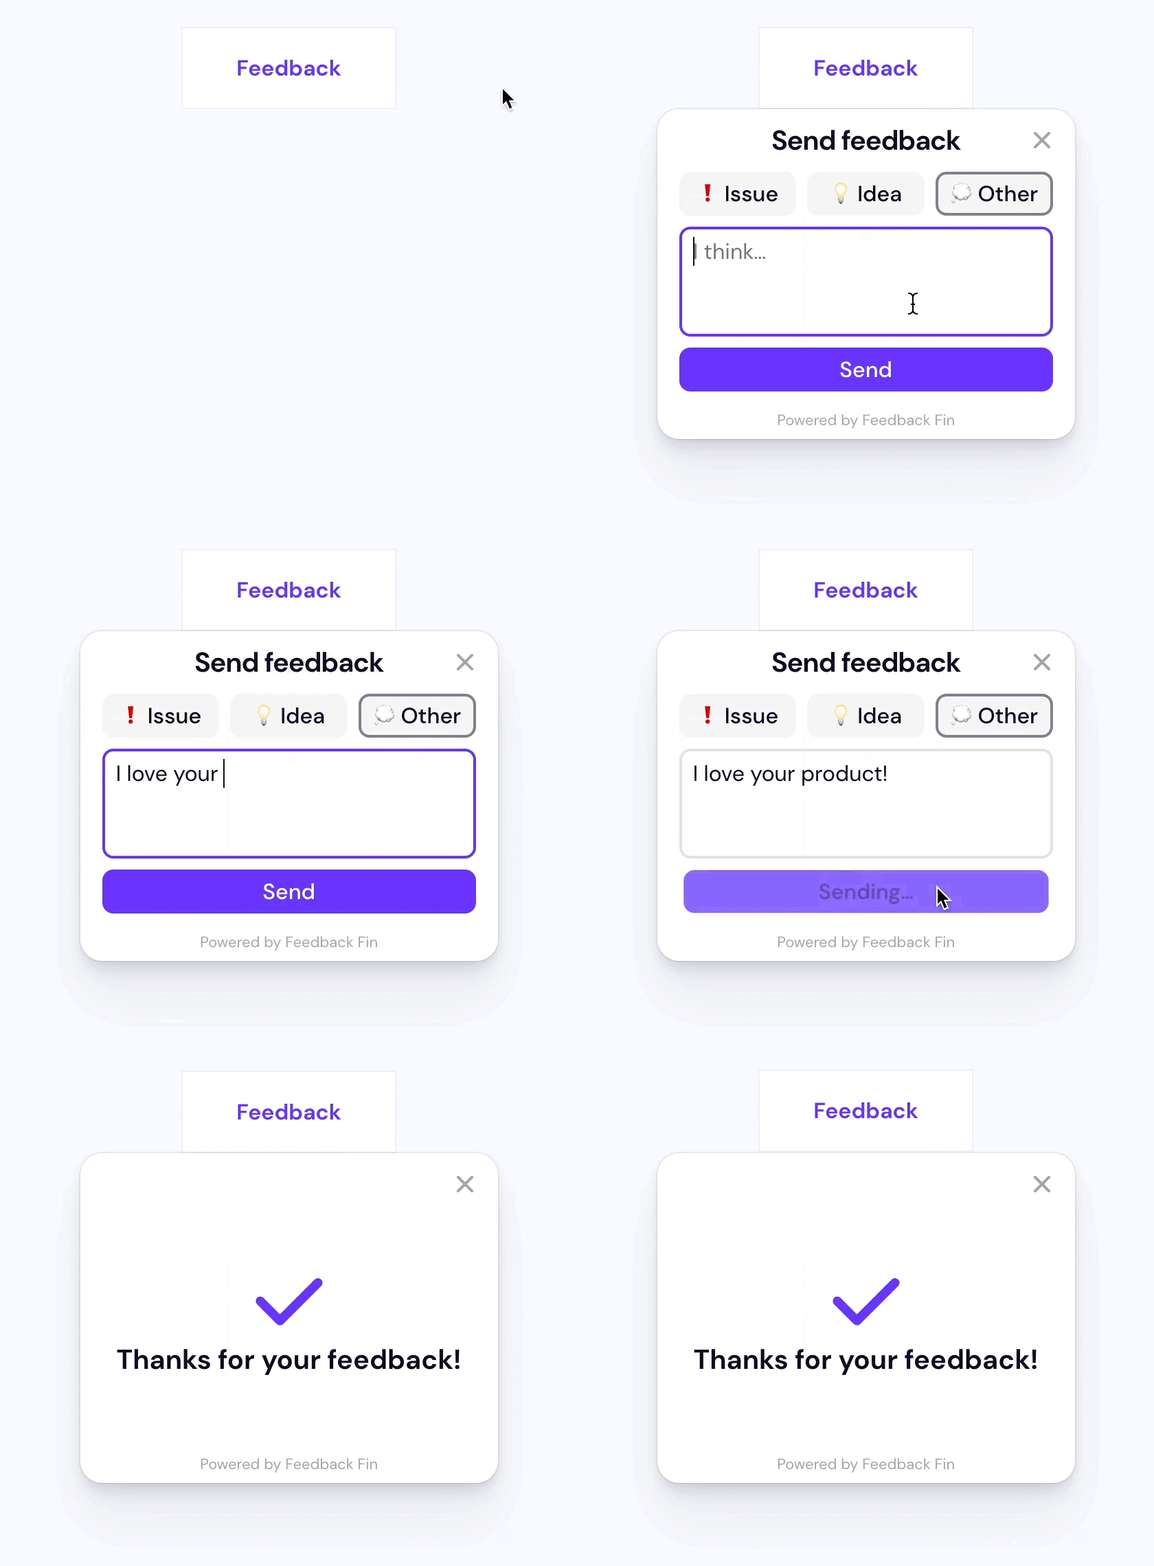
A fork of Feedback Fin with more customization. Refer to PR #1 (and subsequent PRs) to see what changed.
A tiny widget to collect feedback anywhere on your website. That’s it.

-
Load the widget on your page:
<script src="https://unpkg.com/unfeed@^1" defer></script>
-
Setup a webhook URL (read instructions in the next section) and configure that in the script. Optionally, add any user info that you want to pass in from the website:
<script>
  window.unfeed = { config: {}, ...window.unfeed };
  window.unfeed.config.url = "https://rowy-hooks.run.app/wh/...";
  window.unfeed.config.user = { name: "...", email: "..." };
</script>
-
Set a button to open the widget:
<button data-unfeed-button>Feedback</button>
This is the URL to send the feedback to. The widget will make a POST request to this URL with the feedback data as a JSON body.
Generate a webhook URL easily using Rowy's low-code platform and manage feedback data on a collaborative spreadsheet-UI. Optionally, you can further automate on incoming feedback with Rowy's built-in code-editor (eg: notify on team slack/discord, email follow up etc).
End-to-end video instructions on the website ↗
Options are set in the window.unfeed.config object:
The URL to send the feedback to. The widget will make a POST request to this URL with the data as a JSON body. See Setting up a webhook URL above.
An object whose contents will be submitted as part of the form. Note:
feedbackType, message, and timestamp are reserved fields and will be
overwritten by form values.
Typically:
window.unfeed.config.user = {
  name: "...",
  email: "...",
};Optionally, disables displaying
alerts if no
URL is set or the request fails. Default: disableErrorAlert: false
When the script is loaded, it looks for any elements with the
data-unfeed-button attribute and opens the widget when any of those elements
are clicked.
<button data-unfeed-button>Feedback</button>The window.unfeed object exposes the open, close, and submit methods, so
they can also be called directly.
<button onclick="window.unfeed.open(event)">Feedback</button>The widget uses event.target to compute its position using
Floating UI.
The widget is attached just before the closing </body> tag when it is open and
respects your page’s font-family. Styles are attached just before the opening
<head> tag so your customizations take precedence.
You can customize the widget’s appearance by:
-
Overriding the CSS variables.
For example, you can change the primary button color using:
:root {
  --unfeed-primary-color: #007aff;
  --unfeed-primary-color-text: #fff;
}
-
Overriding the CSS rules. Class names are prefixed with
unfeed__.
Dark mode is activated when either:
-
the user sets their system theme to dark
i.e.@media (prefers-color-scheme: dark)is true, or -
any parent element has a
data-themeattribute whose value containsdark.
Example:<body data-theme="dark">
Dark mode colors are set using CSS variables. You can override them with:
@media (prefers-color-scheme: dark) {
  :root {
    ...;
  }
}

[data-theme*="dark"] {
  ...;
}This widget is built using standard HTML form elements with the appropriate labels.
Focus is trapped within the widget when it is open using focus-trap. Be careful when nesting this widget inside another element with a focus trap.
Contribute to Feedback Fin with issues and pull requests in the GitHub repo.
- Join a community of developers on Discord
- Follow us on Twitter and help spread the word 🙏