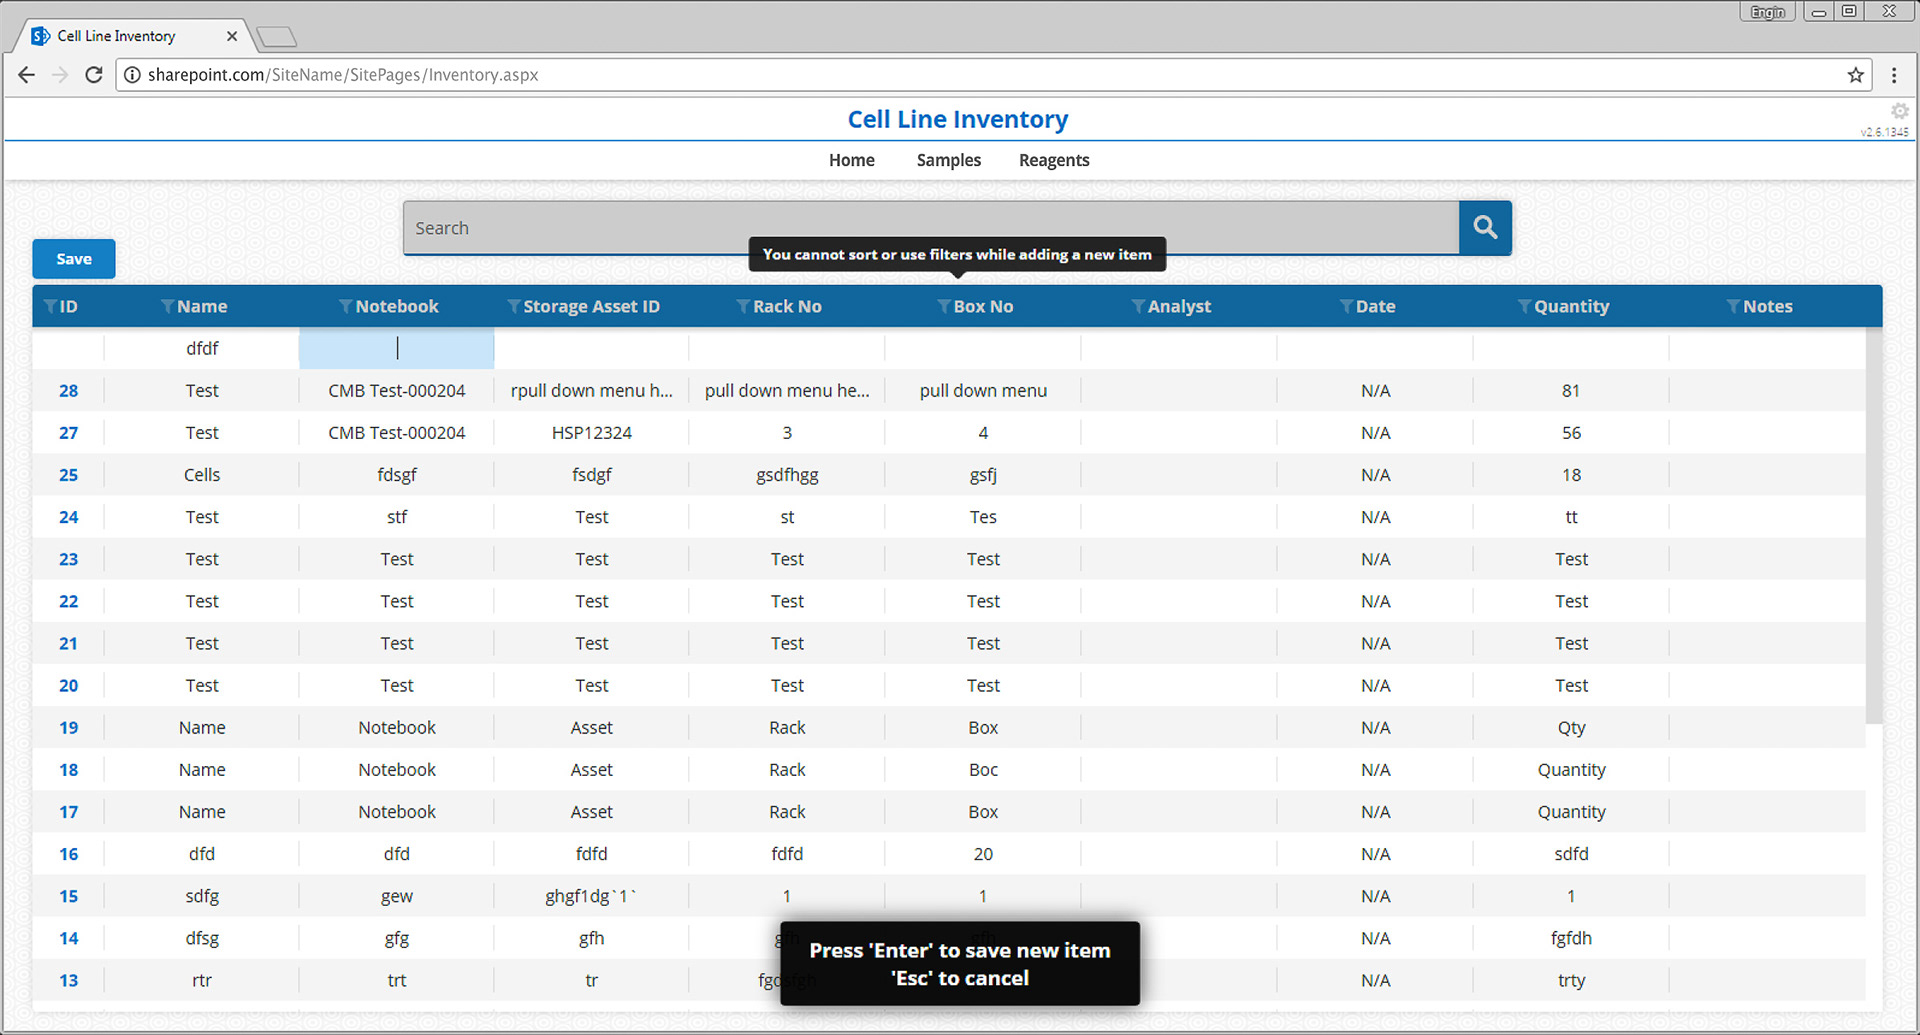
A versatile inventory system with SharePoint backend
- Create a new page under your SharePoint site (e.g. with a name Inventory.aspx)
- Go to your site in a browser and add a new HTML Form Web Part to the page. Click 'Source Editor', remove all the content and add below code (replace the URLs with your own site's URL):
<link rel="stylesheet" type="text/css" href="http://sharepoint.com/SiteName/SiteAssets/Inventory/css/main.min.css">

<script type="text/javascript" src="http://sharepoint.com/SiteName/SiteAssets/Inventory/js/w3.js"></script>

<div w3-include-html="http://sharepoint.com/SiteName/SiteAssets/Inventory/html/content.html"></div>

<script type="text/javascript" src="http://sharepoint.com/SiteName/SiteAssets/Inventory/js/main.min.js"></script>

<link rel="icon" type="image/png" href="http://sharepoint.com/SiteName/SiteAssets/Inventory/images/favicon-96x96.png?v=4" sizes="96x96" />
Save and close the 'Source Editor'. Save the page.
- This system requires two SharePoint lists: one for the inventory, one for the audit trail. Create the lists under your site and update the list names in your codebase under components > Main > Constants > Constants.js. Some example fields are listed below ('Deleted' field for the first list; 'ItemId, Changes, User' fields for the second list are mandatory).
| Field ID | Type |
|---|---|
| Name | Single line of text |
| Notebook | Single line of text |
| StorageAssetID | Single line of text |
| RackNo | Single line of text |
| BoxNo | Single line of text |
| Date | Date and time (date only) |
| Quantity | Single line of text |
| Analyst | Single line of text |
| Notes | Single line of text |
| Deleted | Number (Default: 0) |
| Field ID | Type |
|---|---|
| ItemID | Single line of text |
| Changes | Multiple lines of text |
| eLN | Single line of text |
| User | Person or group |
- Go to components > Items > NSItems.js in your codebase and update the field names in 'instance.settings' accordingly.
- Open a terminal (or a command line) window, navigate to the codebase directory, and run the following commands:
- npm install
- npm run deploy
- Copy everything from live directory in your codebase to your site's SiteAssets directory.
Once you complete these steps, your inventory system should be running without a problem. If you need any help you can reach me at engin.yapici@gmail.com.
