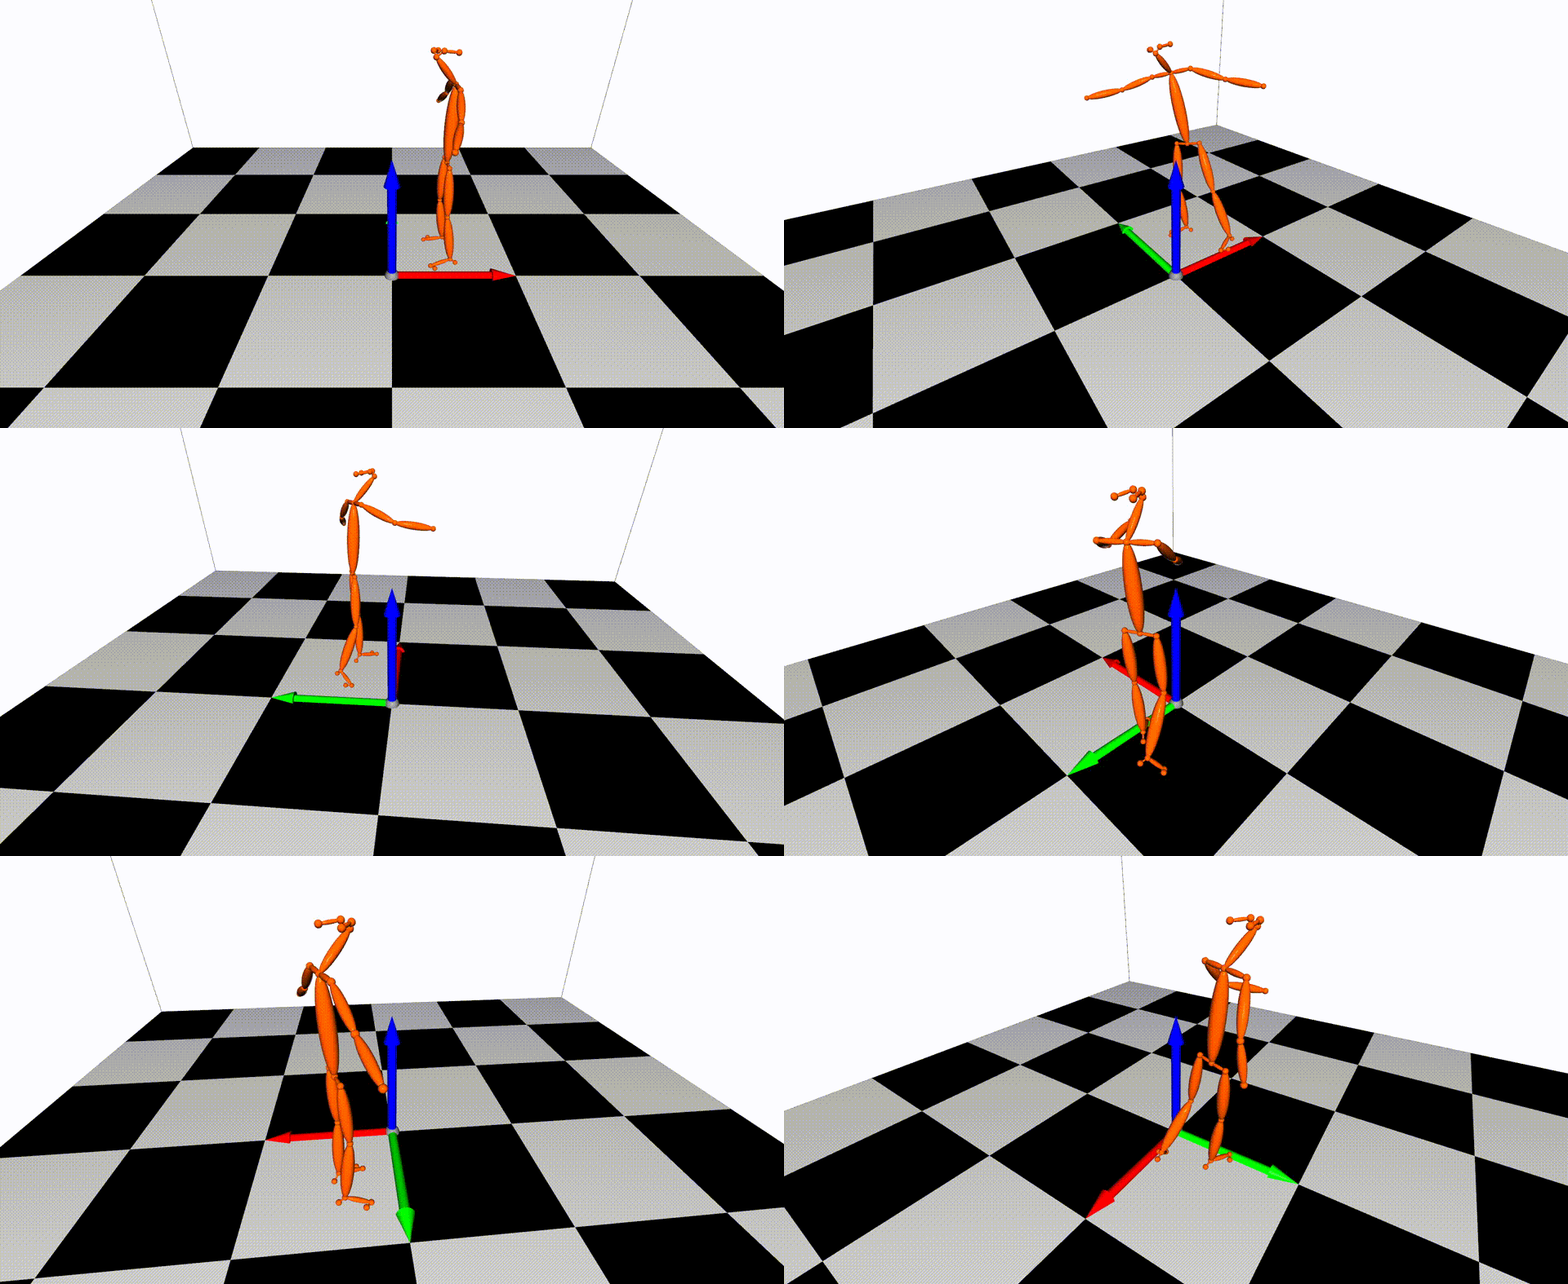
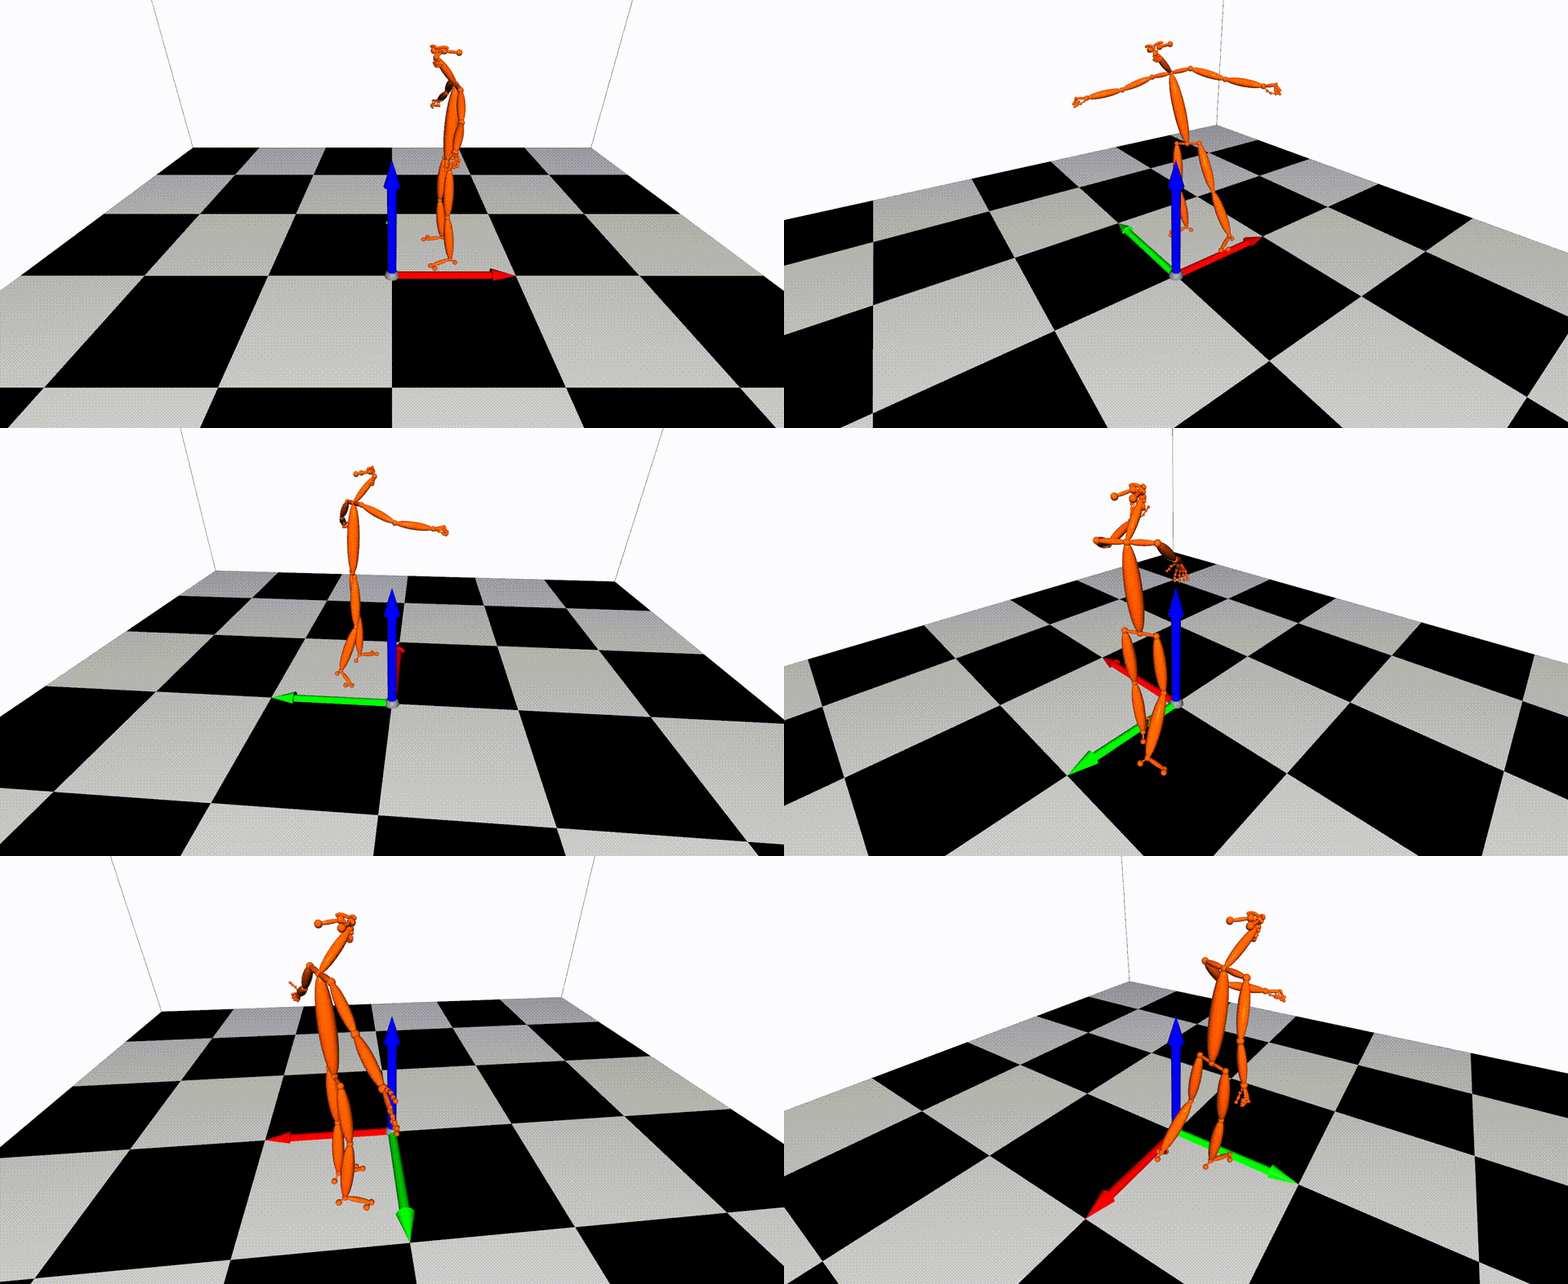
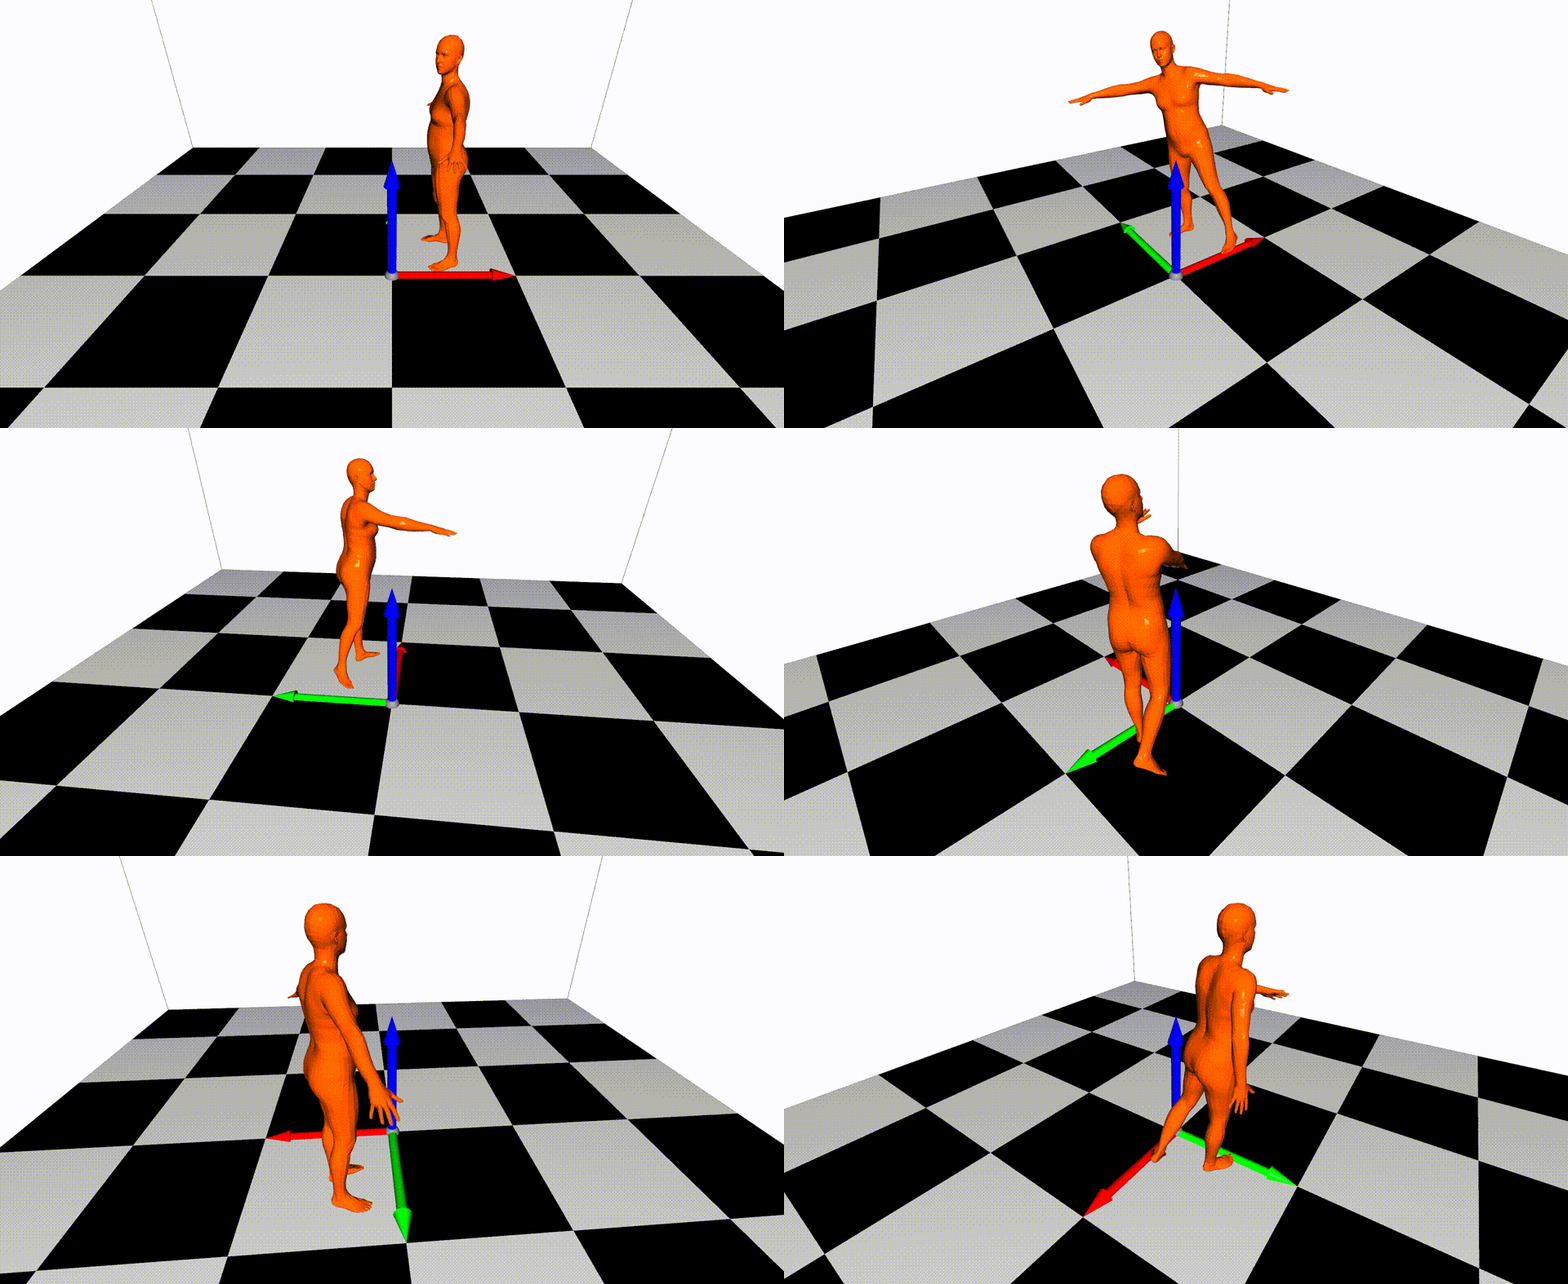
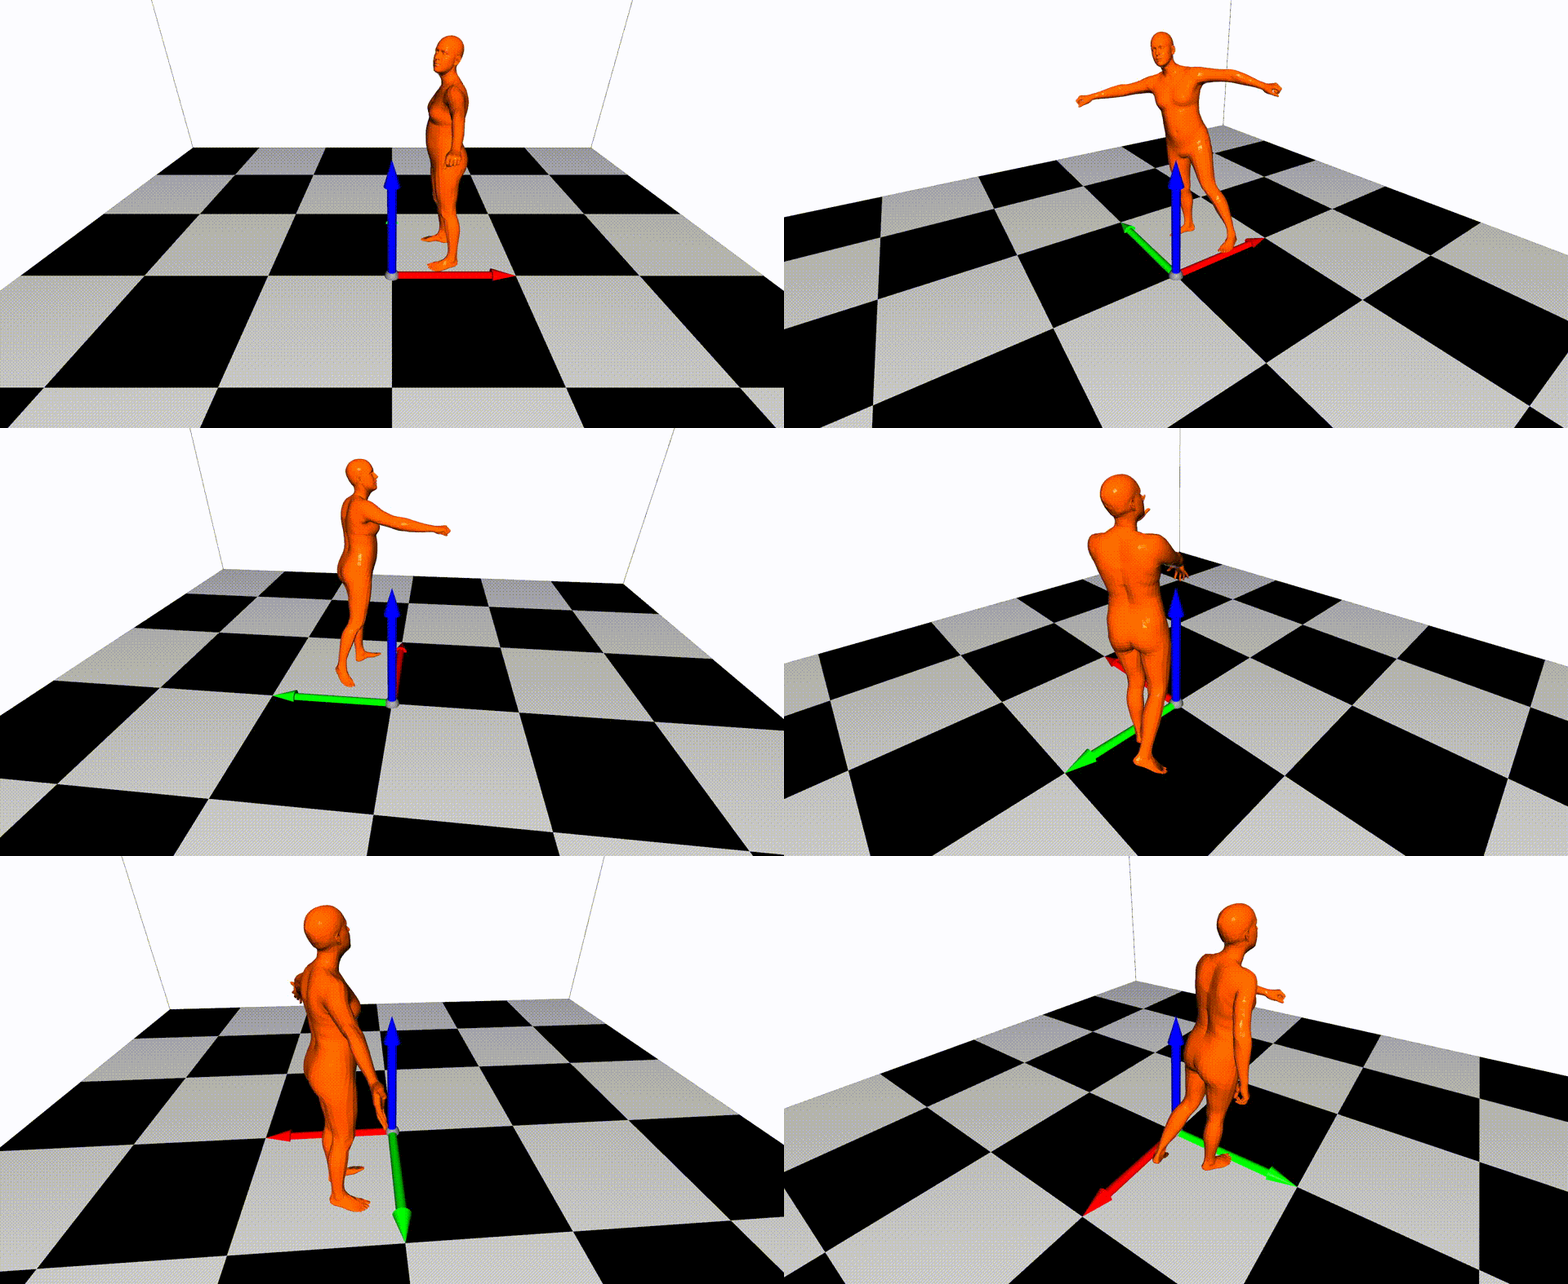
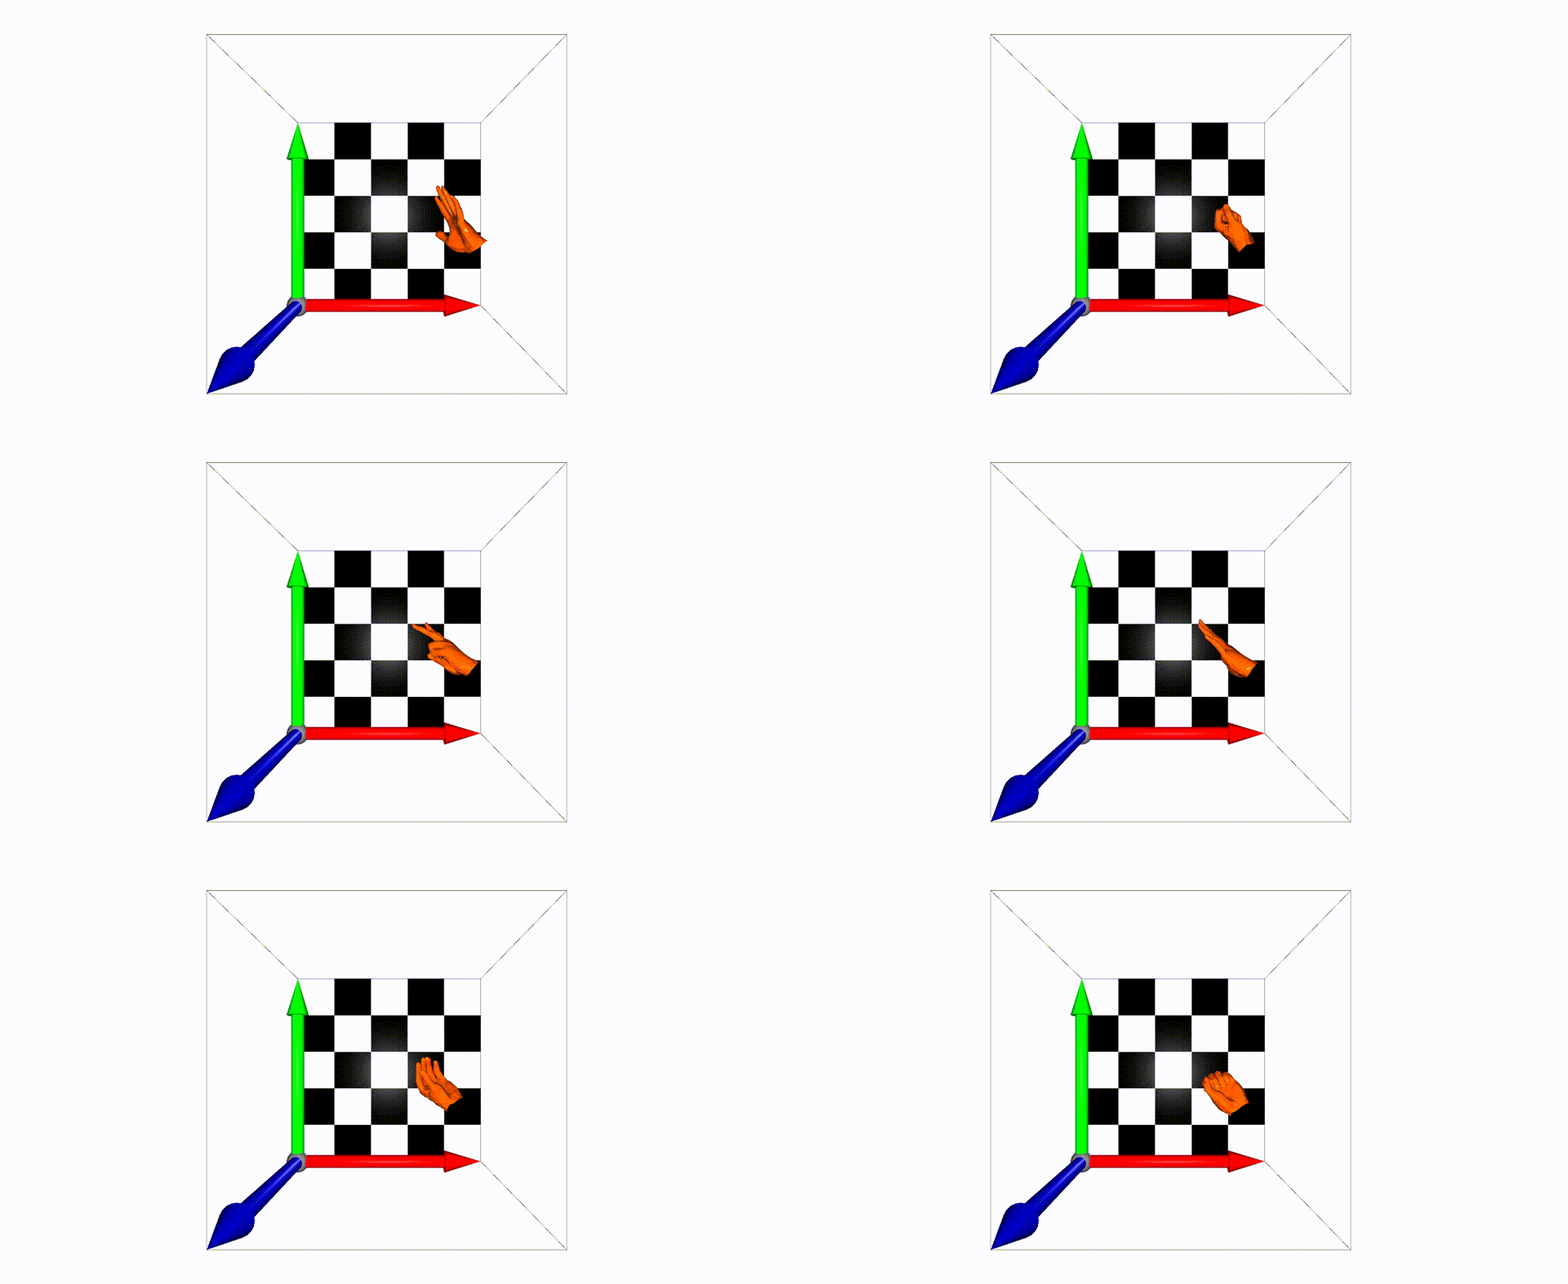
We are the first one to release a real-time visualization tool for both skeletons and SMPL/SMPL+H/SMPL-X/MANO models.
Please install EasyMocap first. This part requires Open3D==0.9.0:
python3 -m pip install open3d==0.9.0Before any visualization, you should run a server:
# quick start:
python3 apps/vis/vis_server.py --cfg config/vis3d/o3d_scene.yml
# If you want to specify the host and port:
python3 apps/vis/vis_server.py --cfg config/vis3d/o3d_scene.yml host <your_ip_address> port <set_a_port>
This step will open the visualization window:
You can alternate the viewpoints free. Press a to automatic rotate the scene. The configuration file config/vis/o3d_scene.yml defines the scene and other properties. In the default setting, we define the xyz-axis in the origin, the bounding box of the scene and a chessboard in the ground.
If you are success to open the server, you can visualize your 3D data anywhere. We provide an example code:
python3 apps/vis/vis_client.py --path <path/to/your/keypoints3d> --host <previous_ip_address> --port <previous_port>Take the zju-ls-feng results as example, you can show the skeleton in the main window:
To add this visualization to your other code, you can follow these steps:
# 1. import the base client
from easymocap.socket.base_client import BaseSocketClient
# 2. set the ip address and port
client = BaseSocketClient(host, port)
# 3. send the data
client.send(data)
The format of data is:
data = [
    {
        'id': 0,
        'keypoints3d': numpy.ndarray # (nJoints, 4) , (x, y, z, c) for each joint
    },
    {
        'id': 1,
        'keypoints3d': numpy.ndarray # (nJoints, 4)
    }
]In the configuration file, we main define the body_model and scene. You can replace them for your data.
To understand our code, we provide lots of results for visualization.
First download the data here and set the path to vis:
vis=/path/to/vis/dataBasic skeletons:
# Start the server:
python3 apps/vis/vis_server.py --cfg config/vis3d/o3d_scene.yml write True out ${vis}/output/skel-body25 camera.cz 3. camera.cy 0.5
# Send the keypoints:
python3 apps/vis/vis_client.py --path ${vis}/smpl/keypoints3d
Body+Face+Hand:
# Start the server:
python3 apps/vis/vis_server.py --cfg config/vis3d/o3d_scene_total.yml write True out ${vis}/output/skel-total camera.cz 3. camera.cy 0.5
# Send the keypoints:
python3 apps/vis/vis_client.py --path ${vis}/smplx/keypoints3d
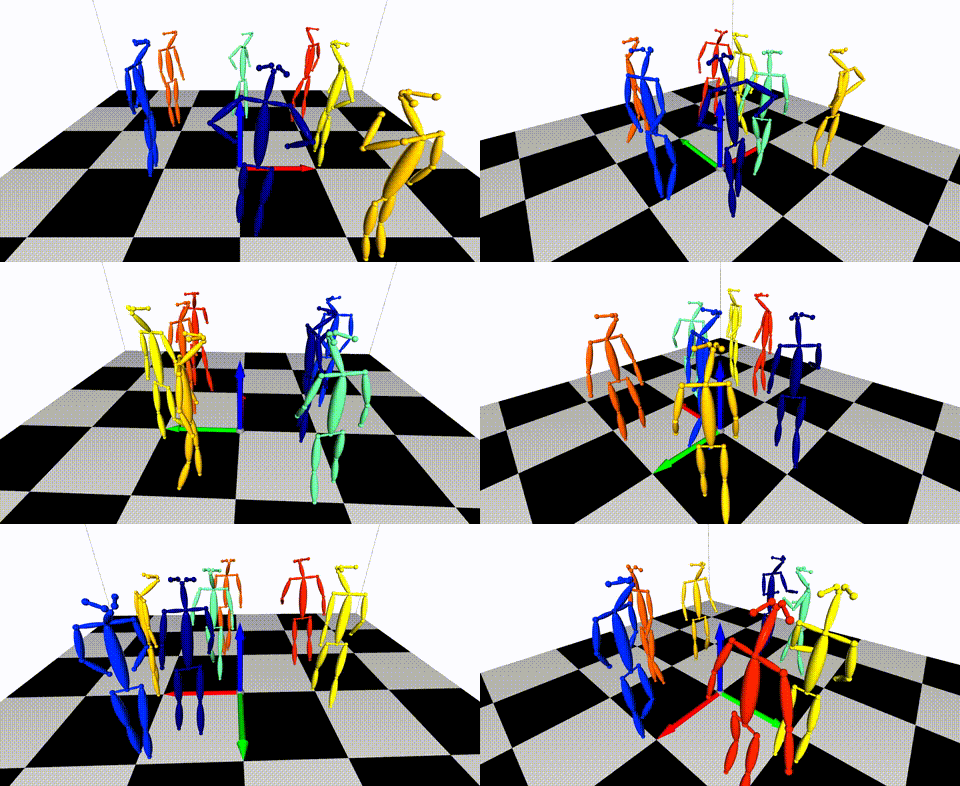
Multiple Person:
# Start the server:
python3 apps/vis/vis_server.py --cfg config/vis3d/o3d_scene.yml write True out ${vis}/output/skel-multi camera.cz 3. camera.cy 0.5
# Send the keypoints:
python3 apps/vis/vis_client.py --path ${vis}/multi/keypoints3d --step 4SMPL:
# Start the server:
python3 apps/vis/vis_server.py --cfg config/vis3d/o3d_scene_smpl.yml write True out ${vis}/output/mesh-smpl camera.cz 3. camera.cy 0.5
# Send the keypoints:
python3 apps/vis/vis_client.py --path ${vis}/smpl/smpl --smpl
SMPLX:
# Start the server:
python3 apps/vis/vis_server.py --cfg config/vis3d/o3d_scene_smplx.yml write True out ${vis}/output/mesh-smplx camera.cz 3. camera.cy 0.5
# Send the keypoints:
python3 apps/vis/vis_client.py --path ${vis}/smplx/smpl --smpl
MANO:
# Start the server:
python3 apps/vis/vis_server.py --cfg config/vis3d/o3d_scene_manol.yml write True out ${vis}/output/mesh-manol camera.cz 3. camera.cy 0.5
# Send the keypoints:
python3 apps/vis/vis_client.py --path ${vis}/manol/smpl --smplTry to modify these keys to control the location and rotation of the cameras.
camera:
  phi: 0
  theta: -30
  cx: 0.
  cy: 0.
cz: 6.We provide some useful mesh in easymocap.visualize.o3dwrapper. If you want to add your own 3D mesh, add it to the key scene.
At present, we just allow use one type of body model in the scene for fast visualization. So you must set the body model before you run the apps/vis/vis_server.py. If you want to use different models in a scene, you can implement it and pull a request.


