Here's a list of things and commands that I use commonly when working in iOS.
Must read https://github.com/futurice/ios-good-practices
Install
brew update
brew install carthage
Add libraries to a file called Cartfile like this
github "Alamofire/Alamofire" ~> 4.3Then run
carthage update --platform iOSTo update a single entry put the name of the library written equal to Cartfile, if that doesn't work put the last part of the library's github url.
carthage update LibraryName --platform iOSIf using SwiftJSON and having an error
carthage update --platform iOS --no-use-binariesWhen you have the .framework files add them to the project by dragging and dropping them. Then go to Project settings -> Build phases tab, click the "+" buton and add a "Copy Files" phase. In this section set the field "Destinations" to "Frameworks" if not set.
When uploading a project to the app store and having problems of "library not found" On your application targets’ “Build Phases” settings tab, click the “+” icon and choose “New Run Script Phase”. Create a Run Script in which you specify your shell (ex: bin/sh), add the following contents to the script area below the shell:
/usr/local/bin/carthage copy-frameworksand add the paths to the frameworks you want to use under “Input Files”, e.g.:
$(SRCROOT)/Carthage/Build/iOS/Box.framework $(SRCROOT)/Carthage/Build/iOS/Result.framework
$(SRCROOT)/Carthage/Build/iOS/ReactiveCocoa.framework
This script works around an App Store submission bug triggered by universal binaries and ensures that necessary bitcode-related files and dSYMs are copied when archiving.
Go to your home folder and edit the .gitconfig file (if it doesn't exist create it). Add this:
[alias]
        ci = commit
        st = status -sb
        co = checkout
        b = branch
        merf = merge --no-ff
        ls = ls-files
        type = cat-file -t
        dump = cat-file -p
        viff = difftool -y -t vimdiff
        gl = log --graph --pretty=format:'%Cred%h%Creset -%C(yellow)%d%Creset %s %Cgreen(%cr) %C(bold blue)<%an>%Creset' --abbrev-comm$
        dlog = log --oneline --decorate
[merge]
        tool = vimdiff
keepBackup = falsegit co -b devNewBranch (Do all the work you want) git co develop git fetch origin git rebase -pk origin/develop git merf devNewBranch (solve conflicts) git push origin develop
Go to https://www.iterm2.com and download the app. This is your new terminal forever.
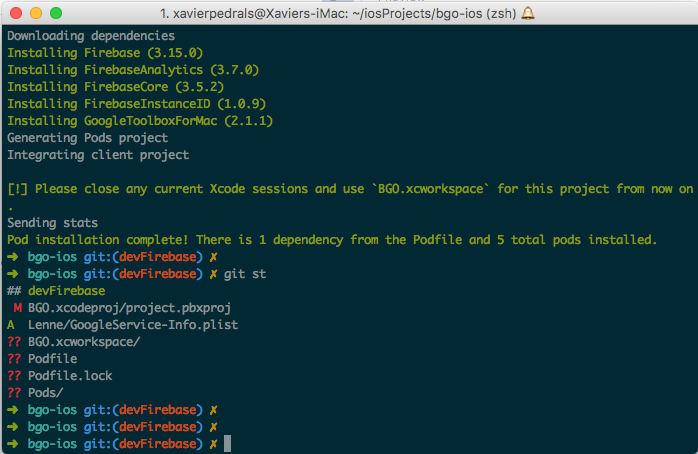
Go to OhMyZsh and install it https://github.com/robbyrussell/oh-my-zsh. Now you have iTerm2 + OhMyZsh. Apply the git plugin at least as explained in the web. Then go to preferences in iTerm2 and go to Profiles -> Defaut -> Colors -> Colors Presets... and choose "Solarized Dark", I recomend you change some colors for the Solarized Light to have a fancier terminal like this:
Although I generally use nano when editing text files from the terminal it might fall short sometimes, you can run Sublime Text from the termial after creating a symbolic link to a directory that is part of your $PATH. We are going to use /usr/local/bin/ so first do
echo $PATH... and ensure that /usr/local/bin/ is part of it. Then ensure you can run sublime from the terminal using it's full path, try to run:
/Applications/Sublime\ Text.app/Contents/SharedSupport/bin/sublIf it's successful it's time to create a symbolic link to /usr/local/bin/, run:
sudo ln -s /Applications/Sublime\ Text.app/Contents/SharedSupport/bin/subl /usr/local/bin/sublNow you should be able to run Sublime from the terminal by typing
sublConfigure a .gitgnore going to gitignore.io and writing Xcode and Swift.
Here you can find RxSwift and some examples https://github.com/ReactiveX/RxSwift. For when default Rx table/collectionViews falls short https://github.com/RxSwiftCommunity/RxDataSources.
This let's you see in a super easy graphic way the manipulations you can do to an observable. I use it a lot. http://rxmarbles.com
To generate the image assets here you have an automator service that will be the best thing to generate @2x and @1x images from @3x images. http://kristian.co/2014/10/07/a-workflow-for-scaling-retina-assets.html If you need to add @3x suffix to images names you can select multiple images and do a multiple rename.
The following automator script let's you select a 1024x1024 image and generates all the assets that Apple asks you for your app icon.

Here you have the most useful web for playing with Date formats in Swift http://nsdateformatter.com
If you doubt about the icon sizes in a iOS app here you have the matrix you are looking for: https://developer.apple.com/ios/human-interface-guidelines/graphics/custom-icons/
To test your push notifications you can use this app, Pusher, easy installed via Homebrew: https://github.com/noodlewerk/NWPusher
If you have completely unreadable layout errors just paste them here: https://www.wtfautolayout.com
You can have the stable version and the beta version of Xcode installed withou problem. The thing you must take into account is the compiler. Probably the ncompiler will have different versions of Swift and this can be a problem especially when using external libraries. To correct this problem you can run:
sudo xcode-select --switch /Applications/Xcode-beta.app/Contents/DeveloperThen to update the libraries and compile them in the latest version of Swift you can run:
carthage update --platform iOS --no-use-binariesTo revert and use the stable version of Xcode you will need to recompile you libraries, before that be sure to run:
sudo xcode-select --switch /Applications/Xcode.app/Contents/DeveloperMost basic command you need to know for the debugger is
po variableWhich will print the contents of a variable.
Here is where it starts to get interesting, expresion allows you to execute a line of code in real time without recompiling the app, for example:
expresion isFinished = trueWould change the value of a variable. You can also do things like:
expresion object.doWork()Which will run the function on run-time.
If you have certificate pinning enabled and Charles is tricky to use try to add this library to your project https://github.com/pmusolino/Wormholy. It displays all the http requests made by a device by shaking it.
Breakpoints have more options than the majority of developers know, doble click a breakpoint and then an options panel as the one in the screenshot appears:
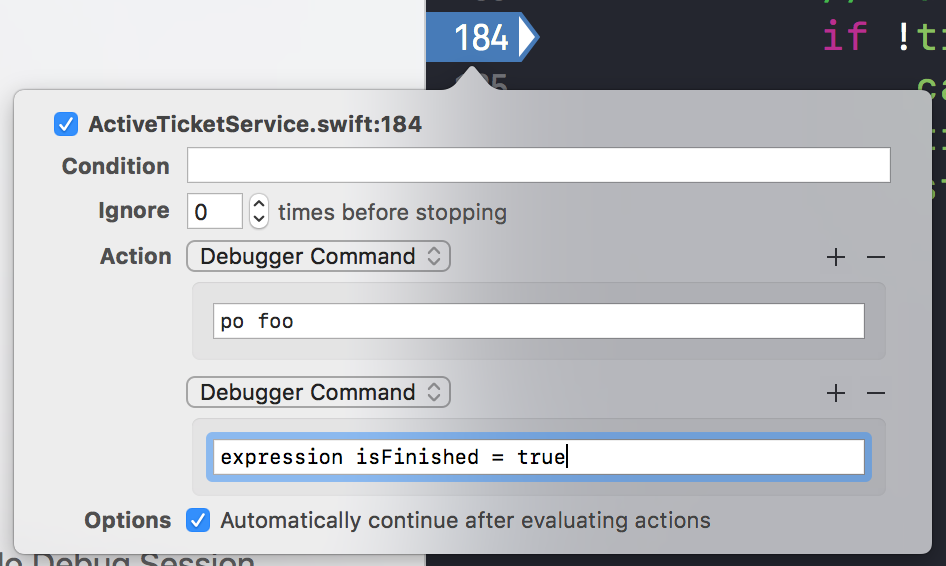
Here you can make your breakpoint conditional but the most interesting part is that your breakpoint can evaluate multiple debugger commands, like printing an object and changing a variable, like in the screenshot. Also the checkbox Automatically continue allows your execution to continue without stopping, this way you can inject code into the app for debugging purposes.
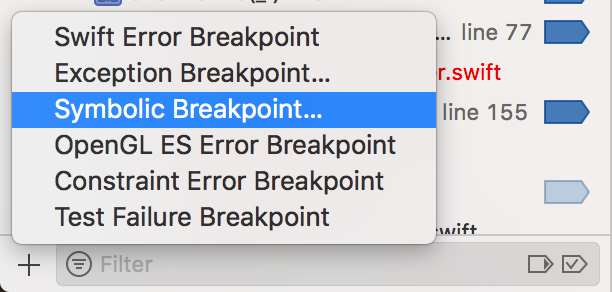
You can create a symbolic breakpoint by pressing the + in the bottom left corner of the screen and then selecting Sybmolic breakpoint.
This article works like charm https://www.hackingwithswift.com/articles/18/how-to-make-xcode-take-up-less-space