If you would rather just grab a prepopulated VM you should find a download link on our project page
- A vanilla Ubuntu Precise 64 base image from vagrantup.com
- Puppet integration for managing users and passwords
- The geometry in the N50 dataset
- Sentralt Stedsnavns Register (SSR) – Placenames and geoposition
- Administrative borders for counties, municipalities, etc.
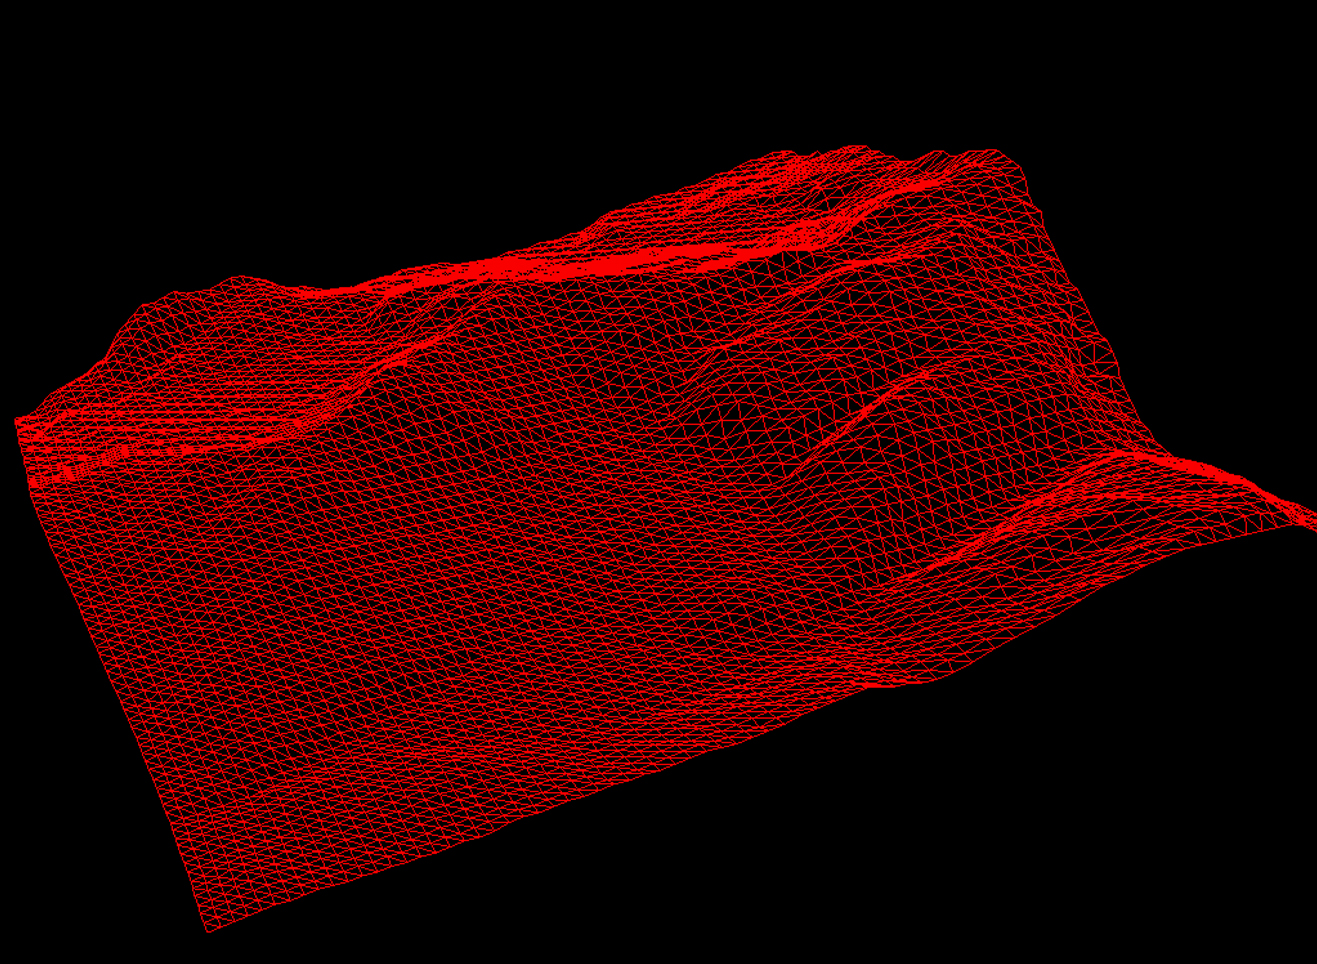
- 10m x 10m elevation data (GeoTIFF) converted to UTM33 for whole Norway
- Terrain layers designed by Bengler
- An example index for hooking up Elastic Search
- PostgreSQL
- Postgis
- OGR / GDAL
- Mapnik
- Tilestache
- Elastic Search
- A simple Leaflet/node-app for checking out the data
- Optional: If on Mac, install Homebrew
- Download and install VirtualBox.
If you don't want to install NORX to the default Virtual Box's image folder, make sure you set another default location for the VMs in VirtualBox's preferences. Having your box on a USB3 SD disk is neat!
- Install vagrant, puppet and puppet-lint (puppet style checker) Ruby gems:
sudo gem install vagrant puppet puppet-lint vagrant-vbguest --no-ri --no-rdoc
git clone https://github.com/bengler/norx
cd norx
vagrant up
When it's done, you're ready to talk Norx.
http://127.0.0.1:3000
ssh norx@localhost -p 2222 (password is 'bengler')
vagrant up
vagrant reload
vagrant suspend
vagrant halt
See Vagrantfile
Stop and start with sudo /etc/init.d/tilestache restart
Have a look at /home/norx/services/tilestache/tilestache.cfg for configuration of the worker.
Check out our repo for designing layers with TileMill:
https://github.com/bengler/norx_tilemill_simple
Mapnik XML files are put under: /home/norx/services/tilestache/*.xml
/home/norx/services/leaflet/app.json
When built from scratch, Norx will expand itself to include :
- norx_data for seeding data from Statens Kartverk into the VM
- norx_services - TileStache, Elastic Search and node setup
- norx_leaflet - a simple node application for browsing the built data
The disk image will grow pretty huge especially during seeding the terrain data from Statens Kartverk, so have at least 80 GB of free disk space!
The complete build and seed will take a couple of hours++, all depending on your internet connection and hardware.
You may see what's going on in Vagrantfile and base_setup.sh - and the above mentioned reposetories.
Please refer to the project page or the wiki
You may also use our issue tracker and contribute to this code.