


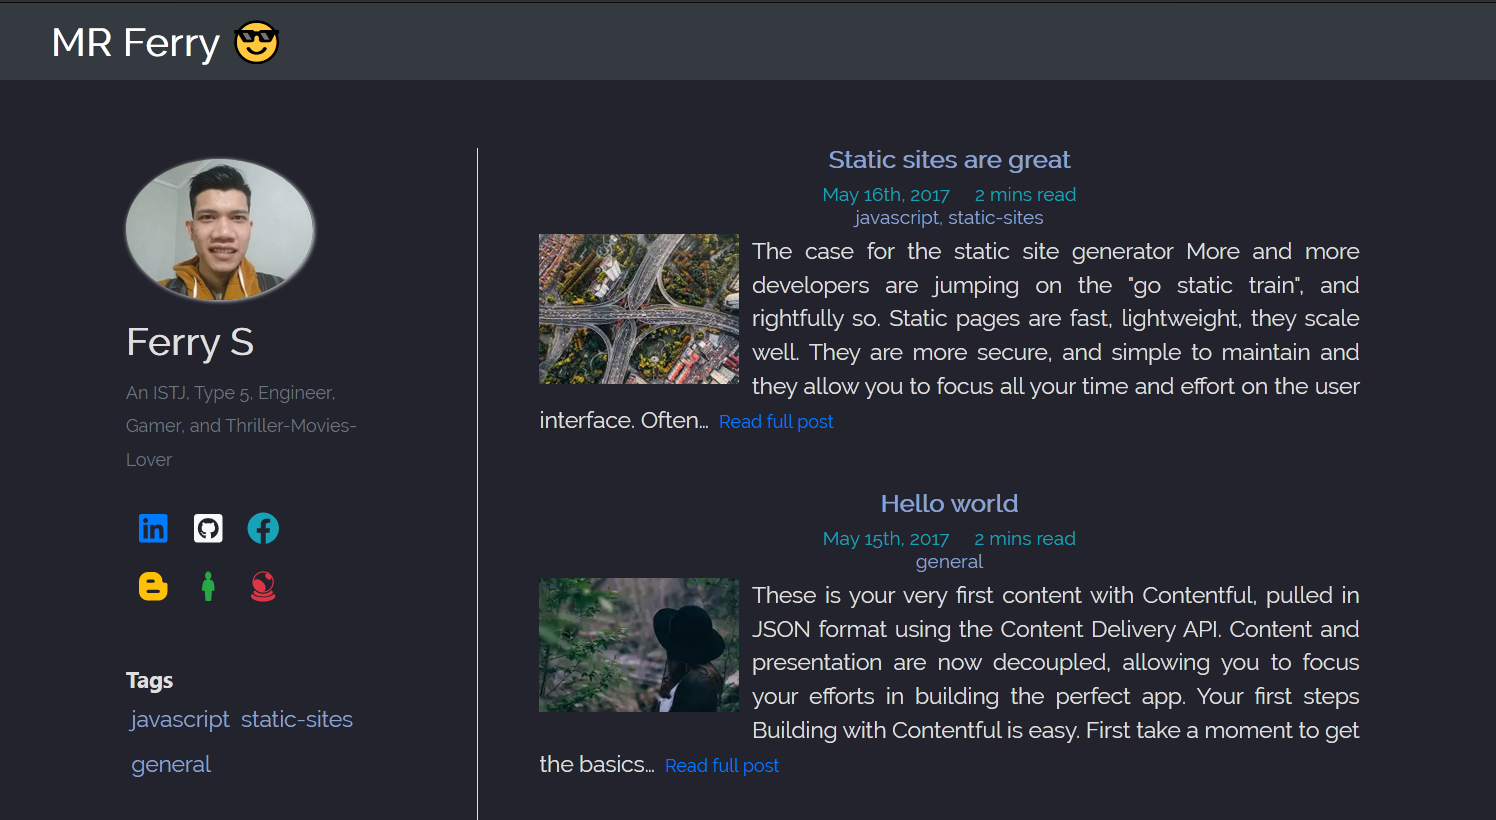
This is template for GatsbyJS that I use on production for my personal blog at https://ferry.now.sh
For a clean template, take a look at https://github.com/7sferry/Gatsbyan1.0
- Contentful CMS
- Comment
- Tags
- SEO
- Archives by date
- Pagination
- Dark Mode
- Blog Search
- Full PWA
- Many more...
- GatsbyJS
- Typescript
- Contentful CMS
- Bootstrap
- Algolia
- Google Analytics
- Prism
- many others, you can check the pakcage.json
- Node JS - I used Node v18.8.1
- Gatsby CLI - I used gatsby-cli v2.10.10
- Typescript - I used Typescript 5.0.4
- Git
- Contentful CMS account
- Google account - optional for analytics and analytics reporter
- Algolia account - optional for blog search
- run 'npm install'
- create file .env on your root projects directory
- set your spaceId and token from contenful CMS on '.env' (you can look at here)
- you could change every properties on config at 'config.ts' or modify SEO variables at '/src.components/SEO.js'
- you also could change utterances config for comment section at '/src.components/Comment.tsx' or remove it if you don't want.
- if you use Algolia, you must specify GATSBY_ALGOLIA_APP_ID, GATSBY_ALGOLIA_INDEX_NAME, GATSBY_ALGOLIA_SEARCH_KEY, ALGOLIA_ADMIN_KEY on '.env'. Or turn it off on gatsby-config and gatsby-node & remove search folder inside 'templates' folder and Algolia.tsx on utils if you don't use it.
- if you use Analytics & Analytics Reporter, you must specify ANALYTICS_PRIVATE_KEY, ANALYTICS_VIEW_ID, ANALYTICS_GA4, ANALYTICS_TRACKING_ID, ANALYTICS_EMAIL on '.env'. Or turn it off on gatsby-config & remove AnalyticsPage.tsx and AnalyticsPage on RightSidebar.tsx if you don't use it.
- execute 'npm run develop' on cli
- your site will be run on http://localhost:8000
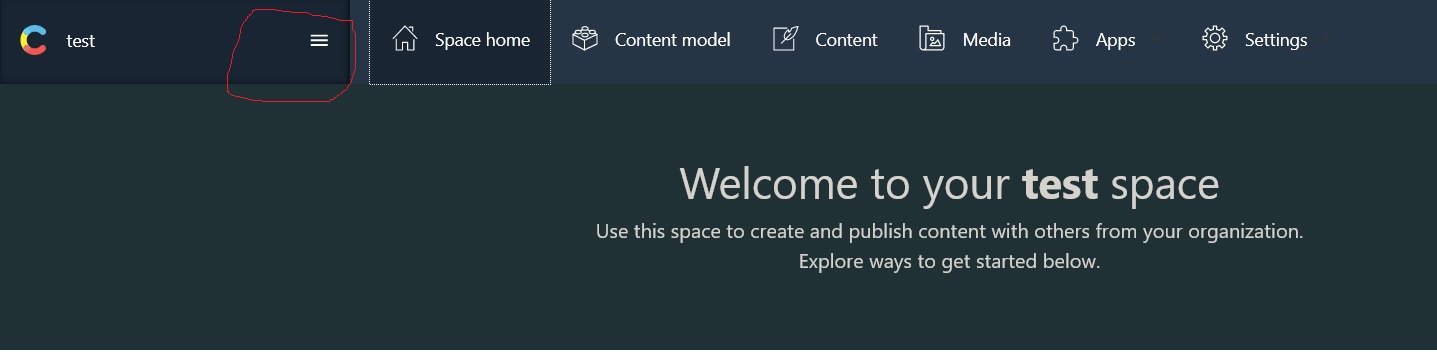
- after login and open the homepage content, click burger menu on the top left
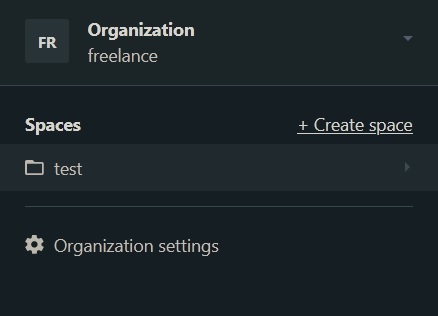
- create new space
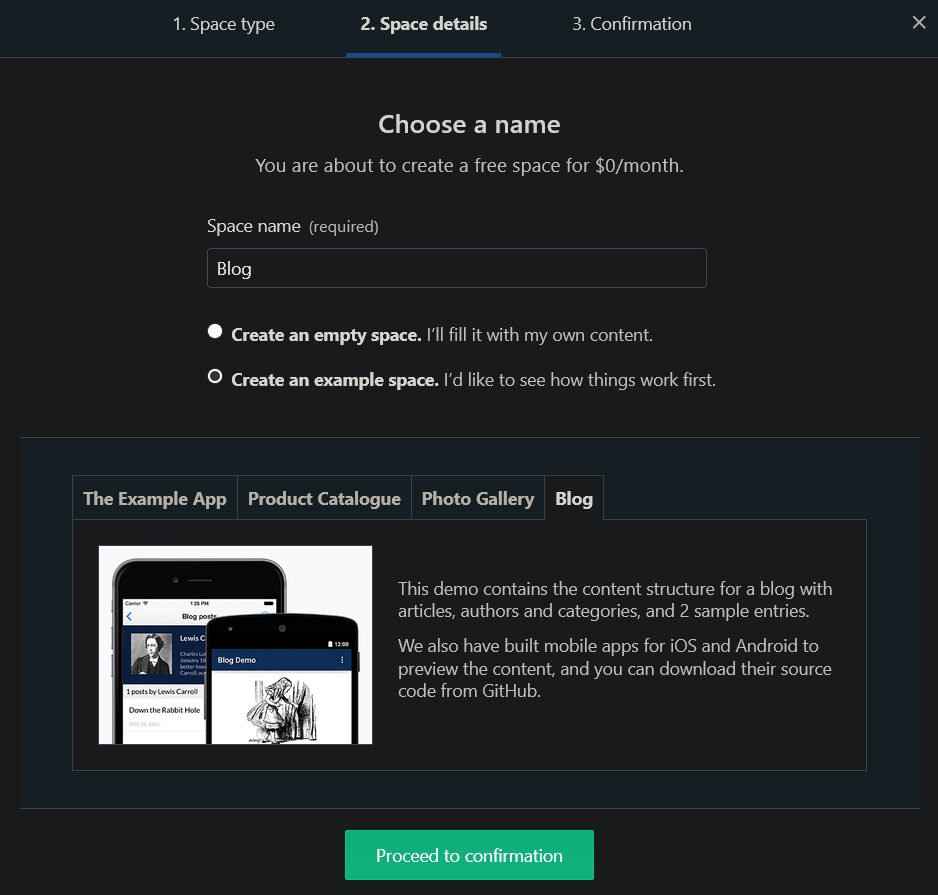
- choose space type
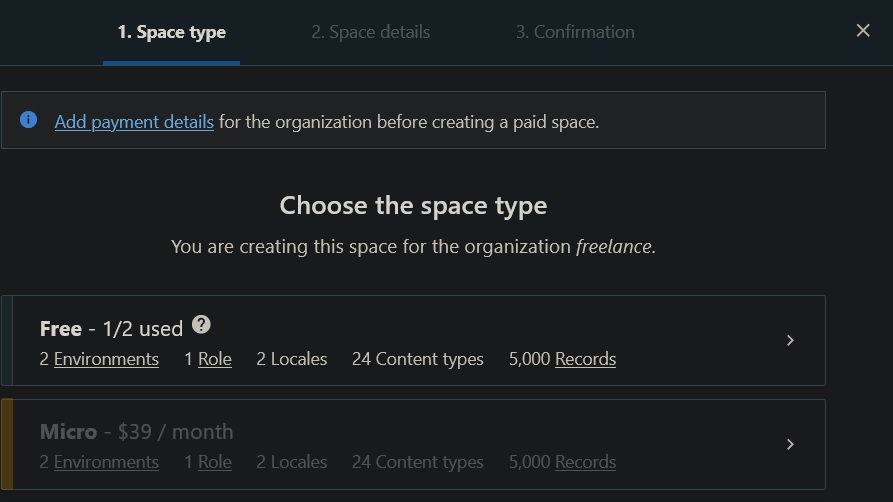
- write down your space name and choose 'create an example' then choose blog tab and click proceed
- after everything has been set, go to content tab and you will see 4 default contents

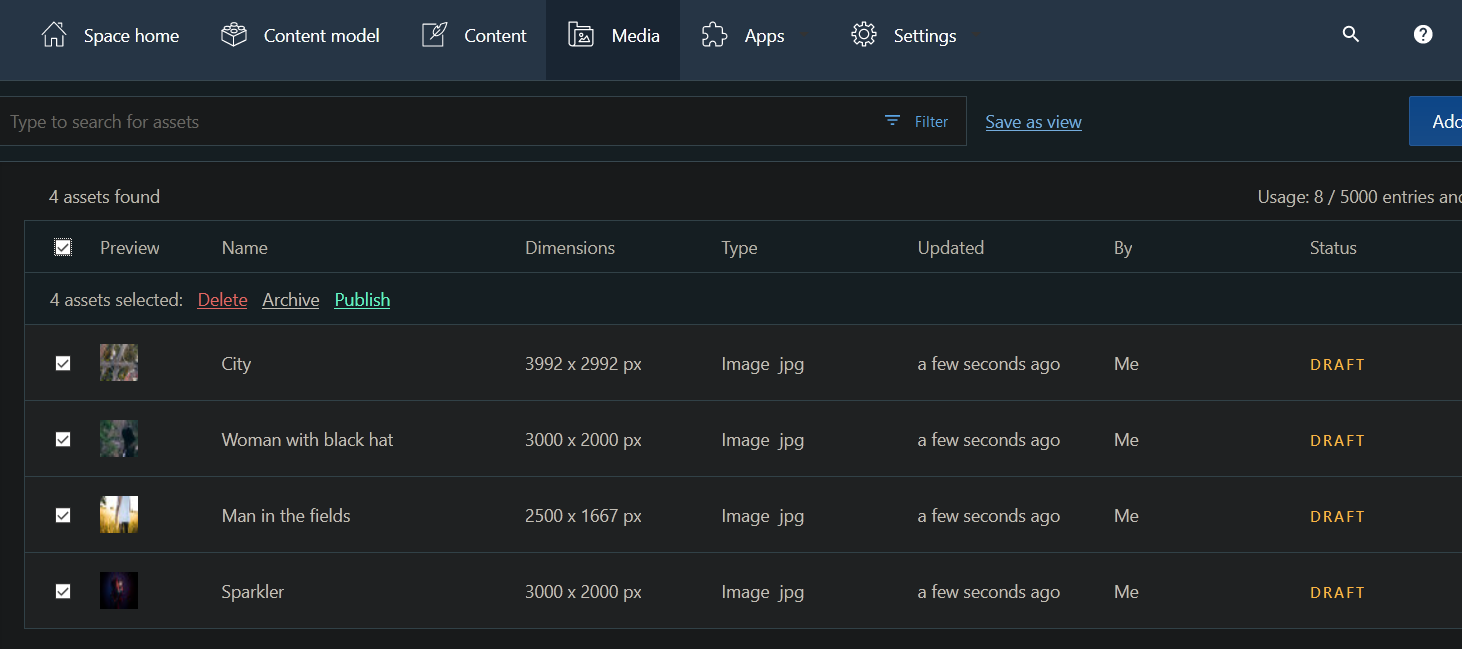
- go to media tab and publish all draft images (by default heroImage is required and you can't build your site with unpublished images)
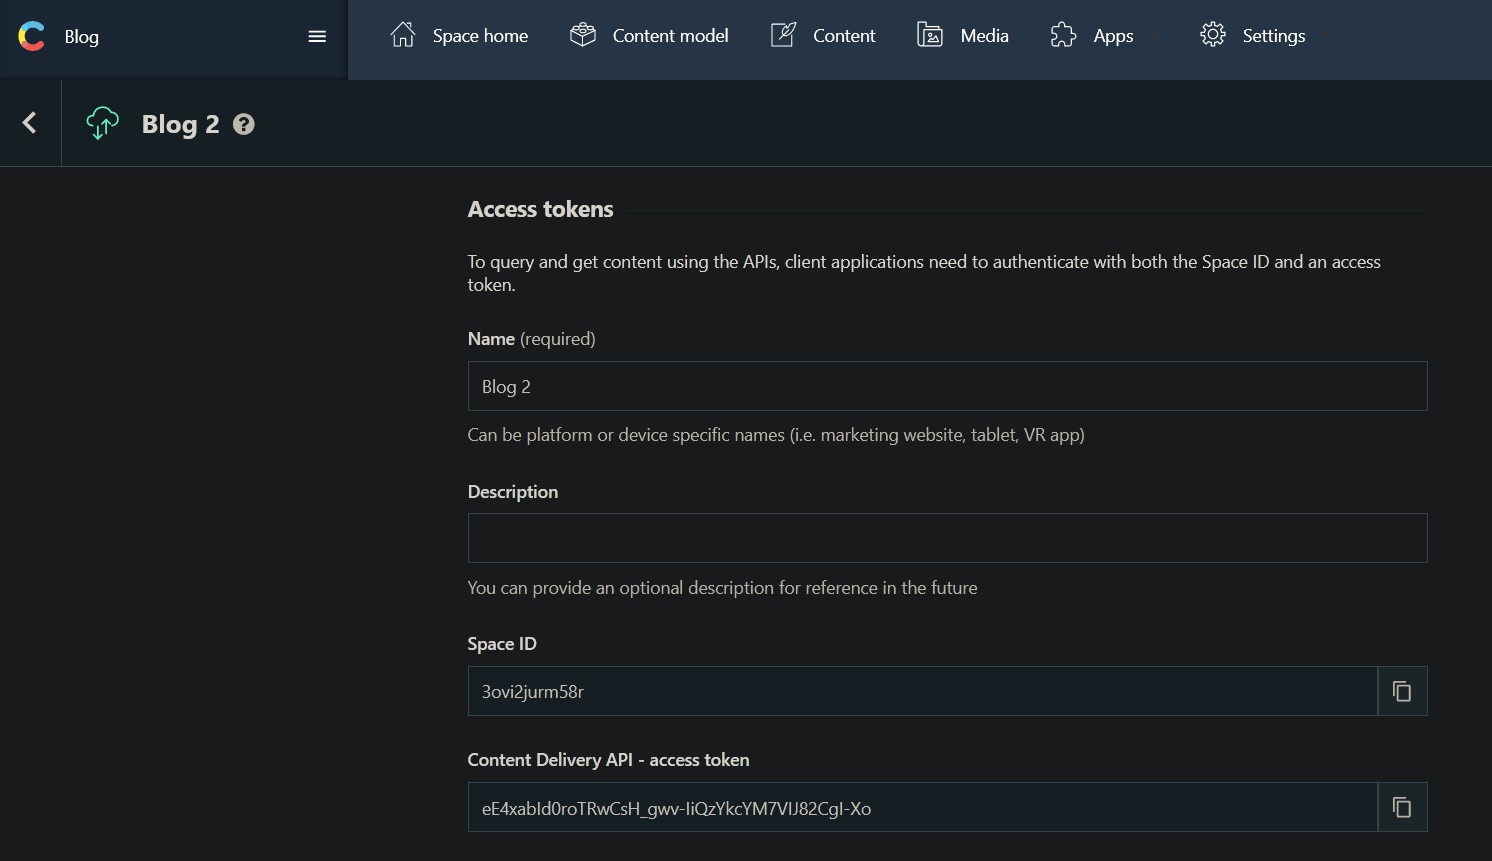
- open setting tab and choose 'API keys'. Click 'Add api key' on the top right. Copy space ID and token to your '.env' file you created before
- execute 'npm run develop' on cli
- now you should be able to access your content at http://localhost:8000
to run this with docker, execute docker build -t gatsbyan .
and docker run -p 8000:8000 --rm -m 1g --cpus 2 --name gatsbyan gatsbyan.
to run this using docker compose, execute docker compose -f compose.yaml up -d
You can deploy your site to any static site hosting like netlify, vercel, or anywhere. There is webhook on netlify and you can set this up later to your site hosting for content update everytime you publish your content.
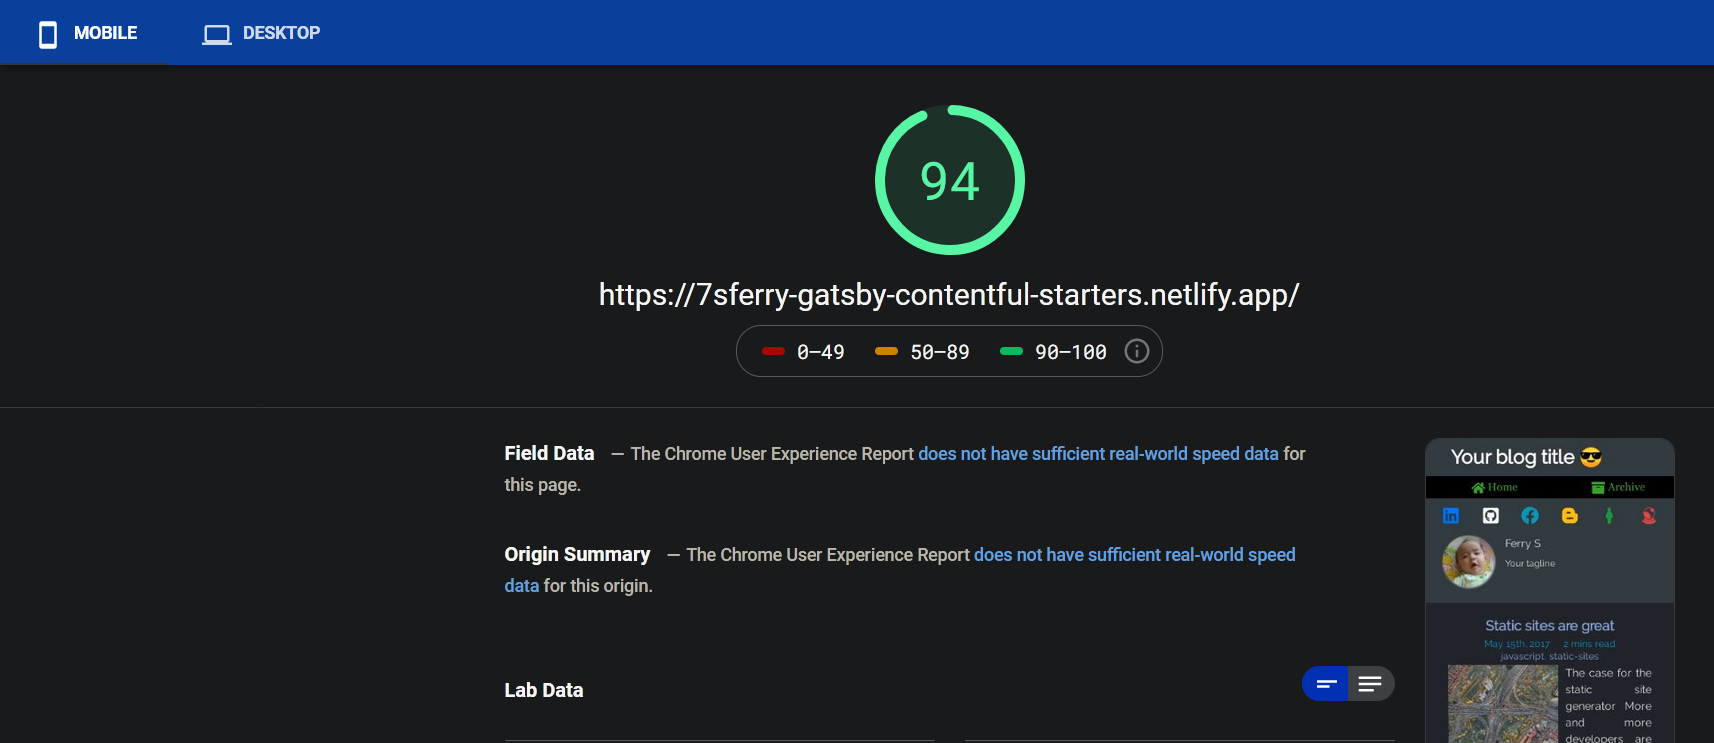
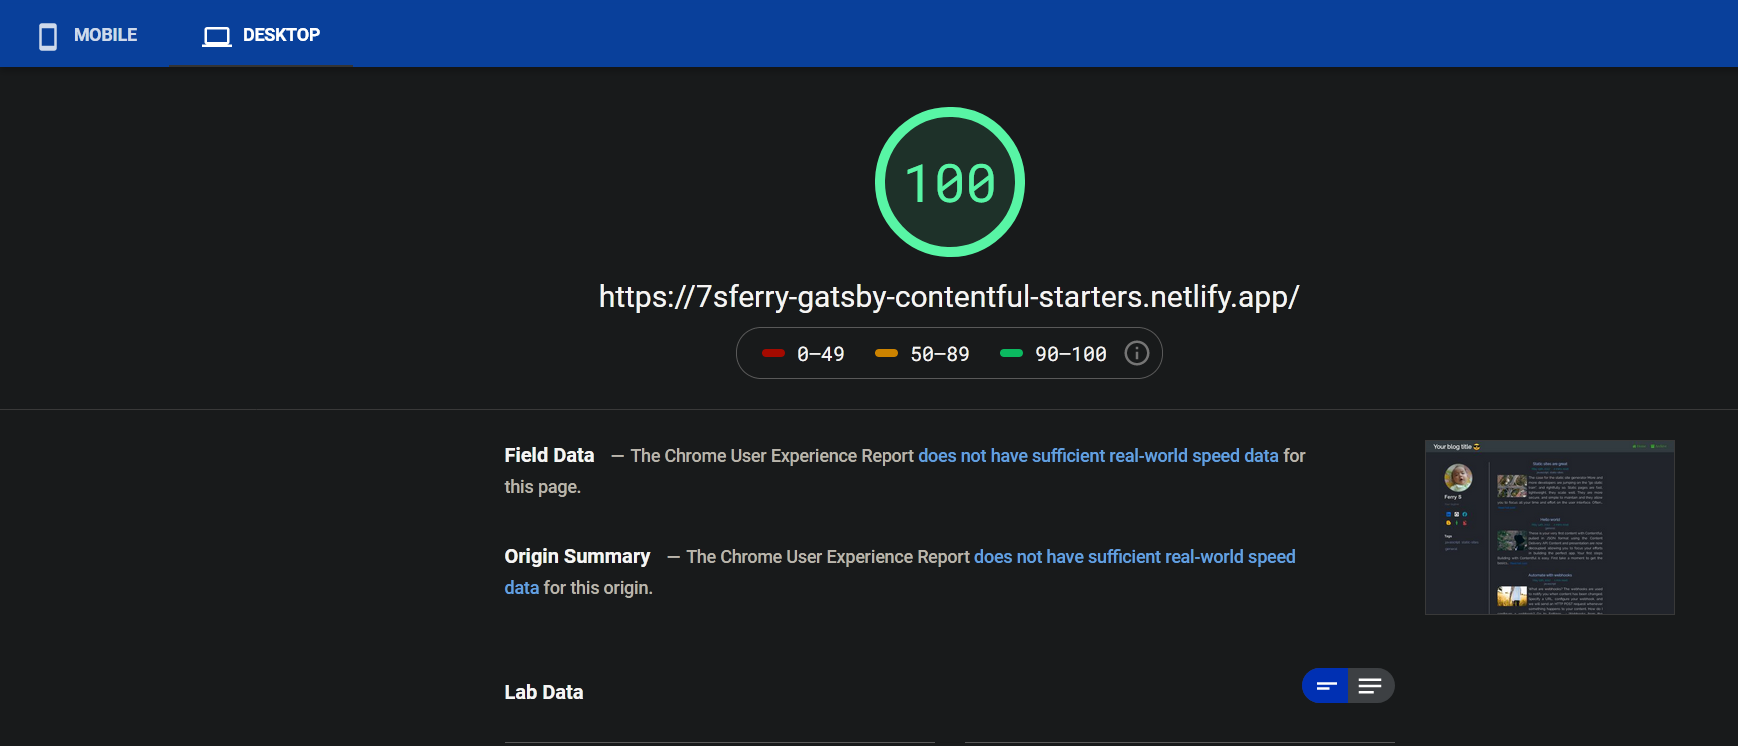
here is the google page speed insight score for both mobile and desktop
If you having trouble setting this up, don't hesitate to contact me 😎