Neuroglancer Contour Annotations Documentation
- To draw/edit polygons of a volume (structure) user needs to start a session selecting the corresponding volume.
- User will have the option of drawing/editing polygons ONLY belonging to the volume that is selected in the session.
- More details about volume session can be found in this design document here.
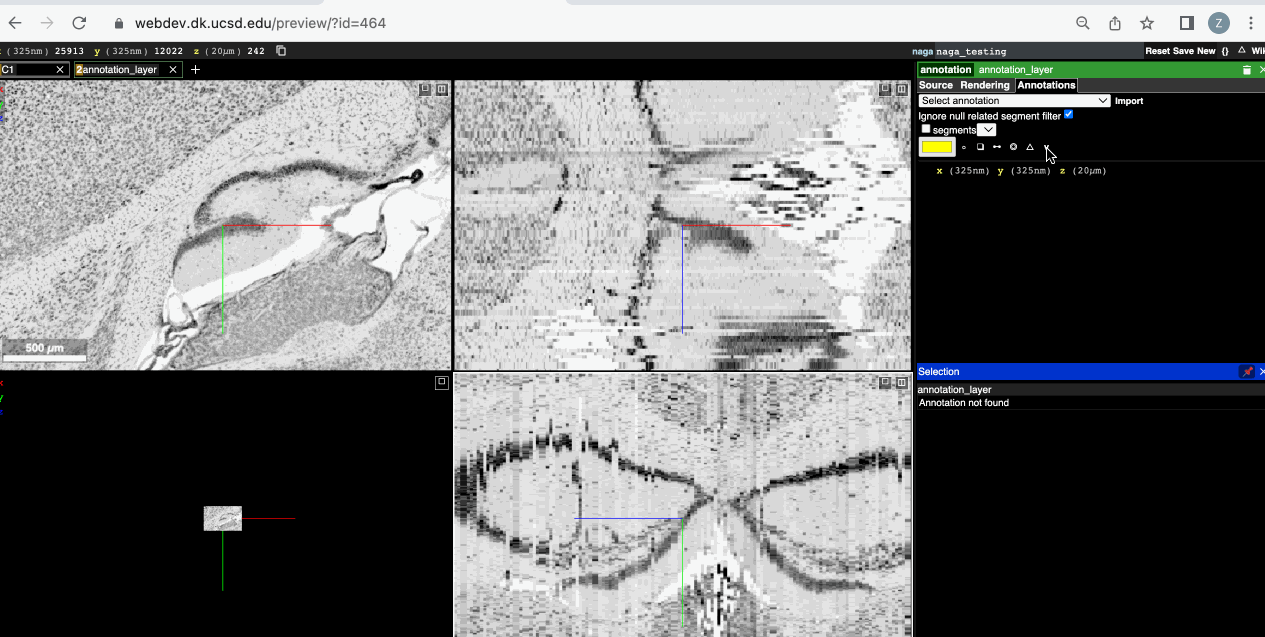
- To start a new volume
left clickon the VOL shape icon in the toolbar of annotations tab. - The user must select a
landmarkand acolorfor the volume and finally do aleft clickonStart a new volume.
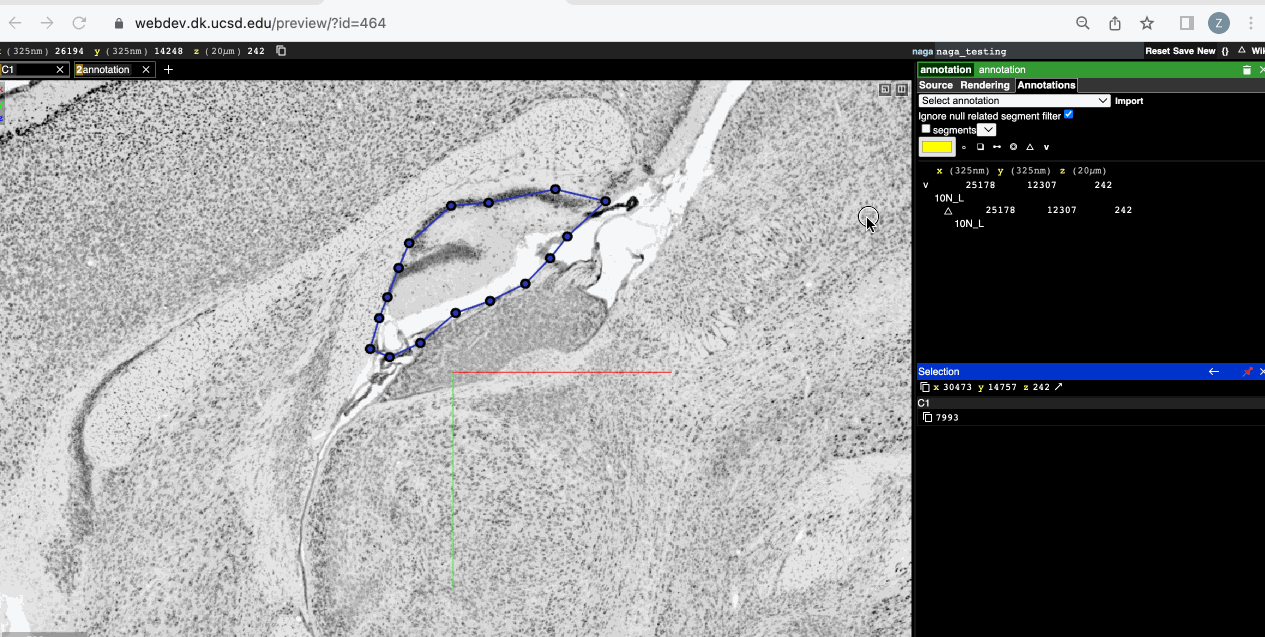
- To edit an existing volume, user needs to first select the volume. To select the volume,
left clickon the volume in the list of annotations displayed and make sure itspinned. (tge structure will be highlighted in a mauve color) - Once the volume is selected,
left clickon the VOL shape icon in the toolbar of annotations tab and finally do aleft clickonEdit selected volume.
- Once the user is done with drawing/editing the polygons of the volume currently active in the session, user can close the volume session by doing a
left clickon the VOL shape icon in the toolbar of annotations tab and finally do aleft clickonClose current active session.
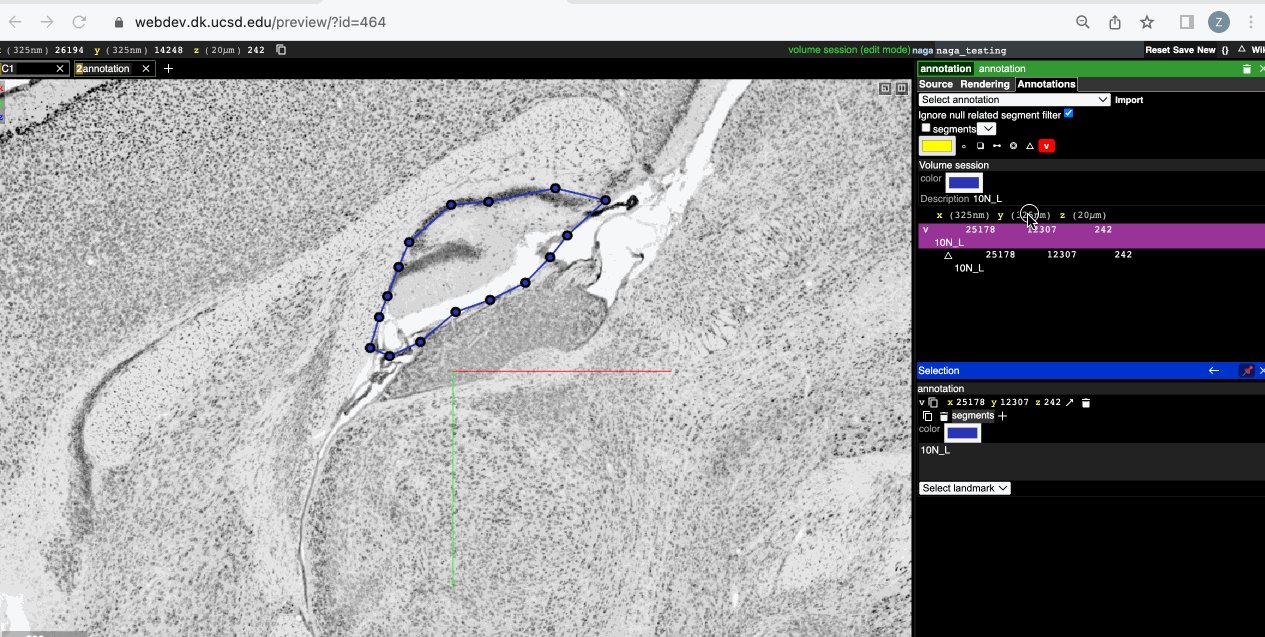
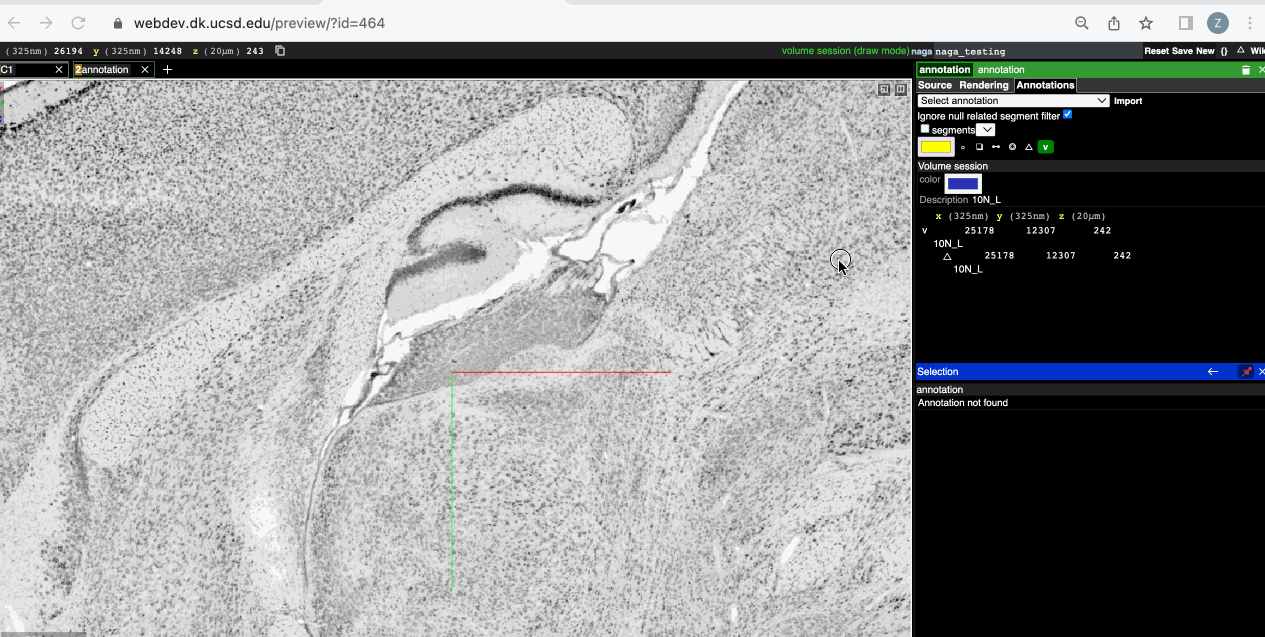
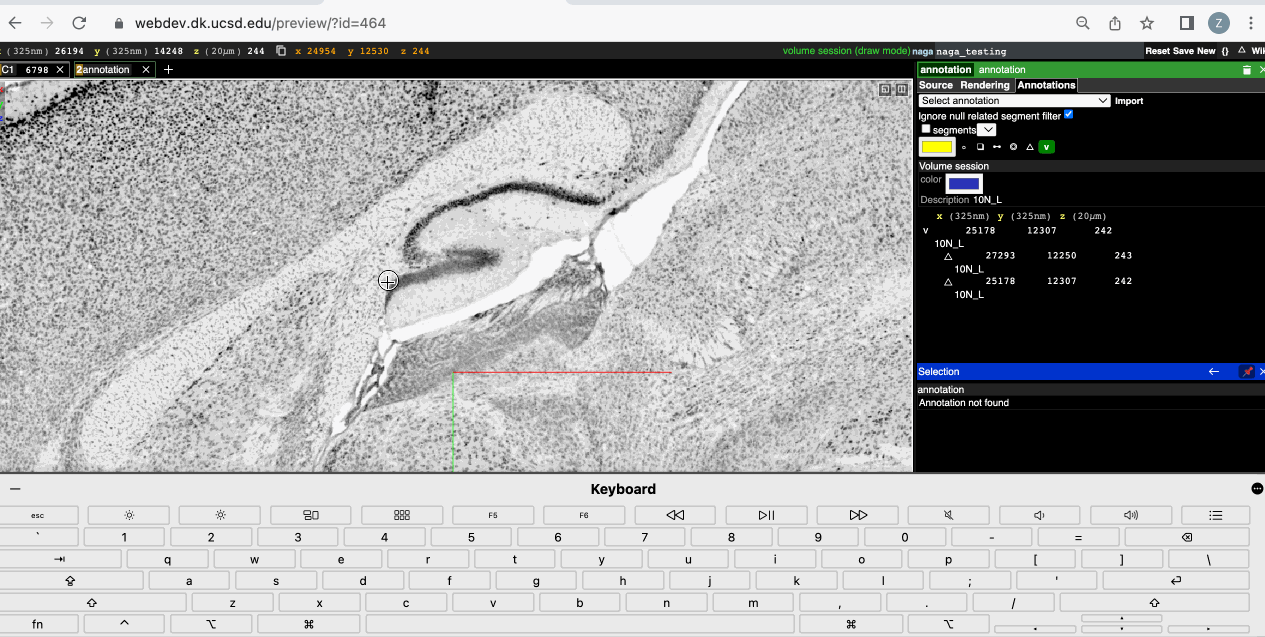
- Once a volume session is active, user can switch between different modes, each mode has its own set of functionalities to draw/edit polygons of the volume. User can see the mode they are currently in the top right corner of the neuroglancer window.
- If the user is currently in
view modeoredit mode, pressingcontrol+ztakes them todraw mode. - If the user is currently in
view mode, pressingcontrol+ztakes them todraw mode. - If the user is currently in
view modeordraw mode, pressingcontrol+xtakes them toedit mode. - If the user is currently in
edit mode, pressingcontrol+xtakes them toview mode.
- Draw Polygon [
left click]- To start drawing a polygon, user can do simply do a
left clickto insert vertices on the section.
- To start drawing a polygon, user can do simply do a
- Close Polygon [
right click]- After user has drawn all the vertices, user can close the polygon by simply doing a
right click.
- After user has drawn all the vertices, user can close the polygon by simply doing a
- Undo [
key z]- To undo last drawn vertex, user can press 'z' on the keyboard to delete the last vertex on the section.
- Edit polygon vertices [
left click]- To edit position of a polygon vertex, simply do a
left clickon the vertex and drag the mouse to move the vertex around in the section.
- To edit position of a polygon vertex, simply do a
**NOTE: To edit vertices make sure that the vertices are big enough (have good amount of size and border width), these parameters can be adjusted in the Rendering Tab in the top right corner.
- Add a vertex to polygon [
control+alt+left click]- To add a vertex to the polygon, press
control+alt+left clickanywhere on the line segment of the polygon, a vertex will be added to the polygon at that position.
- To add a vertex to the polygon, press
- Delete a vertex of polygon [
control+alt+right click]- To delete a vertex to the polygon, press
control+alt+right clickon the vertex of the polygon.
- To delete a vertex to the polygon, press
- Translate Polygon [
shift+left click]- To translate the polygon in the section, press
shift+left clickon any line segment of the polygon and drag the mouse withleft clickpressed.
- To translate the polygon in the section, press
- Clone Polygon [
control+c]- To clone a polygon, the polygon needs to be selected first using
control+right clickon the polygon or doing aleft clickon the polygon in the annotations tab. - Once the polygon is selected user can press
control+cto clone the polygon.
- To clone a polygon, the polygon needs to be selected first using
- Rotate Polygon [
key r,key e]- To rotate the polygon, the polygon needs to be selected first using
control+right clickon the polygon or doing aleft clickon the polygon in the annotations tab. - Once the polygon is selected user can press
r/eto rotate the polygon.
- To rotate the polygon, the polygon needs to be selected first using
- Scale Polygon [
control+'+',control+'-']- To scale the polygon, the polygon needs to be selected first using
control+right clickon the polygon or doing aleft clickon the polygon in the annotations tab. - Once the polygon is selected, user can press
control+'-'/control+'+'to shrink/enlarge the polygon.
- To scale the polygon, the polygon needs to be selected first using
- Polygon configuration
- User can click on the
△icon in the top right corner of the neuroglancer to open the polygon configuration. -
Clone section offsetvalue denotes the offset between current section and cloned section. For example: if the current section isxand offset value isy, the polygon will be cloned tox+ysection. -
Scale factorvalue denotes the percentage change in the polygon size with the scaling operation. -
Rotate factorvalue denotes the number of degrees the polygon rotates with rotate operation.
- User can click on the
- Currently in draw/edit mode user DOES NOT have the ability to move around the section by dragging the mouse, in
view modeuser has the ability to move around the section by dragging the mouse. - Insert view mode gif15
| Function | Key | mode |
|---|---|---|
| draw polygon vertex | left mouse click | draw mode |
| close polygon | right mouse click | draw mode |
| undo last vertex | key z | draw mode |
| edit polygon vertex | left mouse click | edit mode |
| add vertex to polygon | control+alt+left mouse click | edit mode |
| delete vertex of polygon | control+alt+right mouse click | edit mode |
| select polygon | control+right mouse click | draw/edit/view mode |
| translate polygon | shift+left mouse click | edit mode |
| clone polygon | control+c (polygon needs to be selected first) | draw/edit mode |
| rotate polygon | key r / key e (polygon needs to be selected first) | edit mode |
| scale polygon | control+'+' / control+'-' (polygon needs to be selected first) | edit mode |
| switch edit/view -> draw mode | control+z | edit/view mode |
| switch draw/view -> edit mode | control+x | draw/view mode |
| switch draw -> view mode | control+z | draw mode |
| switch edit -> view mode | control+x | edit mode |