Shows how to deploy a WAR file to Azure Web App and avoid the WAR file locking issue.
Update: July 18, 2018: On Windows: you can now deploy to directories other than ROOT. You need to use the /api/wardeploy?name= end point. For example: POST /api/wardeploy?name=abc1 will deploy to /wwwroot/webapps/abc1. https://github.com/projectkudu/kudu/wiki/Deploying-WAR-files-using-wardeploy
- You have Java installed
- You have Maven installed.
- I use VS Code, but any text editor will do.
-
Open Azure Portal
-
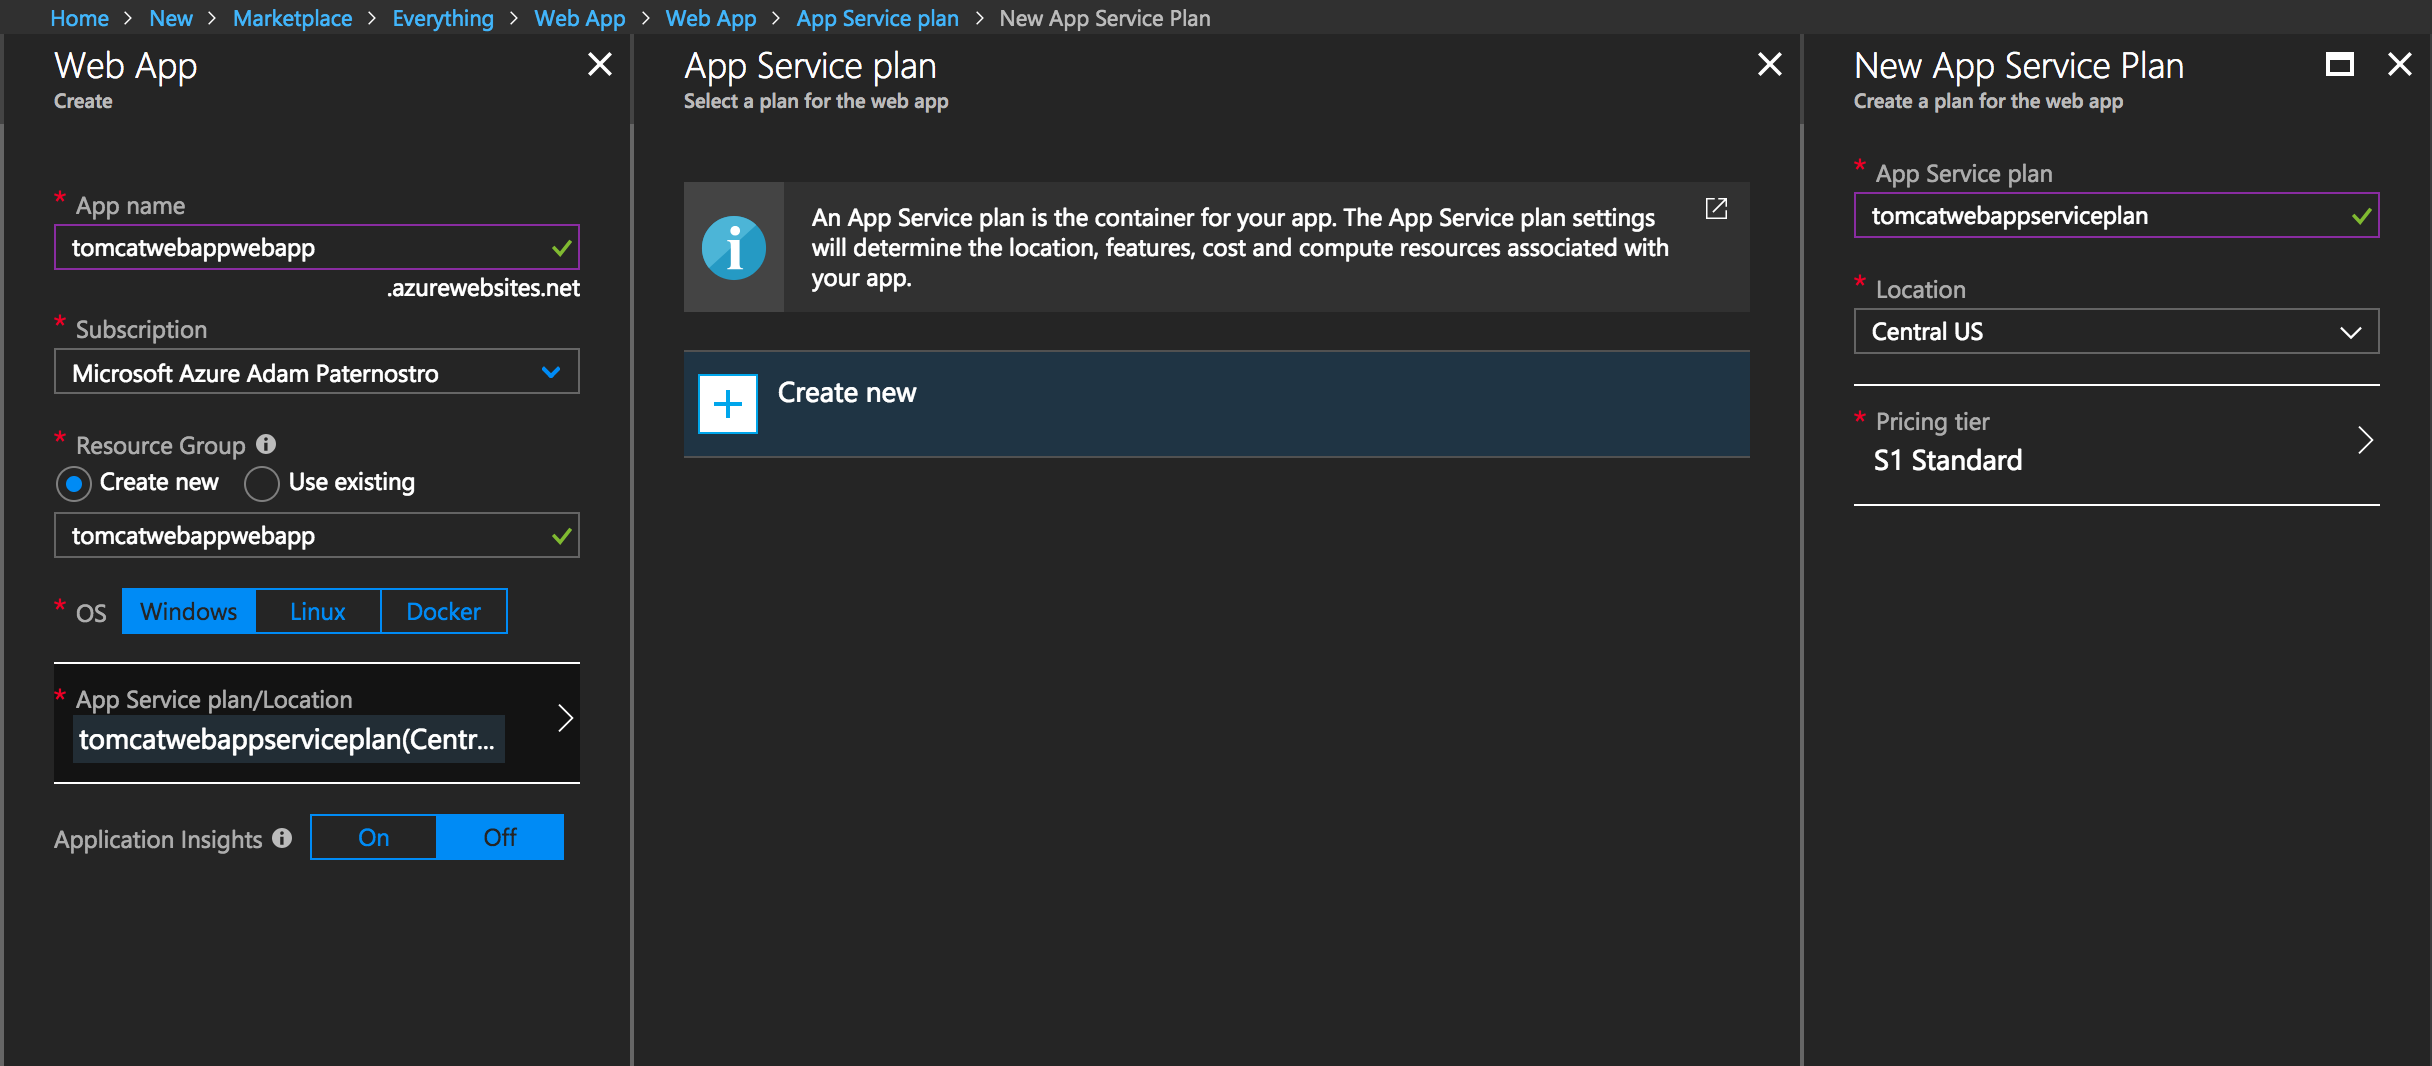
Create a Web App
-
Give it a name and create a App Service.
-
Open the Web App
-
Set deployment credentials.
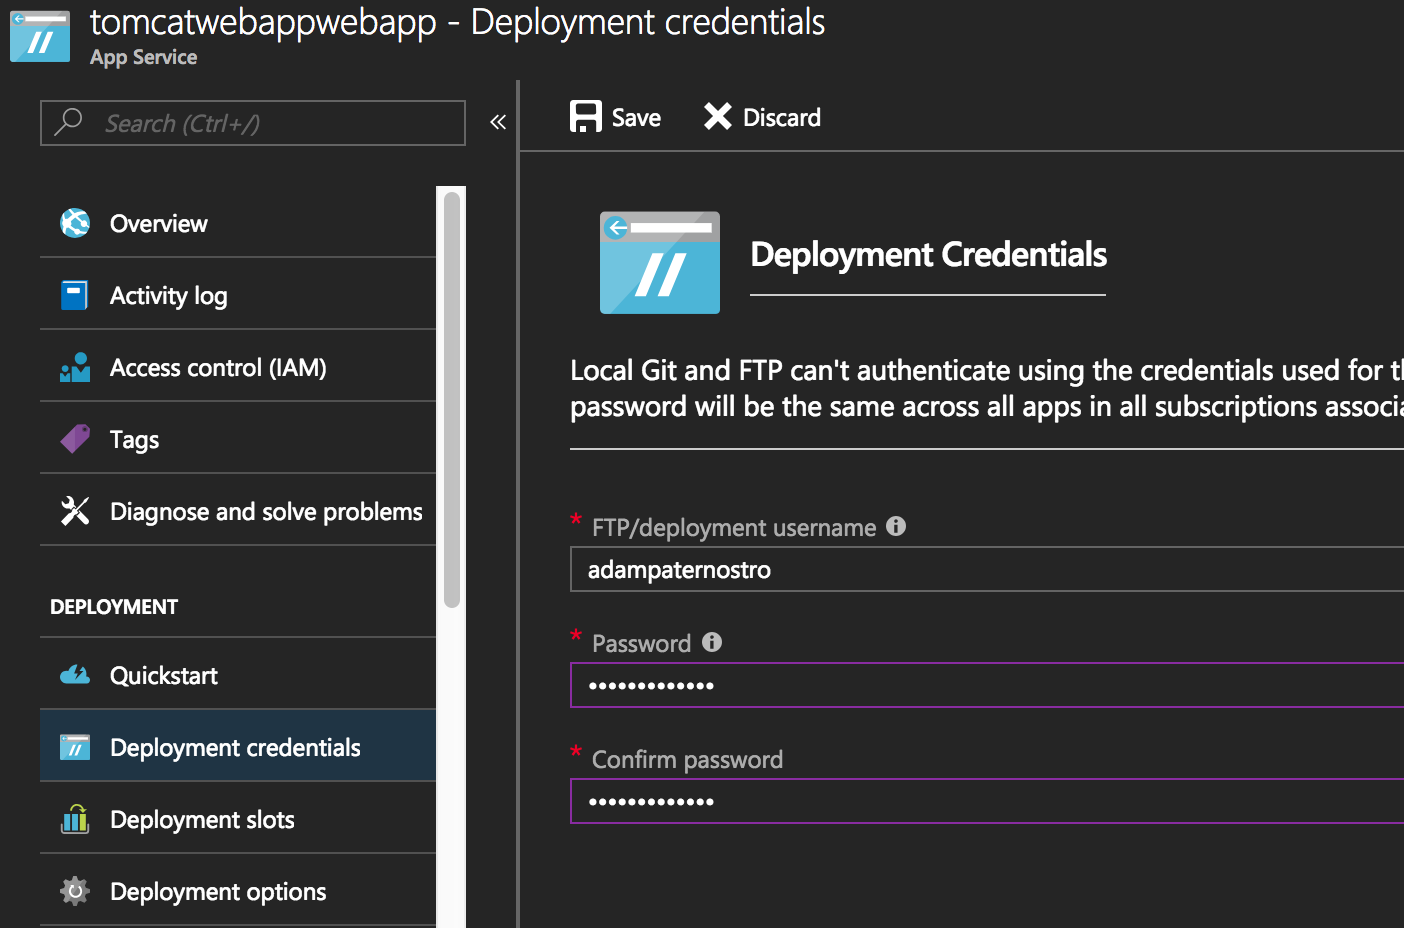
- Set your username
- Set your password
-
Set these settings.
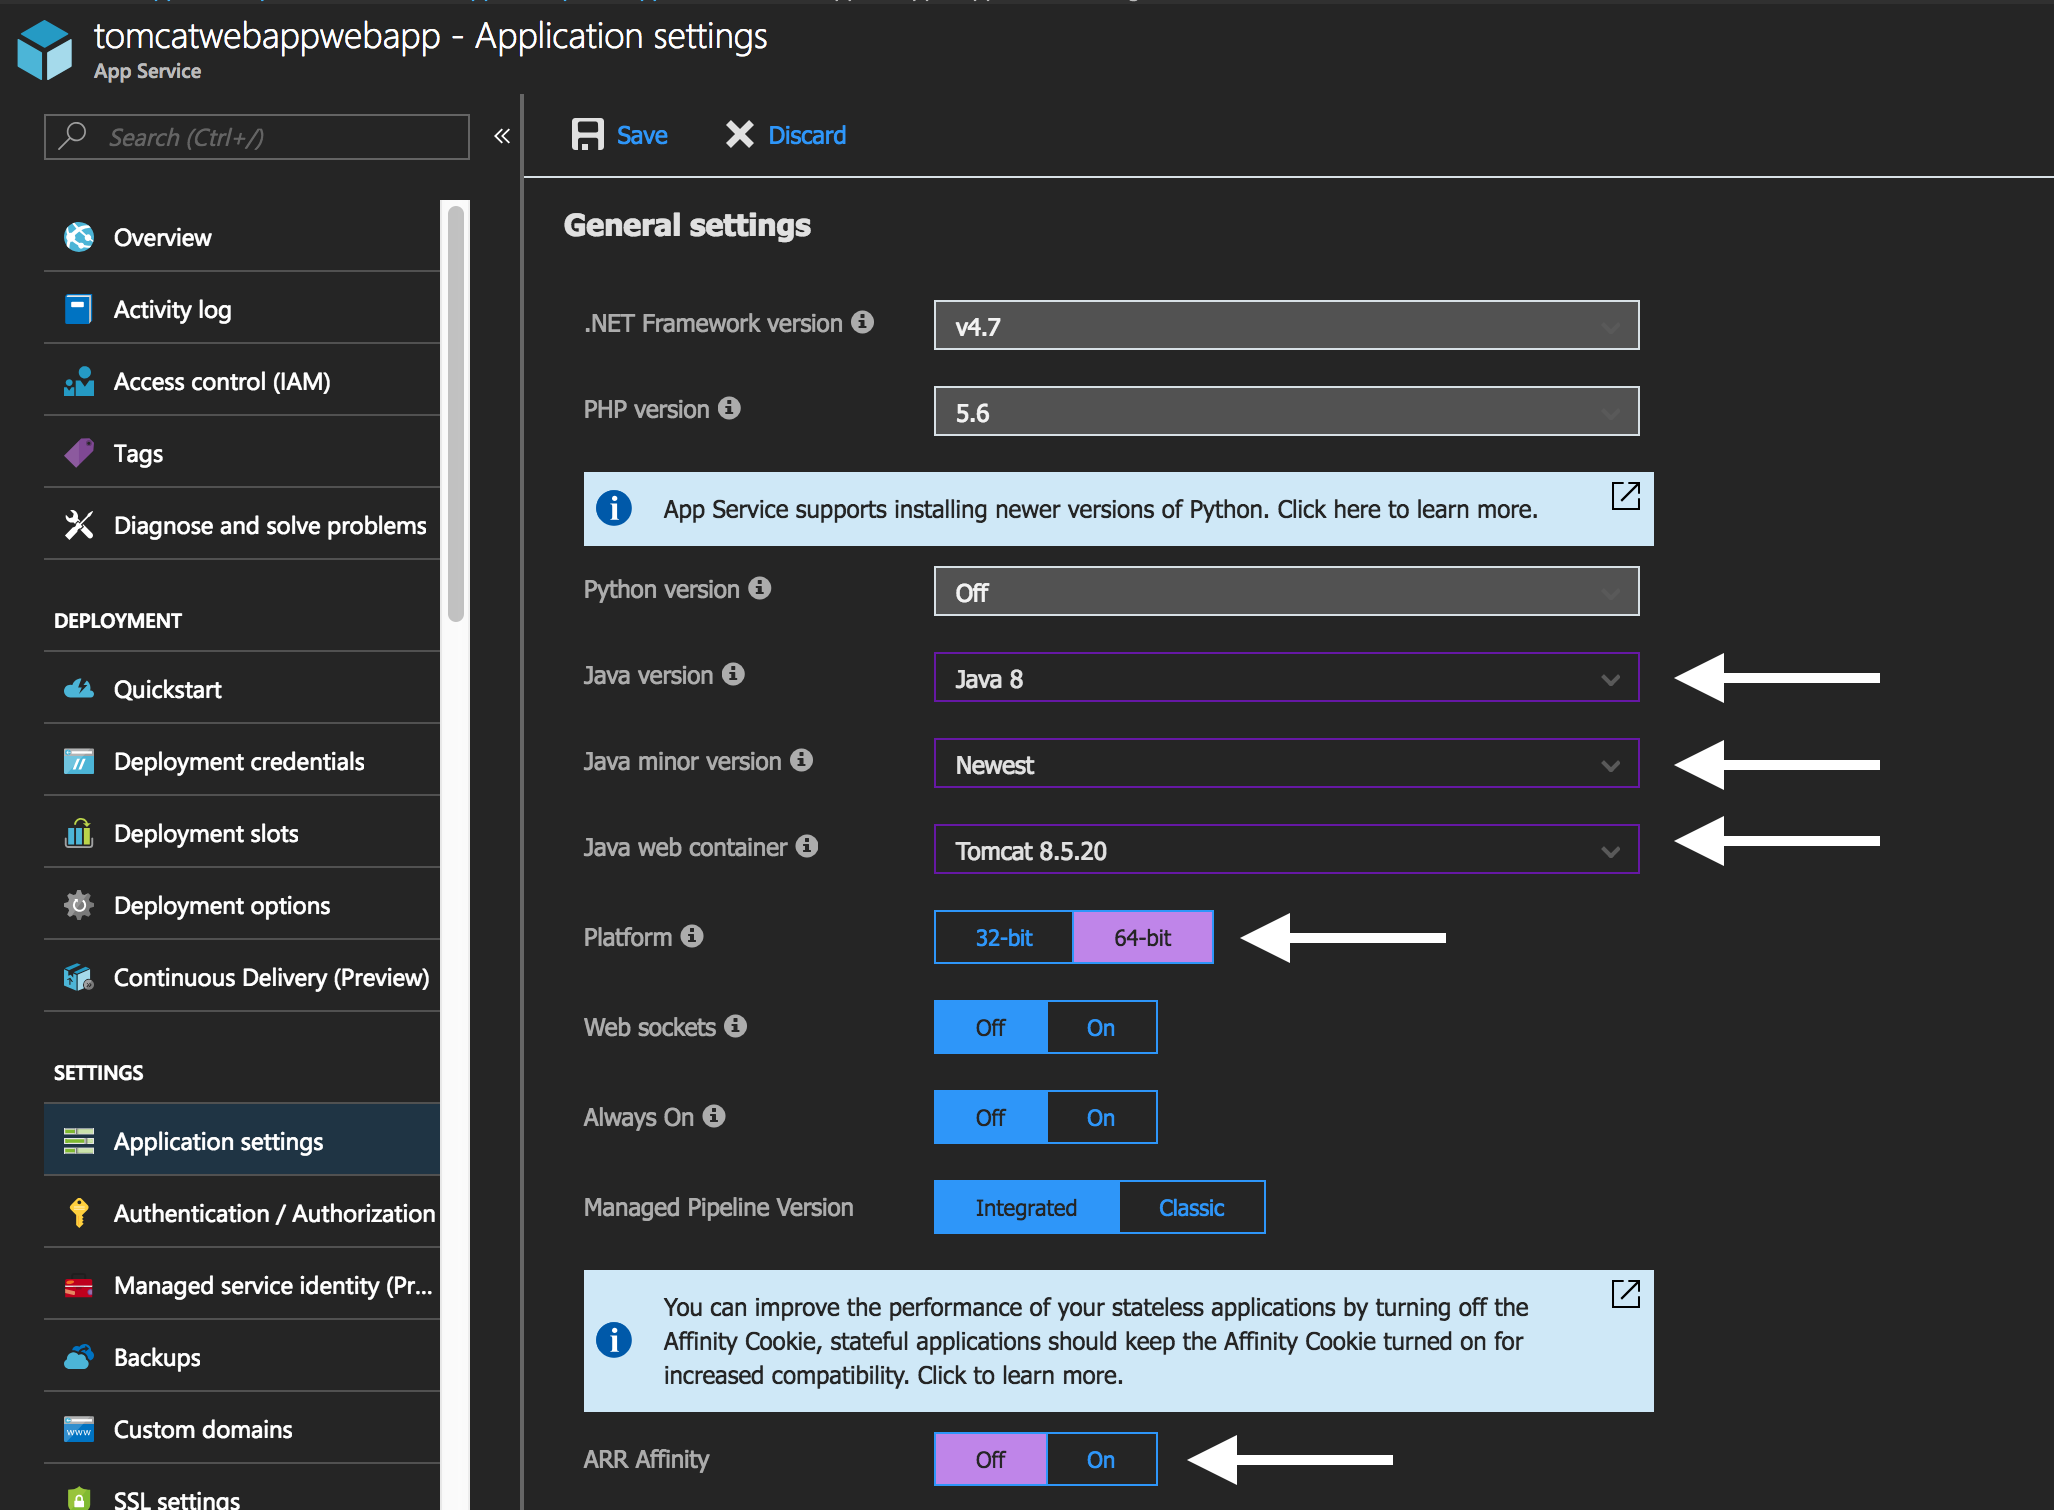
- Set Java Version to Java 8
- Set Java minor version to Newest
- Set Java web container to Tomcat 8.5... (whatever you like)
- Set Platform to 64-bit
- Set ARR Affinity to Off
-
I used Bitbucket for this demo. You can use whatever Git repository you would like.
-
Create a repository "tomcatwebapp"
-
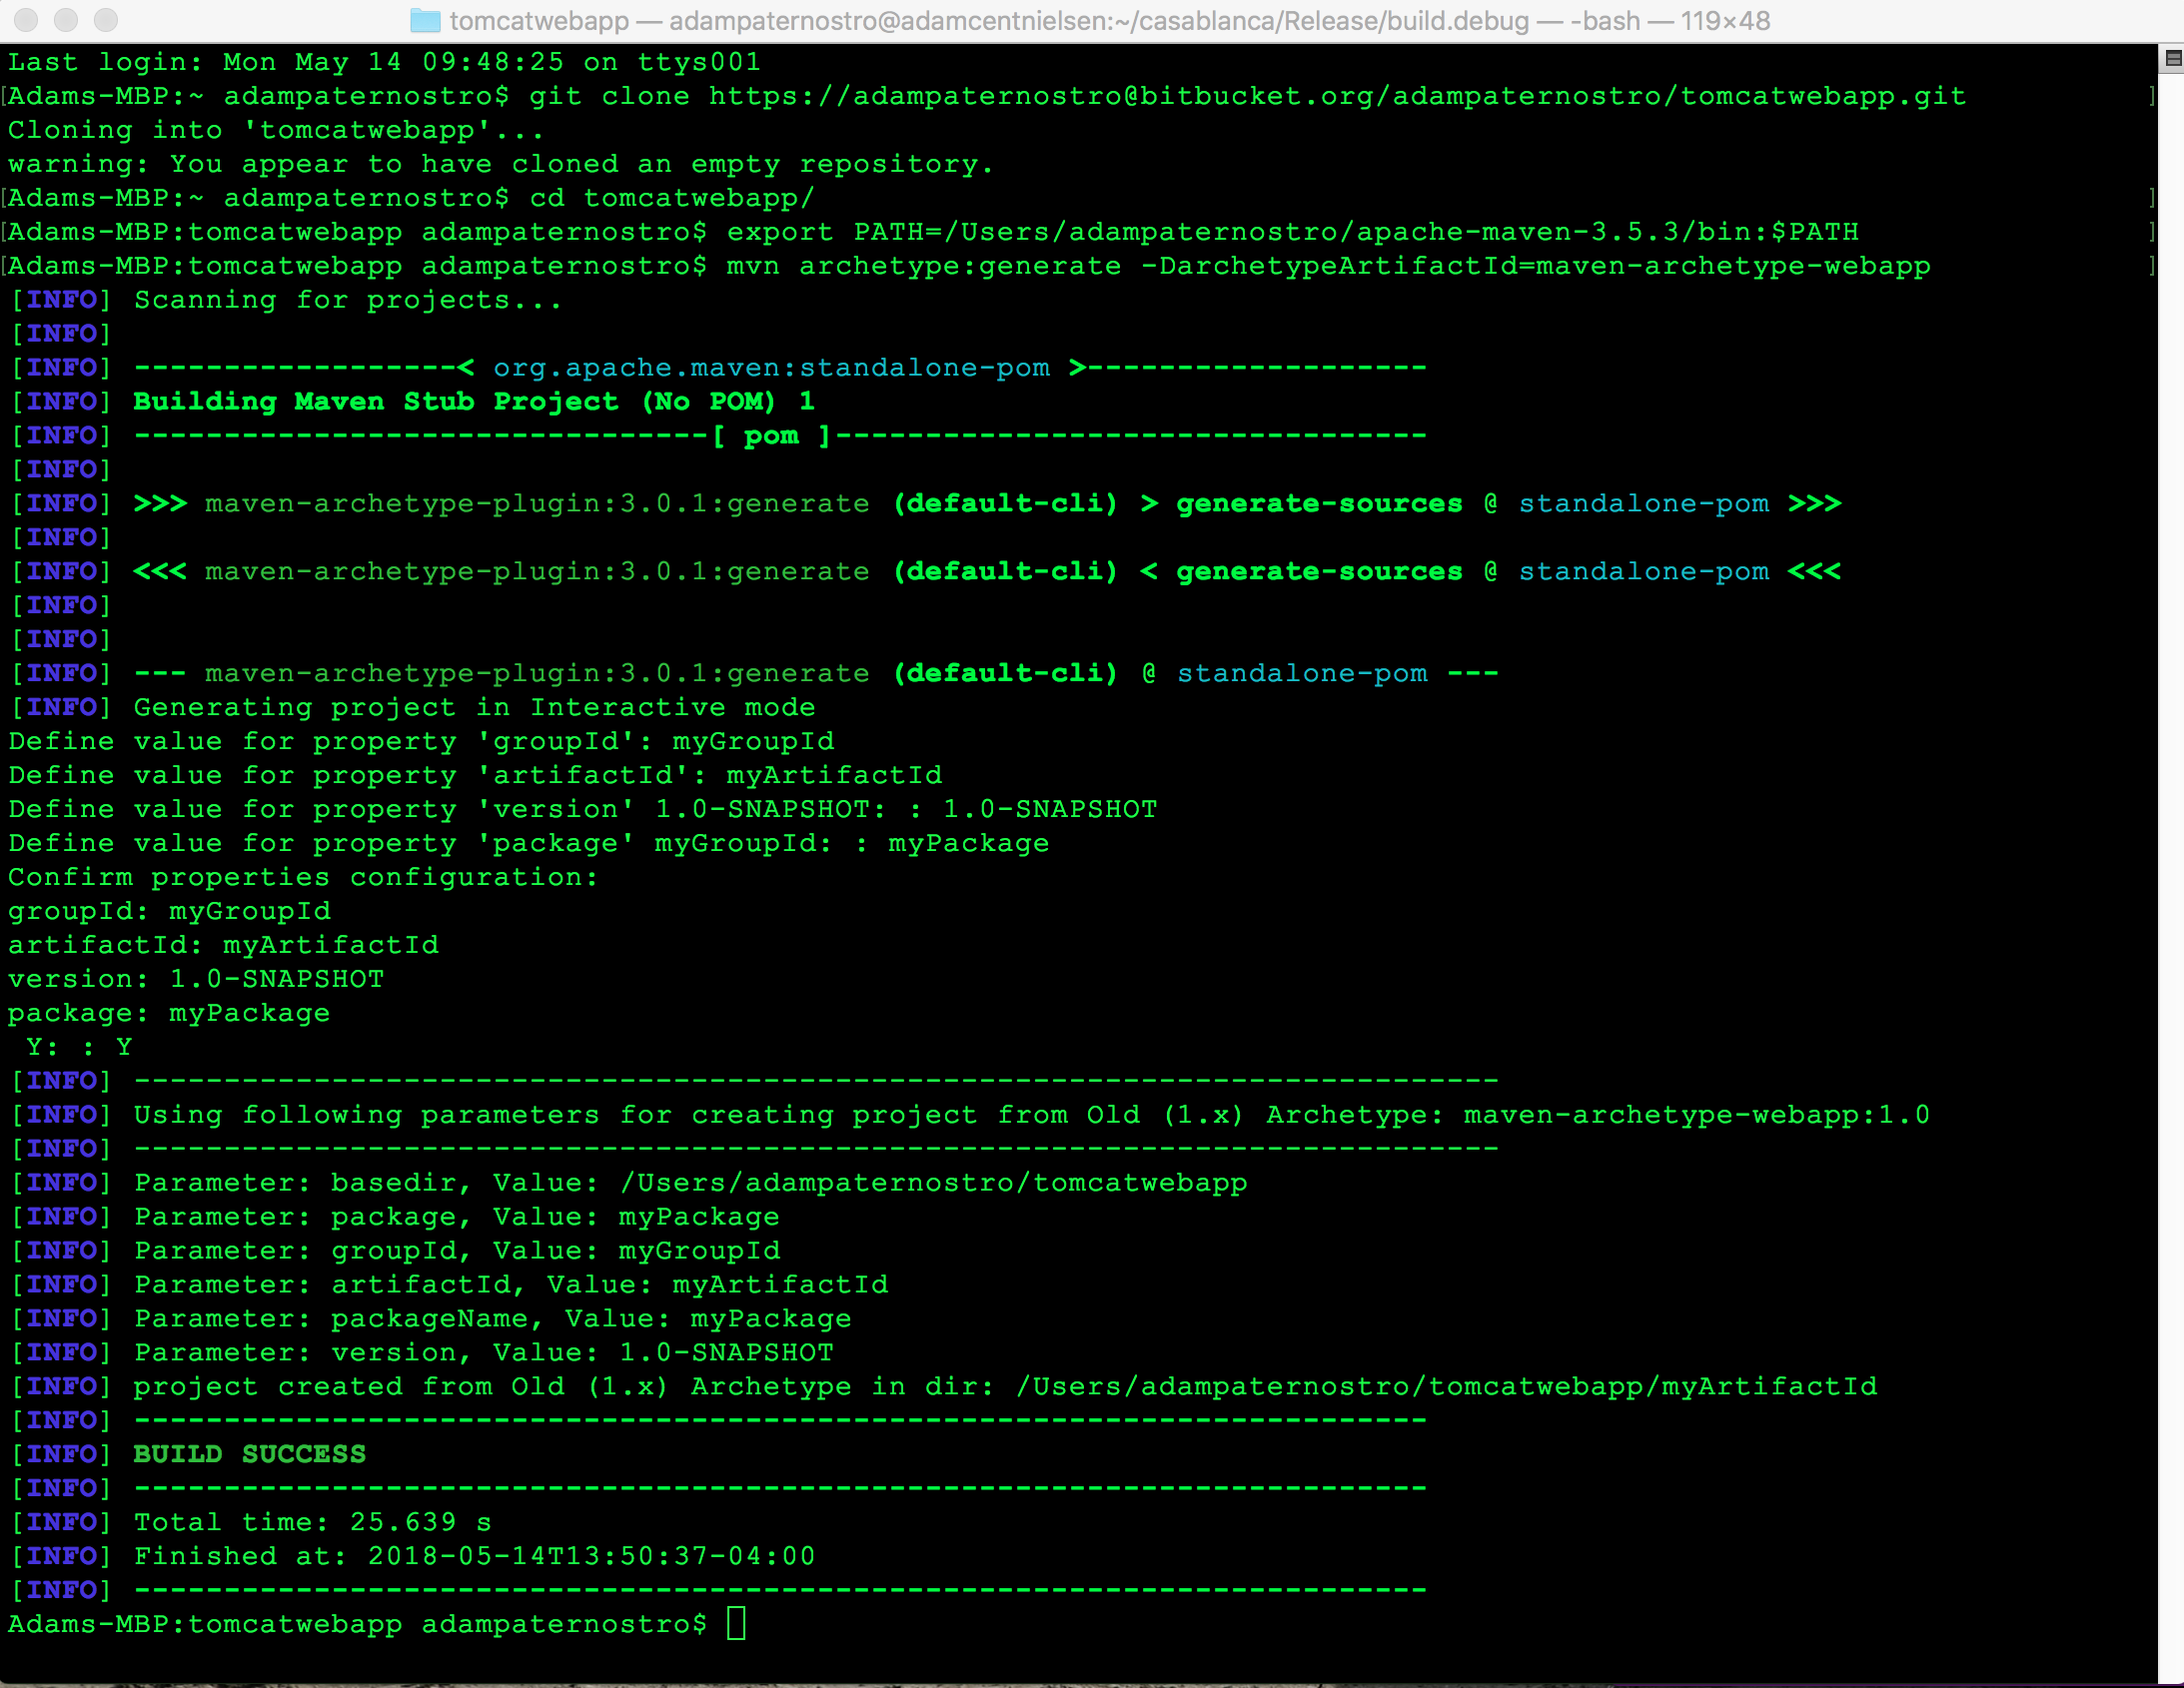
Using a prompt, clone to your hard disk: git clone https://adampaternostro@bitbucket.org/adampaternostro/tomcatwebapp.git
-
CD to your folder:
cd cdtomcatwebapp -
Export Maven to your PATH if it is not already in your path:
export PATH=/Users/adampaternostro/apache-maven-3.5.3/bin:$PATH -
Generate Java/Maven project:
mvn archetype:generate -DarchetypeArtifactId=maven-archetype-webapp- groupId: myGroupId
- artifactId: myArtifactId
- version: 1.0-SNAPSHOT
- package: myPackage
-
Close your prompt.
-
Open in Visual Studio Code
-
Open your folder
-
Create deploy-local.sh in the src folder
-
Place the following inside the script
#!/bin/bash

echo "STEP 1 (Determine WAR file path)"
warFilePath="target/myArtifactId.war"
echo $warFilePath

echo "STEP 2 (Copy WAR file as ROOT.zip)"
cp $warFilePath ROOT.zip

echo "STEP 3 (Set variables)"
username="adampaternostro"
password="<<REPLACE ME>>"
sitename="<<REPLACE ME>>"
warZipFile="ROOT.zip"

echo "STEP 4 (POST using cURL)"
curl -X POST -u $username:$password https://$sitename.scm.azurewebsites.net/api/wardeploy --data-binary @$warZipFile

echo "DONE"
-
Change the sitename and change the password you used when creating your Azure Web App.
-
Open the Integrated Terminal in VS Code (Under View | Integrated Terminal Menu)
-
In terminal: Change directories:
cd myArtifactId -
In terminal: Export your Maven Path:
export PATH=/Users/adampaternostro/apache-maven-3.5.3/bin:$PATH -
In terminal: Build:
mvn package -
In terminal: Set execute:
chmod +x ./src/deploy-local.sh -
In terminal: Run deploy:
./src/deploy-local.sh -
Open your Azure website and you should see "Hello World"
-
Create deploy-vsts.sh in the src folder
-
Place the following inside the script:
#!/bin/bash

echo "STEP 1 (Determine WAR file path)"
warFilePath="$AGENT_RELEASEDIRECTORY\_$BUILD_DEFINITIONNAME\drop\myArtifactId\target\myArtifactId.war"
echo $warFilePath

echo "STEP 2 (Copy WAR file as ROOT.zip)"
cp $warFilePath ROOT.zip

echo "STEP 3 (Set variables)"
username="adampaternostro"
password="<<REPLACE ME>>"
sitename="<<REPLACE ME>>"
warZipFile="ROOT.zip"

echo "STEP 4 (POST using cURL)"
curl -X POST -u $username:$password https://$sitename.scm.azurewebsites.net/api/wardeploy --data-binary @$warZipFile

echo "DONE"
-
Change the sitename and change the password you used when creating your Azure Web App.
-
Check in your code. Commit and then Push to Bitbucket. (You can ignore the WAR and Root.zip files)
-
Create a VSTS project (e.g. https://paternostromicrosoft.visualstudio.com/)
-
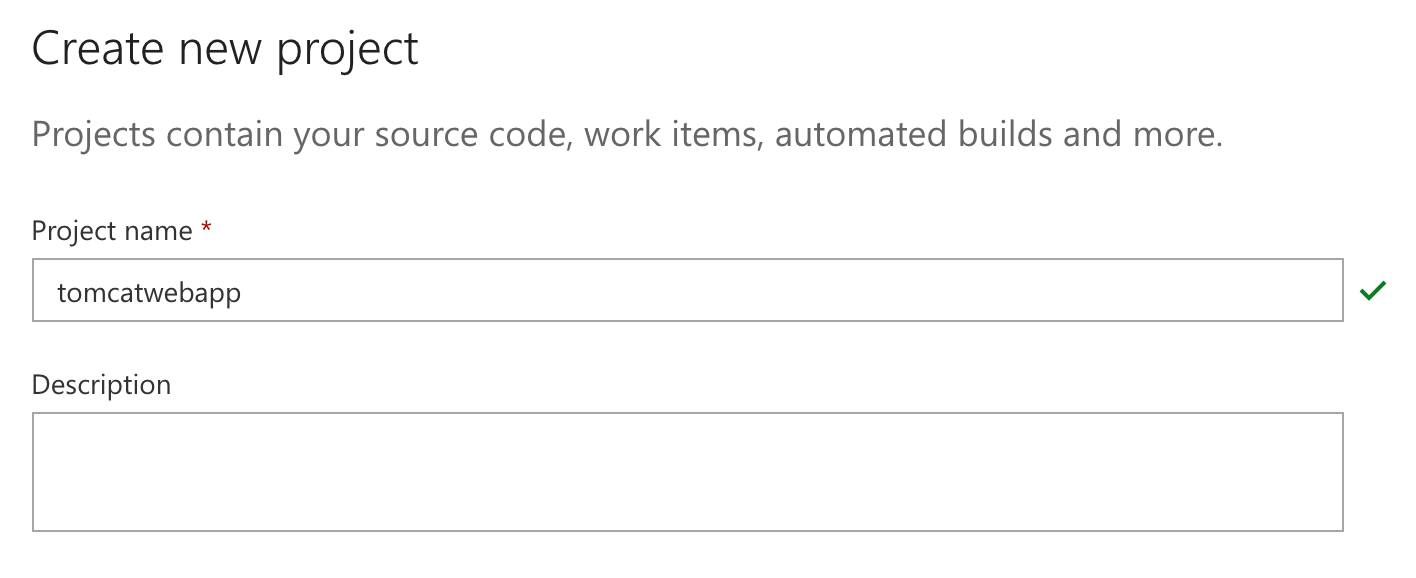
Create a new project called "tomcatwebapp". It does not matter the source control since we are using an external one.
-
Click on Build and Release menu and select Builds
-
Click the "New Defination" button
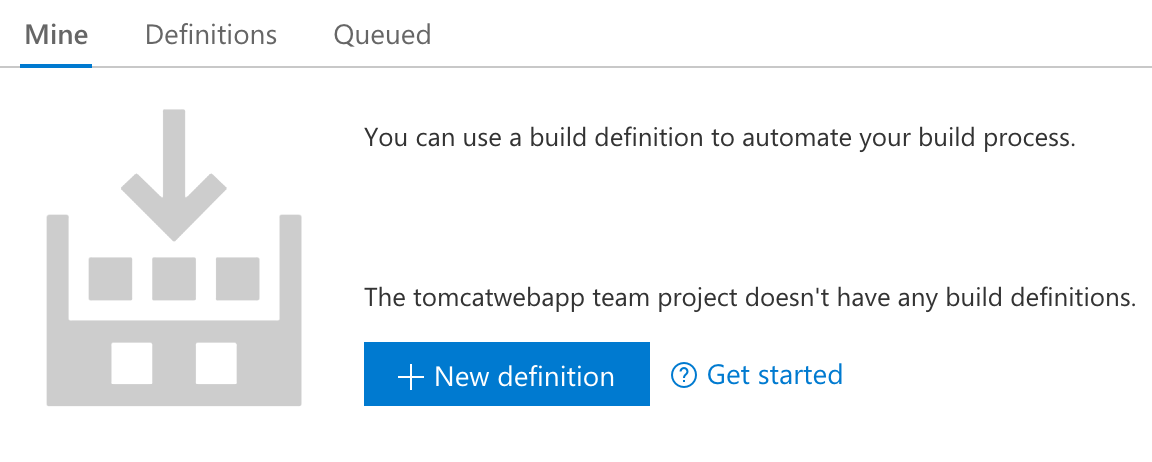
-
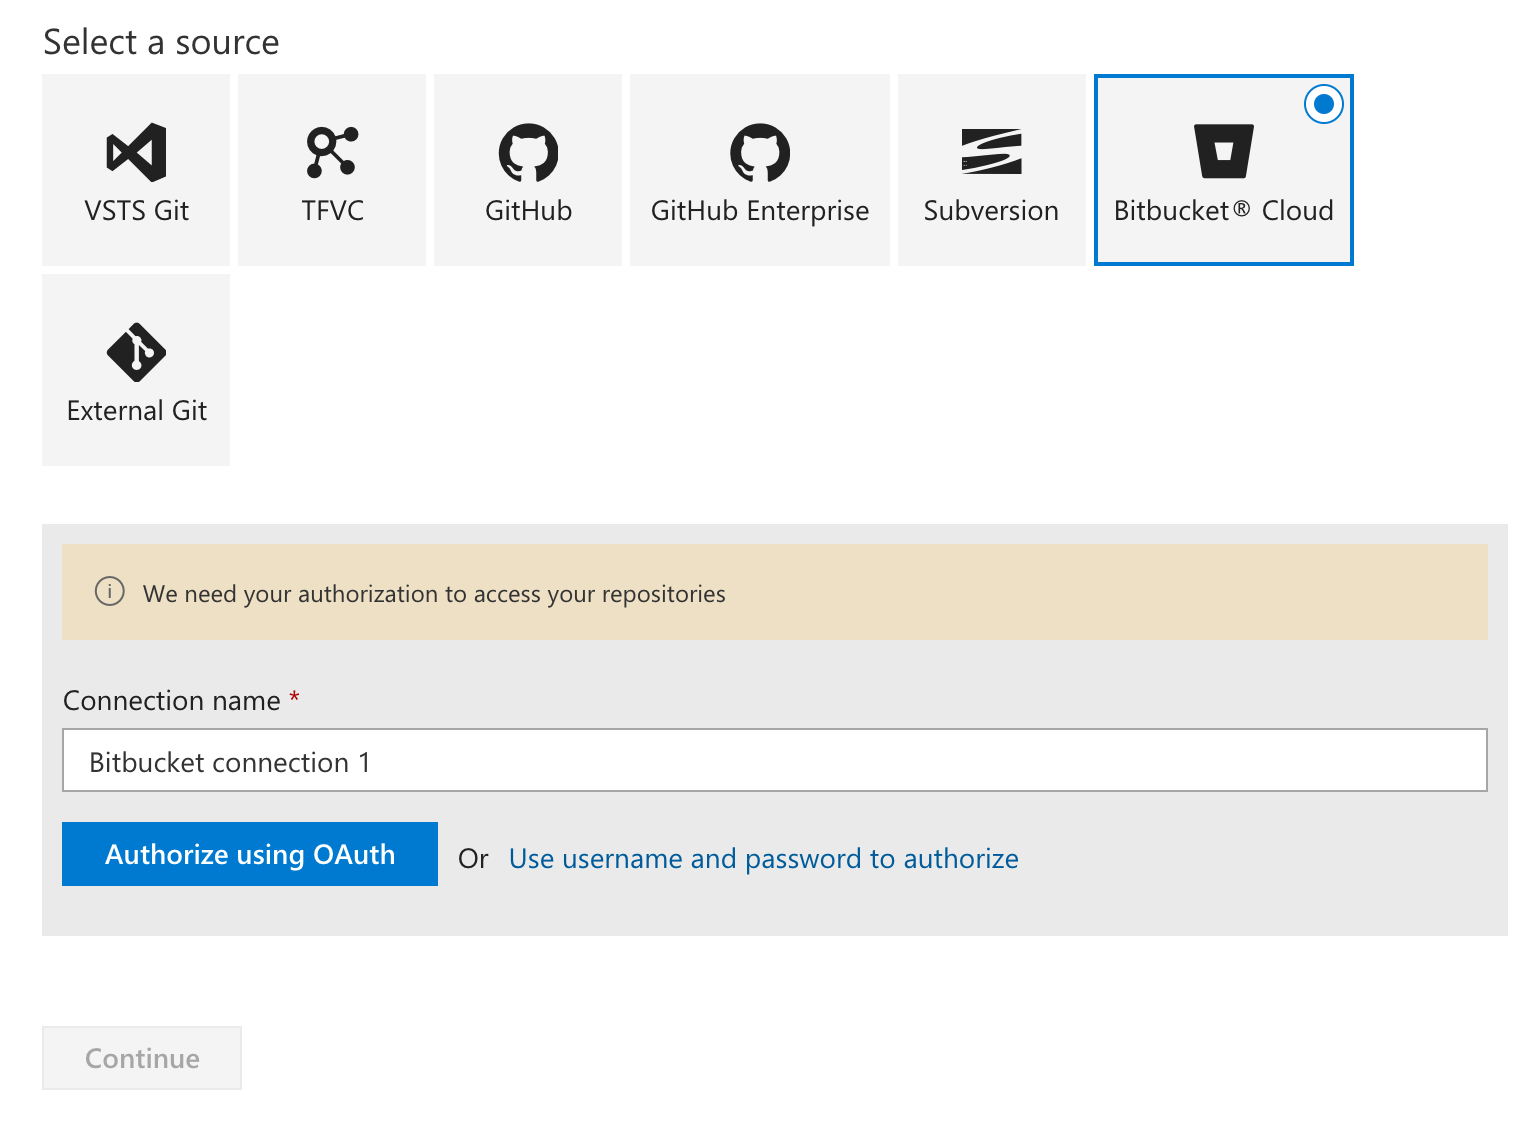
Select Bitbucket Cloud. You will need to authorize this. You can use your username and password for the time being. You should use an OAuth token for production.
-
Select your repository and master branch.
NOTE: If you do not see this then you might need to go back in and hit refresh. The first time can be tricky. You can also click on the Gear icon at the top of VSTS. Then click on Services. You can delete or reset your connection to Bitbucket here. Then start back at step 3 (create a new build).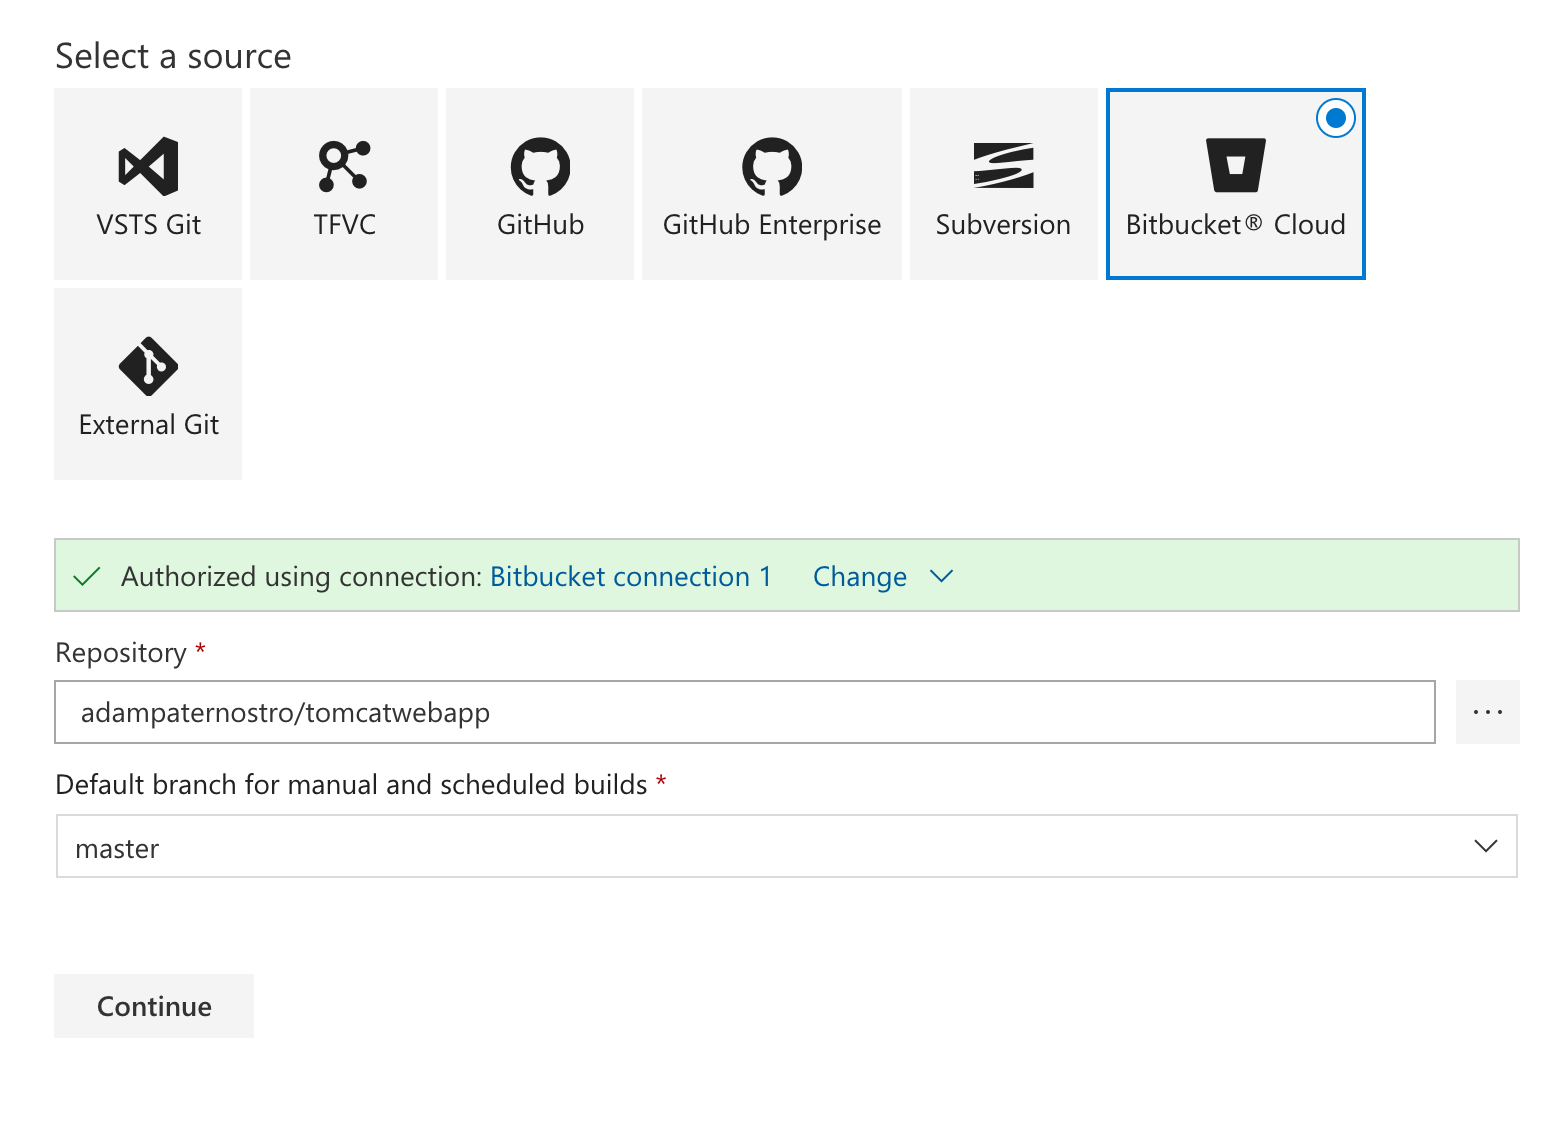
-
Search for Maven
-
Hover over Maven and click Apply
-
In the Agent Queue select "Hosted". You might need to authorize your subscription.
-
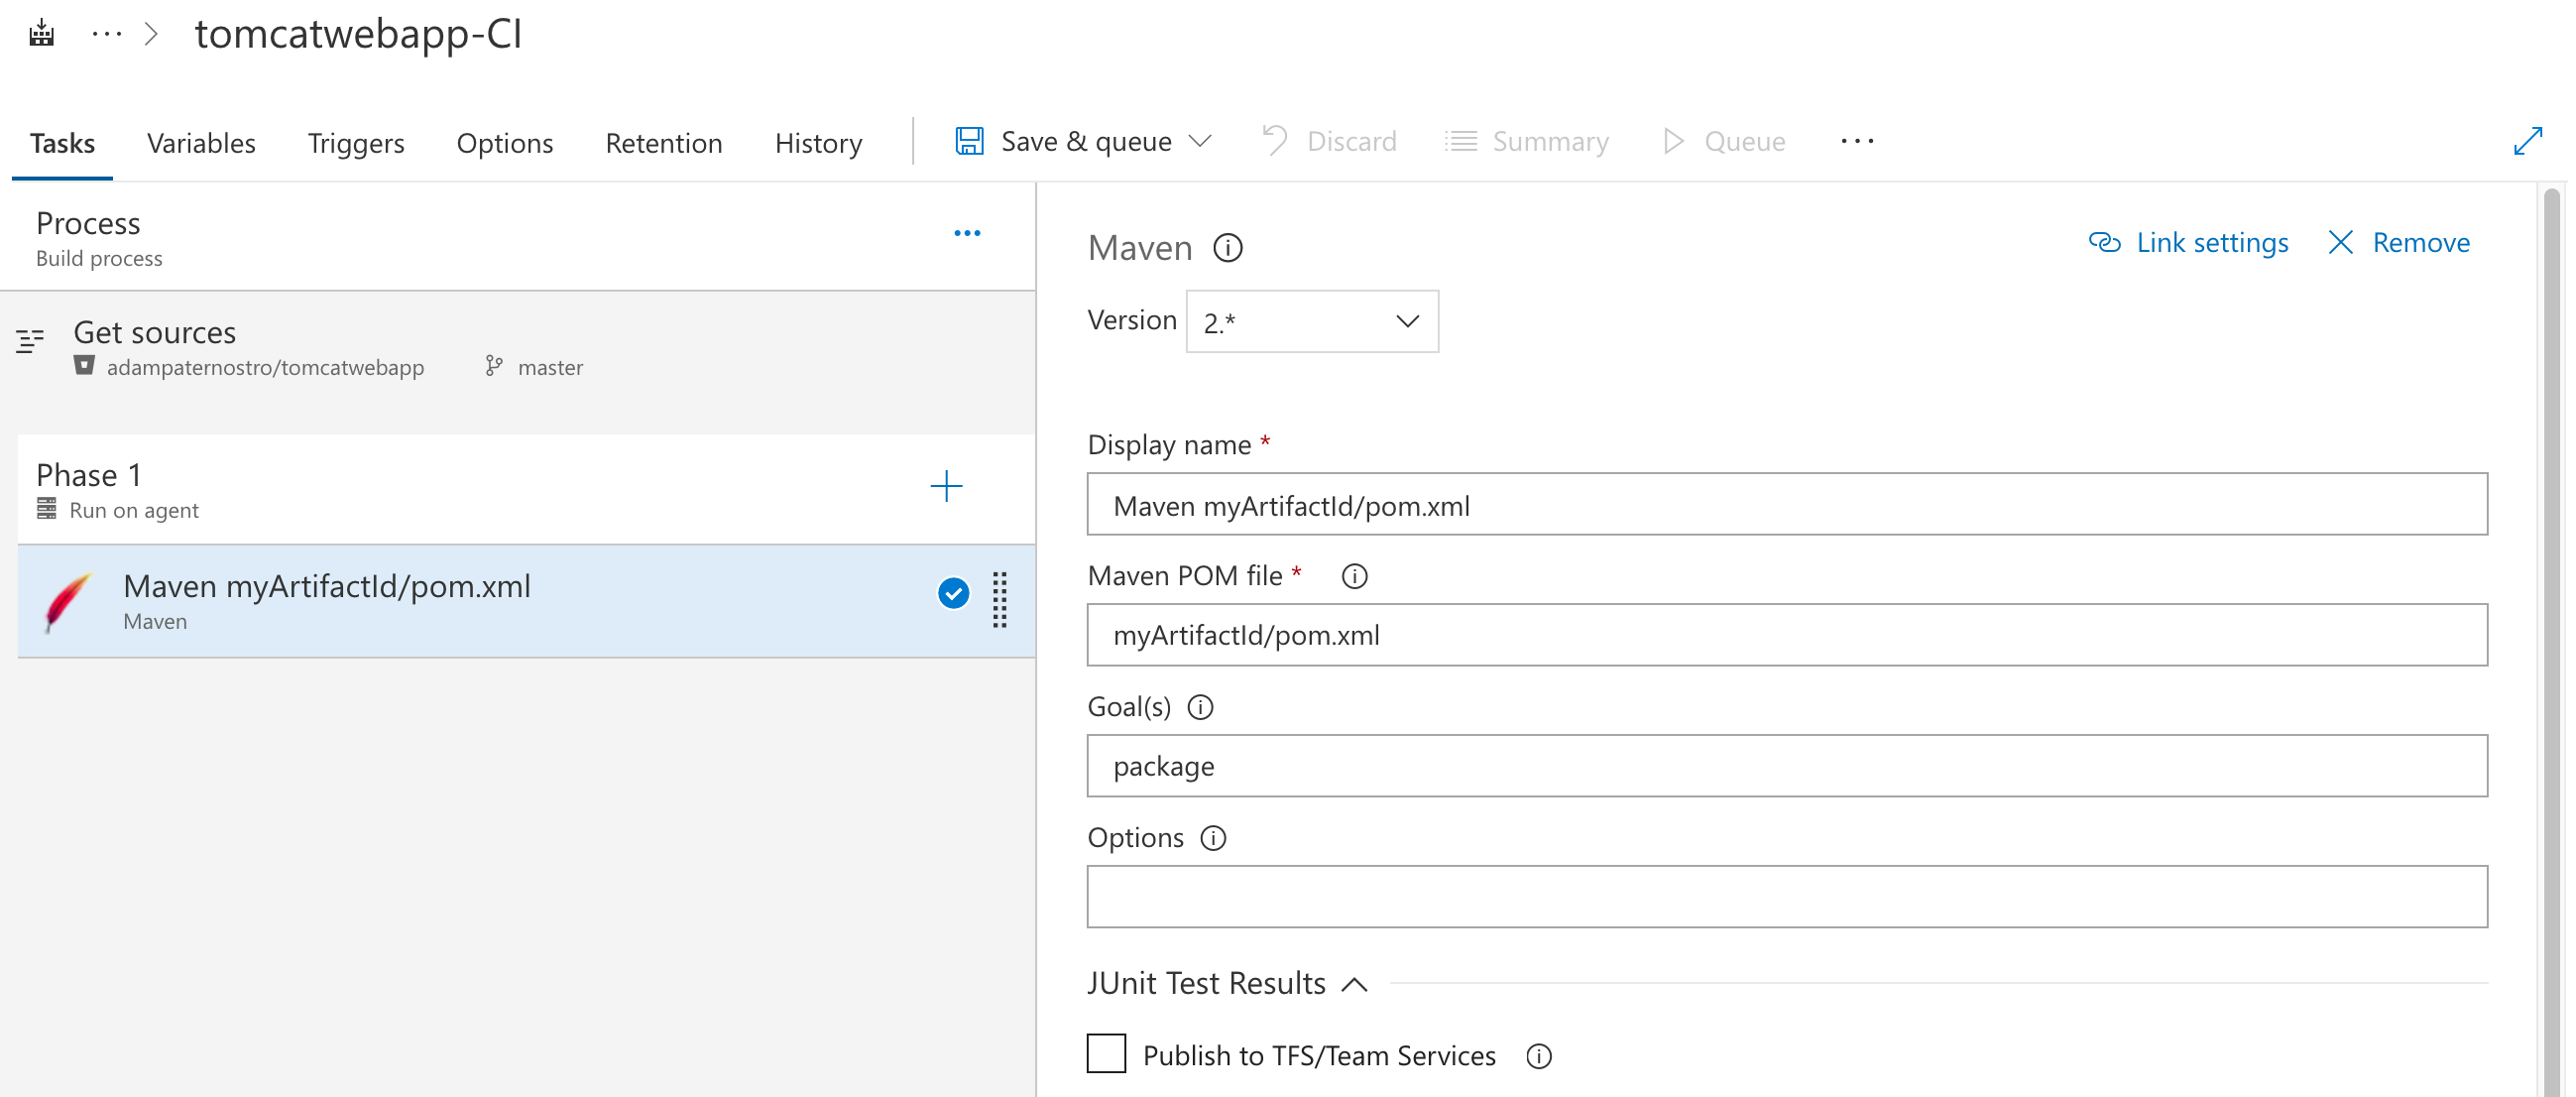
Cilck on the Maven Task
-
Click the unlink button right after the title "Maven POM file" and change the pom.xml location to myArtifactId/pom.xml
-
Uncheck the JUnit test (optional)
-
Click on the Copy File To task. Change the **/.jar to **/.war.
-
Right click the Copy File task and select Clone
-
Change **/.war to **/.sh
-
Press Save and Queue (give it a name). You can then click on the Build and view it. An Item will appear near the top of the web page with the Build number. It is a link.
-
Wait for the Build to complete.
-
Click on Build and Release. Select Releases.
-
Click the New Defination button
-
Click Empty Process
-
Name your Environment (e.g. Development)
-
Click on Add Artifact in the left hand side.
-
Select your Build Defination you just created. Click Add.
-
Click on the Task 0 inside the Development environment.
-
Click the + on Run on Agent
-
Type "bash" in the search box and select "Shell Script" (press Add)
-
Click on the script on the left hand side so you can set some properties.
-
Click the "..." next to script path and select deploy-vsts.sh. $(System.DefaultWorkingDirectory)/_tomcatwebapp-Maven-CI/drop/myArtifactId/src/deploy-vsts.sh
-
You can change the release defination name. Click on the words "New Release Definition" and change.
-
Click Save
-
Click "+ Release" and create a release.
-
Click on the new Release item at the top of the page. You can watch the release.
- Edit the index.jsp
- Commit your changes.
- Push to Bitbucket.
- Run your Build process in VSTS.
- Run your Release process in VSTS.
- You should see your changed in your site.
-
Make sure the WAR has a web.xml file in the WEB-INF directory.
-
Make sure you still warm-up your web app (and use slots): https://docs.microsoft.com/en-us/azure/app-service/web-sites-staged-publishing#custom-warm-up-before-swap
-
See: https://github.com/projectkudu/kudu/wiki/Deploying-WAR-files-using-wardeploy