ASAP guide on how to setup Tensorflow/Keras for Image Classification for Windows 10*
This tutorial includes content that can be found online, the goal of this tutorial is to to combine the content in order to make it easier for people who cannont program in Python, or have very little knowlege with neural networks for that matter, but want to see what it's like to use one. What this means is, I went through the work of going through said content in order to make it easier for you to make what this tutorial has to offer and I do not claim ownership to any of the content I used to make this tutorial. The following content was used in order to make this tutorial:
Video by Jeff Heaton: (https://www.youtube.com/watch?v=SfNFz3dRloI) - Installation of Anaconda, Python, Tensorflow and Keras for Pycharm
Video by Chris Dahms: (https://www.youtube.com/watch?v=oXpsAiSajE0) - Image-Classification Walkthrough
Image-Recognition by Google (https://github.com/ArunMichaelDsouza/tensorflow-image-detection) - I.R program in the walkthrough
- Never have made a program in Python/Any programming language before.
- You have experience with installing software
- You need a quick image classification guide that can be done as short as under an hour
- You want a neural network thats made by the professionals at Google
- You have a short deadline to setup an image classifier and don't know how to code
-
Setup PyCharm
-
Install Miniconda & make an anaconda file to store Tensorflow related projects
-
Install Tensorflow, OpenCV, and other programs useful for ML/NN
-
Create a Tensorflow-Python Interpreter for ML/NN
-
Prepare the image classification program.
-
Train & test a set of images in order to make your own image classifier.
-
Programming with python (Although heres an excellent resource by youtuber Corey Schafer: https://www.youtube.com/watch?v=YYXdXT2l-Gg&list=PL-osiE80TeTt2d9bfVyTiXJA-UTHn6WwU)
-
How to make your own neural networks (Free introductory course on ML & NN by Google: https://developers.google.com/machine-learning/crash-course/ml-intro)
-
How to use any of the other modules (Searching for a documentation/youtube tutorials should be good enough to learn them)
-
How to classify multiple objects in an image (Object Detection by youtuber Chris Dahms https://www.youtube.com/watch?v=rWFg6R5ccOc)
-
Anything else unrelated to this tutorial
a) To install Miniconda you will need to go on the Miniconda Documentation (https://docs.conda.io/en/latest/miniconda.html) and install Python 3.7 64-bit (exe-installer)
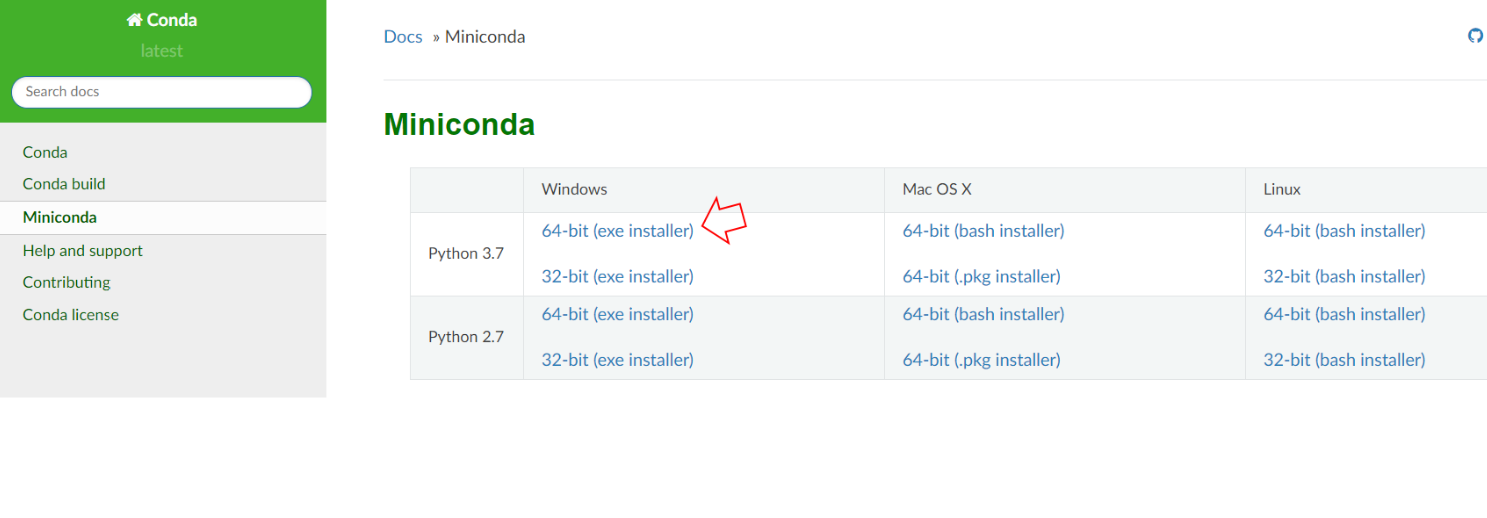
b) Once it has downloaded, the next thing to do is to run the installer, (In chrome you can do CTRL+J to check recent downloads then choose "Show in Folder", or just open the Downloads folder and find the installer)
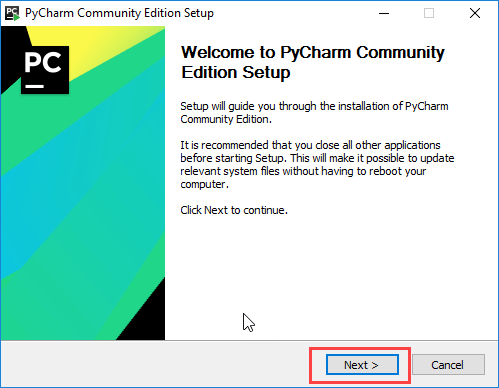
c) Upon opening the installer, you should be greeted with a setup page similar to the image below, go through the download and make sure you do the following:
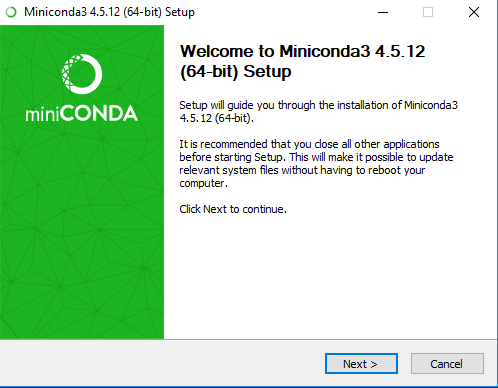
- Continue with the download
- Agree with the Terms and Conditions
- Choose "Just me" for Installation Type
- Make sure your installation location is in the "User or Users" directory.
- Choose "Register Anaconda as my default Python 3.7" for Advanced Options in order to make the Anaconda Prompt the terminal for Anaconda.
- Wait for the installation to complete, and then continue. Deselect the options for "Learn more about Anaconda cloud" and "Learn how to get started with Anaconda"
- You now know how to install Miniconda with the proper settings for a Windows device.
a) After finishing the setup for Miniconda, search for "Anaconda Prompt" in the taskbar and open it. WARNING: Make sure when you open the prompt that it says "Anaconda Prompt" and not "Command Prompt"!!!

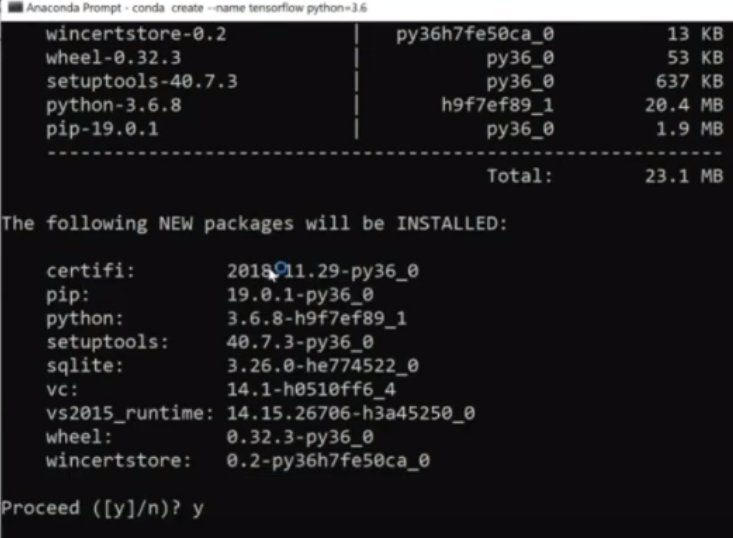
b) Then you will create a virtual environment to use for Tensorflow/Python, since TF currently supports up to Python 3.6, we will enter the following command into the Anaconda Prompt. This can be done by entering the following command:
conda create --name tensorflow python=3.6

When it's done, it will ask you to Proceed, typing in "y" and Enter, This will create a completely new directory in order for you to run your Anaconda/Python programs under the base name "tensorflow"
conda activate tensorflow
As long as you have been following the instructions properly, you should see that in place of (base), it should say (tensorflow).

python --version
c) After that, it's time to install a bunch of packages necessary for Tensorflow related projects, simply type in the following one by one:
conda install scipy
pip install --upgrade sklearn
pip install --upgrade pandas
pip install --upgrade pandas-datareader
pip install --upgrade matplotlib
pip install --upgrade pillow
pip install --upgrade requests
pip install --upgrade h5py
pip install --upgrade psutil
pip install --upgrade opencv-python
If psutil does not work, thats absolutely fine, it is not required as the rest are.
pip install --upgrade tensorflow==1.12.0
In the case that there is a newer ver. of TF, or an error occurs, you can just get rid of the "==1.12.0"
pip install --upgrade keras==2.2.4
python
This will change the prompt to a Python prompt, with it you will check if tensorflow is installed by doing:
import tensorflow as tf
print(tf.__version__)
If no errors have occured, and the prompt returns "1.12.0" after printing (unless you removed the =='s when installing tensorflow) you will be good to!
- You now know how create a base directory, (tensorflow)
- You can now to install and specify packages for said directory
- You can verify that you have properly install a module by importing it in the Python Interpreter
a) In order to install PyCharm you will need to download it from the Jetbrains website: (https://www.jetbrains.com/pycharm/download/#section=windows)
For the sake of the tutorial, the Community edition is whats needed. Make sure that the "Released" on the download page says at least January 2019, or higher
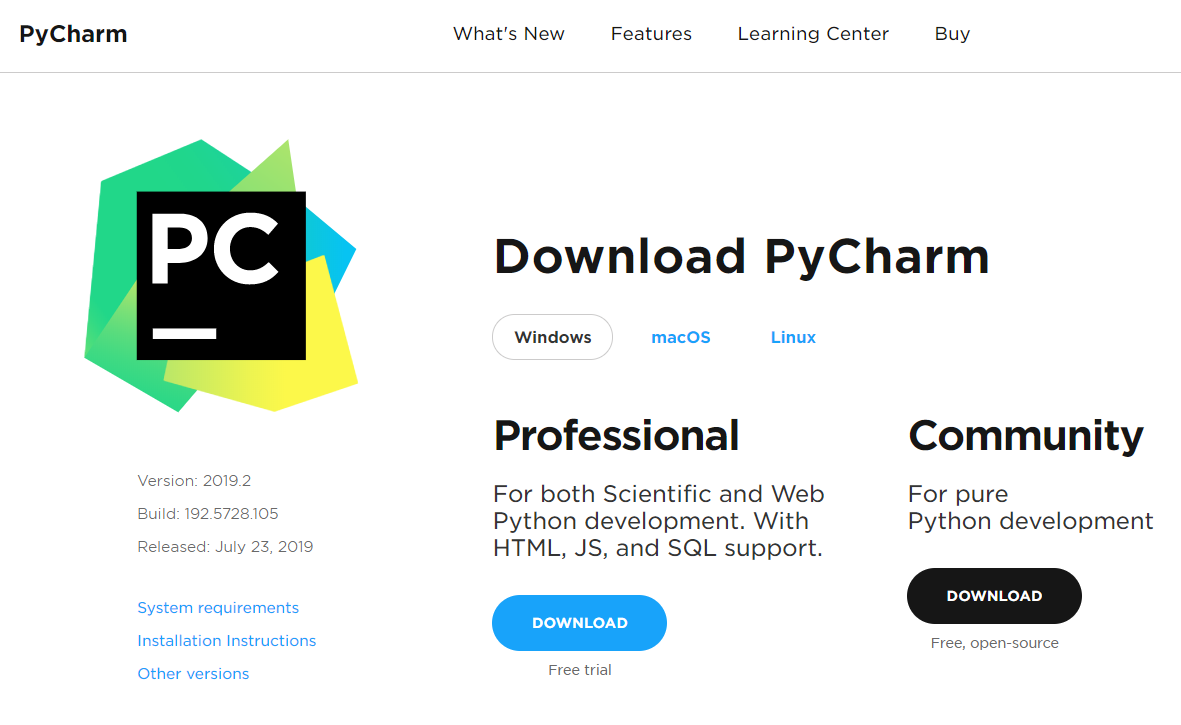
Incase you have previously installed PyCharm, you should uninstall it and replace it with the newly downloaded installer
b) Run the installer (Again, you can open it in chrome by doing CTRL+J to find it, or by opening the downloads folder)
- Continue with the download
- In the Installtion options choose the 64-bit launcher, and "Add launchers dir to the PATH"
- Keep the Menu Folder as JetBrains
- Finish
- You now know how to setup PyCharm with the proper settings
WARNING: This part of the tutorial is the trickiest, but as long as you follow the instructions it will be a breeze
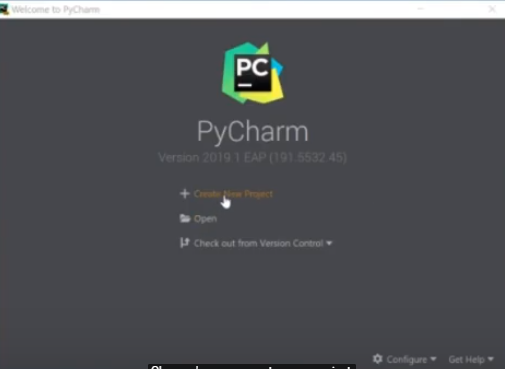
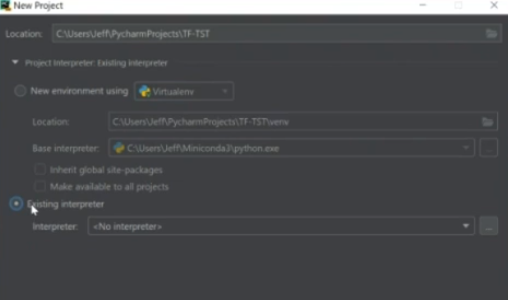
b) When it asks for "Location:", you can call the project "TF-TEST" for the tutorial, but you can change it something else later on. WARNING: DO NOT, press "Create", you have not yet made an interpreter for the project.
c) Click the drop down right under location (the white arrow), you will want to choose "Existing Interpreter" and then at the far right, click the icon with 3 dots
d) Once a new screen pops up, click on the icon with 3 dots (on the new screen), again found on the far right.

e) This part will be what makes this a bit tricky, but you will want to navigate through the directories as followed:
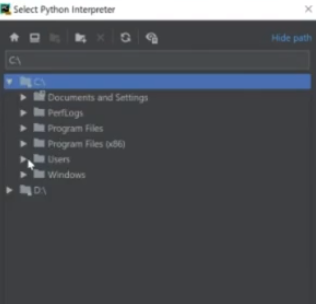
- C:\
- Users
- (username) - This is the name of your computer that you are on, but it is Not the Public directory
- Miniconda3
- envs
- tensorflow
- python.exe - Not pythonw.exe
f) Choose "Make avaliable to all projects" so that you can reuse this directory path, then select "OK"
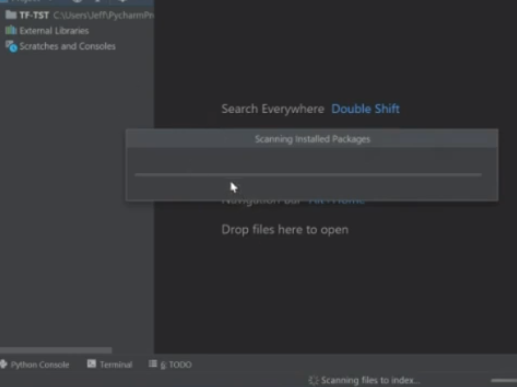
h) Once PyCharm opens with your folder, you will have to wait for PyCharm to scan a bunch of packages. You can proceed once the bottom middle of the window has nothing else loading
You have fully installed Tensorflow/Keras with Anaconda, and you can now use it for any neural network project you may want to do.
- You can setup a PyCharm environment for Tensorflow using Anaconda
- You can go through directories in order to get the correct interpreter for your programs "Python 3.6 (tensorflow)", you can check that youre on the right interpreter by looking at the bottom right of the window, it should like this:

Although the heading of this part may sound confusing, The actual set up is easier than it sounds, you can learn about what a Inception Neural Network is here: https://github.com/tensorflow/models/tree/master/research/inception
a) To get the neural network that you are going to be able to use for image classification, got to the git page (https://github.com/MicrocontrollersAndMore/TensorFlow_Tut_2_Classification_Walk-through).
b) Open any folder in your "Documents" folder and copy the destination, then go to the taskbar, search for and open Command Prompt, then do:
cd {copied destination}
cd C:\Users\{username}\Documents\
{username} should have your computer's name instead
git clone https://github.com/MicrocontrollersAndMore/TensorFlow_Tut_2_Classification_Walk-through.git
c) Once the the command prompt has finished doing it's task you will be able to find the github clone that you have just downloaded in your Documents file, which you can then open.
At this point in the tutorial, if you want to make your own image classifier, youre going to want to make a compilation of atleast 100+ images of a similar image, and then another compilation of atleast 100+ images of another image in the case that you do not want to follow the example used in the tutorial. You will want the images to be .jpg, and to classify what type of image it is, make a folder name for the images.
Ex: folder with a compliation of chocolate cakes should be called chocolate_cakes, and another folder with ice cream cakes should be called ice_cream_cakes.
In the case of this tutorial, instead of road_bikes and mountain_bikes you would use chocolate_cakes and ice_cream_cakes
d) You can find the roadbikes/mountainbikes example that will be used in this tutorial in the word file, or you can download the two resources here (https://drive.google.com/drive/folders/1ywyfiAEI0ql81gMy58UeamWvV7u9xGn9?usp=sharing)
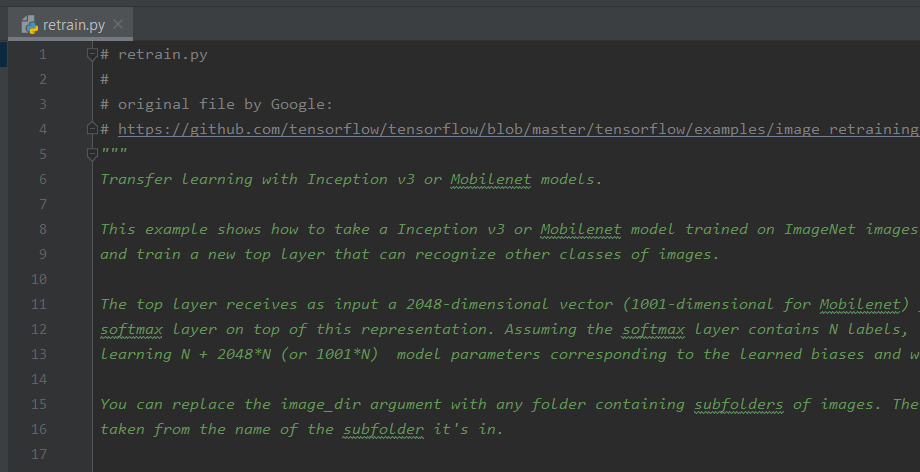
e) Then, go back to the github download and open up retrain.py. If retrain.py is not in PyCharm, you can change it by: Right clicking on the program > Open With > PyCharm, or if necessary > Choose Another App > PyCharm.
f) Once retrain.py is opened on PyCharm, go to the bottom right where you recall the Python 3.6 (tensorflow) being when you installed PyCharm, it should say No interprenter if you have closed PyCharm previously. Click on that, and choose Python 3.6 (tensorflow) with the Anaconda logo on it. Now you should be able to run retrain with the correct interpreter.
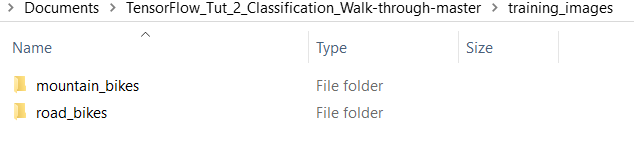
g) Then in the github download, make a new folder, and call it "training_images", inside training_images open up the mountain bikes zip, and put the folder in the zip file into the training_images file. Do this again for the road bikes zip file, it should end up looking like this:
h) Again in the github download, make a new folder, and this time, call it "test_images", in this folder, you will want to put aside images that will be used to test the neural network from the training_images folder. 3-4 of each folder in training_images is all you will need, but you can put more.
j) Now the Inception model will begin to train with the images that were given (You might see red letters when the terminal opens in PyCharm, this is not a bad thing, tbis is just the program running the Inception model) and once its done training you can move on.
- You can succesfully download a huge file of .jpgs, classify them with a proper name, and train them using the Inception model!
- You have just trained an image classifier on a set of images!
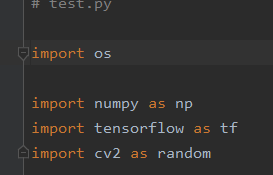
a) Open up your git download, and open test.py with PyCharm, for instructions on how to do set up a python file with PyCharm, refer to (Part 5, Step f) for test.py instead of retrain.py.
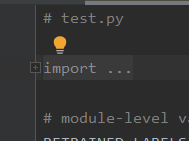
b) Before you run the program, you have to make one change to it, on the very top it says "import ...", press the little + bottom on the left.
c) Finally, you can right click on train.py, press Run 'test', and watch as your program pops up images from your test_images folder as it puts it's predictions on what item it thinks it is. (You can put any image in test_images and see what the program things it looks more like)
- You have completed this tutorial, and you can now make your own image classifier!
- You have run an image classifier using either your own, or the tutorial's images.