RadioMod
First you need to create your custom radio.
Here is the step to create a RadioMod :
-
Read the C:S 2 wiki on how to setup the Modding Toolchain.
-
Once you have the modding toolchain ready, you can open visual studio 2022 and create a new project.
Image

-
Search the
Cities: Skylines IImod template, select it and click onNext.Image

-
Setup your project.
Image

-
Setup more your project, you can already edit the desciption of your mod, you can also edit it later.
Image

-
Now you need to add ExtendedRadio as dependency to your project.
For That you need to double click on the project name (see image under), if you don't have this panel press
Ctrl + Alt + L.Image

Once you double click on it you should see that pop (see the image)
Image
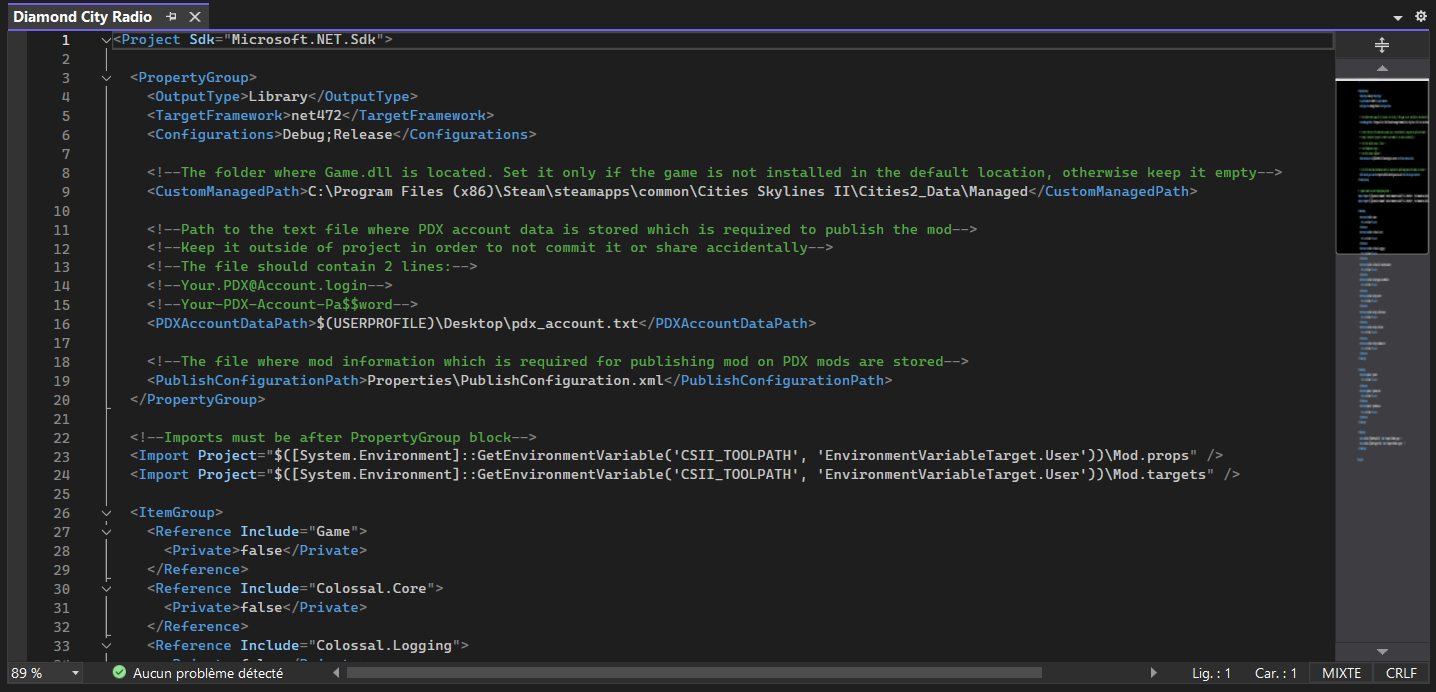
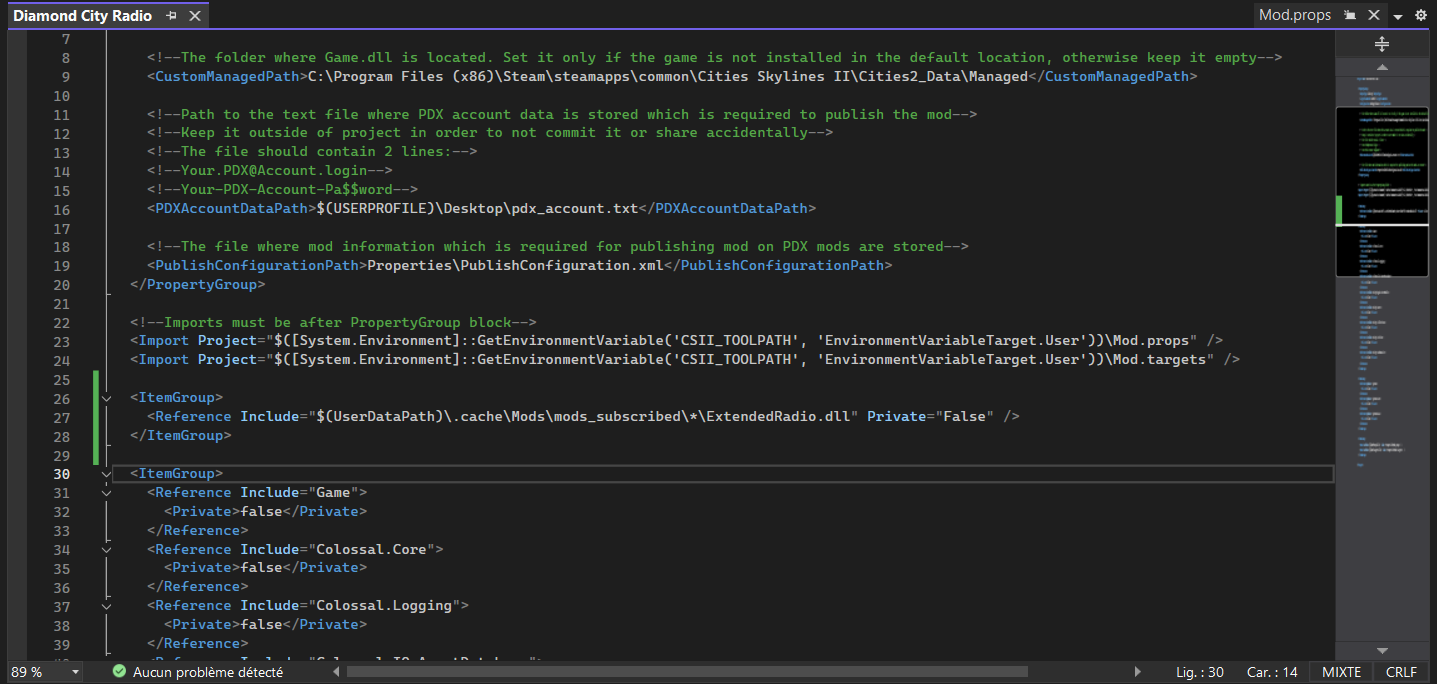
Add this code :
<ItemGroup>
    <Reference Include="$(UserDataPath)\.cache\Mods\mods_subscribed\75862_*\ExtendedRadio.dll" Private="False" />
    <Reference Include="$(UserDataPath)\.cache\Mods\mods_subscribed\75862_*\0Harmony.dll" Private="False" />
</ItemGroup>
And the file should look like this and you should see the ExtendedRadio in your dependency.
Image

-
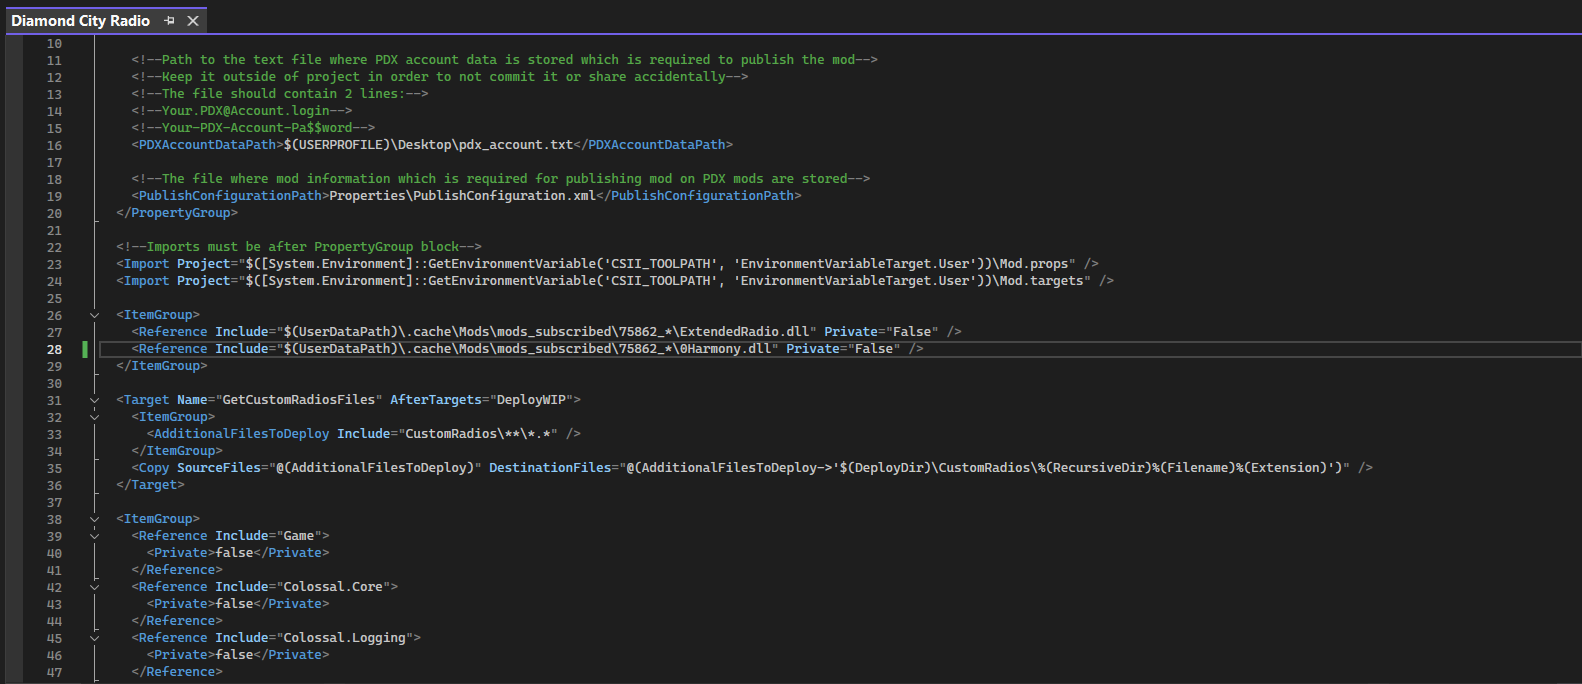
Since wa are in this file we are going to add the code needed to send your radio to PDX mod.
For that you need copy/past this code in the file
<Target Name="GetCustomRadiosFiles" AfterTargets="DeployWIP">
	<ItemGroup>
	  	<AdditionalFilesToDeploy Include="CustomRadios\**\*.*" />
	</ItemGroup>
	<Copy SourceFiles="@(AdditionalFilesToDeploy)" DestinationFiles="@(AdditionalFilesToDeploy->'$(DeployDir)\CustomRadios\%(RecursiveDir)%(Filename)%(Extension)')" />
</Target>
and it should now look like this.
-
Now that you have ExtendedRadio as dependency we can create create the radio mod.
For that double click on the Mod.cs file and start by adding this line before the OnLoad method (there is an image under).
private string pathToCustomRadiosFolder;
Next add this lines in the OnLoad method (there is an image under).
pathToCustomRadiosFolder = $"{new FileInfo(asset.path).DirectoryName}\\CustomRadios" ;

ExtendedRadio.CustomRadios.RegisterCustomRadioDirectory(pathToCustomRadiosFolder);
And alos add this line in the OnDispose method (there is an image under).
ExtendedRadio.CustomRadios.UnRegisterCustomRadioDirectory(pathToCustomRadiosFolder);
The content of the file should look like this.

-
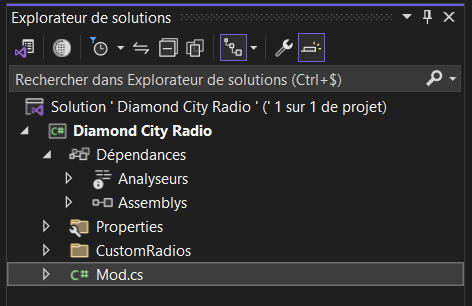
Now let's add the custom radio to the mod. For that you need to move your
CustomRadiosfolder in the project folder.Like this
-
Let's Build our mod now. To do that right click on the project file
To do that right click on the project file and click on Build.
-
You can start the game and see listen to your radio.
-
To publish your radio mod follow the step on the C:S 2 wiki and for the Dependency ID put this one
75862.
This mod also have an API, which let mod communicate with it. You can find everything you can do with this API in the API section.
If you don't know how to create a mod, join one or the two discord mentioned in the Community and asked people how to do it. There is also a lot of mod template for C:S2.