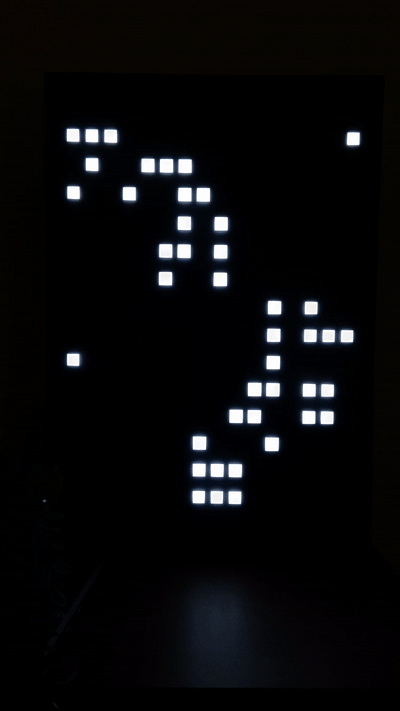
Turn your OBEGRÄNSAD LED Wall Lamp into a live drawing canvas
👉 This software is in an early stage and is my first of its kind. If you have anything to improve, I would be very happy about a PR or an issue :)
⚠ Use this code and instructions at your own risk! The device could be damaged! ⚠
- Persist your drawing
- Rotate image
- Live Drawing
- OTA Update
- Wifi Control
- Web-GUI
- Load an image
- Switch plugin by pressing the button
- Plugins
- Draw
- Game of life
- Breakout
- Snake
- Stars
- Lines
- Circle
- Clock
- Big Clock
- Weather
- Rain
- Animation with the "Creator"
- Firework
demo.mp4
You can control the lamp with a supplied web GUI. You can get the IP via serial output or you can search it in your router settings.
First of all. This software was written for the ESP32 Dev Board, but it should work with any other Arduino board as well. You just need to remove the WiFi, OTA and web server related code.
The ESP32 I used:

Verified to work with TTGO LoRa32 V2.1 (T3_V1.6.1). Note: On esp8266 per pixel brightness only works when storage and global brightness (analogWrite) are disabled.
I'm sorry to say this, but you'll have to pry open the back of your Lamp, as IKEA didn't install regular screws here. I lifted the back with a screwdriver between the screws and pried it open with a second object, but you can also drill out the rivets to avoid breaking the backpanel.

After you open the back, you will see 4 identical plates. These are each equipped with 64 Leds in 4 fields. We are only interested in the lowest one. Here you will find 6 connectors at the bottom edge, to which we connect our board. Above is a microcontroller. You have to remove it, because it contains the standard programs.

- Open folder with VSCode
- Install platformIO (https://marketplace.visualstudio.com/items?itemName=platformio.platformio-ide)
- Set all variables
- Wifi
- Upload
- Your Pins
- Latitude, Longitude, City etc. (https://github.com/chubin/wttr.in)
Variables can be found inside include/constants.h.
#pragma once

#define WIFI_SSID ""
#define WIFI_PASSWORD ""
#define WIFI_HOSTNAME ""

#define OTA_USERNAME ""
#define OTA_PASSWORD ""
also set username and password inside upload.py, if you want to use OTA Updates.
Connect them like this and remember to set them in include/constants.h according to your board.
| LCD | ESP32 | TTGO LoRa32 | NodeMCUv2 |
|---|---|---|---|
| GND | GND | GND | GND |
| VCC | 5V | 5V | VIN |
| EN (PIN_ENABLE) | GPIO26 | IO22 | GPIO16 D0 |
| IN (PIN_DATA) | GPIO27 | IO23 | GPIO13 D7 |
| CLK (PIN_CLOCK) | GPIO14 | IO02 | GPIO14 D5 |
| CLA (PIN_LATCH) | GPIO12 | IO15 | GPIO0 D3 |
| BUTTON one end | GPIO16 | IO21 | GPIO2 D4 |
| BUTTON other end | GND | GND | GND |

-
srccontains the arduino code.- Run it with platform io
- You can uncomment the OTA lines in
platform.iniif you want. Replace the IP with your device IP.
-
frontendcontains the web code.- First run
npm i - Set your device IP inside the
.envfile - Start the server with
npm run dev - Build it with
npm run build. This command creates thewebgui.cppfor you.
- First run
-
Build frontend using
Docker- From the root of the repo, run
docker compose run node
- From the root of the repo, run
- Start by creating a new C++ file for your plugin. For example, let's call it plugins/MyPlugin.(cpp/h).
plugins/MyPlugin.h
#pragma once

#include "PluginManager.h"

class MyPlugin : public Plugin {
public:
    MyPlugin();
    ~MyPlugin() override;

    void setup() override;
    void loop() override;
    const char* getName() const override;

    void teardown() override; // optional
    void websocketHook(DynamicJsonDocument &request) override; // optional
};
plugins/MyPlugin.cpp
#include "plugins/MyPlugin.h"

MyPlugin::MyPlugin() {
    // Constructor logic, if needed
}

void MyPlugin::setup() {
    // Setup logic for your plugin
}

void MyPlugin::loop() {
    // Loop logic for your plugin
}

const char* MyPlugin::getName() const {
    return "MyPlugin"; // name in GUI
}

void MyPlugin::teardown() {
  // code if plugin gets deactivated
}

void MyPlugin::websocketHook(DynamicJsonDocument &request) {
  // handle websocket requests
}- Add your plugin to the
main.cpp.
#include "plugins/MyPlugin.h"

pluginManager.addPlugin(new MyPlugin());[] gifs
[] animation upload
[] use <canvas />
Breakout game https://elektro.turanis.de/html/prj104/index.html