-
Notifications
You must be signed in to change notification settings - Fork 4
Deployment
Development of addons can be done a local development machine, as described in this documentation. However when development has finished, the addon files need to be packaged into a single archive file and deployed to the system access point, so that it can run without the development machine. This archive can then also be used by the end-user to install the addon directly to the System Access Point.
Before uploading/deploying the addon to the System Access Point, it must be built into an addon archive file.
For this, the free-at-home-cli command line tool is provided:
./node_modules/.bin/tsc -p .
./node_modules/.bin/free-at-home-cli buildscriptarchive build
The tsc -p . (do not forget the '.' at the end) command will compile the TypeScript in the addon
and output it into the build directory by default (see tsconfig.json in the example directory).
The run command in vscode also performs this step.
The free-at-home-cli command will create an addon file from the contents of the build directory,
based on the id and version in the free-at-home-metadata.json metadata file, as described in
the metadata section. For example:
de.busch-jaeger.freeathome.example-1.0.0.tarThis file can be deployed to the System Access Point.
When the addon archive file (.tar file) has been built successfully, it can be uploaded to the
System Access Point. This can also be done using the free-at-home-cli tool.
For this, first set environment variables for the System Access Point address and username/password credentials:
Windows:
$env:FREEATHOME_BASE_URL = 'http://[local ip of System Access Point]'
$env:FREEATHOME_API_USERNAME = '[username]'
$env:FREEATHOME_API_PASSWORD = '[password of user]'
Linux / Unix:
export FREEATHOME_BASE_URL='http://[local ip of System Access Point]'
export FREEATHOME_API_USERNAME='[username]'
export FREEATHOME_API_PASSWORD='[password of user]'
Then the archive file can be uploaded via the free-at-home-cli tool:
./node_modules/.bin/free-at-home-cli uploadThis will automatically upload the file that was built before, i.e. with the filename from the id
and version values in the metadata.
Remember to stop the addon running on your local development machine when uploading a package, otherwise the same addon will be running twice, causing errors, e.g. because of duplicated device serials.
Instead of uploading an addon archive using the free-at-home-cli command line tool, the archive
can also be uploaded using the app or a web browser. An end-user will always use this way, the
command line tool is used by developers only.
To do this, locate the .tar archive that was created by the
free-at-home-cli buildscriptarchive build command (e.g.
de.busch-jaeger.freeathome.example-1.0.0.tar).
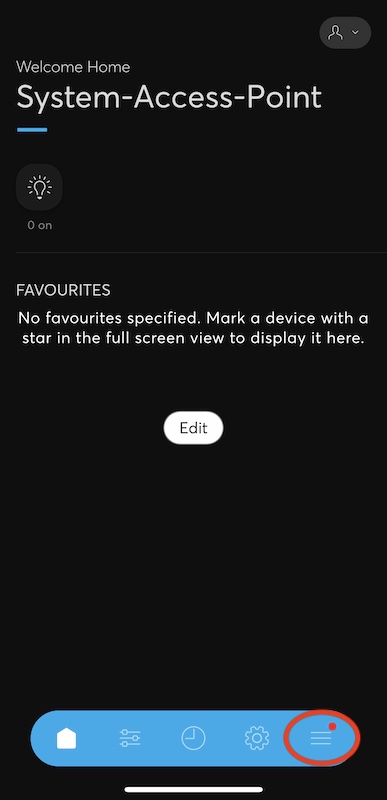
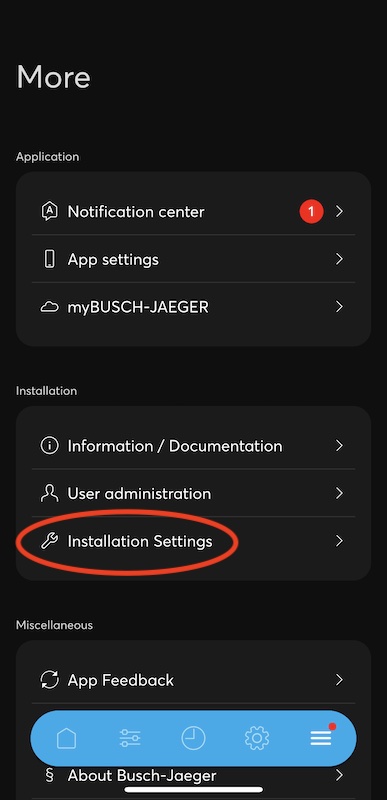
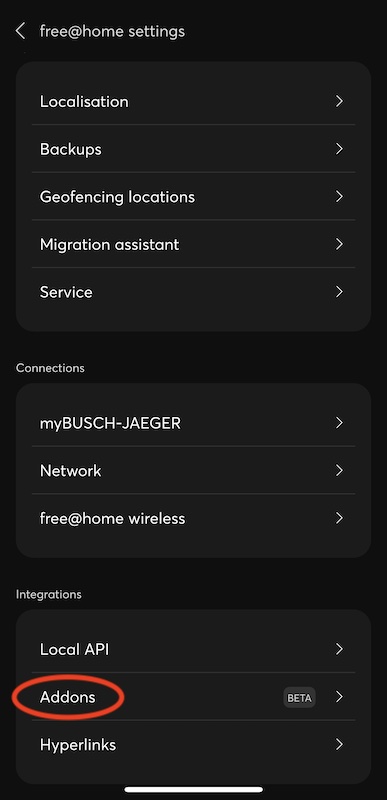
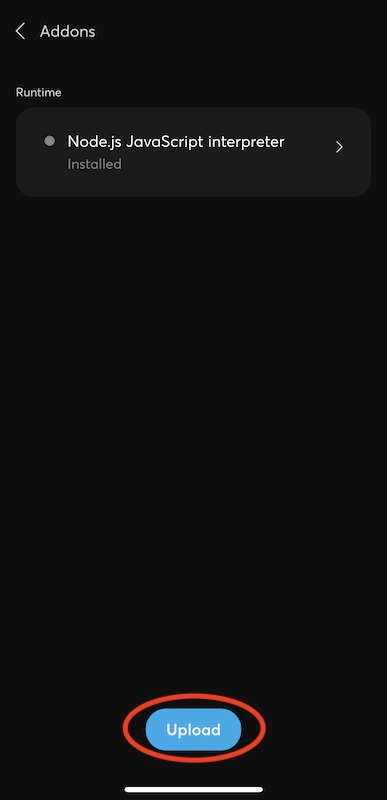
When using the app: Transfer this file to your device, open the free@home next app and select
Upload under More -> Installation Settings -> Addons.


When using a web browser, open the System Access Point in the browser and navigate to the corresponding page.