Getting started
This section is meant to get you started quickly with ABB free@home Addon development.
-
You need a free@home System Access Point version at least 3.0.0
-
The System Access Point must be in your local network, i.e. your development machine must be able to access it. Access through the free@home cloud is not possible. You can setup a VPN though, however this is beyond the scope of this document)
-
Activate the
Local APIin your System Access Point settings, see the prerequisites for details -
Basic knowledge of javascript / typescript is required
-
Install node.js to your development machine
-
An IDE with typescript support is recommended, this walkthrough uses and recommends Visual Studio Code
Please refer to prerequisites for details.
The required steps in this walkthrough are:
-
Obtain the example addon, along with the free@home js library and tools
-
Import the example to your IDE and run it on your development machine
-
Modify the example to your needs
-
Deploy the example to your System Access Point
This example will create virtual devices that can be controlled directly in the free@home next apps. The System Access Point will send the changes to the device ("on"/"off") to the addon running on your development machine, but otherwise the devices will behave in free@home like real devices.
In this walkthrough we use the node-free∆home-example example addon. This example consists of three parts:
-
The free-at-home js library that provides functions to create (virtual) devices and control them.
-
The free-at-home-cli command line tool that is used to build the addon archive file.
-
The js source code for the actual addon.
Use the template example from here and clone the repository to your development machine.
Next, open the folder in a command line and type
npm installThis will download (if needed) any dependencies and install the required packages, most notably the
@busch-jaeger/free-at-home package, into this example directory.
The extracted example contains a sample configuration for Visual Studio Code. You can of course use whatever development environment you prefer, however in this walkthrough we will use Visual Studio Code. If you use something else, please adjust the IDE-specific steps accordingly. If you run into trouble, please first try to follow this Visual Studio Code based example first and see if the problem also exists there.
-
Open Visual Studio Code, and select
open folder, there pick the folder of demo package extracted beforehand. -
Adjust the configuration for your development System Access Point:
-
Copy the file
launch.json.examplein the subfolder.vscodetolaunch.jsonin the same folder. -
Open the file
launch.jsonin the subfolder.vscode. This configuration will be used by Visual Studio Code when starting the addon. -
Find and edit the settings
FREEATHOME_API_USERNAMEandFREEATHOME_API_PASSWORD. These must be set to the address of the local API on your System Access Point, the username on that System Access Point that provides the local API, and the password of that user."FREEATHOME_BASE_URL": "http://192.168.x.x", (IP Address of the System Access Point) "FREEATHOME_API_USERNAME": "installer", (Username shown for local API in the free@home NEXT app) "FREEATHOME_API_PASSWORD": "12345" (Password shown for local API in the free@home NEXT app)These environment variables will be used by the addon when starting it on your development machine to contact the REST API ("local API") on the System Access Point. It will not be needed when deploying the final addon directly onto the System Access Point.
-
Next, take a look at the main.js file in the src directory of the example. This is the full
addon code:
-
Notice that this example uses the
@busch-jaeger/free-at-homelibrary. This library is provided for addons and does the heavy lifting of communicating with the System Access Point and provides a convenient TypeScript API for this. -
The
mainfunction creates two virtual devices, a simpleswitchactuator (i.e. a devices that acts as a switch with "on" and "off" states), and adimmeractuator (i.e. a devices that additionally has a "value" percentage. -
The devices simply output their state to the js console. A real addon would normally replace this implementation.
Finally, run the example in vscode (Run -> Start Debugging). Keep in mind that the Local API
must have been activated on the System Access Point for this step, see the
prerequisites for details. If successful, your System Access Point should now
provide the new devices.

Open the House Structure on your System Access Point and place the devices into rooms,
then they can be used normally. When switching the devices using the app, you should now see
corresponding console output in the Debug Console pane of Visual Studio Code.
At this point, the addon is set up complete. You can now open the main.js file and adjust it to
your needs, for example change the name of the devices and observe the changes in the app.
When the addon is set up as desired, the final step is to build an addon archive file and deploy it to the System Access Point. Then the addon will directly run on the System Access Point instead of your local development machine. The REST interface to the System Access Point that is used by the addon remains the same, so no additional changes are required.
Refer to deployment for a more detailed deployment documentation. Steps for this example:
-
Make sure to stop the addon in your IDE first.
-
Open the file
free-at-home-metadata.jsonin the root folder of the example and edit it to your needs, most notably thenameandversionfields. If you just want to test the deployment, you can leave this file as-is. -
Open the example directory in a command line terminal / console of your IDE (e.g. the
Terminalpane in vscode). -
Run
./node_modules/.bin/free-at-home-cli buildscriptarchive buildThis will output a new file <id>-<version>.tar in the example root folder, matching the id and
version specified in free-at-home-metadata.json. This is the final addon that can be uploaded
to the System Access Point.
-
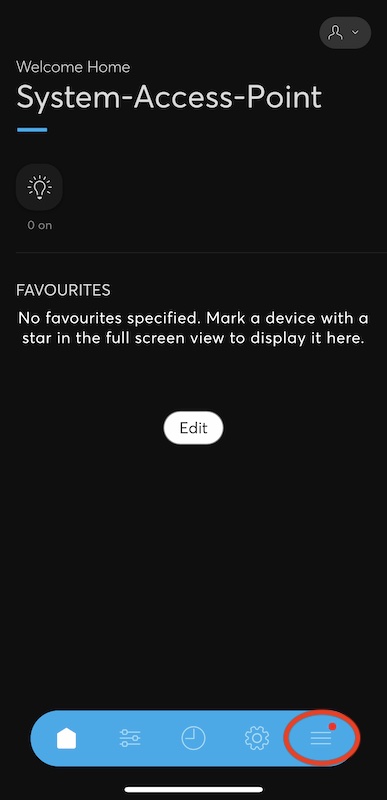
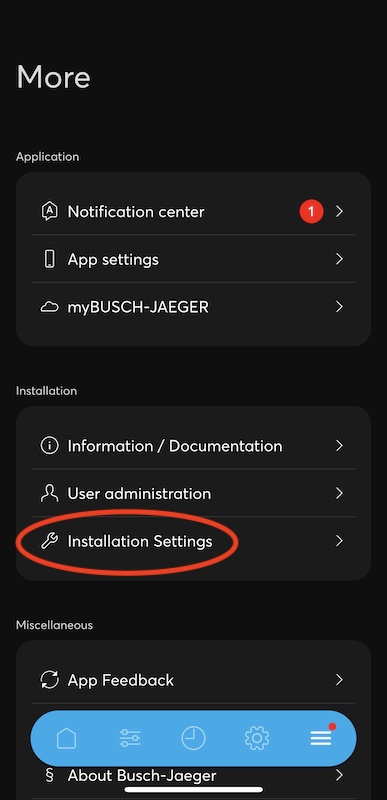
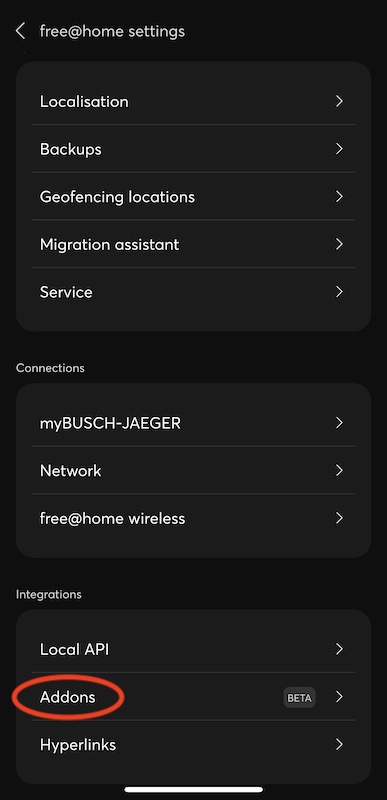
Upload the file to your System Access Point, for example using a webbrowser in the
Addonssection of the settings.Alternatively, you can use the
free-at-home-clitool in a command line terminal for convenience, assuming you also set theFREEATHOME_BASE_URL,FREEATHOME_API_USERNAME,FREEATHOME_API_PASSWORDenvironment variables:Linux/Mac:
export FREEATHOME_BASE_URL=http://[IP of System Access Point]
export FREEATHOME_API_USERNAME=[System Access Point username that activated local API]
export FREEATHOME_API_PASSWORD=[Password of user]
./node_modules/.bin/free-at-home-cli upload
Windows:
$env:FREEATHOME_BASE_URL = 'http://[IP of System Access Point]'
$env:FREEATHOME_API_USERNAME = '[System Access Point username that activated local API]'
$env:FREEATHOME_API_PASSWORD = '[Password of user]]'
./node_modules/.bin/free-at-home-cli upload
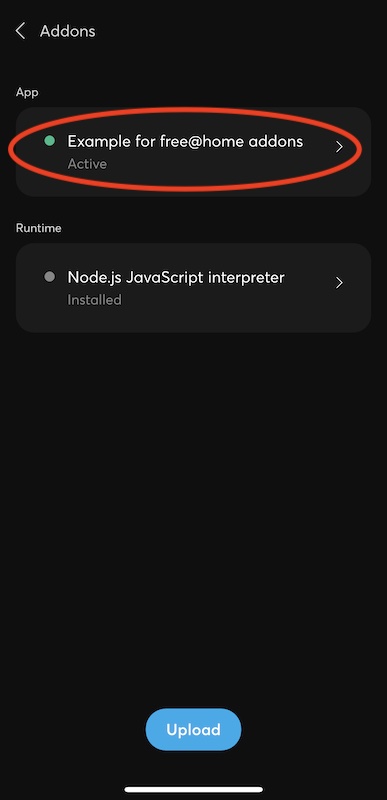
If successful, the Addons section in the free@home settings should now display your addon.
Make sure it is displayed as Active, otherwise it must be manually started.