Getting Started
NOTICE: This wiki is deprecated! Please visit the new documentation site!
- Starting CTFd
- Setting Up
- Adding Your First Challenge to CTFd
- Adding New Pages to CTFd
- Saving Your CTF
CTFd can be started a number of ways.
The simplest is to use Docker to create a local sandboxed CTFd instance.
Install instructions for Docker can be found online.
Once docker and docker-compose are installed CTFd can simply be started with:
git clone https://github.com/CTFd/CTFd.git
cd CTFd/
docker-compose up
CTFd will be running on http://localhost:8000.
Alternatively, if you wish to use a more development like setup, you can use the Flask debug server.
First install all required Python libraries by running:
pip install -r requirements.txt
Then start the Flask debug server with:
python serve.py
CTFd will now be running on http://localhost:4000.
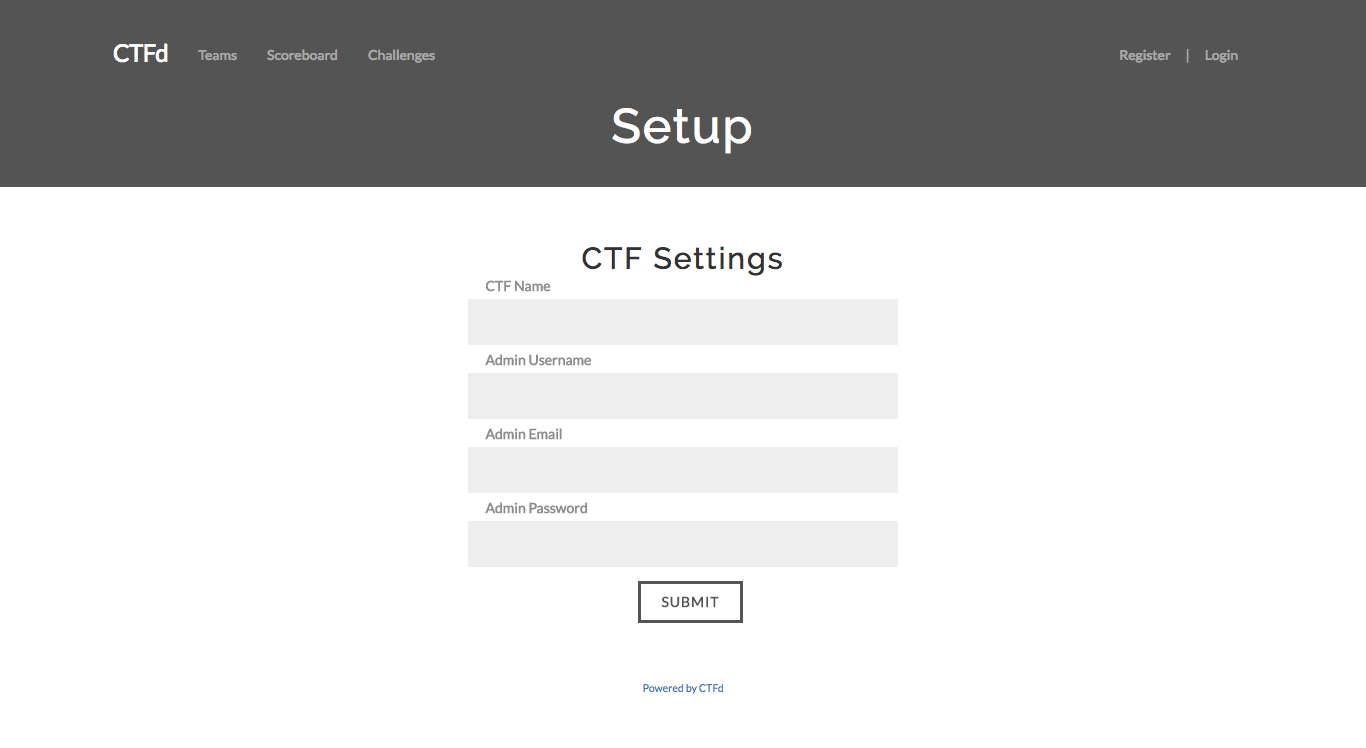
After navigating to CTFd (http://localhost:8000 or http://localhost:4000 by default), you will see a setup page where you can choose the name of your Capture The Flag and the credentials for the first admin user.
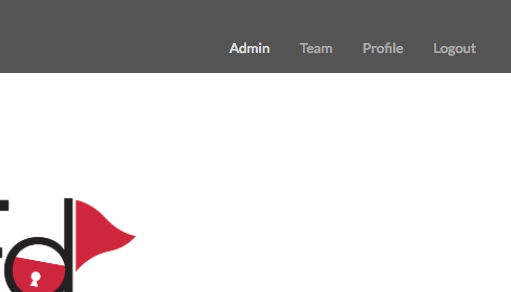
Upon creating the admin account, you will be redirected to the default home page. To setup your CTF further you will need to access the admin panel from the top right.
From the admin panel we can create our first challenge and also configure attributes like when to open the CTF to competitors and when to end the CTF.
From the admin panel, click on the Challenges link in the navigation bar.
Then click on the New Challenge button near the top of the page.
You should see something similar to the following image:
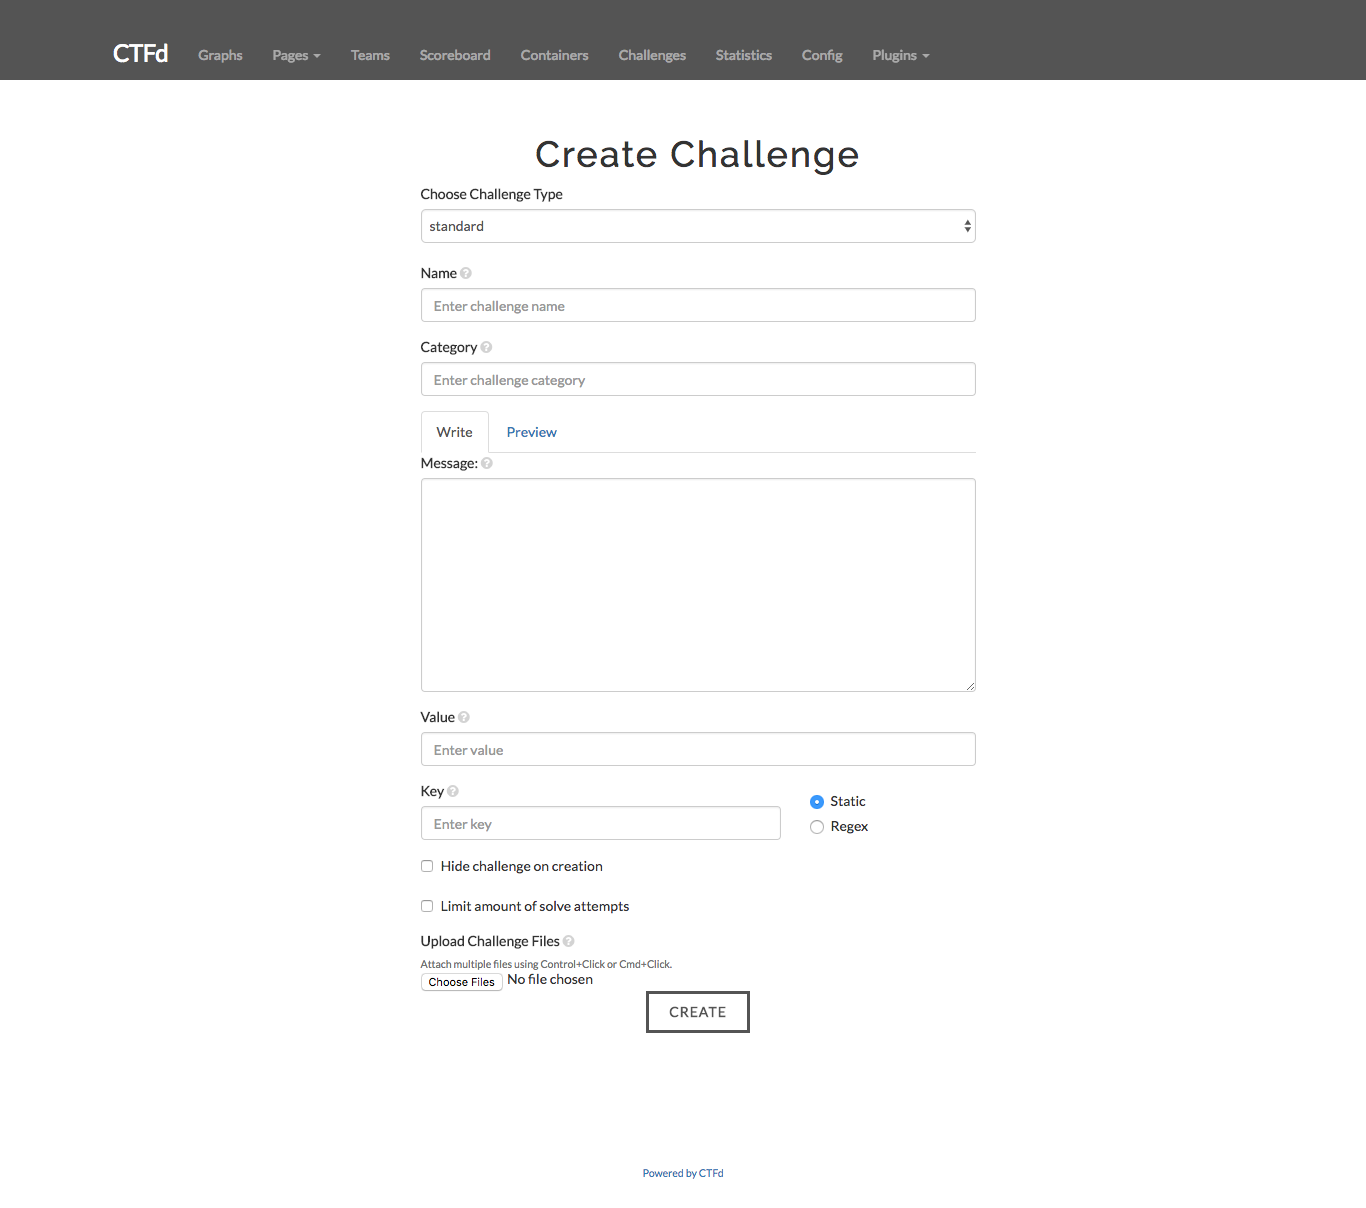
Here you can give your challenge:
- a name
- a point value
- a description
- add any associated files
- and a flag.
Static flags are flags which are compared statically to the user's answer. If the user's answer matches exactly to your flag the user is marked correct.
Regex flags are flags which are compared using a regular expression. CTFd's regular expressions are always case insensitive. To test your regular expressions you can use the pythex website.
Once you're ready click the Create button at the bottom of the page.
If you didn't choose to hide your challenge and the CTF has started, your challenge is now visible to users.
CTFd allows you to create new pages using the Pages feature. To access it, click the Pages dropdown in the navigation bar and select All Pages.
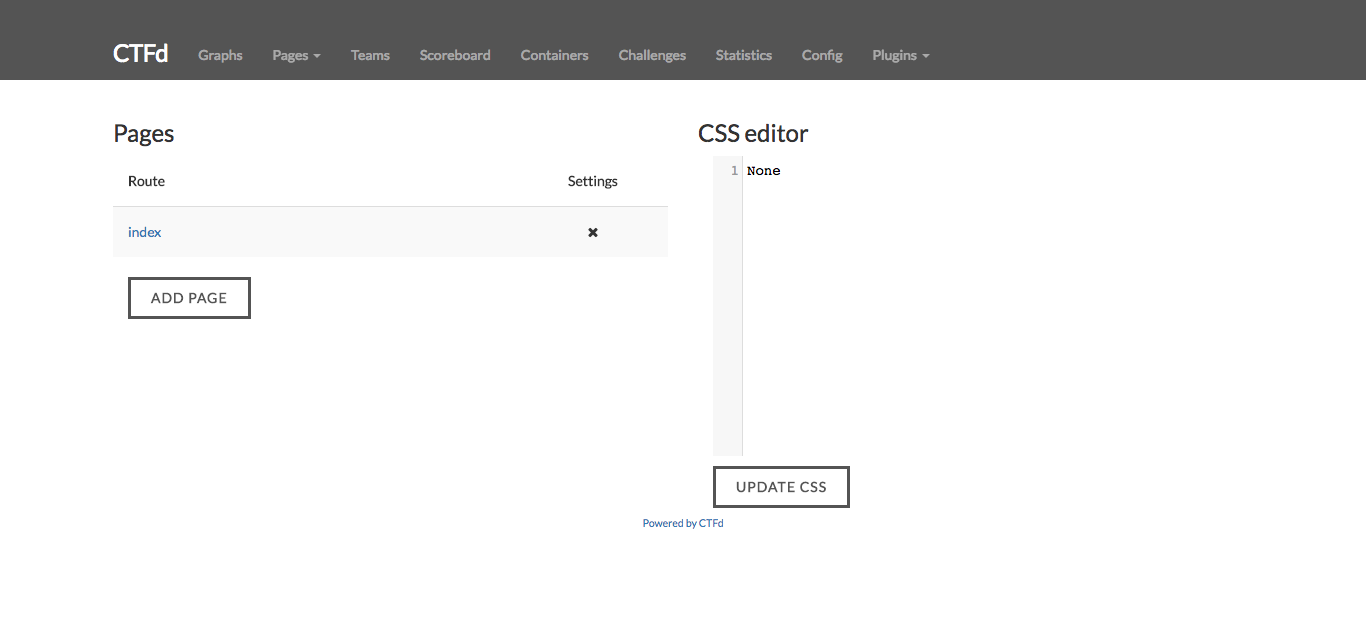
From here you will be able to add any custom CSS that you would like to apply to every page. This CSS is loaded by default by the default theme of CTFd.
This CSS can be accessed at
/static/user.css
By clicking the Add Page button, you will be taken to the page editor
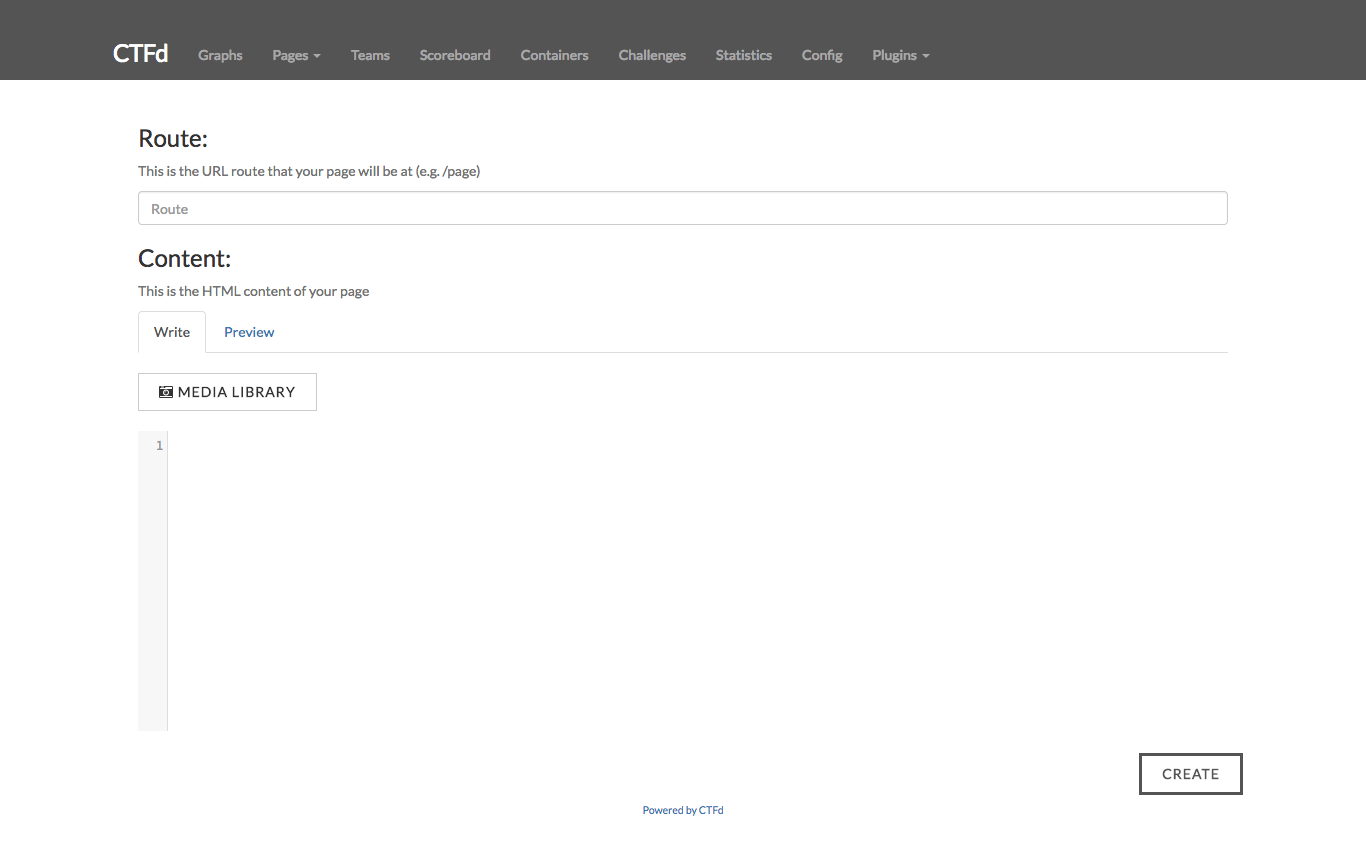
From here you can specify the content of the page and the route where the page will be accessible.
The content can be written in Markdown or HTML and the route will be accessible by /<route> where <route> is the endpoint you specify (e.g. wiki, faq, news). At the moment all routes are displayed for users in the navigation bar.
If you need to add files to your page (photos, videos, source code files, etc.) you can use the Media Library to upload any file you need to.
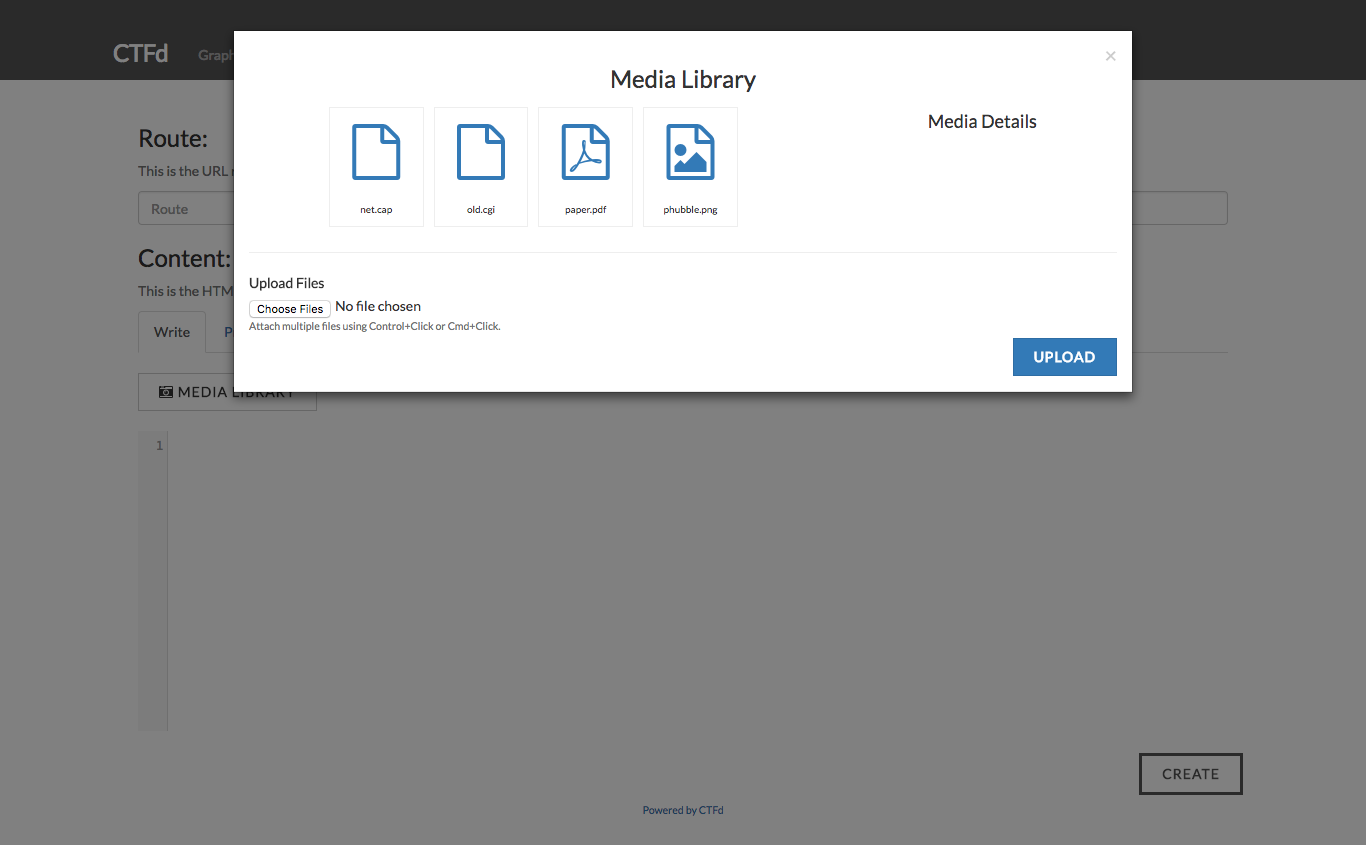
Once a file is uploaded, links can be added to it from the pages content.
CTFd supports importing and exporting CTFs allowing you to reuse the content you've written for one CTF into another. This can be very useful for saving team information, challenges, or configuration values.
To import/export a CTF from the command line you can run the included import.py and export.py scripts.
To import/export a CTF from the admin panel, you can visit the Config page and click on the Backup tab as shown below:
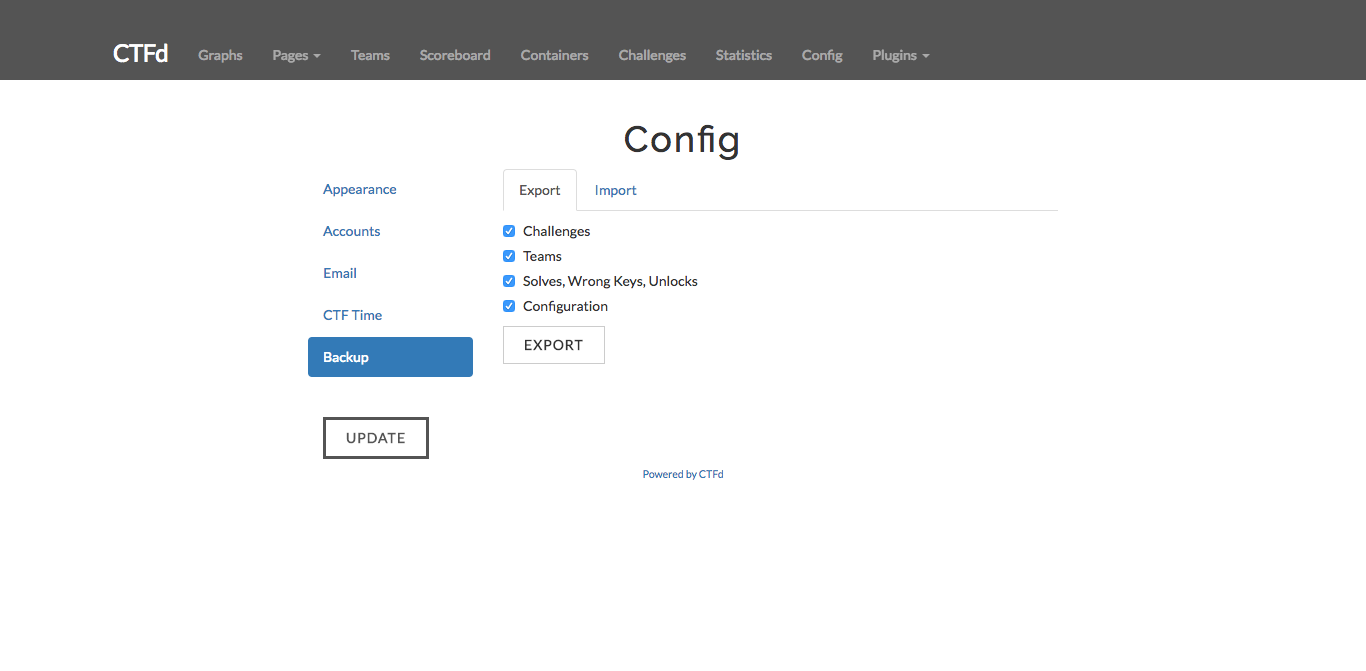
From here you can click the export button to export the selected information into a zip file.
Conversely, you can click the Import tab to import a saved zip file.