- src/actions/InvoiceActions.js
- src/components/InvoiceES6
- src/sources/InvoiceSource.js
- stc/stores/InvoiceStore.js
- src/components/Invoice - files from this location can be copied to any other react project. This version requires bootstrap to be displayed correctly
- to display this version use
<Invoice source="https://still-scrubland-9880.herokuapp.com/bill.json" />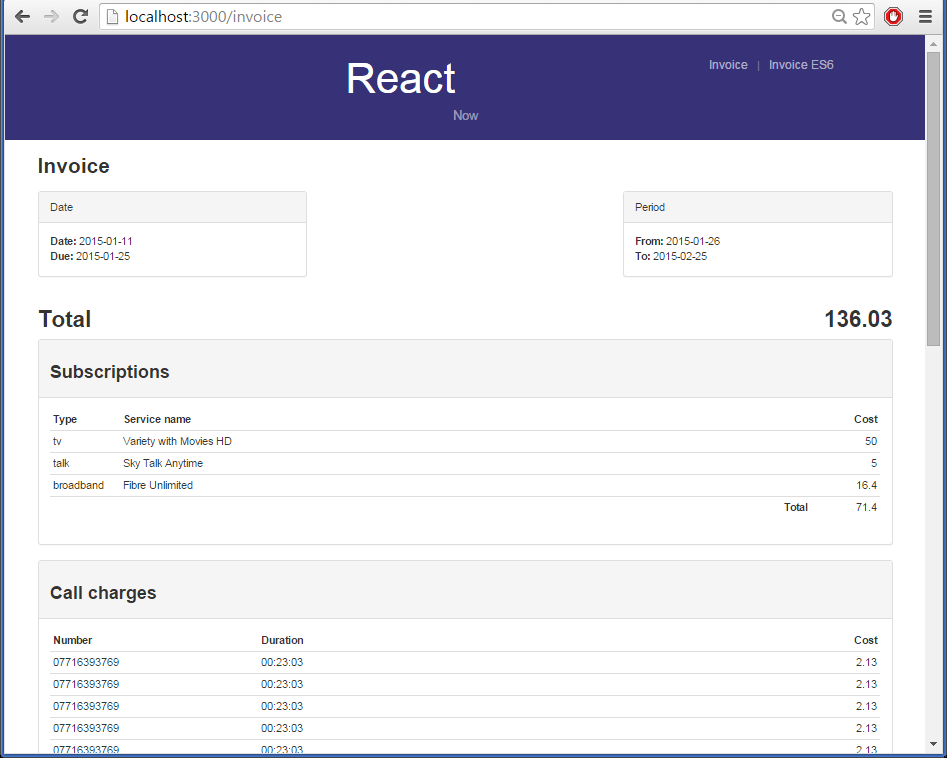
- Clone this repo
- make sure you have node 4.0.0
- install Babel - npm install -g babel
- npm install (ignore browser-sync errors)
- npm start - which should open the website in localhost:3000
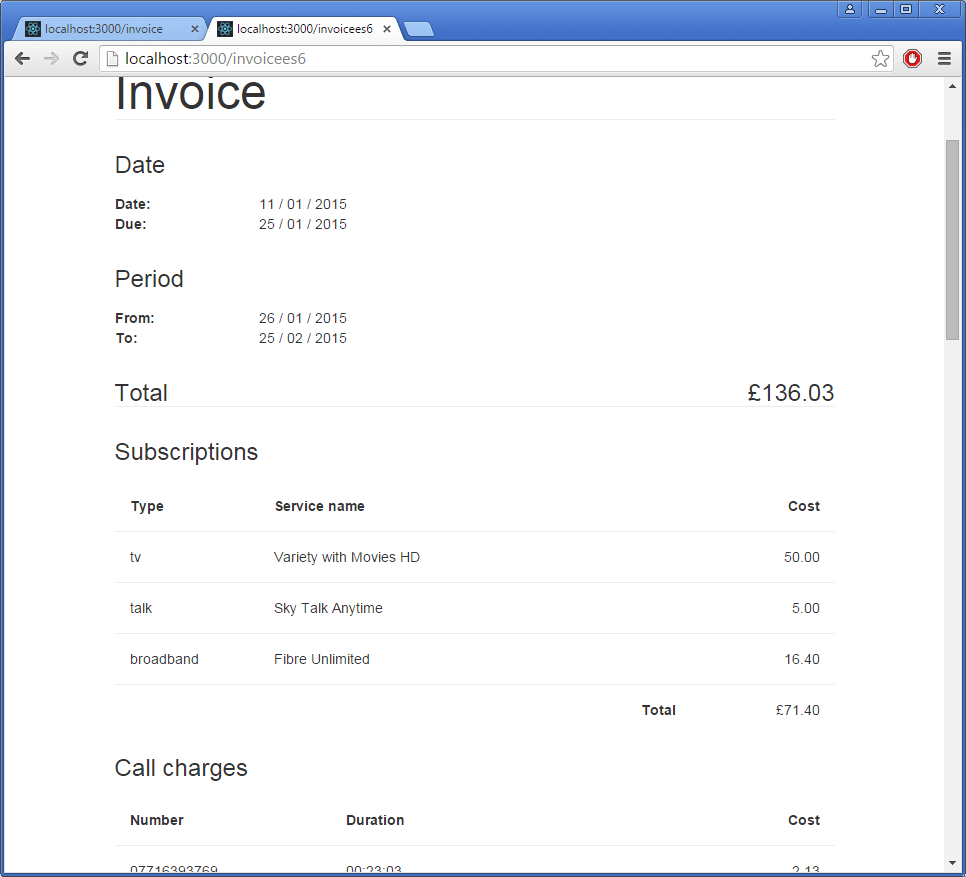
- Two links in the upper right corner lead to 2 versions of the bill. "Invoice" is simple and is using bootstrap and "Invoice ES6" is more complex. Files belonging to each version are shown below.
- Yeoman react-fullstack template React Starter Kit
- React 14
- Bootstrap
- Postcss
- alt for Flux
.
├── /build/                     # The folder for compiled output
├── /docs/                      # Documentation files for the project
├── /node_modules/              # 3rd-party libraries and utilities
├── /src/                       # The source code of the application
│   ├── /api/                   # REST API / Relay endpoints
│   ├── /actions/               # Action creators that allow to trigger a dispatch to stores
│   ├── /components/            # React components
│   ├── /constants/             # Constants (action types etc.)
│   ├── /content/               # Static content (plain HTML or Markdown, Jade, you name it)
│   ├── /core/                  # Core components (Flux dispatcher, base classes, utilities)
│   ├── /decorators/            # Higher-order React components
│   ├── /public/                # Static files which are copied into the /build/public folder
│   ├── /stores/                # Stores contain the application state and logic
│   ├── /templates/             # HTML templates for server-side rendering, emails etc.
│   ├── /utils/                 # Utility classes and functions
│   ├── /app.js                 # Client-side startup script
│   └── /server.js              # Server-side startup script
├── /tools/                     # Build automation scripts and utilities
│   ├── /lib/                   # Library for utility snippets
│   ├── /build.js               # Builds the project from source to output (build) folder
│   ├── /bundle.js              # Bundles the web resources into package(s) through Webpack
│   ├── /clean.js               # Cleans up the output (build) folder
│   ├── /config.js              # Webpack configuration for application bundles
│   ├── /copy.js                # Copies static files to output (build) folder
│   ├── /deploy.js              # Deploys your web application
│   ├── /serve.js               # Launches the Node.js/Express web server
│   └── /start.js               # Launches the development web server with "live reload"
│── package.json                # The list of 3rd party libraries and utilities
└── preprocessor.js             # ES6 transpiler settings for Jest
Just clone or fork the repo and start hacking:
$ git clone -o react-starter-kit -b master --single-branch \
      https://github.com/kriasoft/react-starter-kit.git MyApp
$ cd MyApp
$ npm install                   # Install Node.js components listed in ./package.json
$ npm start # Compile and launch$ npm run build # or, `npm run build -- release`By default, it builds in a debug mode. If you need to build in a release
mode, just add -- release flag. This will optimize the output bundle for
production deployment.
$ npm start # or, `npm start -- release`This will start a lightweight development server with "live reload" and synchronized browsing across multiple devices and browsers.
$ npm run deploy # or, `npm run deploy -- production`For more information see tools/deploy.js.
You can always fetch and merge the recent changes from this repo back into your own project:
$ git checkout master
$ git fetch react-starter-kit
$ git merge react-starter-kit/master
$ npm installRun unit tests powered by Jest with the following npm command:
$ npm testTest any javascript module by creating a __tests__/ directory where
the file is. Name the test by appending -test.js to the js file.
Jest will do the rest.