Using PacketProxy
- Launch
- HTTP Communication
- HTTPS Communication
- TCP Binary Communication
- Filtering
- Forwarding
- Get Diff
- Forwarding with DNS Overwrite
Click on  .
.
The following dialogue box will appear.
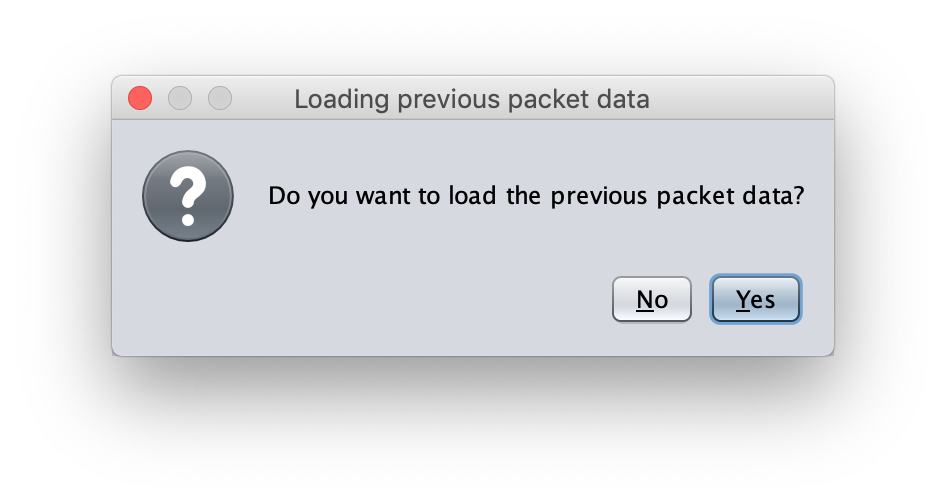
Select No to clear all previous packet data and launch in an initialized state, and select Yes to keep previous packet data and launch. (Even if you decide to keep previous packet data, you can clear it later through the right click menu)
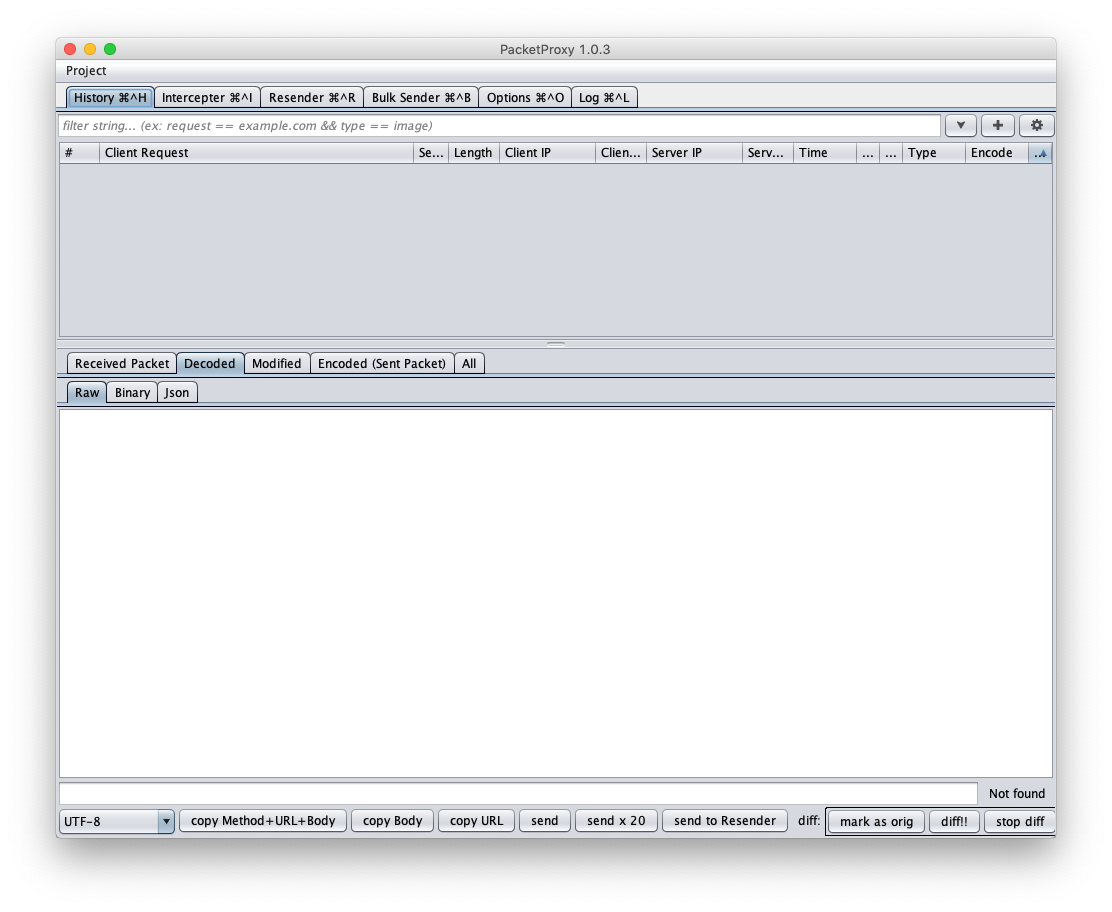
PacketProxy will launch.
Open the Options tab, and add the following settings to Listen Ports.
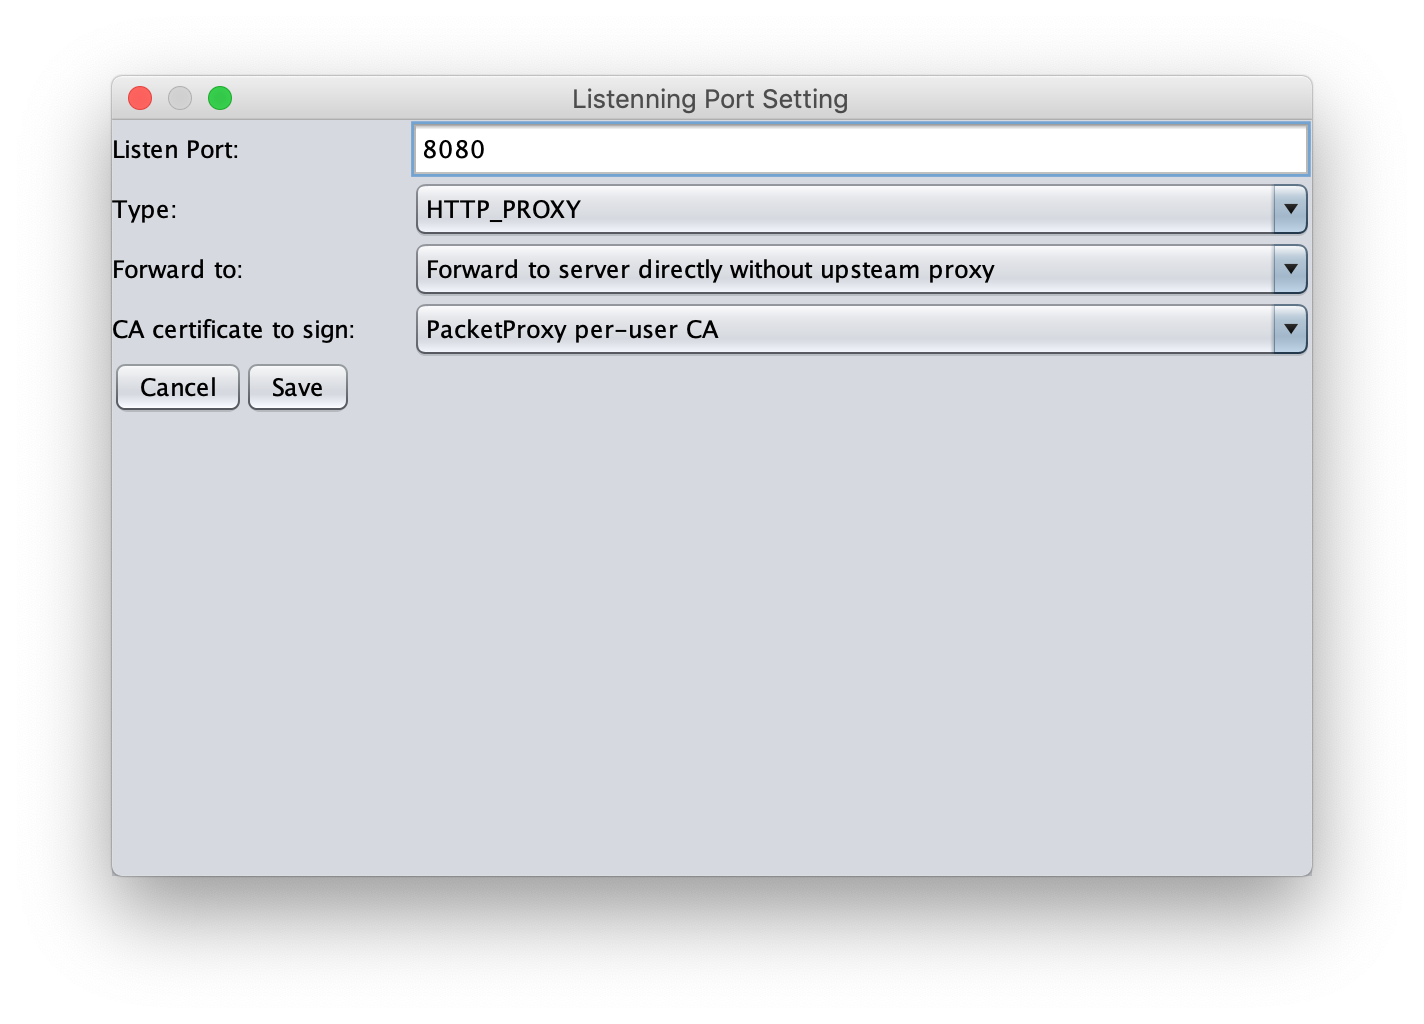
Through these settings, we launch the proxy server at the 8080 port of the local host.
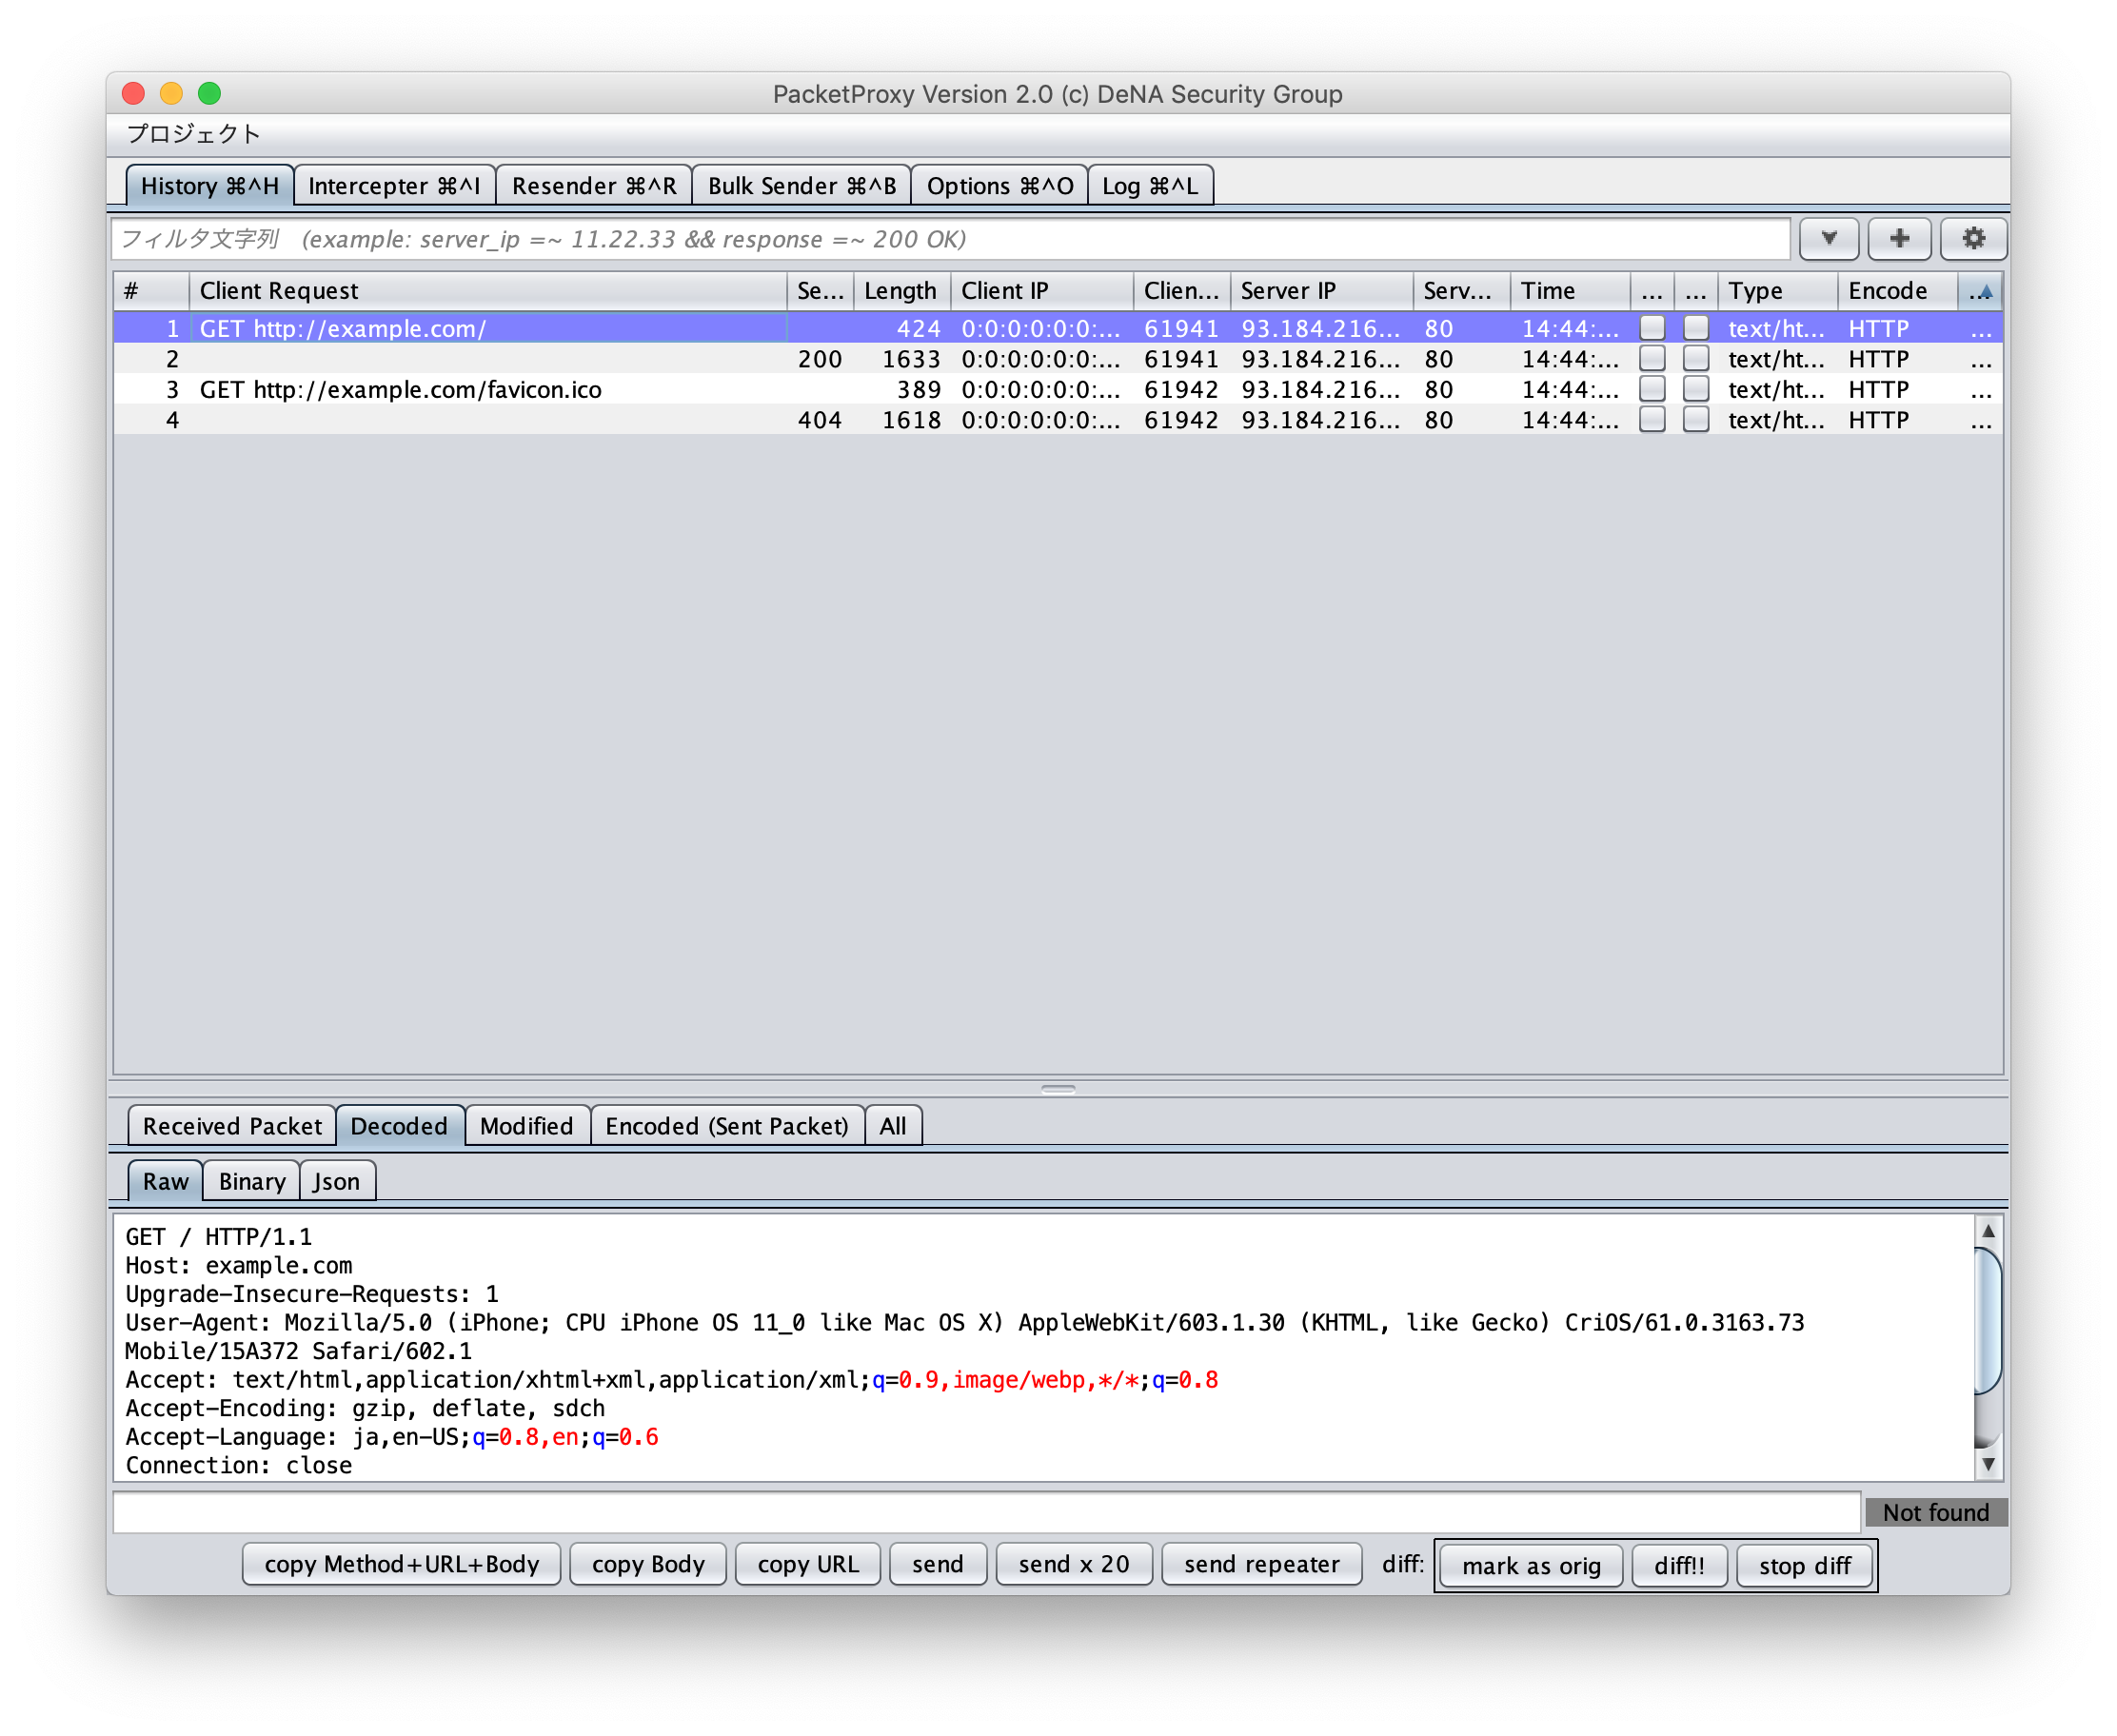
The browser is set to send proxy signals to the 8080 port of the local host. Access http://example.com from your browser.
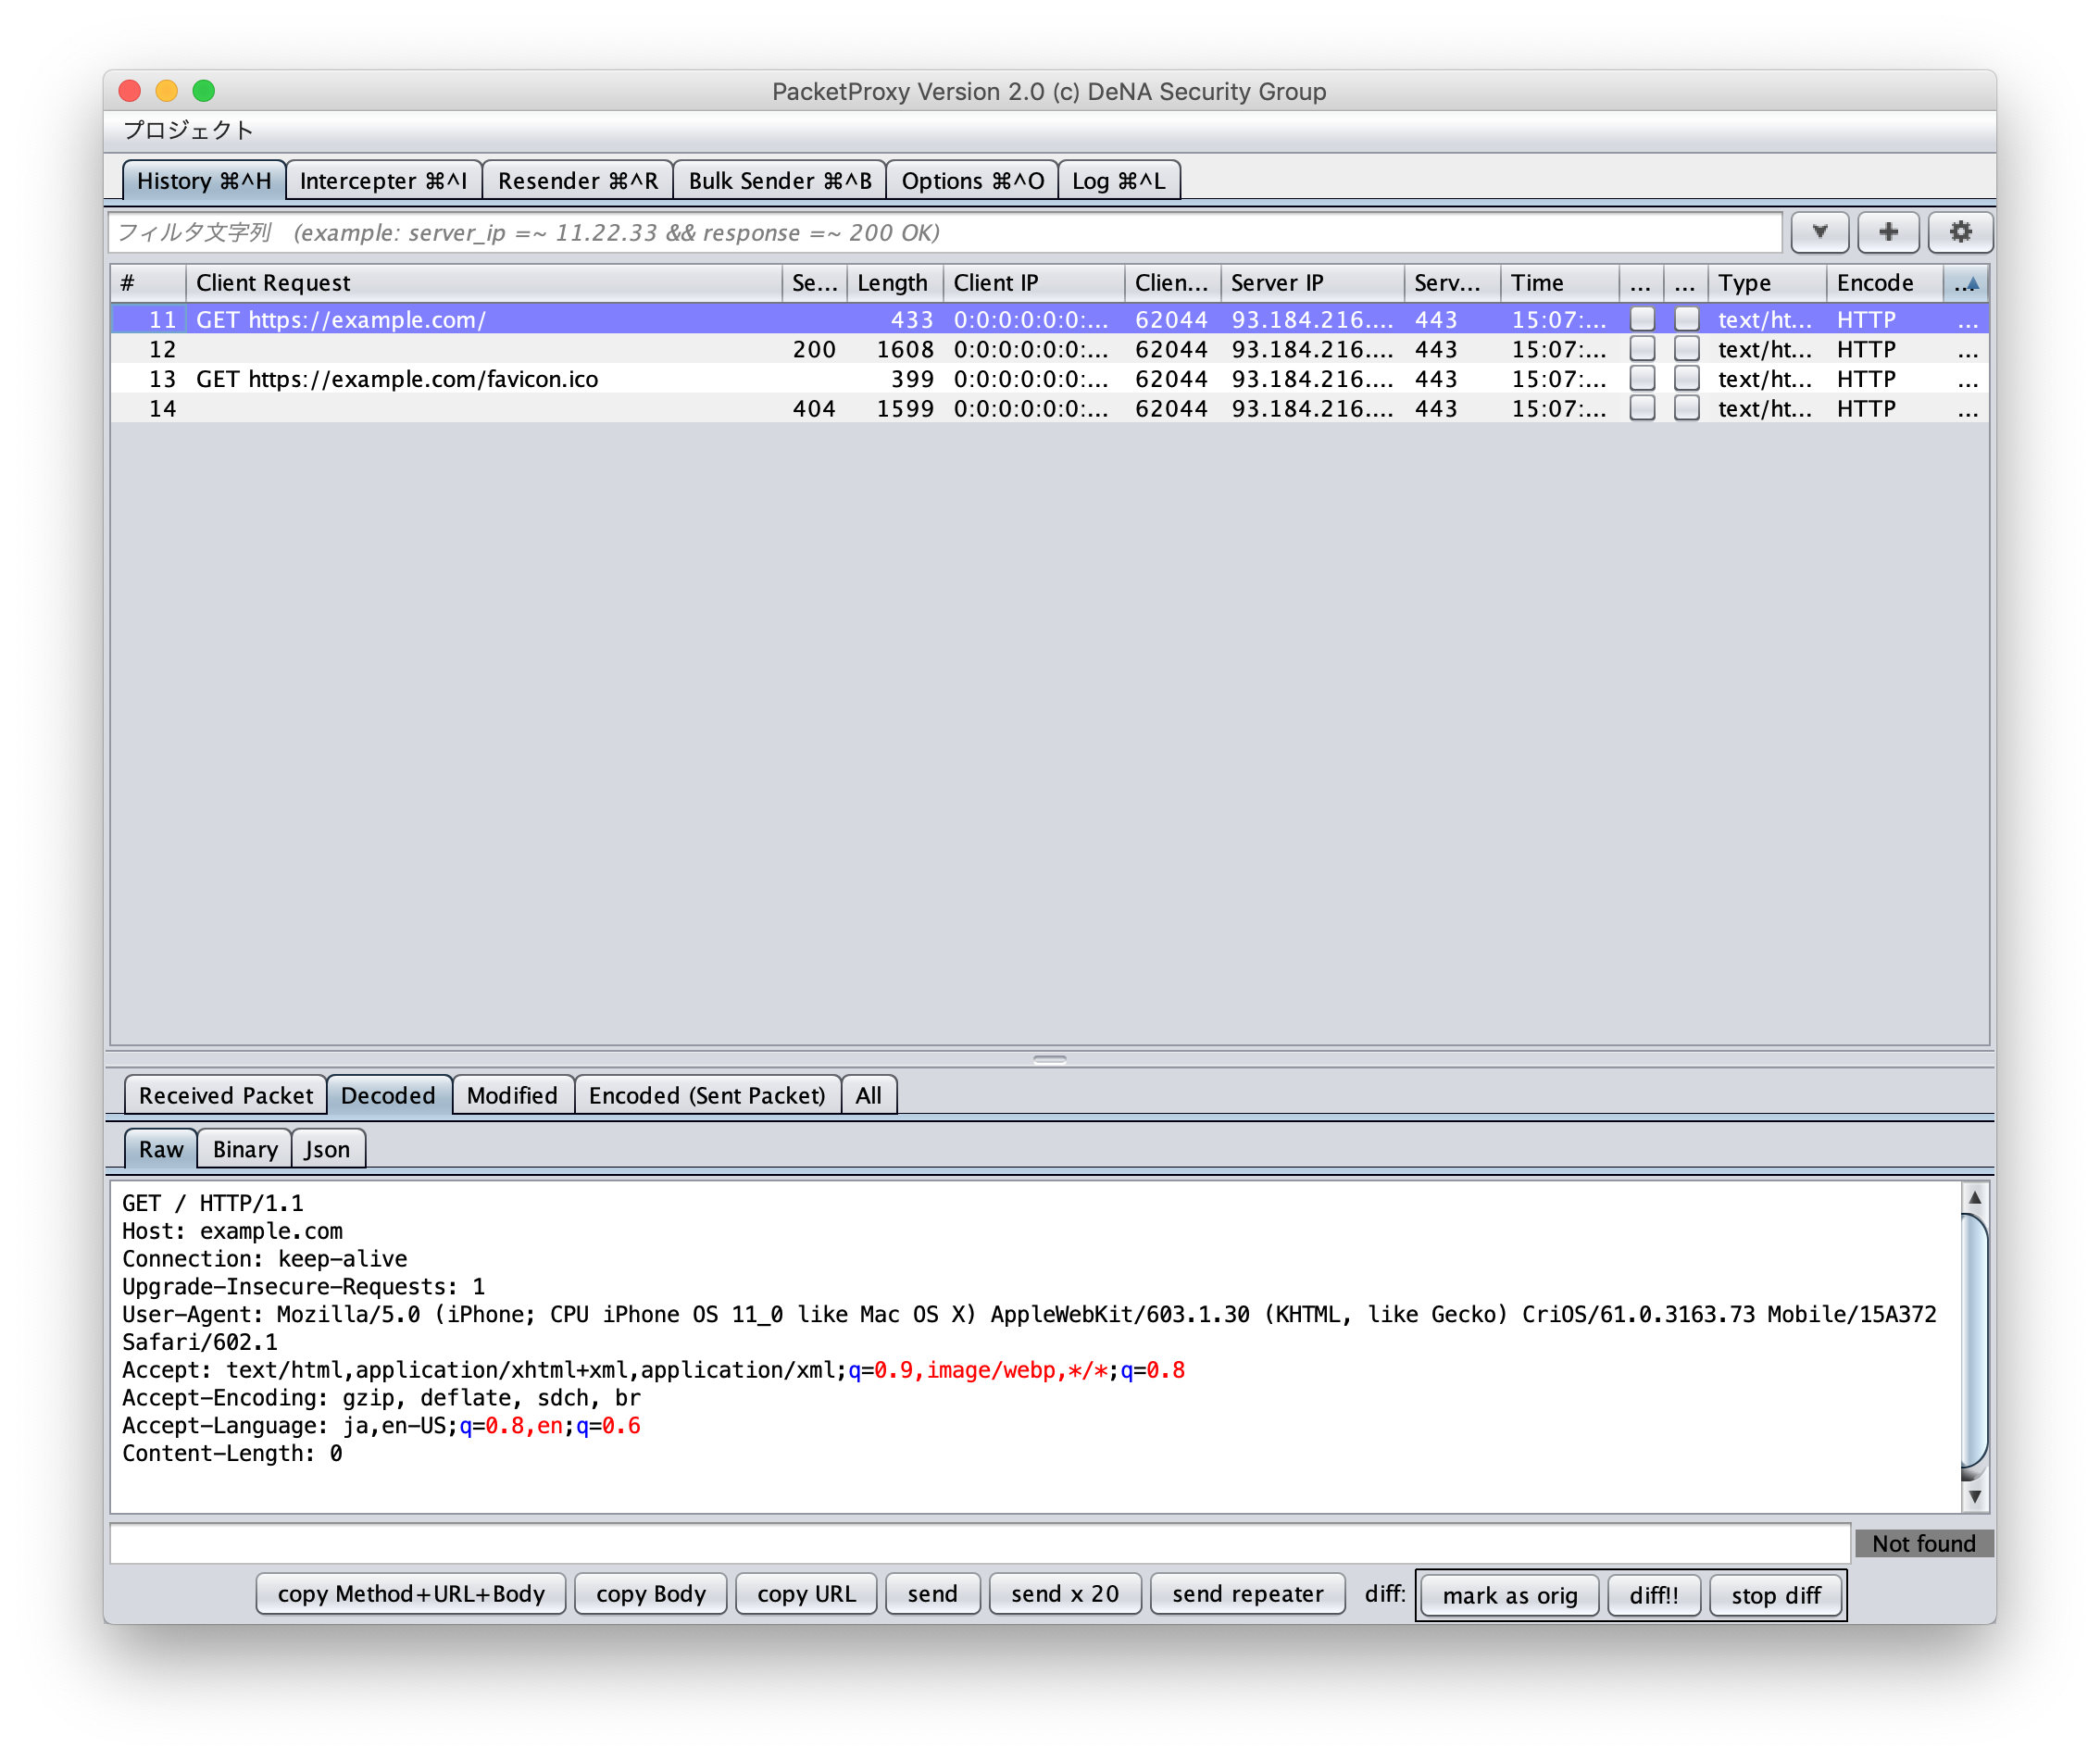
You should be able to see HTTP communication in PacketProxy.
First, we need to add the PacketProxy CA certificate to the trusted root CA list managed by the OS through the following steps.
- Export the PacketProxy CA certificate. This is at the bottom of the PacketProxy
Optionstab.
- Install the exported PacketProxy CA certificate in the trusted root CA list managed by the OS.
Once the CA certificate has been installed, set up Listen Ports in the Options tab, just as for HTTP Communication.
Once the proxy settings are complete, go to https://example.com from your browser.
You should be able to see HTTPS communication in PacketProxy.
PacketProxy can be used to see TCP binary communication like Telnet.
Set up the localhost 8888 port as a simple Telnet server.
$ nc -k -l 8888Register this server in the Servers setting under the PacketProxy Options tab.
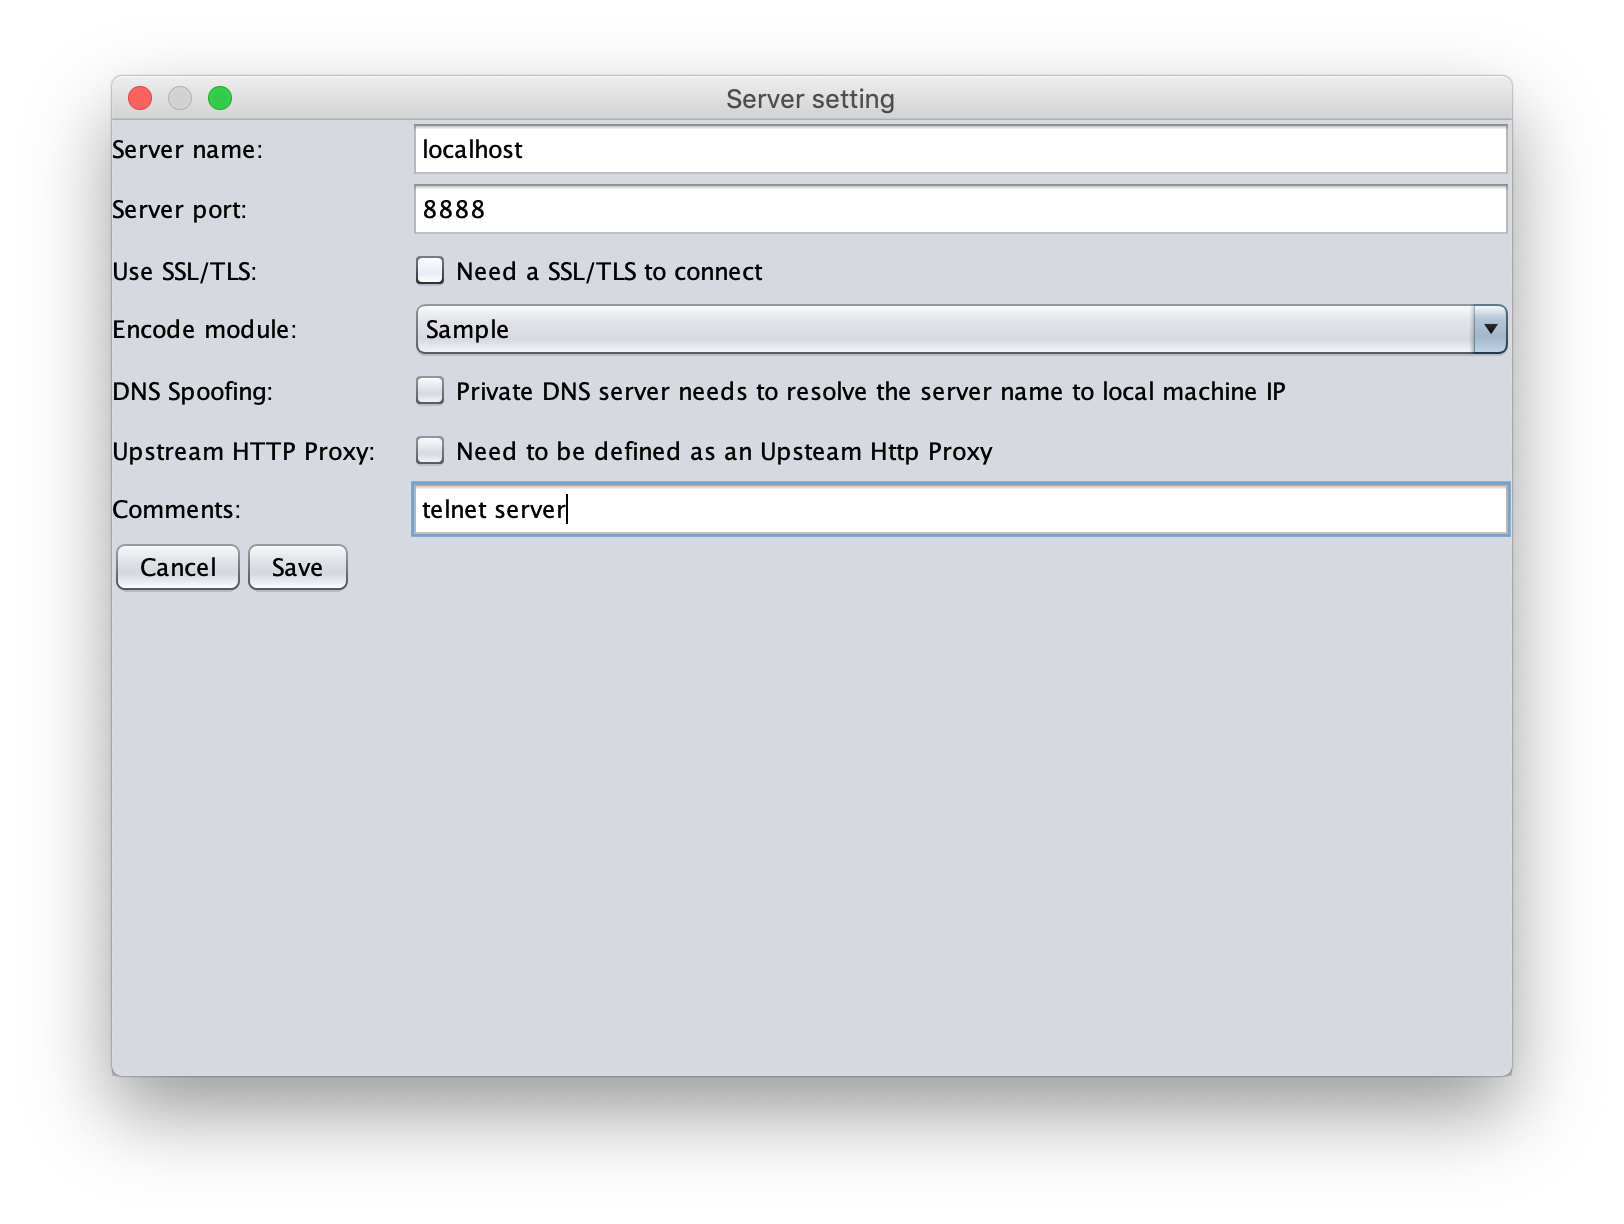
Sample, which was designated as the Encode Module, is simply a sample that does not do any processing.
Register a port in the Listen Ports setting under the PacketProxy Options tab.
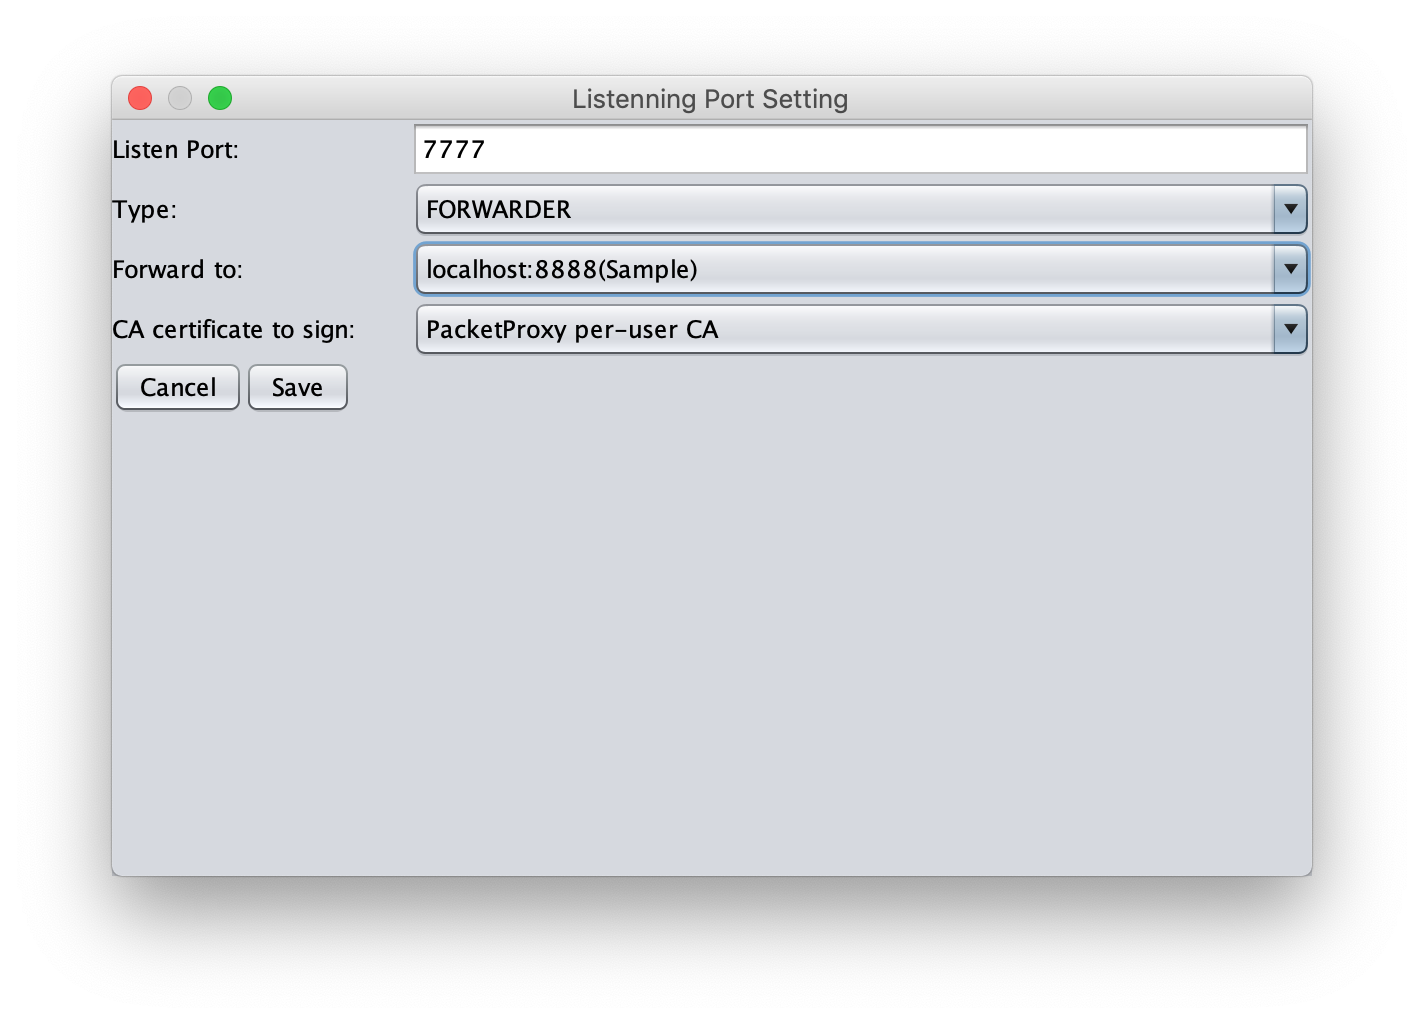
By using FORWARDER as the Type, packets that arrive at the 7777 port can be forwarded to the forwarding server (localhost 8888 port) without any extra work.
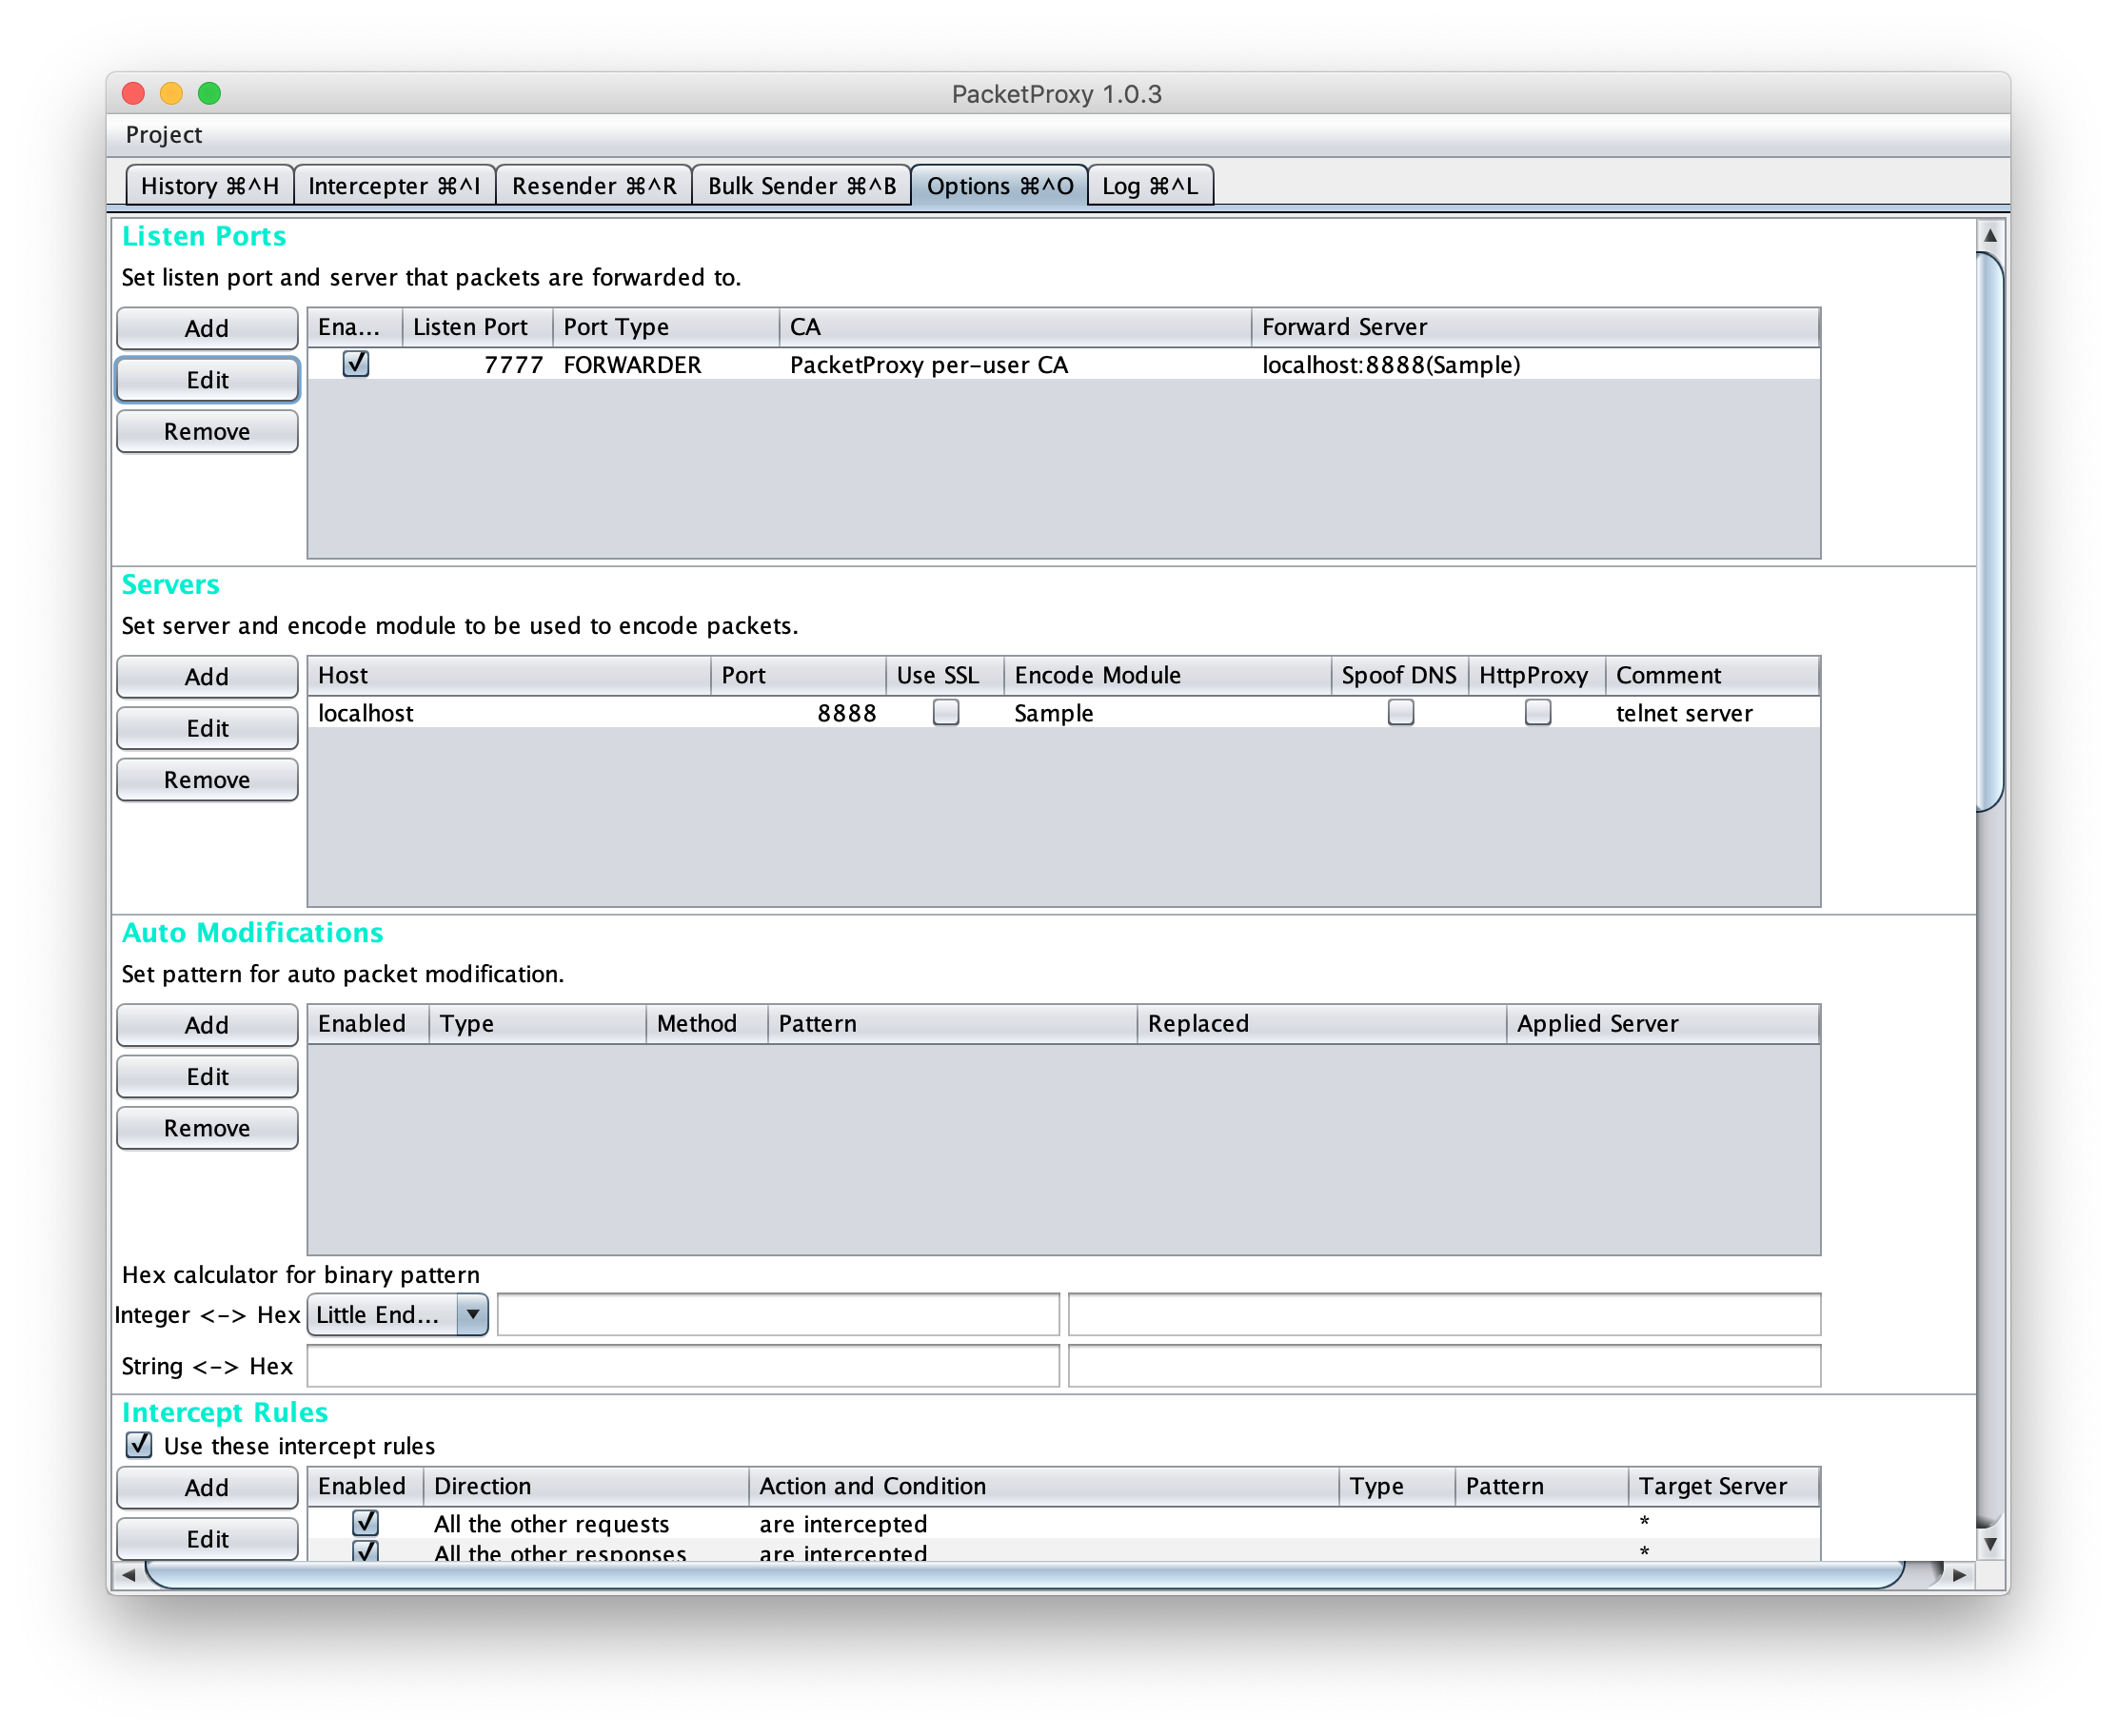
The final Options settings looks like this.
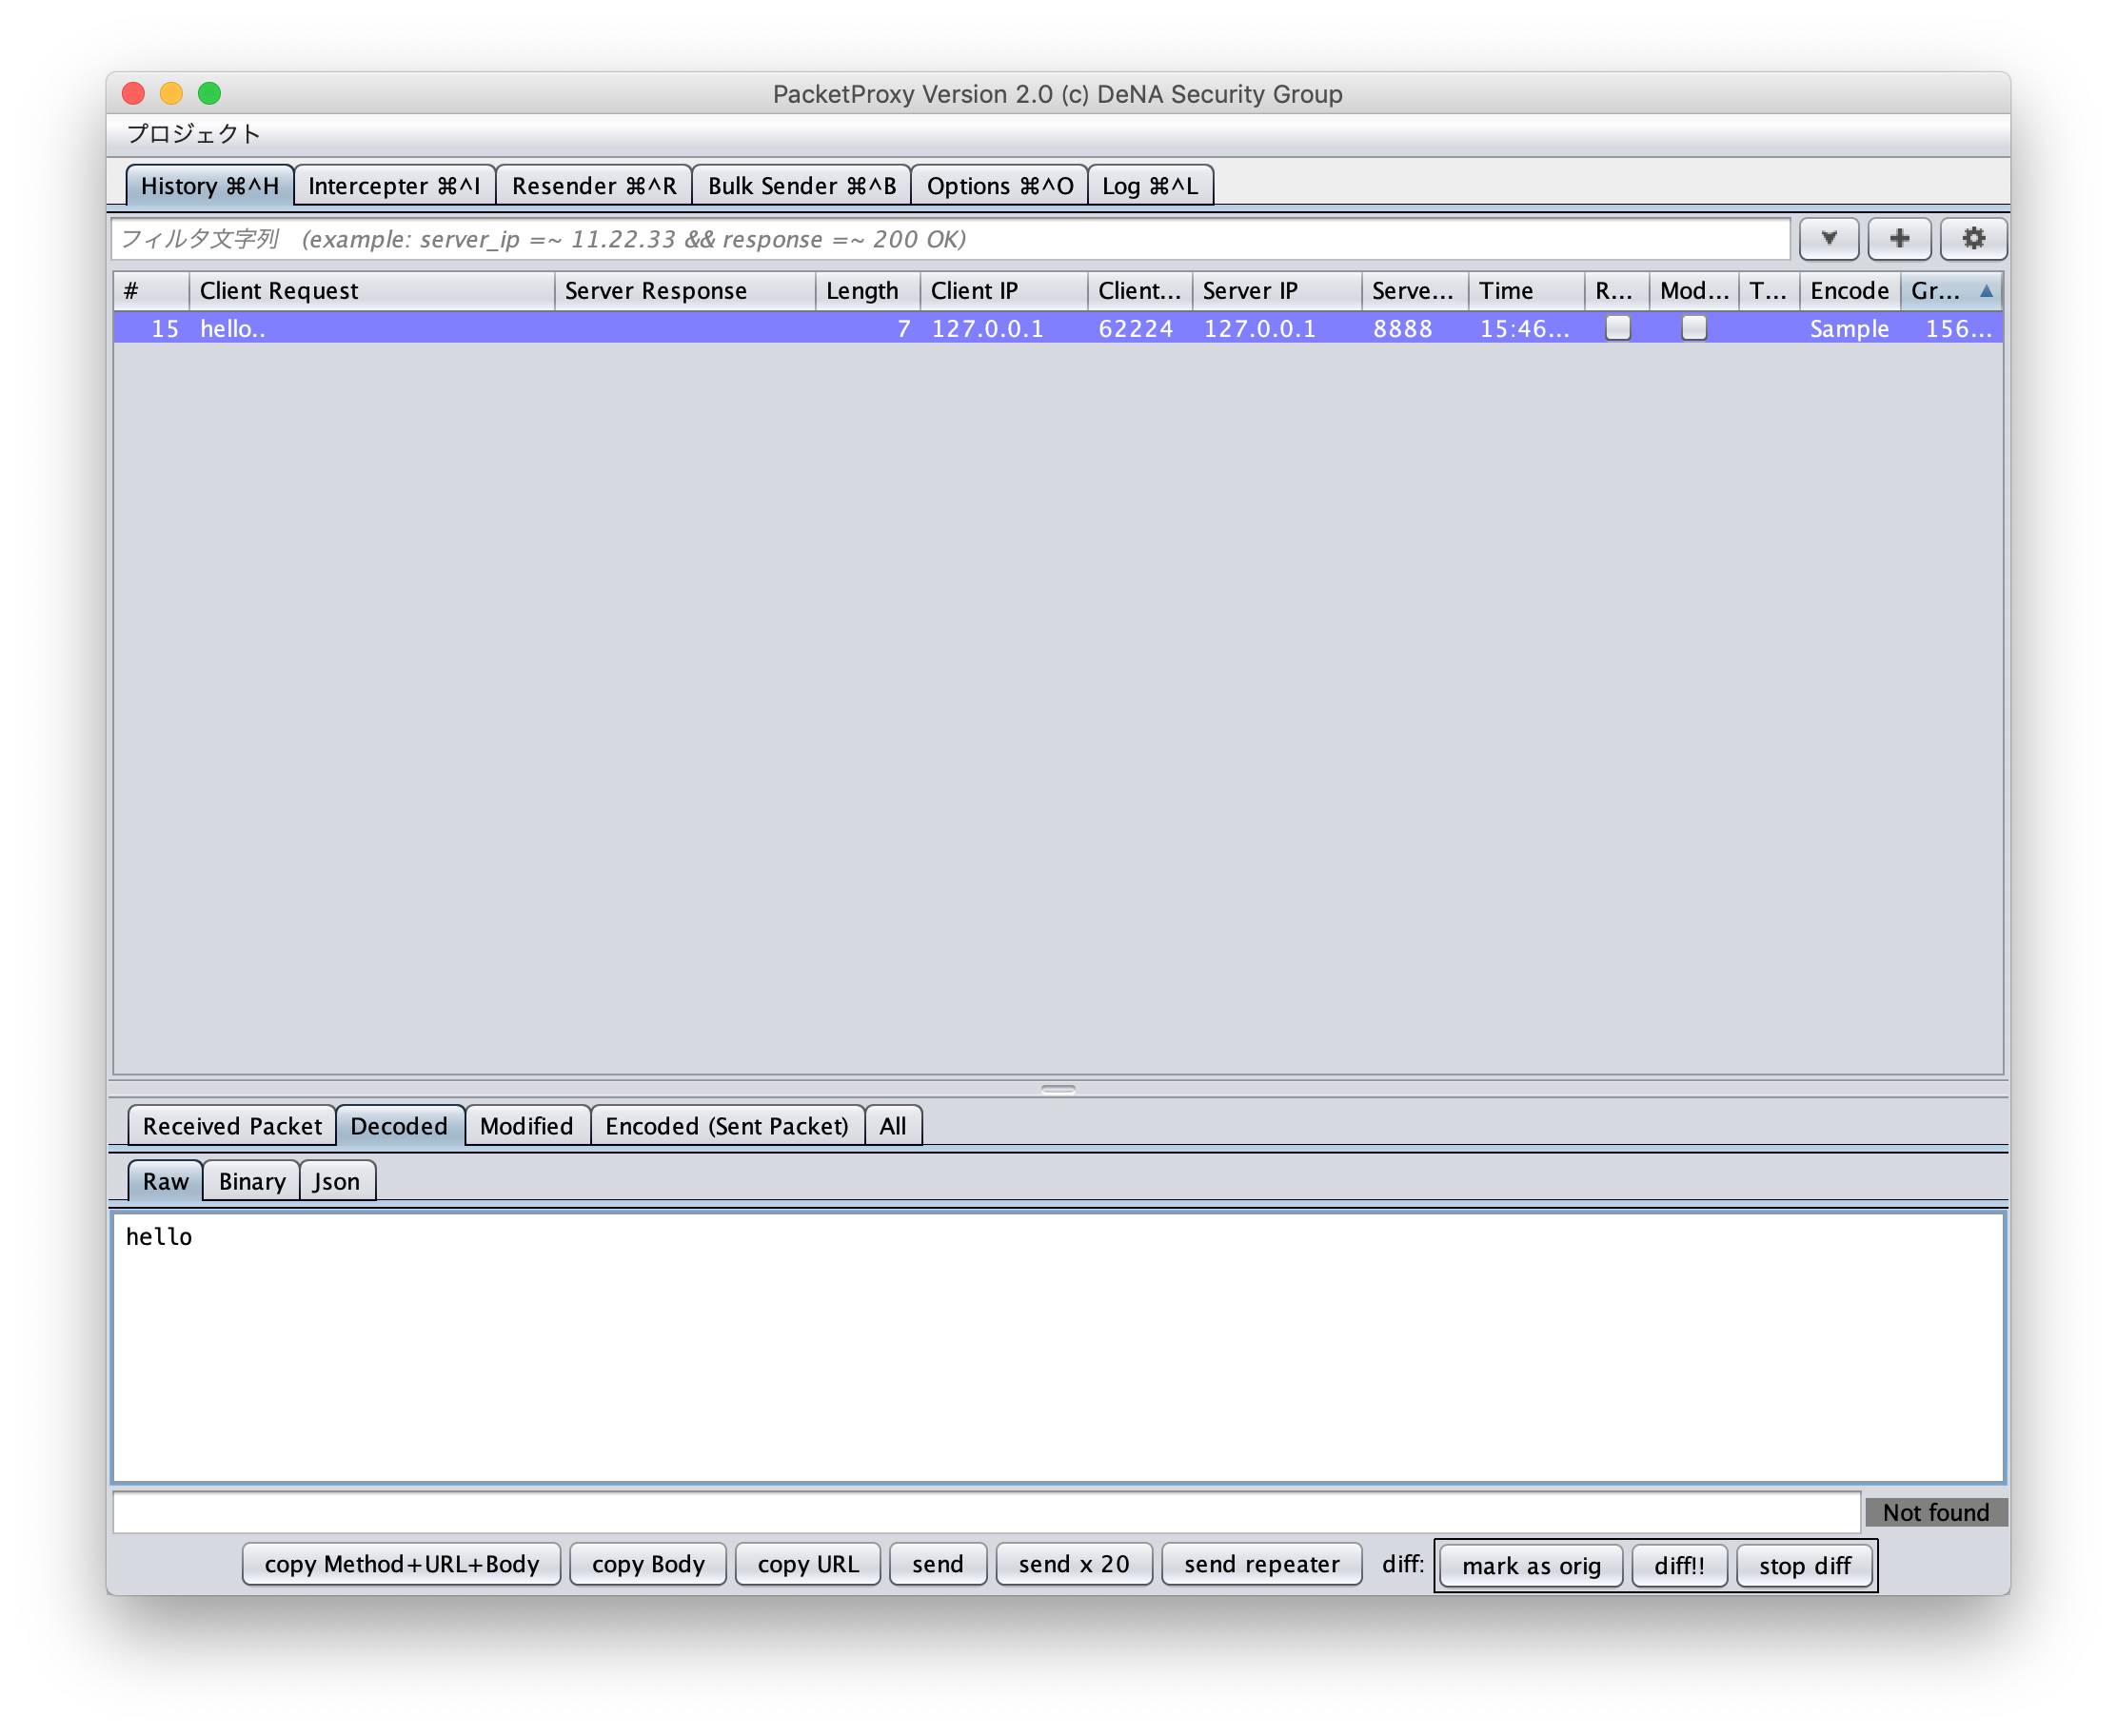
Once everything is ready, access the localhost 7777 on telnet and type hello.
$ telnet -4 localhost 7777
Trying 127.0.0.1...
Connected to localhost.
Escape character is '^]'.
hello
You should now be able to see TCP binary communication in PacketProxy.
Packets shown on the History page can be filtered by column and full text search.
For convenience, requests and responses are managed to form pairs, so if one is matched, then the other is also matched.
Try accessing example.com, google.com, and github.com to see how the filter works.
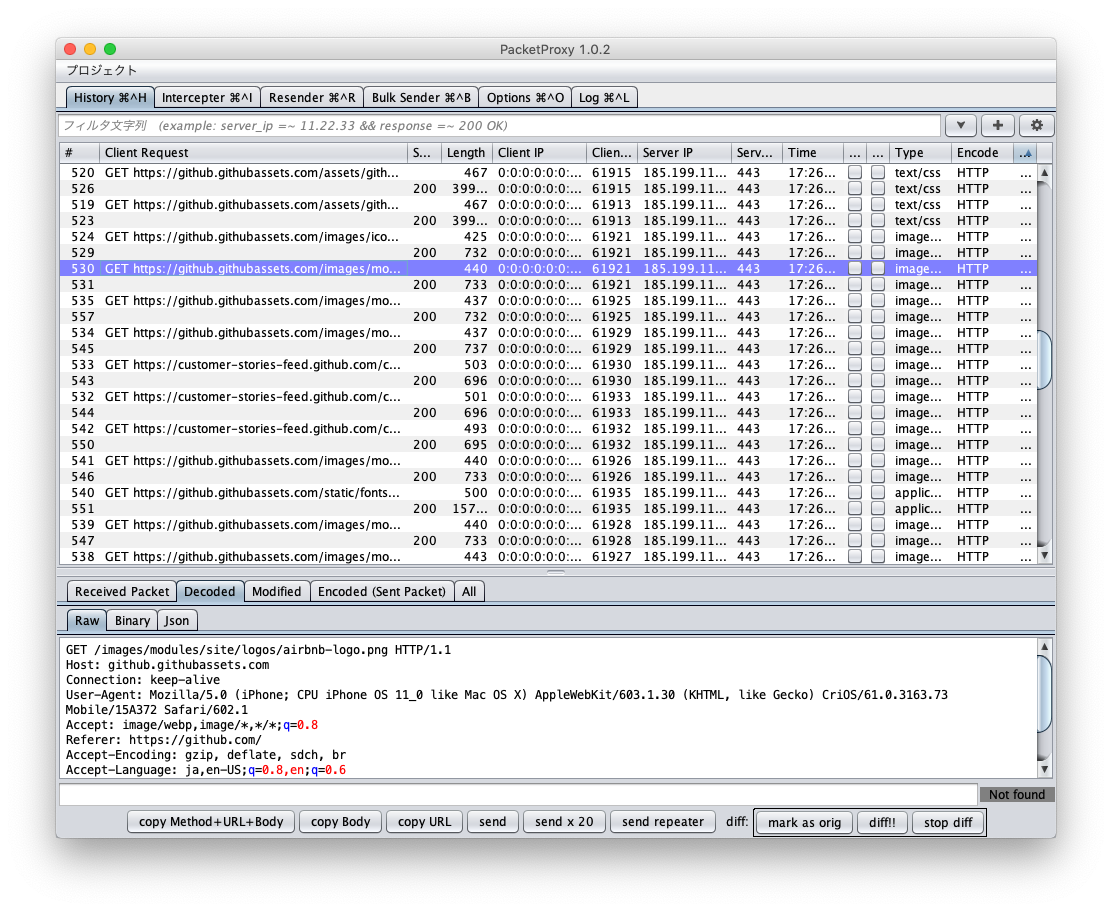
A large number of packets are shown, and this is hard to read. Let’s look at just google.

Now only packets with the keyword google in the request column are shown.
There are many other filters, including the examples below.
-
request == google || request == github- Includes google or github
-
request == google && type == image- google, and the type is image
-
request == google && full_text == secret- google, and secret included in data
The following are options to use for the column name.
id, request, response, length, client_ip, client_port, server_ip, server_port,
time, resend, modified, type, encode, group
The following can be used for full text search.
full_text
You can forward packets by selecting the packet you want to forward from the history screen, and clicking send on the bottom of the page. Alternatively, you can select send from the right click menu.
First select the packet you want to forward from the history screen, then click the send to resender button on the bottom of the page to copy the packet to the Resender tab.
The copied packet in the Resender tab looks like this.
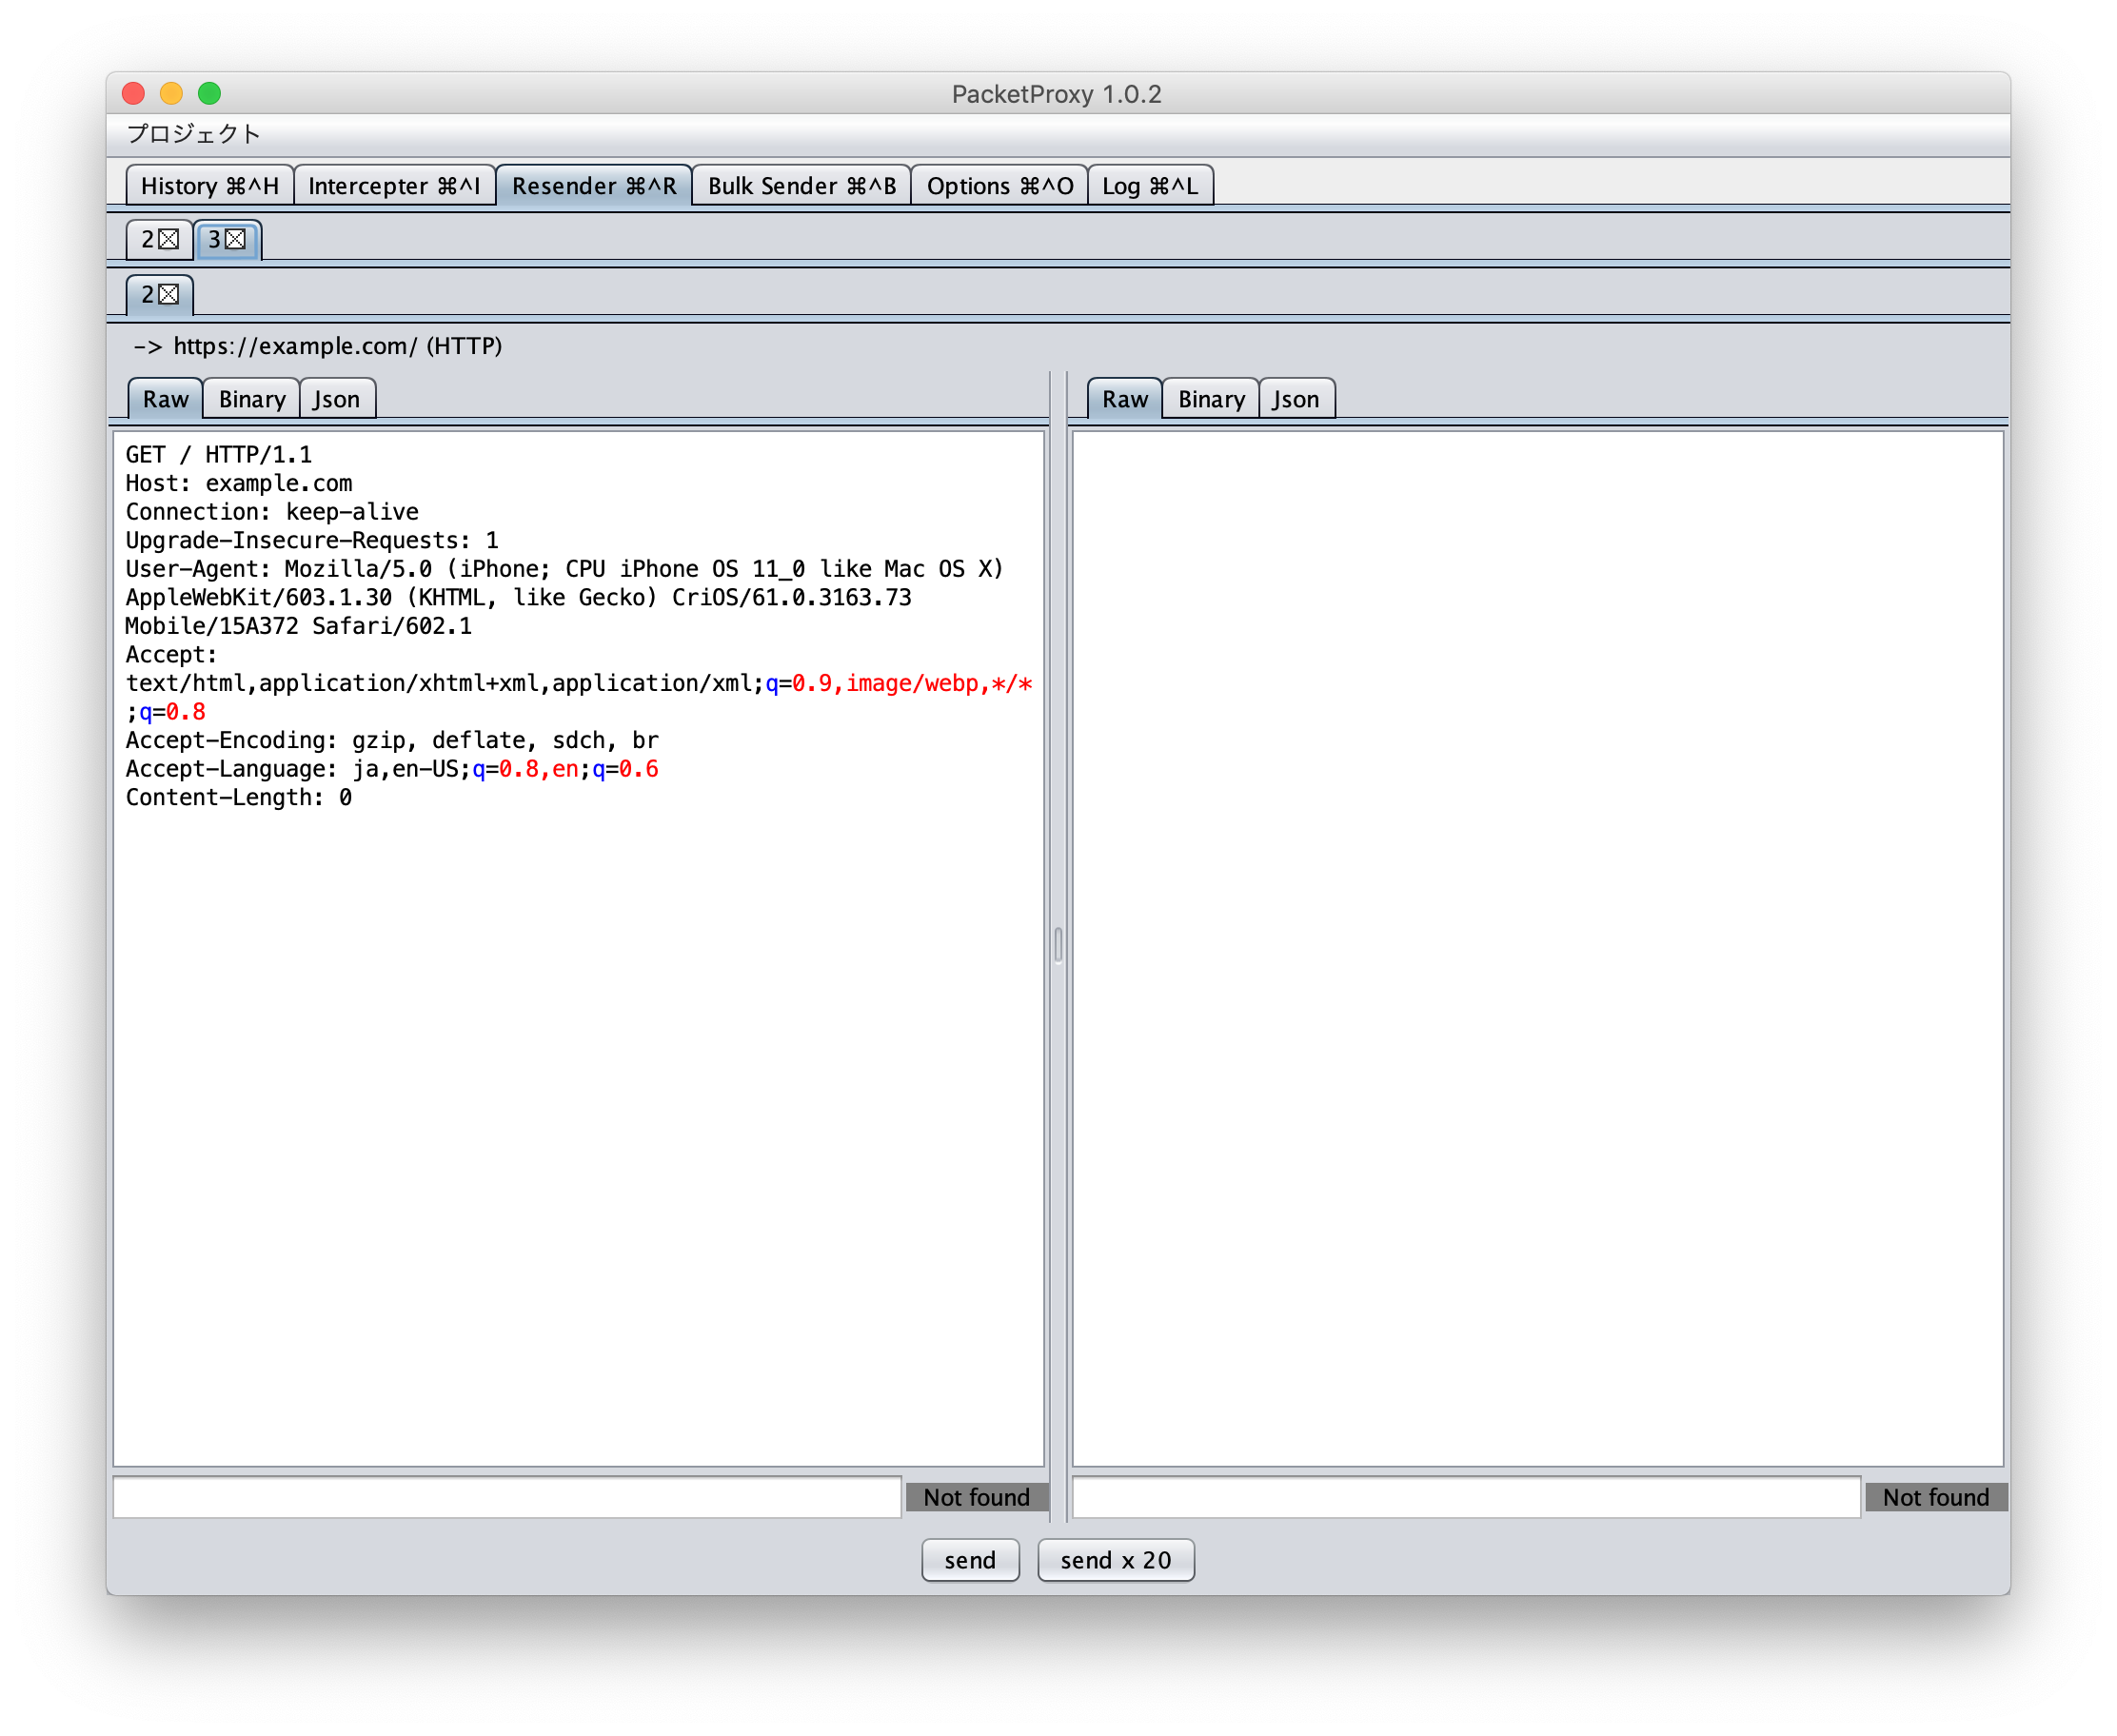
Edit the packet as necessary, and select send on the bottom of the page to forward.
Using Diff, you can see the difference between two packets.
First select one packet from the history screen, mark with mark as orig from the bottom of the page, then select the second packet from the history screen and mark with diff! to open the Diff screen.
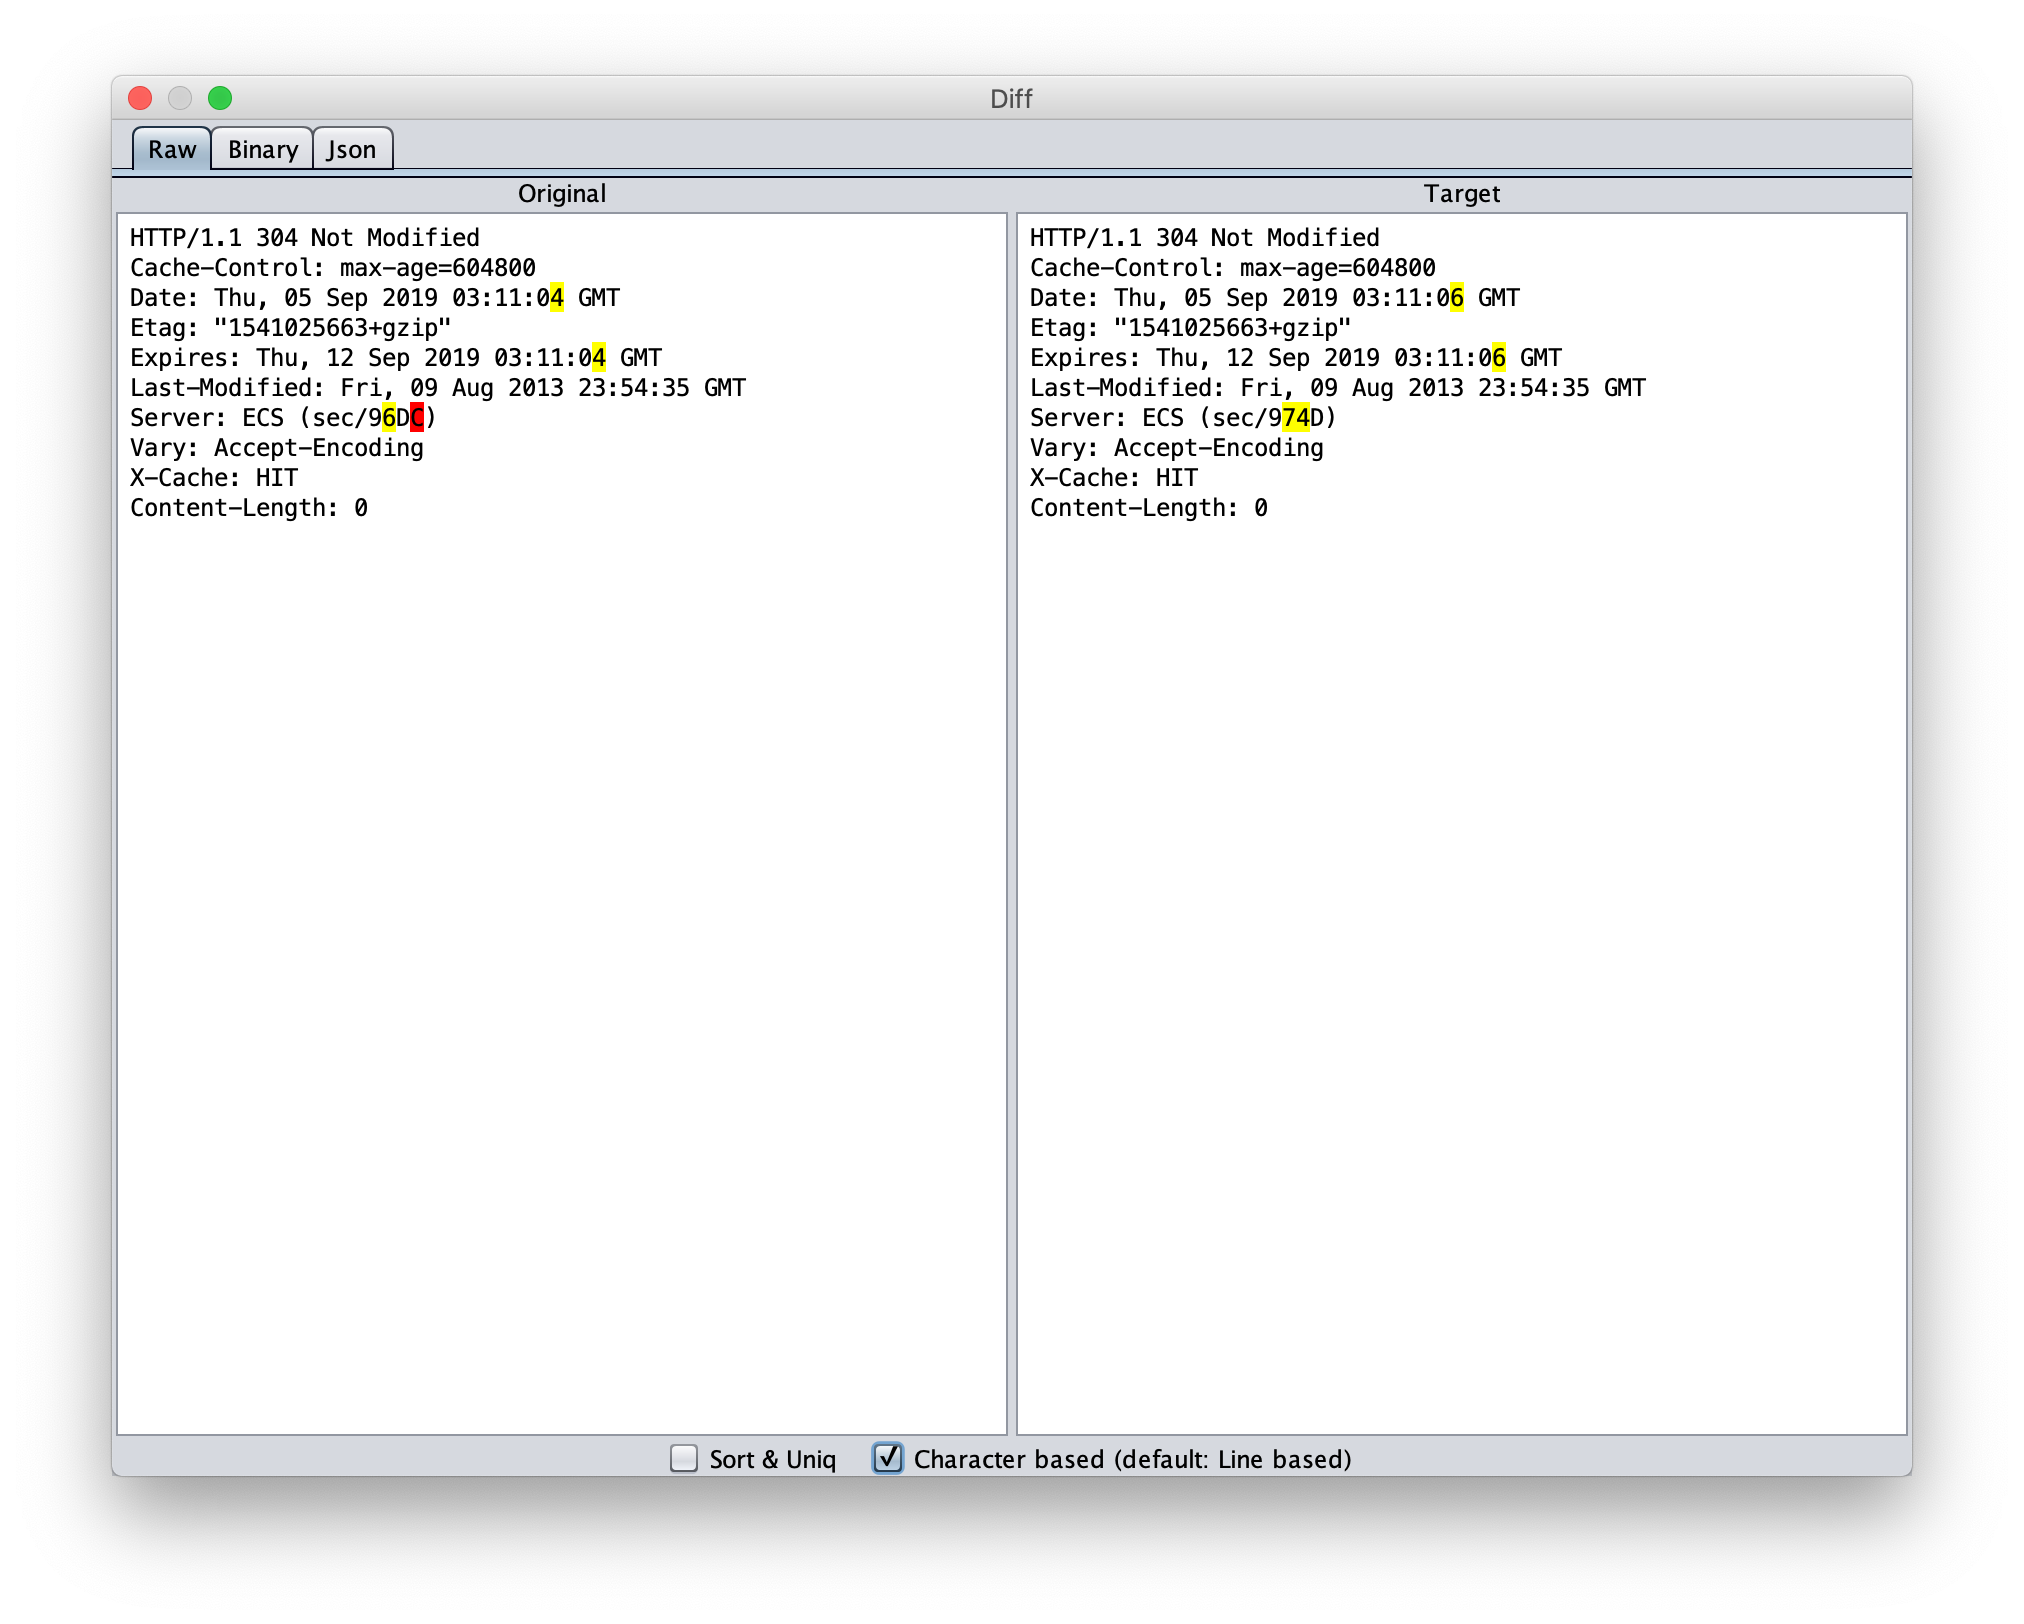
Checking the box for Character based will allow you to see the diff on a character basis.
When using PacketProxy to look at smartphone app communications, if the app looks at the proxy settings and goes through a proxy, then you can simply set the PC with PacketProxy enabled as your proxy. Pretty simple.
However, if the app ignores the proxy settings and directly communicates with the server, then you cannot see the communication.
For that instance, you can use the PacketProxy DNS Overwrite function to allow you to see the communication.
Let’s use the DNS overwrite function in our communication with https://example.com without using a proxy.
-
Set up
example.com serverinServerunder theOptionstab- Make sure to check
Include DNS spoofing

- Make sure to check
-
Set up a Listen Port in
Listen Portsunder theOptionstab- By designating SSL_TRANSPARENCY_PROXY under Type, you can get the SNI field of the SSL packets that arrive at the 443 port from the server and forward the packets.

-
Launch DNS server
- Check
Launch private DNS server

- Check
-
Final settings look like this

-
In the smartphone network settings, designate the PC operating PacketProxy as the DNS server
- To avoid accidental proxy communication, make sure that Proxy is set to “None.”
-
Access
https://example.comon your smartphone browser- DNS overwriting enables you to see the
example.comcommunication.

- DNS overwriting enables you to see the