(NOTICE) This project is now subsumed by drsnowbird/yolov5-docker which provides all the same functions including yolov5 detection simple enivorment, mongodb, mongo-express, ftp-file-server for supporing your application needs.
- Simply use the new drsnowbird/yolov5-docker to git clone the new git repo instead of this deprecated github repo. And, all the supported functions are identical in the new github repo.
git clone https://github.com/DrSnowbird/yolov5-docker.git
#### Deprecated and Replaced by drsnowbird/yolov5-docker Now!!
New- './run.sh -g' to run Nvidia CUDA Docker (though you need to install Nvidia Driver etc.)- Simple BASH commands to Build, or Run.
- Jetty File Server to use Web Browsers for view the results.
- It will download 'yolov5s.pt' on-the-fly to use if not existing.
./run.sh
or, explicitly disable GPU to use CPU.
./run.sh -c
The following versions of PyTorch is used to build the Container. If you need to use different version, you may have to modify Dockerfile PyTorch version to work.
- HOST's Nvidia driver: NVIDIA-SMI 470.63.01 + CUDA 111
- Container's PyTorch v01.9 (Stable) Linux + CUDA 111
- To run GPU/Nvidia, you need to install the Nvidia Driver first and then install 'nvidia-docker2'.
- Please refer to Nvidia Container Toolkit documentation for how to install properly
- You need to setup environment variables once you have successfully install Nvidia driver and Nvidia-docker2 Container Toolkit before you run Docker (trying to use nvidia-docker2). It's recommended to setup in your '.bashrc' profile.
export PATH=/usr/local/cuda/bin${PATH:+:${PATH}}
export LD_LIBRARY_PATH=/usr/local/cuda/lib64${LD_LIBRARY_PATH:+:${LD_LIBRARY_PATH}}

./run.sh -g
or, let it auto check and use Nvidia GPU if available:
./run.sh
Input images folders following the sequence of checking (for not empty)
- '.env' file to setup 'INPUT images folder' (not recursive by Yolov5 as default):
SOURCE_IMAGES=./images
You can change to whatever images folder:
SOURCE_IMAGES=./my_images
(make sure you also change the volume mapping line as below)
(note: you need to use #VOLUMES_LIST as it is to work)
#VOLUMES_LIST="./my_images:/usr/src/my_images ... (remaining setup)"
- If 'empty' in step 1, then it will use alternatives folders:
- "./my_images" (if you create your own 'my_images' folder in the Host computer)
- "./images"
- "./data/images" (the default demo images - other folder failed to provide)
- If none of above has images files found, it will abort. Exit 1
You can build local Container images if you like to:
make build
- To use them, just run the simple command below to launch all the servcies: [ FTP Jetty File Server, MongoDb, MongoExpress] for you and your application code to interact with.
make up
- Recommended to run CPU first using the following command:
./run.sh -c
- Or, if you are sure that your GPU NVIDIA drivers is 'available', then let the 'run.sh' to auto-select (if GPU available).
./run.sh
- If you see the following error NVIDIA CUDA error, it means that somehow you GPU driver is not accessiable (mostly reboot will solve the problem).
However, you can simply run with CPU only (instead of GPU if it is acceptable performance or if you don't want to reboot your Ubuntu).
RuntimeError: CUDA error: no kernel image is available for execution on the device CUDA kernel errors might be asynchronously reported at some other API call,so the stacktrace below might be incorrect. For debugging consider passing CUDA_LAUNCH_BLOCKING=1. - This could happend when you "sleep/suspend" you Ubuntu host and then wake up. Then, NVIDIA GPU won't be accessible though you are so sure that you install all the needed NVIDIA driver and CUDA etc. -- Something NVIDIA driver can't handle Ubuntu's 'sleep/suspend'. You can just run with CPU flag as below, if you don't want to reboot your Ubunut Linux.
./run.sh -c
-
The output results will be in your Ubunut host's "./runs" folder as sub-folders.
-
You can also use any Web-browsers to view the results folders, "./runs":
http://0.0.0.0:18883/jetty_base/ -
You can see the sample Web page in
./doc/yolov5-fileserver.png -
To access Mongo Express Web UI by opening URL using Web browsers, e.g, Firefox, Chrome, etc.
http://0.0.0.0:28083/
-
Create a folder, "./customized" with whatever files and Shell script (detect.py or detect.sh) and make sure you have a file in 'cutomized/run-detect.sh' for your own extension to process the images/videos differently than default demo.
├── images │ ├── bus.jpg │ └── zidane.jpg ├── requirements.txt ├── run-detect.sh └── (Whatever_Your_Own_Model_v5.pt) -
From the Host Shell Xterm: ./run.sh It will first call ./run-detect.sh (default) which, in turns, it will run your ./customized/run-detect.sh to do whatever you coded your logic in it and it will generate results in the HOST computer directory, ./runs folder.
-
Results outside the Container (in Host computer's currect yolov5-docker/runs directory) as below:
./runs
└── detect
    ├── exp
    │   ├── bus.jpg
    │   ├── labels
    │   └── zidane.jpg
Corporate Proxy Root and Intemediate Certificates setup for System and Web Browsers (FireFox, Chrome, etc)
- Save your corporate's Certificates in the currnet GIT directory,
./certificatesFirst, you need to get your corporate's proxy certificates. You may want to get from your Network/IT department to download the certificate(s), e..g, my_company.crt and then put it in the./certificates. The automation script in Dockefile will detect the existence of such certificate files and then automatically load them into the Container images being built in progress. - During Docker run command,
-v `pwd`/certificates:/certificates ... (the rest parameters)
If you want to map to different directory for certificates, e.g., /home/developer/certificates, then
-v `pwd`/certificates:/home/developer/certificates -e SOURCE_CERTIFICATES_DIR=/home/developer/certificates ... (the rest parameters)
- And, inside the Docker startup script to invoke the
~/scripts/setup_system_certificates.sh. Note that the script assumes the certficates are in/certificatesdirectory. - The script
~/scripts/setup_system_certificates.shwill automatic copy to target directory and setup certificates for both System commands (wget, curl, etc) to use and Web Browsers'.
There are no standards for image/video object labeling for training. However, the following resources URLs might help you to find proper tools for me. image labeling for training
![]()
This repository represents Ultralytics open-source research into future object detection methods, and incorporates lessons learned and best practices evolved over thousands of hours of training and evolution on anonymized client datasets. All code and models are under active development, and are subject to modification or deletion without notice. Use at your own risk.
 ** GPU Speed measures end-to-end time per image averaged over 5000 COCO val2017 images using a V100 GPU with batch size 32, and includes image preprocessing, PyTorch FP16 inference, postprocessing and NMS. EfficientDet data from google/automl at batch size 8.
- January 5, 2021: v4.0 release: nn.SiLU() activations, Weights & Biases logging, PyTorch Hub integration.
- August 13, 2020: v3.0 release: nn.Hardswish() activations, data autodownload, native AMP.
- July 23, 2020: v2.0 release: improved model definition, training and mAP.
- June 22, 2020: PANet updates: new heads, reduced parameters, improved speed and mAP 364fcfd.
- June 19, 2020: FP16 as new default for smaller checkpoints and faster inference d4c6674.
| Model | size | APval | APtest | AP50 | SpeedV100 | FPSV100 | params | GFLOPS | |
|---|---|---|---|---|---|---|---|---|---|
| YOLOv5s | 640 | 36.8 | 36.8 | 55.6 | 2.2ms | 455 | 7.3M | 17.0 | |
| YOLOv5m | 640 | 44.5 | 44.5 | 63.1 | 2.9ms | 345 | 21.4M | 51.3 | |
| YOLOv5l | 640 | 48.1 | 48.1 | 66.4 | 3.8ms | 264 | 47.0M | 115.4 | |
| YOLOv5x | 640 | 50.1 | 50.1 | 68.7 | 6.0ms | 167 | 87.7M | 218.8 | |
| YOLOv5x + TTA | 832 | 51.9 | 51.9 | 69.6 | 24.9ms | 40 | 87.7M | 1005.3 |
** APtest denotes COCO test-dev2017 server results, all other AP results denote val2017 accuracy.
** All AP numbers are for single-model single-scale without ensemble or TTA. Reproduce mAP by python test.py --data coco.yaml --img 640 --conf 0.001 --iou 0.65
** SpeedGPU averaged over 5000 COCO val2017 images using a GCP n1-standard-16 V100 instance, and includes image preprocessing, FP16 inference, postprocessing and NMS. NMS is 1-2ms/img. Reproduce speed by python test.py --data coco.yaml --img 640 --conf 0.25 --iou 0.45
** All checkpoints are trained to 300 epochs with default settings and hyperparameters (no autoaugmentation).
** Test Time Augmentation (TTA) runs at 3 image sizes. Reproduce TTA by python test.py --data coco.yaml --img 832 --iou 0.65 --augment
Python 3.8 or later with all requirements.txt dependencies installed, including torch>=1.7. To install run:
$ pip install -r requirements.txt- Train Custom Data 🚀 RECOMMENDED
- Tips for Best Training Results ☘️ RECOMMENDED
- Weights & Biases Logging 🌟 NEW
- Supervisely Ecosystem 🌟 NEW
- Multi-GPU Training
- PyTorch Hub ⭐ NEW
- ONNX and TorchScript Export
- Test-Time Augmentation (TTA)
- Model Ensembling
- Model Pruning/Sparsity
- Hyperparameter Evolution
- Transfer Learning with Frozen Layers ⭐ NEW
- TensorRT Deployment
YOLOv5 may be run in any of the following up-to-date verified environments (with all dependencies including CUDA/CUDNN, Python and PyTorch preinstalled):
- Google Colab and Kaggle notebooks with free GPU:
- Google Cloud Deep Learning VM. See GCP Quickstart Guide
- Amazon Deep Learning AMI. See AWS Quickstart Guide
- Docker Image. See Docker Quickstart Guide


detect.py runs inference on a variety of sources, downloading models automatically from the latest YOLOv5 release and saving results to runs/detect.
$ python detect.py --source 0  # webcam
                            file.jpg  # image
                            file.mp4  # video
                            path/  # directory
                            path/*.jpg  # glob
                            rtsp://170.93.143.139/rtplive/470011e600ef003a004ee33696235daa  # rtsp stream
                            rtmp://192.168.1.105/live/test  # rtmp stream
                            http://112.50.243.8/PLTV/88888888/224/3221225900/1.m3u8  # http stream
To run inference on example images in data/images:
$ python detect.py --source data/images --weights yolov5s.pt --conf 0.25

Namespace(agnostic_nms=False, augment=False, classes=None, conf_thres=0.25, device='', exist_ok=False, img_size=640, iou_thres=0.45, name='exp', project='runs/detect', save_conf=False, save_txt=False, source='data/images/', update=False, view_img=False, weights=['yolov5s.pt'])
YOLOv5 v4.0-96-g83dc1b4 torch 1.7.0+cu101 CUDA:0 (Tesla V100-SXM2-16GB, 16160.5MB)

Fusing layers...
Model Summary: 224 layers, 7266973 parameters, 0 gradients, 17.0 GFLOPS
image 1/2 /content/yolov5/data/images/bus.jpg: 640x480 4 persons, 1 bus, Done. (0.010s)
image 2/2 /content/yolov5/data/images/zidane.jpg: 384x640 2 persons, 1 tie, Done. (0.011s)
Results saved to runs/detect/exp2
Done. (0.103s)
To run batched inference with YOLOv5 and PyTorch Hub:
import torch

# Model
model = torch.hub.load('ultralytics/yolov5', 'yolov5s')

# Images
dir = 'https://github.com/ultralytics/yolov5/raw/master/data/images/'
imgs = [dir + f for f in ('zidane.jpg', 'bus.jpg')]  # batch of images

# Inference
results = model(imgs)
results.print() # or .show(), .save()Run commands below to reproduce results on COCO dataset (dataset auto-downloads on first use). Training times for YOLOv5s/m/l/x are 2/4/6/8 days on a single V100 (multi-GPU times faster). Use the largest --batch-size your GPU allows (batch sizes shown for 16 GB devices).
$ python train.py --data coco.yaml --cfg yolov5s.yaml --weights '' --batch-size 64
                                         yolov5m                                40
                                         yolov5l                                24
                                         yolov5x                                16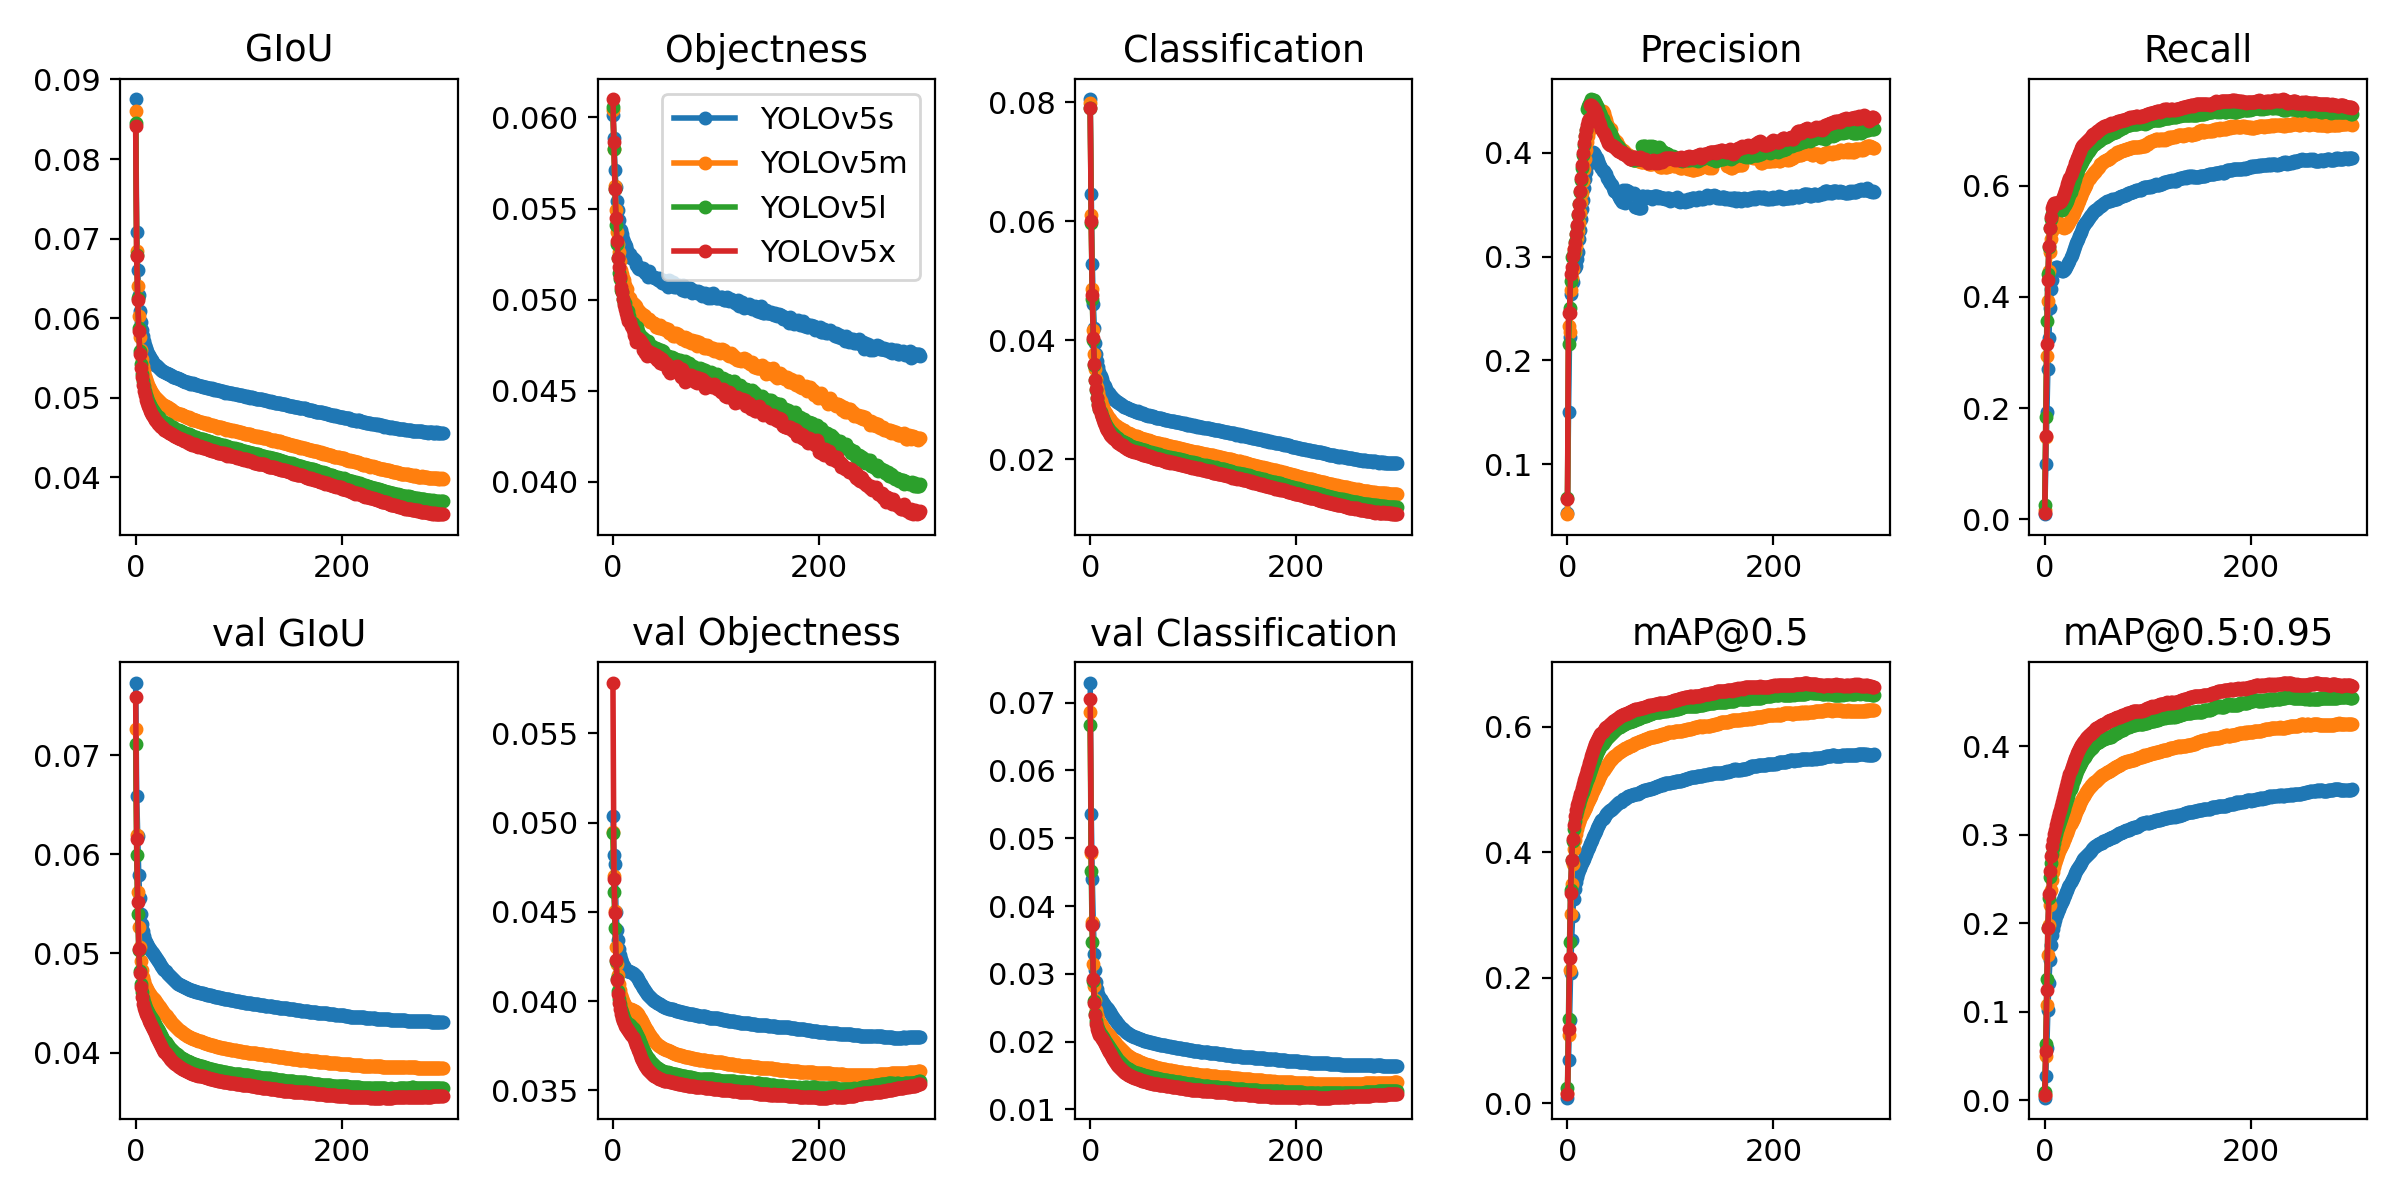
Ultralytics is a U.S.-based particle physics and AI startup with over 6 years of expertise supporting government, academic and business clients. We offer a wide range of vision AI services, spanning from simple expert advice up to delivery of fully customized, end-to-end production solutions, including:
- Cloud-based AI systems operating on hundreds of HD video streams in realtime.
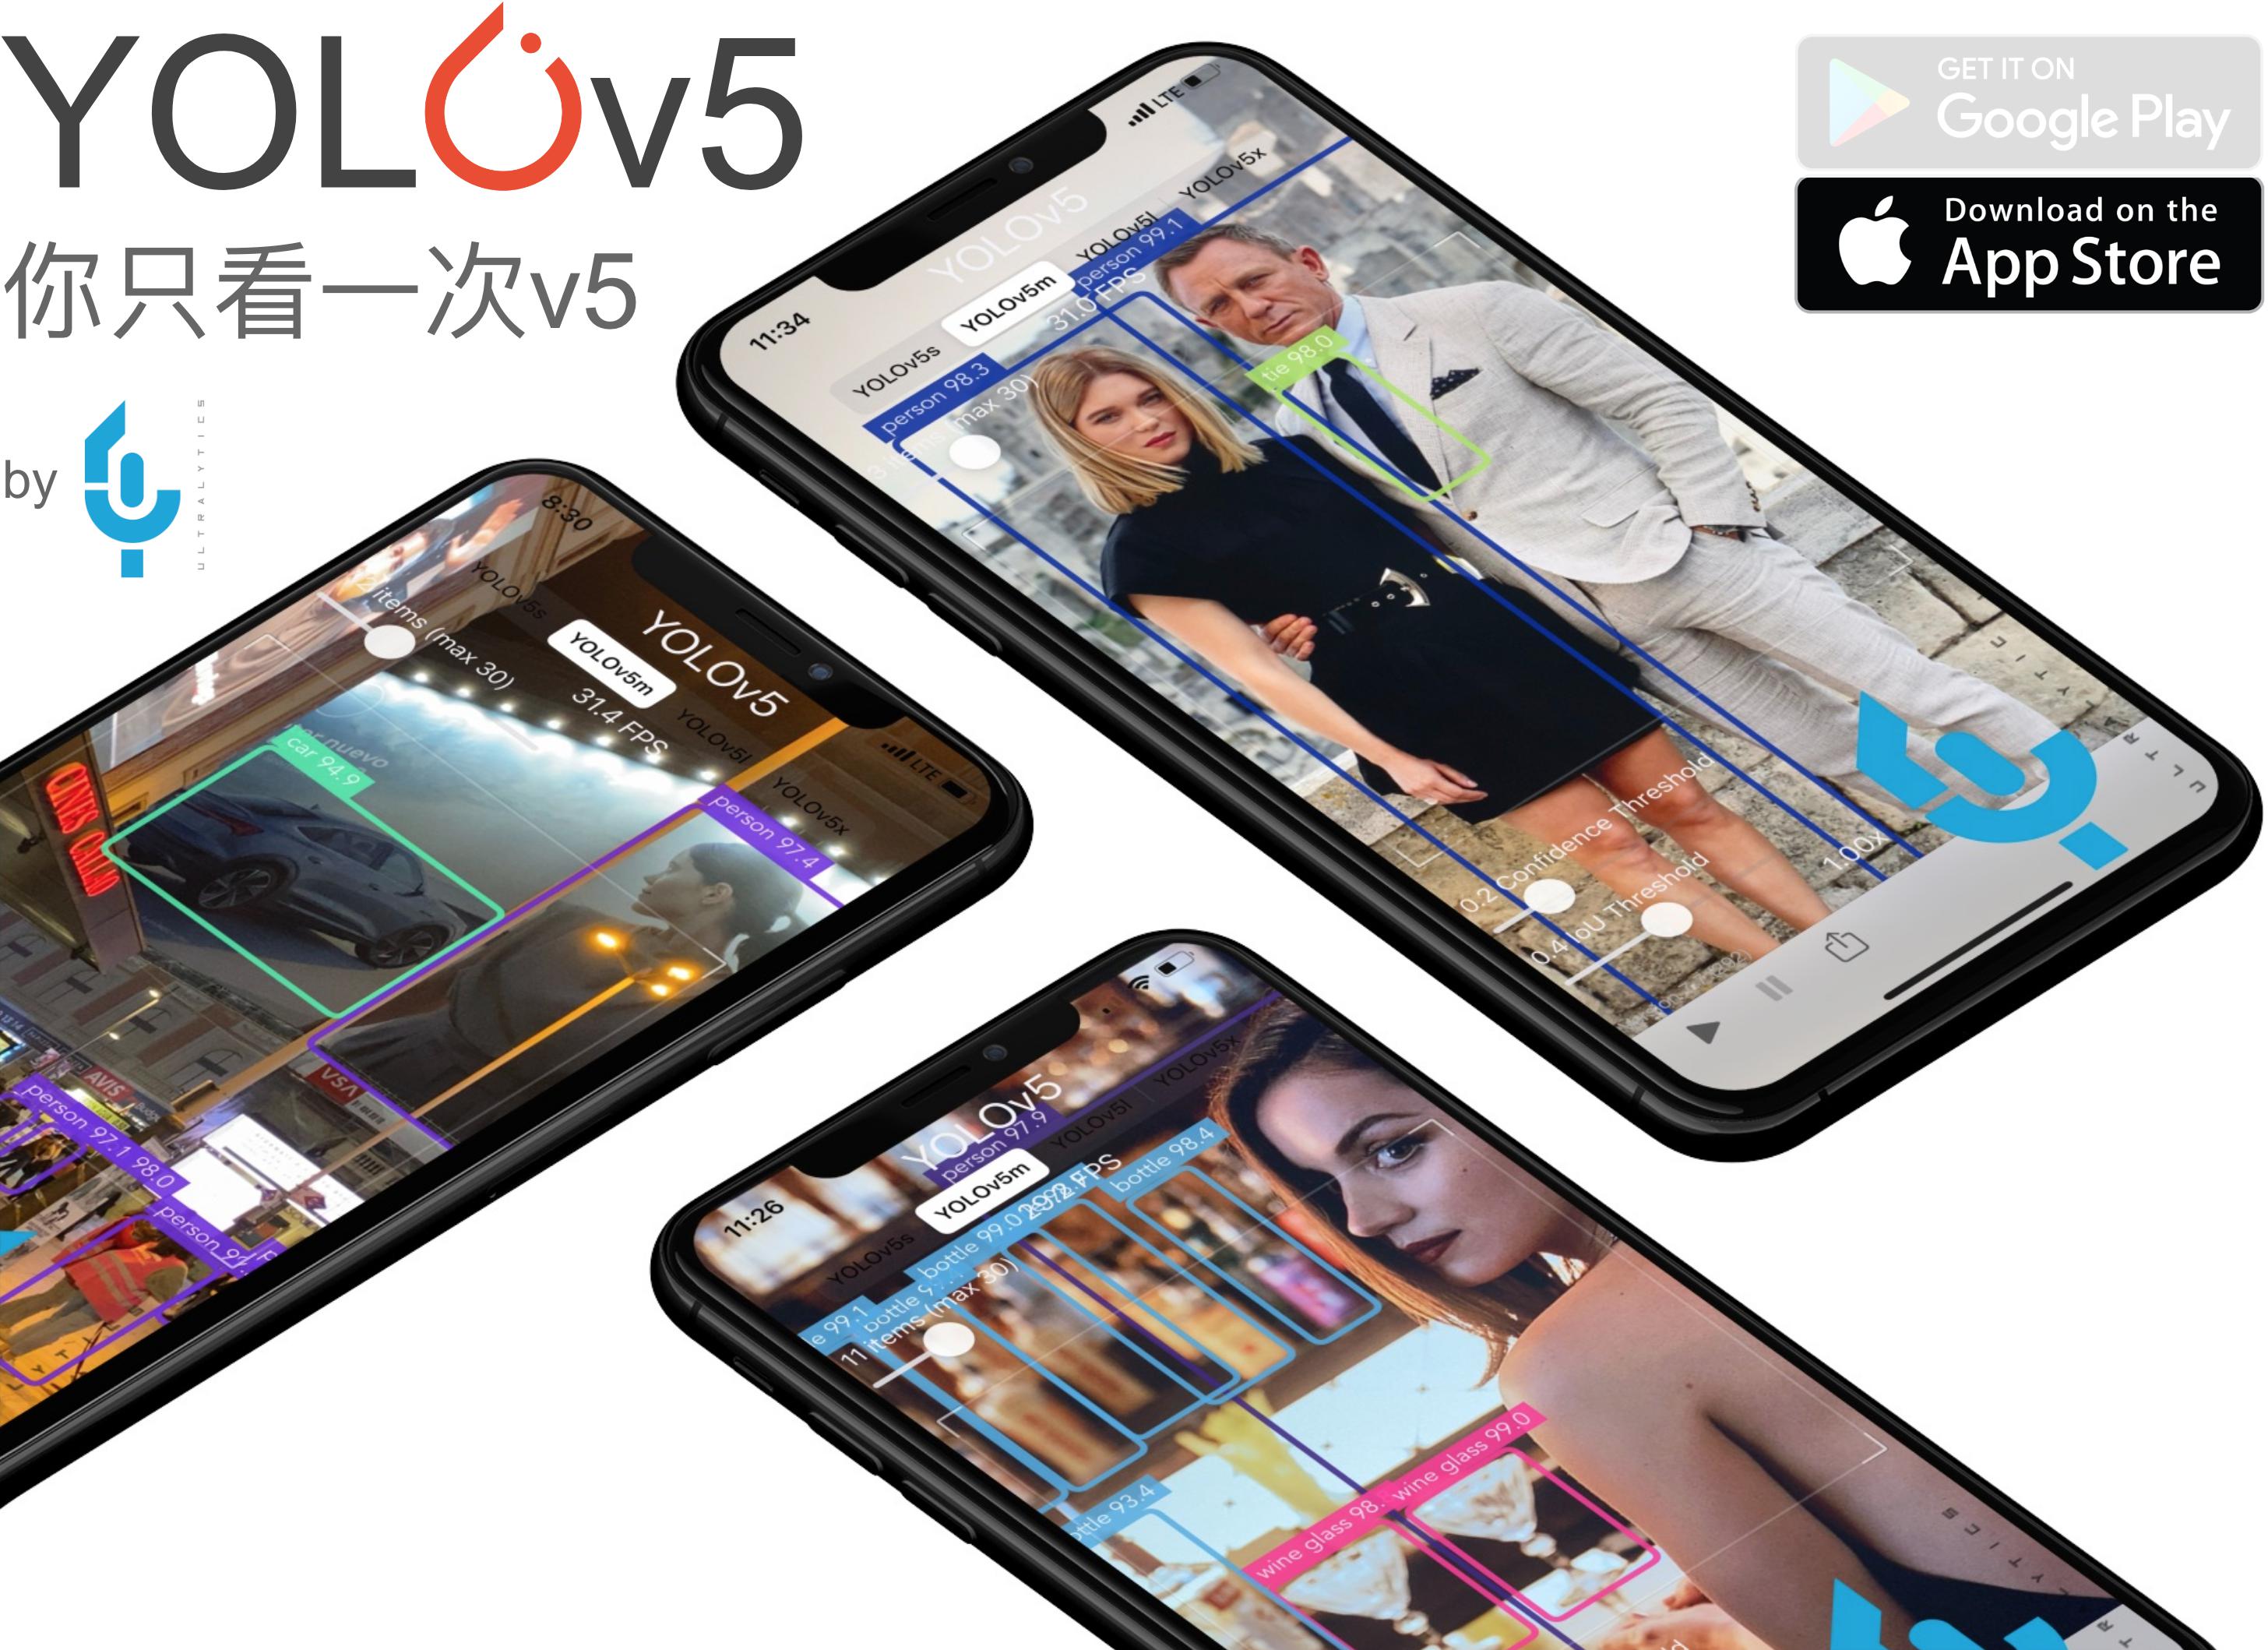
- Edge AI integrated into custom iOS and Android apps for realtime 30 FPS video inference.
- Custom data training, hyperparameter evolution, and model exportation to any destination.
For business inquiries and professional support requests please visit us at https://www.ultralytics.com.
Issues should be raised directly in the repository. For business inquiries or professional support requests please visit https://www.ultralytics.com or email Glenn Jocher at glenn.jocher@ultralytics.com.