Build Instructions under Windows 10 (Visual C++)
The document here is meant to help you develop or test changes to EdgeTX on your PC, not to build flight/radio safe version of binaries.
The following assumes, you have a fresh installation of 64-bit Windows 10 with all updates installed (tested with English version 21H1 at the time of writing).
https://visualstudio.microsoft.com/downloads/
If you already have a commercial version of Visual Studio 2019, then naturally you can continue using it, no need to downgrade to the community edition.
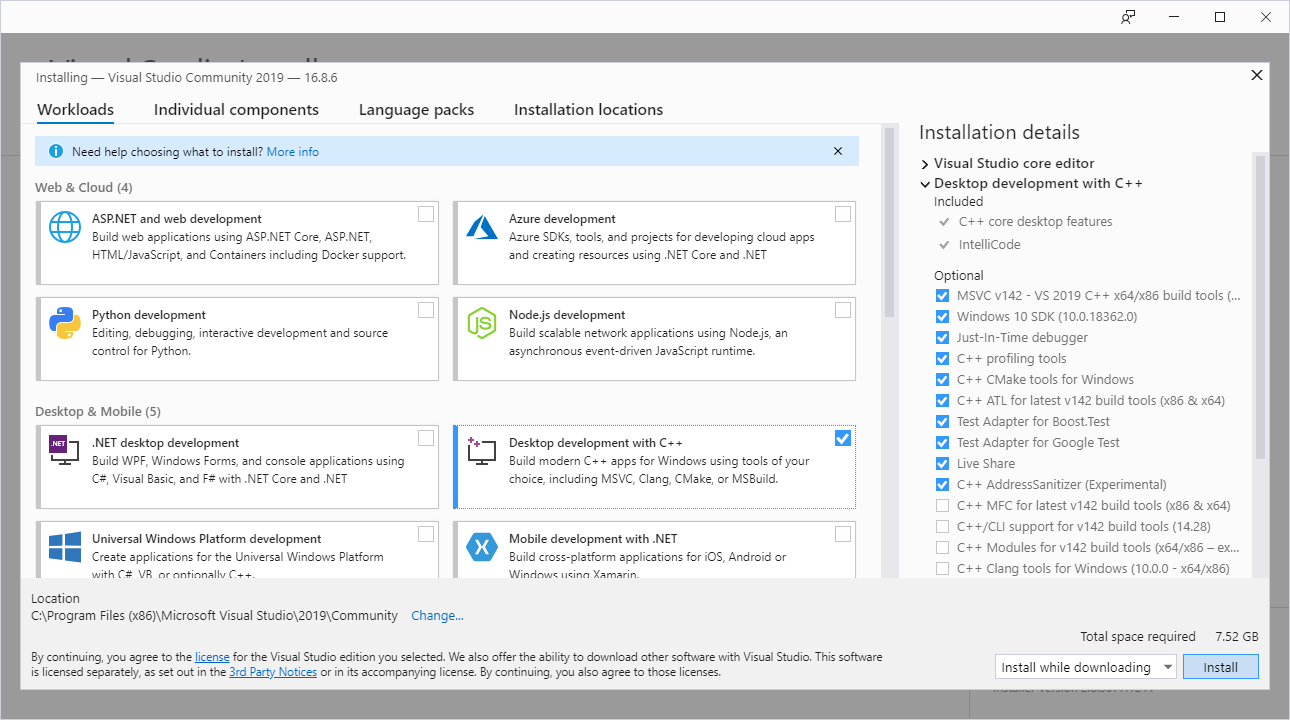
During installation, select under Workloads Desktop development with C++, click Install (you can click on the images to open them bigger).
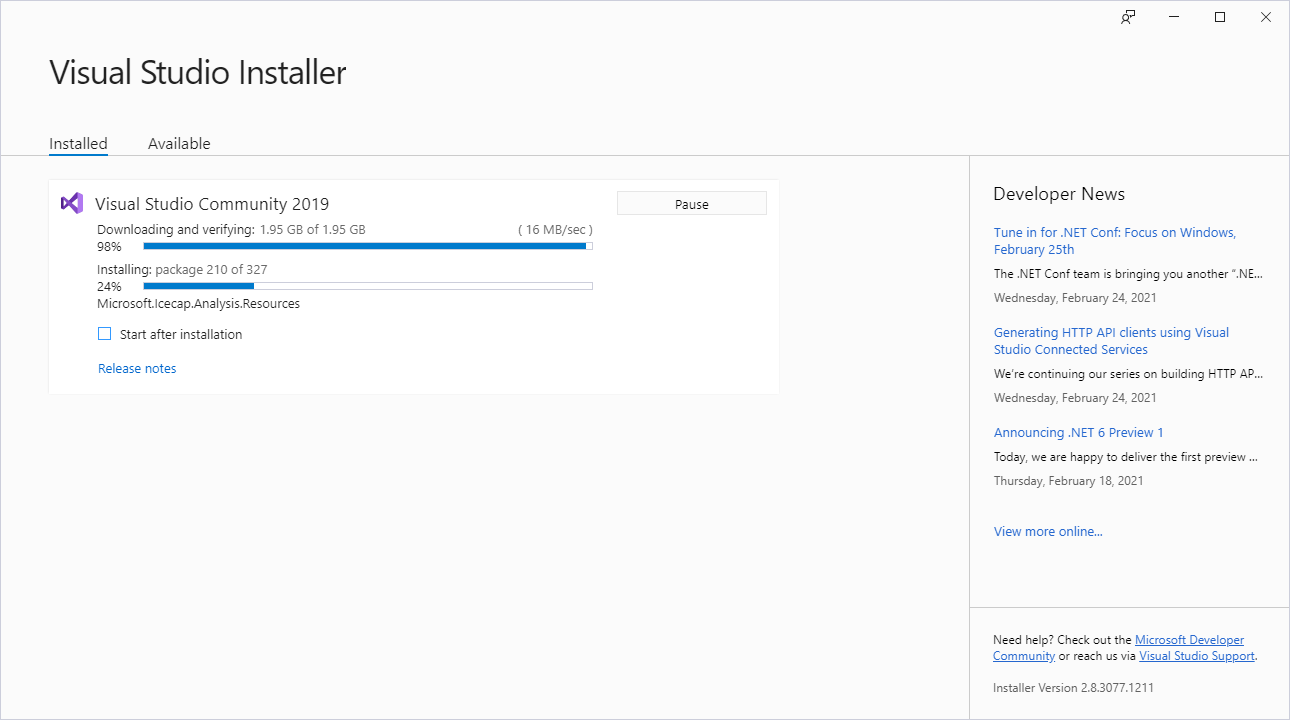
While waiting for the software to download and install, you can deselect Start after installation:
When you reach Installation succeeded!, you can close Visual Studio Installer:

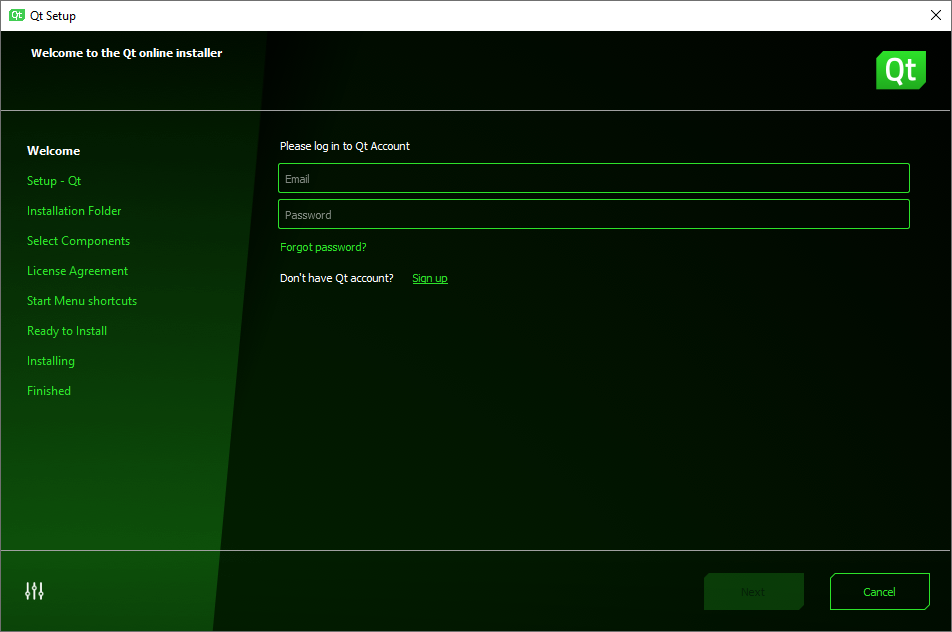
Download the Qt Online Installer from https://www.qt.io/download-qt-installer Note that you need a Qt Account, which you can create using Sign up link in the installer:
Install into default location C:\Qt and choose Custom installation

Select LTS, deselect Latest releases and Preview. Click Filter. Click Deselect All.
Expand Qt, expand the latest version (the top item, at the time of writing Qt 5.15.2) and select MSVC 2019 32-bit

Scroll to the bottom, expand Developer and Designer Tools and select Qt Creator 4.14.1 CDB Debugger Support and MinGW 8.1.0 32-bit
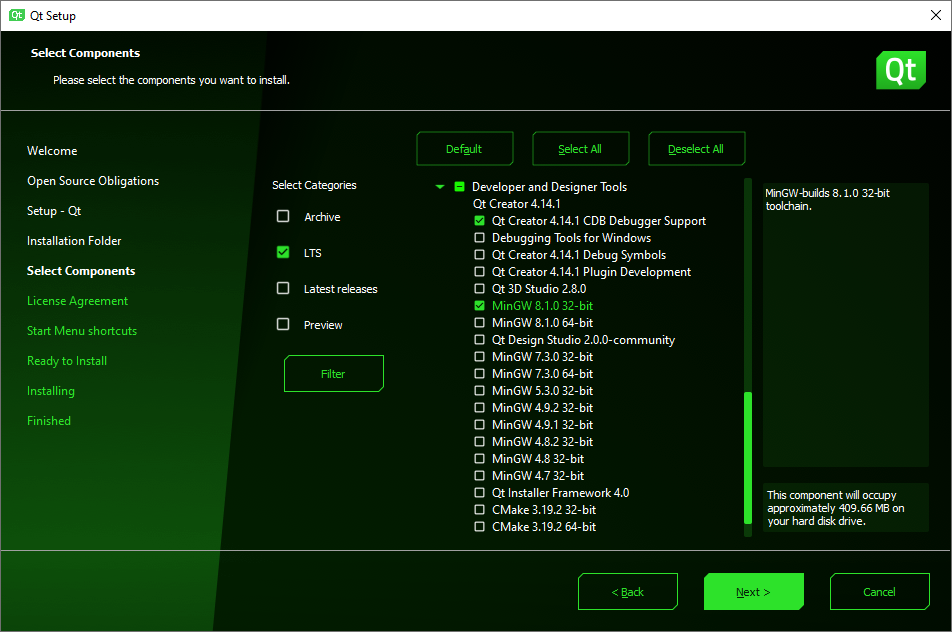
CDB debugger support is not required for building, it is necessary only, if you plan at a later stage to debug companion, simulator or libsimulator in Qt Creator.
Click Next > to install the selected tools
Wait for the installer to finish (can take some minutes), no need to launch the Qt Creator at this point (deselect Launch Qt Creator). Click Finish
After the installation has finished, we need to add two Qt folders to the system Path environment variable.
Click Start -> Settings -> System -> About -> Advanced system settings -> Environment Variables....
Under bottom half System variables list, search for Path, select it and click Edit.... Add the following two lines (Tip: click New):
C:\Qt\Tools\mingw810_32\bin
C:\Qt\Tools\QtCreator\bin
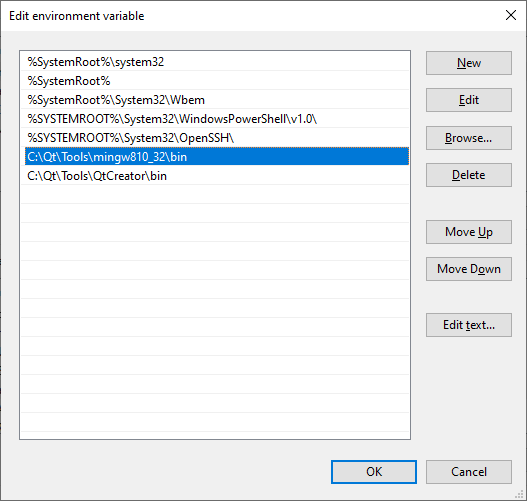
Click OK, click OK again for the Environment Variables dialog and once more OK for the System Properties dialog.
Copy C:\Qt\Tools\QtCreator\bin\libclang.dll to C:\Windows\System32
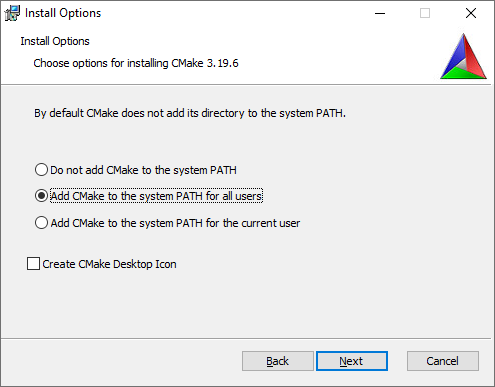
Choose the latest Release (not Release Candidate) Windows x64 Installer (at the time of writing v3.19.6). During the installation check the option to add CMake to the system path for all users.
Python 2 (32-bit) is required for in-circuit-debugging of code running on the microcontroller in the radio (background info: to run arm-none-eabi-gdb-py.exe that gets executed from Qt Creator in a debugging session).
As Python 2 should not be installed in a system where Python 3 is already installed (other way around is OK), we need to decide at this moment while anticipating our future desire of doing in-circuit-debugging. If you are confident of not planning to do any in-circuit debugging, feel free to skip this step and continue to Python 3 installation. On the other hand if you are not 100% sure, there is no further harm of continuing here, other than sacrificing some hard drive space for Python 2 installation.
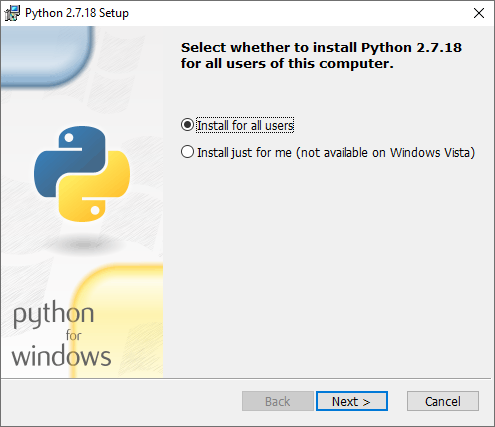
Download and install latest Python 2 x86 (w/o -64 in the name!) from https://www.python.org/downloads/windows/
Pick to install for all users:
The default location C:\Python27 should be left as is:

Select to add python.exe to Path:

Download and install the latest Python 3 Release using 64-bit Windows installer (64-bit Python 3 is required for compiling): https://www.python.org/downloads/windows/
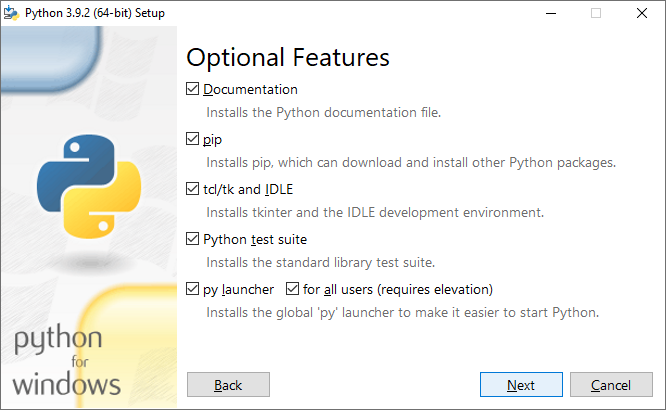
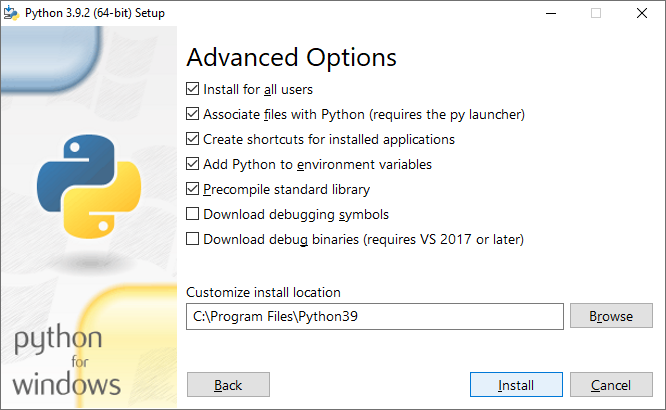
Select Add Python 3.9 to PATH and click Customize installation

In the Optional Features dialog, all check boxes should be checked, click Next
Check Install for all users in the Advanced Options dialog and verify that the installation location changed to C:\Program Files\Python..., then click Install:
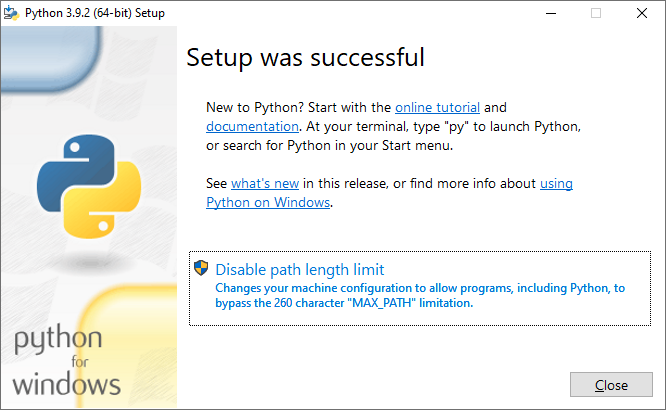
Wait for the installation to finish (might take a minute or two). In the Setup was successful dialog, click Disable path length limit and then click Close
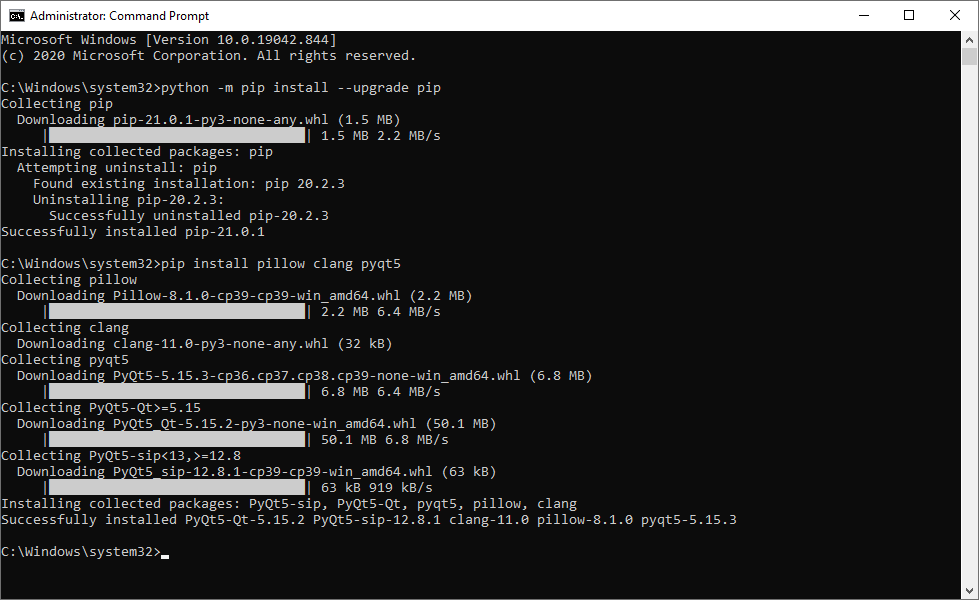
Click Start, type cmd and right click Command Prompt icon. Choose Run as administrator. Enter in administrative command prompt:
python -m pip install --upgrade pip
pip install pillow clang pyqt5 lxml future
Close the administrative Command Prompt.
ftp://sourceware.org/pub/pthreads-win32/pthreads-w32-2-8-0-release.exe
Create a folder C:\Programs (not to confuse with existing C:\Program Files or C:\Program Files (x86)!)
Extract the 3 sub-folders from this archive, e.g. using 7-Zip into C:\Programs\pthreads

Download the GNU Arm Embedded Toolchain v10 2020-q4-major and install it to default location.
In the last dialog of the GNU Arm Embedded Toolchain installer, deselect Show Readme and Launch gccvar.bat and click Finish

If you have another version of GNU Arm Embedded Toolchain installed on your system as well, please make sure it's PATH is NOT in the system path nor in your user environment path. If that is the case, please remove the entry, before continuing.
Download the v1.2.15 development library for Visual C++ from http://www.libsdl.org/release/SDL-devel-1.2.15-VC.zip
Unzip it, rename the top level folder in it to SDL (remove version from folder name) and move it under C:\Programs as C:\Programs\SDL

This concludes the build setup preparations. You might want to reboot the PC at this point.
Create first a folder C:\edgetx to put the various EdgeTX flavors in the sub-directories there to have a tidy files and folder hierarchy.
git clone (recursively) EdgeTX GitHub repository to C:\edgetx\edgetx_main (you need to install git first, get it here: https://git-scm.com/download/win):
git clone --recursive -b main https://github.com/EdgeTX/edgetx.git C:\edgetx\edgetx_main
If you prefer a graphical interface to git, have a look at e.g. TortoiseGit that integrates itself into Windows Explorer. For cloning EdgeTX repo, you would right click an empty space in Windows Explorer, choose Git Clone... and then enter:
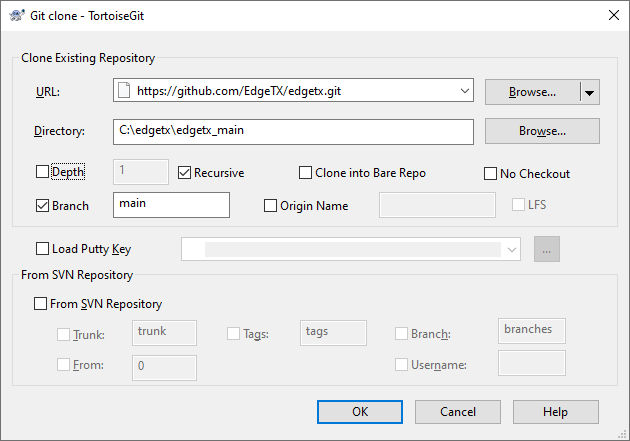
Click OK to start git cloning (=downloading) the EdgeTX source files, including all required submodules.
We will use RadioMaster TX16S as an example target here, but the steps are applicable to other radios as well, you just need to select another build target in the CMAKEOPTIONS by specifying appropriate values for PCB and PCBREV for your radio. As a tip, which values to use, have a look at a Python script according to your radio manufacturer in a file named build-<radio-manufacturer>.py under https://github.com/EdgeTX/edgetx/tree/main/tools
Create a batch file make_edgetx_main_fw.bat with the following content under C:\edgetx
@ECHO OFF
REM Path where the firmware will be built
SET BUILDPATH=C:\edgetx\build-edgetx_main

REM Path where the OpenTX source can be found
SET SRCPATH=C:\edgetx\edgetx_main

REM Path where the Qt compiler tools can be found
SET QTPATH=C:\Qt\5.15.2

REM Firmware build options
SET CMAKEOPTIONS=-DDISABLE_COMPANION=YES -DPCB=X10 -DPCBREV=TX16S -DINTERNAL_MODULE_MULTI=YES -DDEFAULT_MODE=2 -DGVARS=YES -DPPM_UNIT=US -DHELI=NO -DLUA=YES -DINTERNAL_GPS=YES -DCMAKE_BUILD_TYPE=Debug

REM Clean or create folder
if exist %BUILDPATH%\ (
	DEL /F/Q/S "%BUILDPATH%" > NUL
	RMDIR /Q/S "%BUILDPATH%"
) else (
	REM Make the Firmware build folder
	MKDIR %BUILDPATH%
)

REM Include GNU ARM Toolchain in the path
SET PATH=%PATH%;C:\Program Files (x86)\GNU Arm Embedded Toolchain\10 2020-q4-major\bin
SET C_INCLUDE_PATH=C:\Program Files (x86)\GNU Arm Embedded Toolchain\10 2020-q4-major\arm-none-eabi\include
SET CPLUS_INCLUDE_PATH=C:\Program Files (x86)\GNU Arm Embedded Toolchain\10 2020-q4-major\arm-none-eabi\include\c++\10.2.1;C:\Program Files (x86)\GNU Arm Embedded Toolchain\10 2020-q4-major\arm-none-eabi\include\c++\10.2.1\arm-none-eabi

REM Configure the build
cmake -G "MinGW Makefiles" -S %SRCPATH% -B %BUILDPATH% -DCMAKE_PREFIX_PATH=%QTPATH%\msvc2019 %CMAKEOPTIONS%

REM Build the firmware, using the maximum number of cores
mingw32-make -C %BUILDPATH% -j %NUMBER_OF_PROCESSORS% firmware

REM Change to output directory
CD %BUILDPATH%
The example above builds firmware for RadioMaster TX16S (adjust options PCB and PCBREV accordingly to build for other radio) and uses:
- internal multi-module (INTERNAL_MODULE_MULTI=YES),
- mode 2 default stick assignment (DEFAULT_MODE=2),
- global variables enabled (GVARS=YES),
- servo output unit as microseconds (PPM_UNIT=US),
- opted to save memory and build without helicopter mixes (HELI=NO),
- include Lua scripting support (LUA=YES),
- include support for NMEA GPS connected to AUX2 (INTERNAL_GPS=YES) and
- selected to include debug symbols (CMAKE_BUILD_TYPE=Debug)
Open Command Prompt, navigate to C:\edgetx and start the batch-file. After some minutes, and assuming everything succeeded, you should have a firmware.bin under C:\edgetx\build-edgetx_main that you can flash to your radio.
It's good idea to rename the bootloader and firmware binaries, so that it is easier later to see the target radio and which options were baked into it. You could rename bootloader.bin e.g. to edgetx_main_tx16s_lua-ppmus-mode2-gps_debug_bl.bin and the firmware.bin e.g. to edgetx_main_tx16s_lua-ppmus-mode2-gps_debug_fw.bin
You will need to prepare a clean microSD card and fill it with the content according to your radio type from https://github.com/EdgeTX/edgetx-sdcard/releases/tag/latest
The following page lists which zip file you need: https://github.com/EdgeTX/edgetx-sdcard
You can use OpenTX Companion or STM32CubeProgrammer to flash the binary to your radio. For further instructions, see: https://github.com/EdgeTX/edgetx.github.io/wiki/How-to-install-EdgeTX--(pre-release)-for-the-first-time