


We're recreating Habitat, the world's first MMO, using modern technology. We'd love it if you joined us!
If you'd like to contribute to Habitat, developer documentation can be found here:
If you'd like to join the Neohabitat community, come join our Slack: Neoclassical Habitat
If you have any issues when playing Habitat, feel free to ask questions in the #troubleshooting room.
We maintain a demo server running the latest Git master and you can connect to it at any time.
Please note: this server is under constant development, so it may reboot at any time. Furthermore, the game will crash if there are more than 6 avatars in any room, so please avoid doing so.
With all that out of the way, here's how to get started:
To connect to the Neohabitat server, you'll need to install a C64 emulator and download the necessary client software. We strongly recommend using Vice:
Windows
Download the latest Windows Vice emulator from the above link then make the following configuration changes:
- Go to Settings –> RS232 Settings:
- Set RS232 Device 1 to the following: 34.198.66.157:5190
- Go to Settings –> Cart I/O Settings –> RS232 Userport settings:
- Enable RS232 Userport and Userport Device RS232 Device 1
- Set Userport baud rate to the following: 1200
OS X
Newer versions of Vice are not compatible with QuantumLink, so be sure to download version 2.4 of the Cocoa UI variant. Once you've done so, open the DMG and follow this configuration procedure:
- Drag the x64 application from the Vice D64 to your Applications folder
- Establish a shell alias in your ~/.bashrc or ~/.zshrc to force the enabling of the RS232 userport:
alias c64='/Applications/x64.app/Contents/MacOS/x64 -rsuser -rsuserbaud 1200 -rsuserdev 0'- Launch Vice via the above alias then go to Settings -> Resource Inspector
- Under Peripherals -> RS232, set Device 1 to the following:
|nc 34.198.66.157 5190 - Under Peripherals -> RS232, set Device 1 Baud Rate to the following:
1200 - Save these new settings via Settings -> Save current Settings
Client software can be downloaded here:
- QuantumLink (with Habitat support)
- Club Caribe disk A (a.k.a. side 3)
- Club Caribe disk B (a.k.a. Imagery)
NOTE: Make a backup of QuantumLink.d64, as it gets modified with your account information and a link to the Club Caribe game disk.
The Club Caribe client software is identical to the Habitat software, so please note this as we continue.
Load the QuantumLink D64 image you just downloaded into Unit #8 of your emulated C64. You can do so via File -> Attach Disk Image -> Unit #8.
After the QuantumLink disk is loaded, you can start it by running the following C64 command:
LOAD"*",8,1
Eventually, you'll be brought to a screen that asks you to establish your initial modem settings. You can use the arrow keys and enter to select each configuration field; use the following settings:
- Modem: Other command driven modems
- Speed: 1200 Baud
- Dial: Automatic
- Phone: Tone
- Number: +5551212
After finishing this process, select SIGN ON TO Q-LINK. You'll be brought to a green-framed screen which states Type commands to the modem, then press F1 when connection is made.:
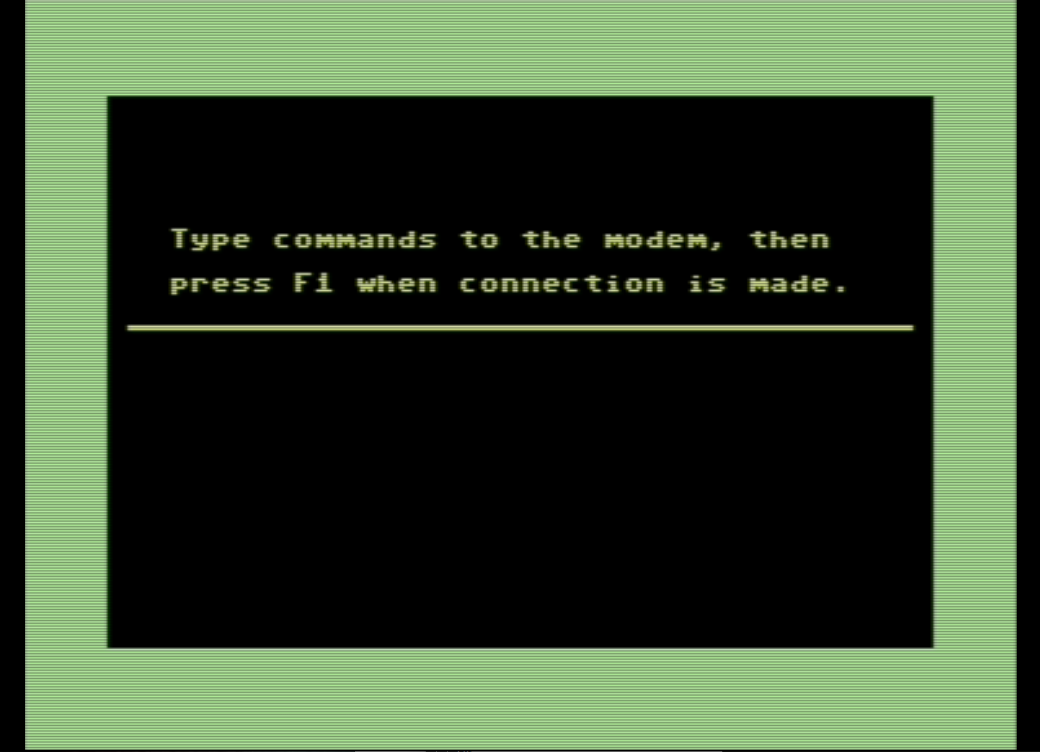
Press F1, and if all goes well, your client will connect to QuantumLink Reloaded and present you with a set of registration prompts. Enter the information prompted and when this task is complete, you'll be brought to the QuantumLink home screen; it'll look something like this:
On the Commodore 64, the function keys were placed prominently to the right of the main keyboard and were used heavily by many applications. As a result, much of the navigation you'll use within QuantumLink will depend upon the usage of function keys. These are the ones you'll use during your QuantumLink experience:
- F1 - Selects whatever is highlighted
- F3 - Saves whatever you're looking at to disk (you can likely ignore this one)
- F5 - Goes back, similar to the back button in a web browser
- F7 - Brings up a department menu
- Arrow Keys - Moves the selector, whether in a menu or on the Home screen
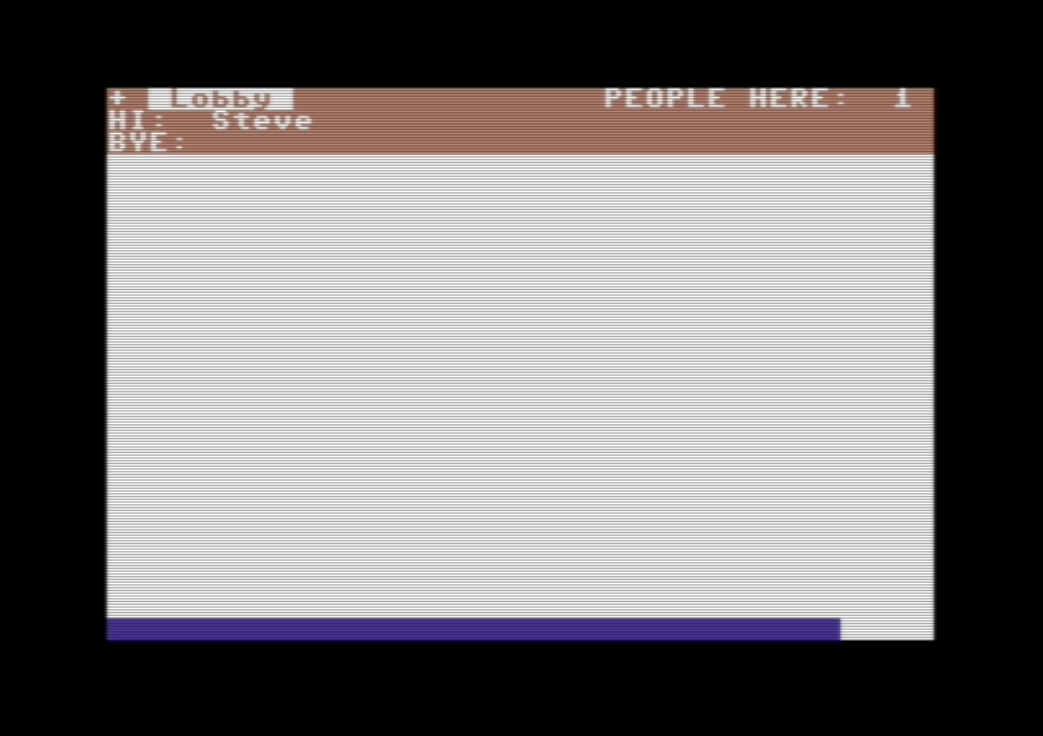
At the QuantumLink home screen, ensure that the selector is placed over the People Connection department then press F1. There will be a short load period which will lead you to the People Connection screen:
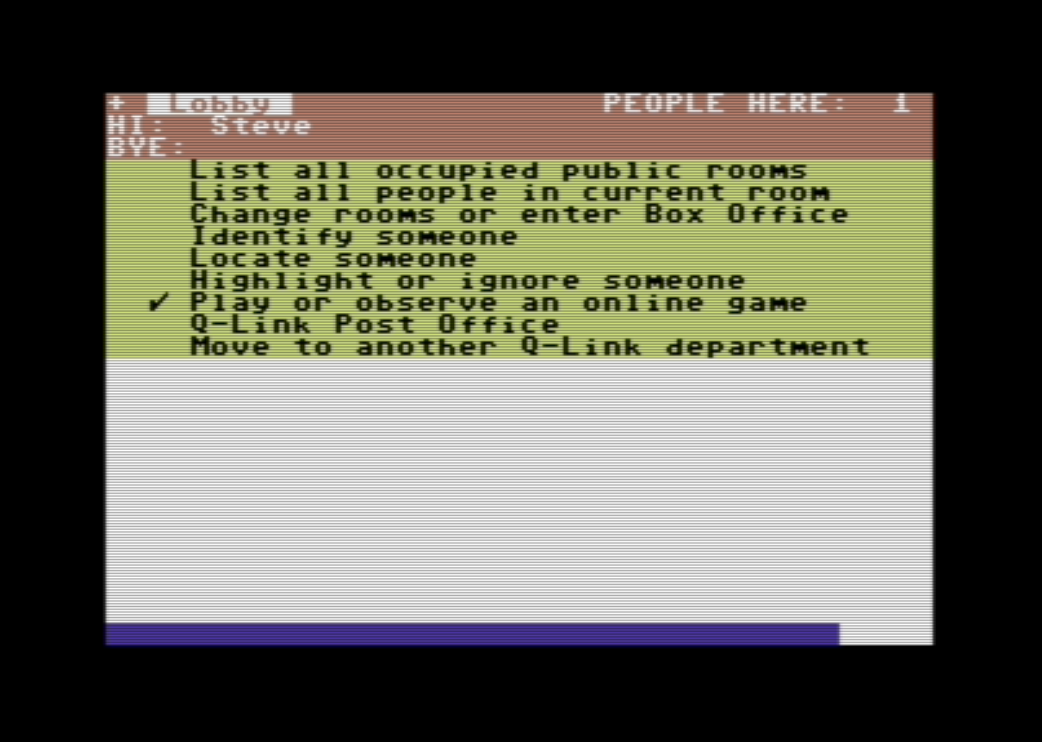
After reaching it, press F7 to bring up the department menu. Select Play or observe an online game with the arrow keys and press F1:
Select Start a game (pick your partners) with the and press F1 again.
Finally, select Club Caribe from the list and press F1 one last time.
You'll be asked to insert Game Disk 3, which is Club Caribe Disk A (club-caribe-a.d64). Attach this disk using the above procedure and hit Enter. After doing so, you can engage Warp Mode to expedite the load process.
Eventually, you'll reach a screen that looks something like this:
You'll be asked to insert the Imagery Disk, which is Club Caribe Disk B (club-caribe-b.d64). Attach this disk using the above procedure and hit Enter. You can engage Warp Mode here as well.
If all goes well, you'll be brought to the first Habitat screen:
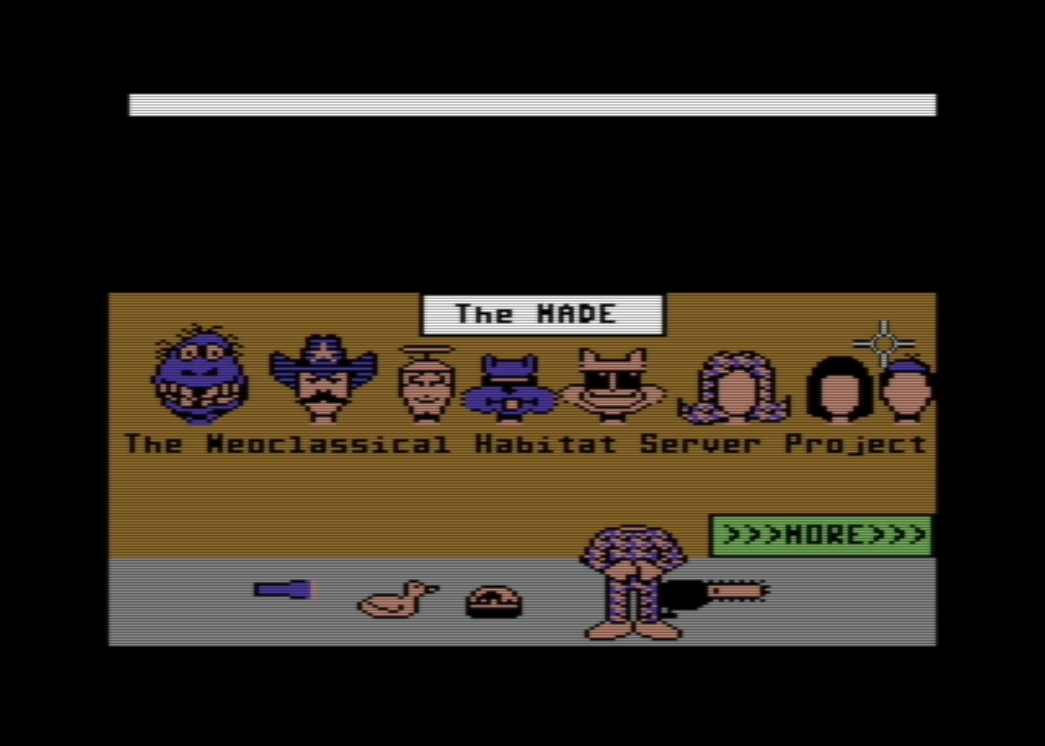
If so, welcome to Habitat! You can learn more about how to play by reading the official Habitat manual from 1988.