Notion-Hugo allows you to use Notion as your CMS and deploy your pages as a static website with Hugo. So you have the full power of Notion for creating new content, with Hugo and its wonderful ecosystem of themes take care of the rest for you.
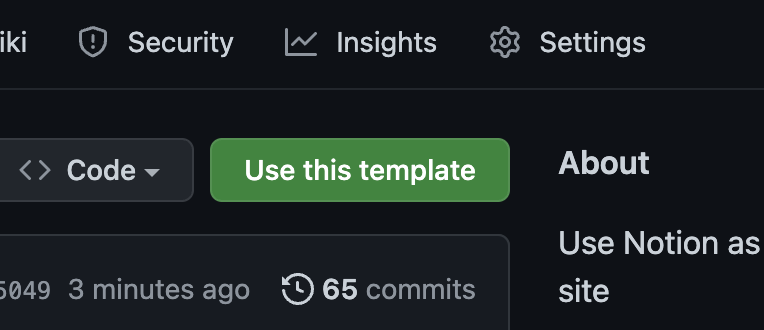
Click the green "Use this template" button in the upper-right corner to create your repo from this template. Choose "public" for the repository visibility.
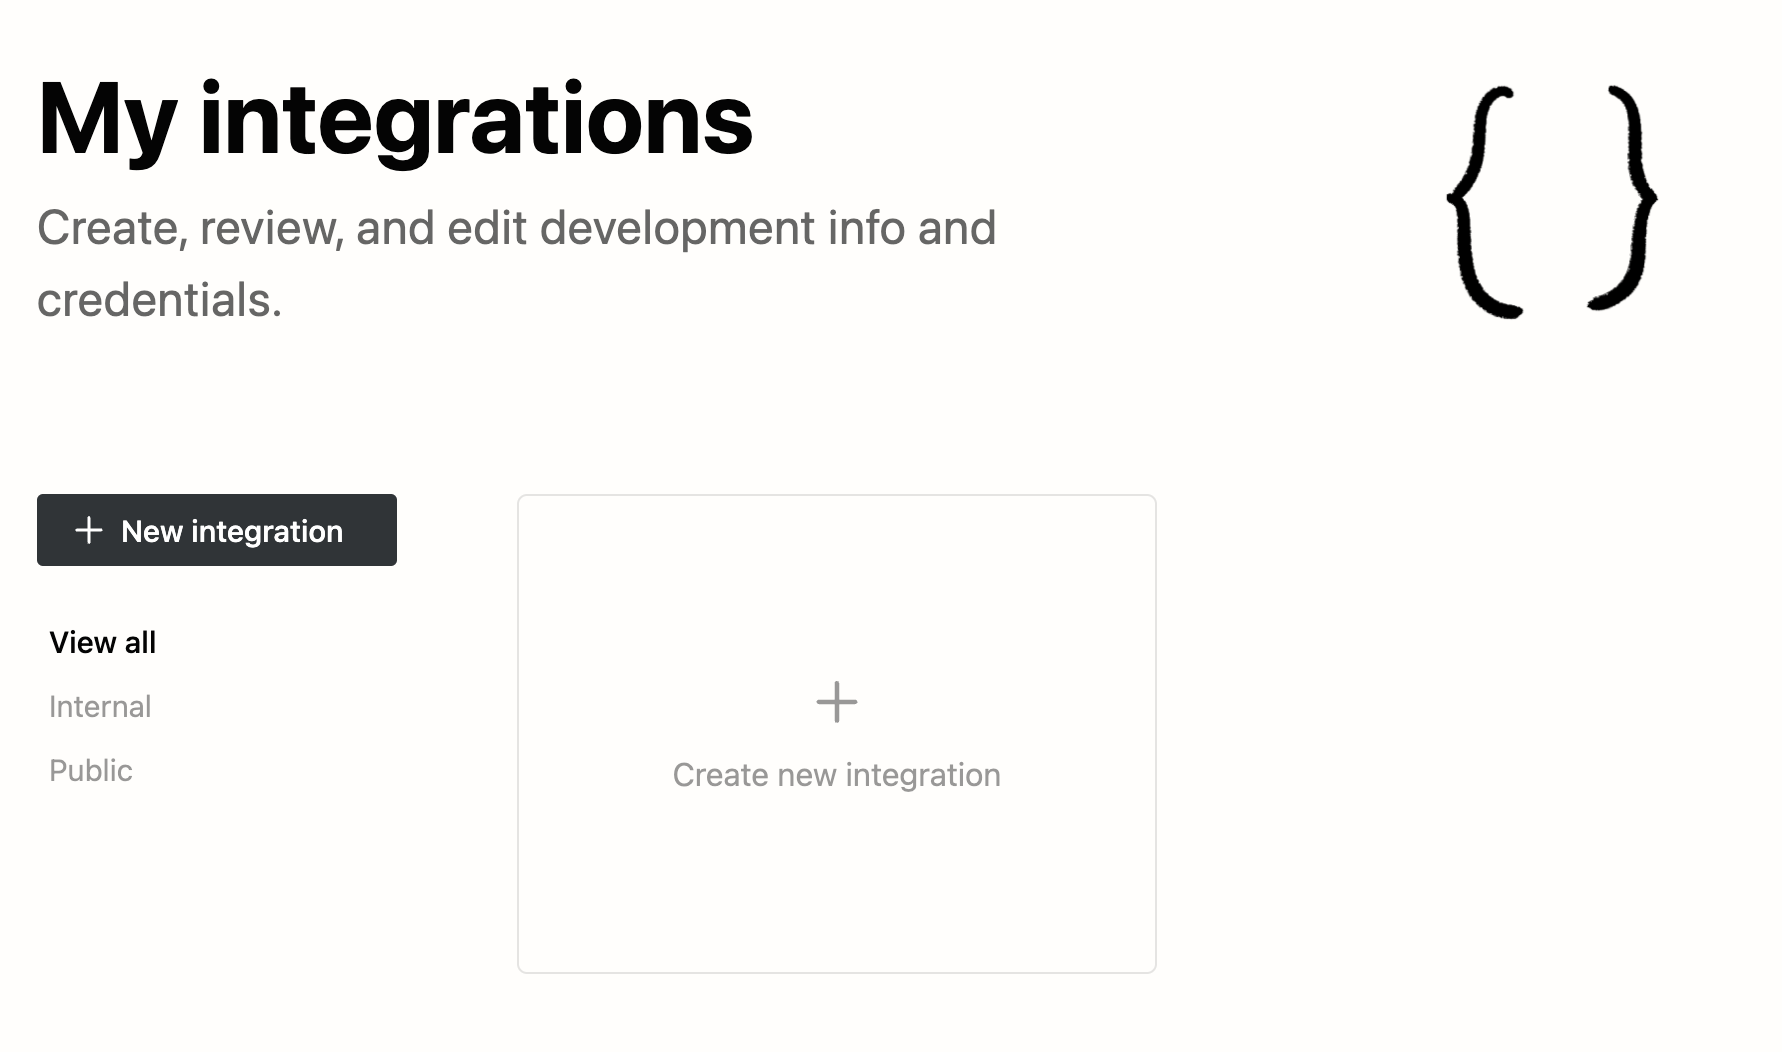
Visit my integrations and login with your Notion account.
Click on "Create new integration" to create a new internal integration.
In the capabilities section, select "Read Content" and "Read user information including email address". The "Read Content" permission is necessary for Notion-Hugo to pull your Notion content, and the "Read user information including email address" permission is used to fill front matters with author information. Notion-Hugo does not collect any of your information.
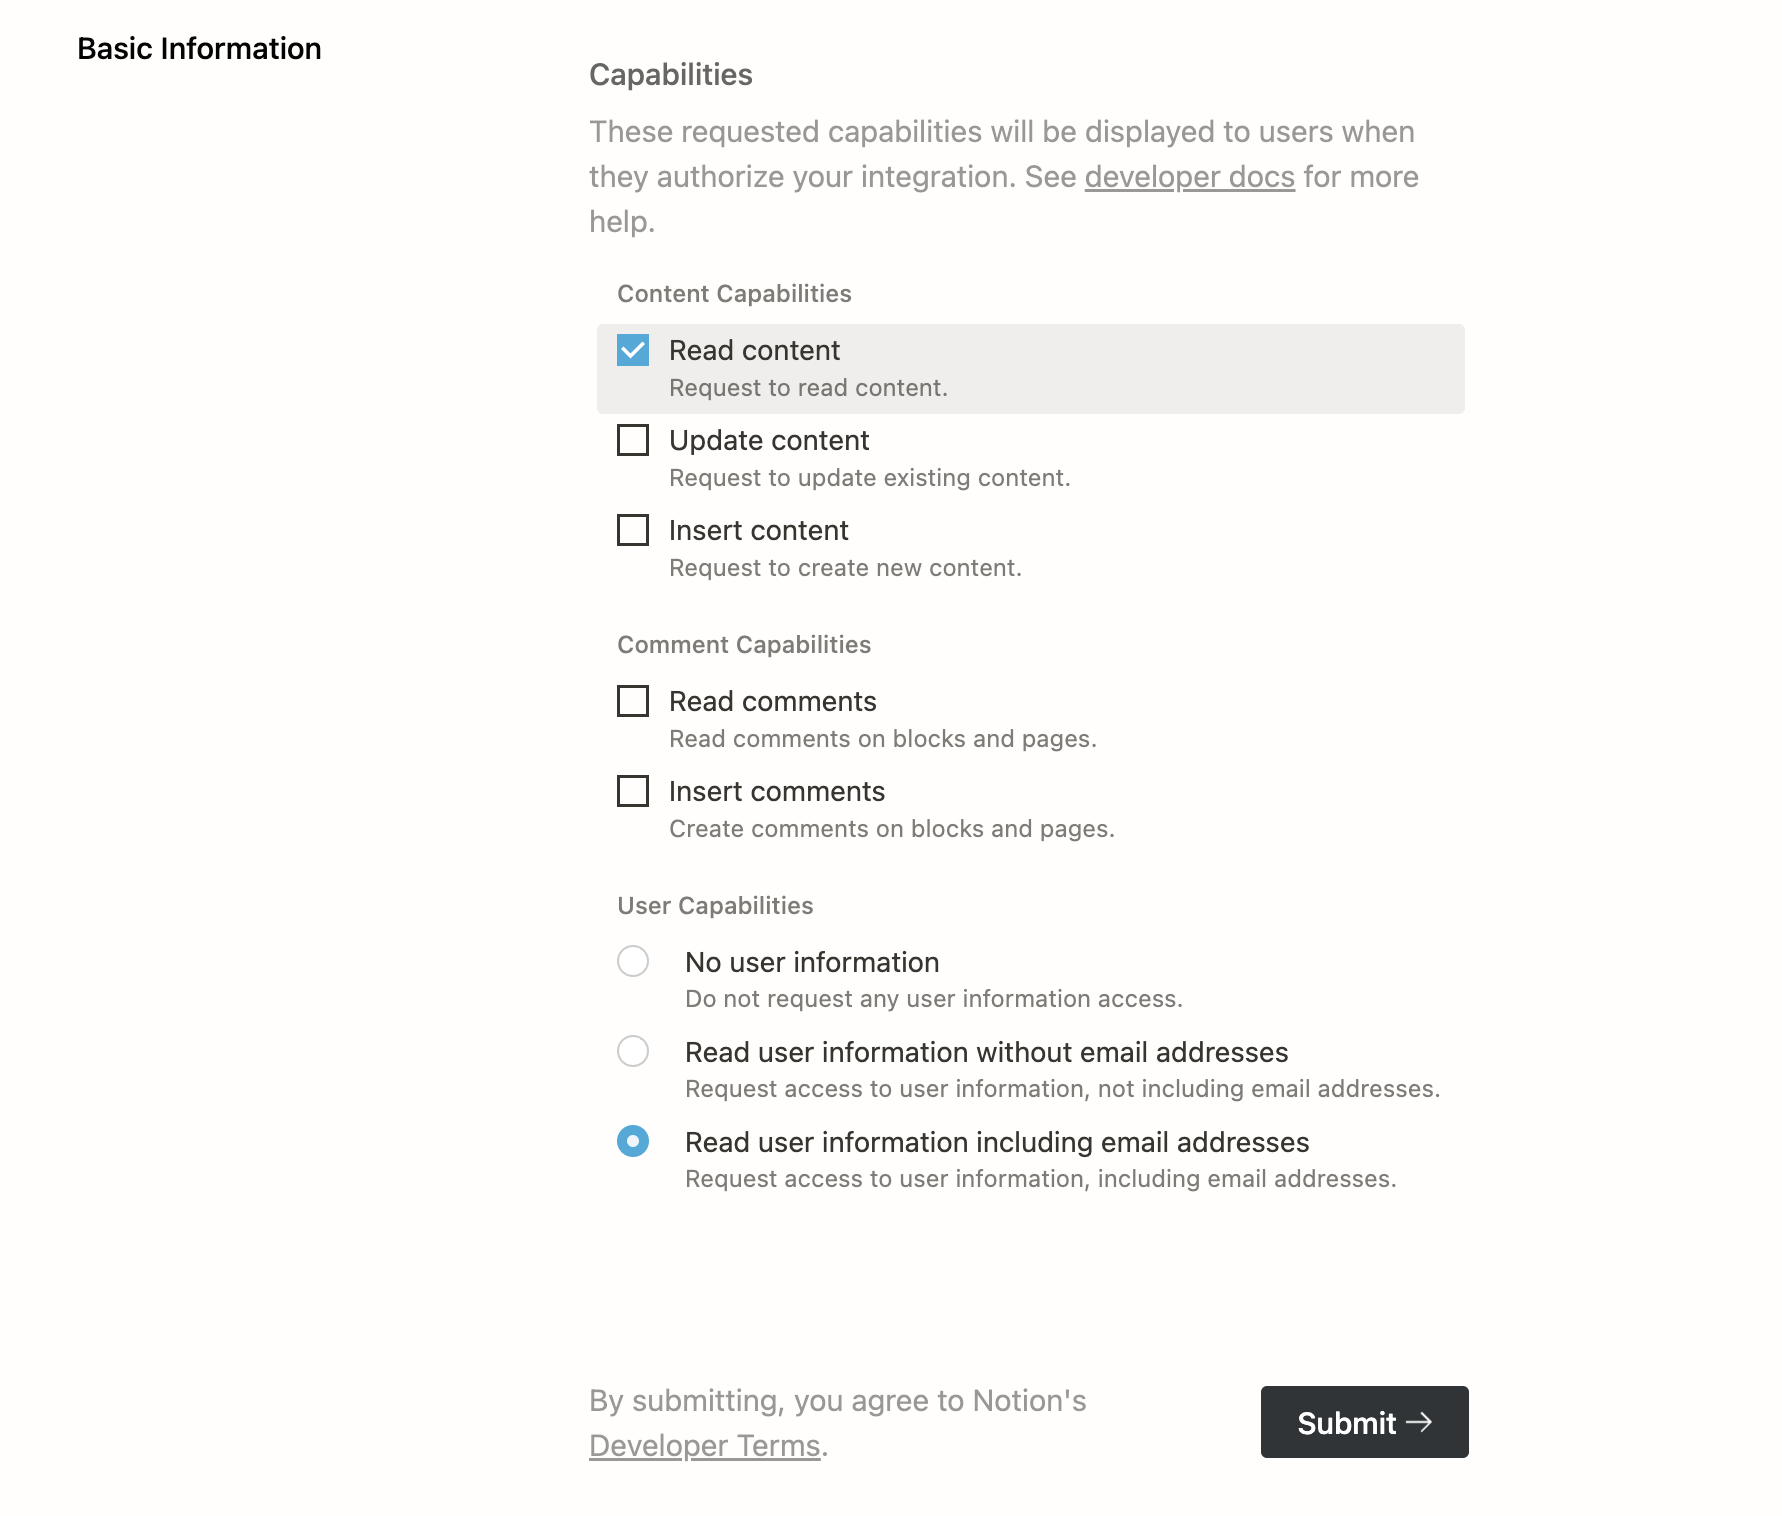
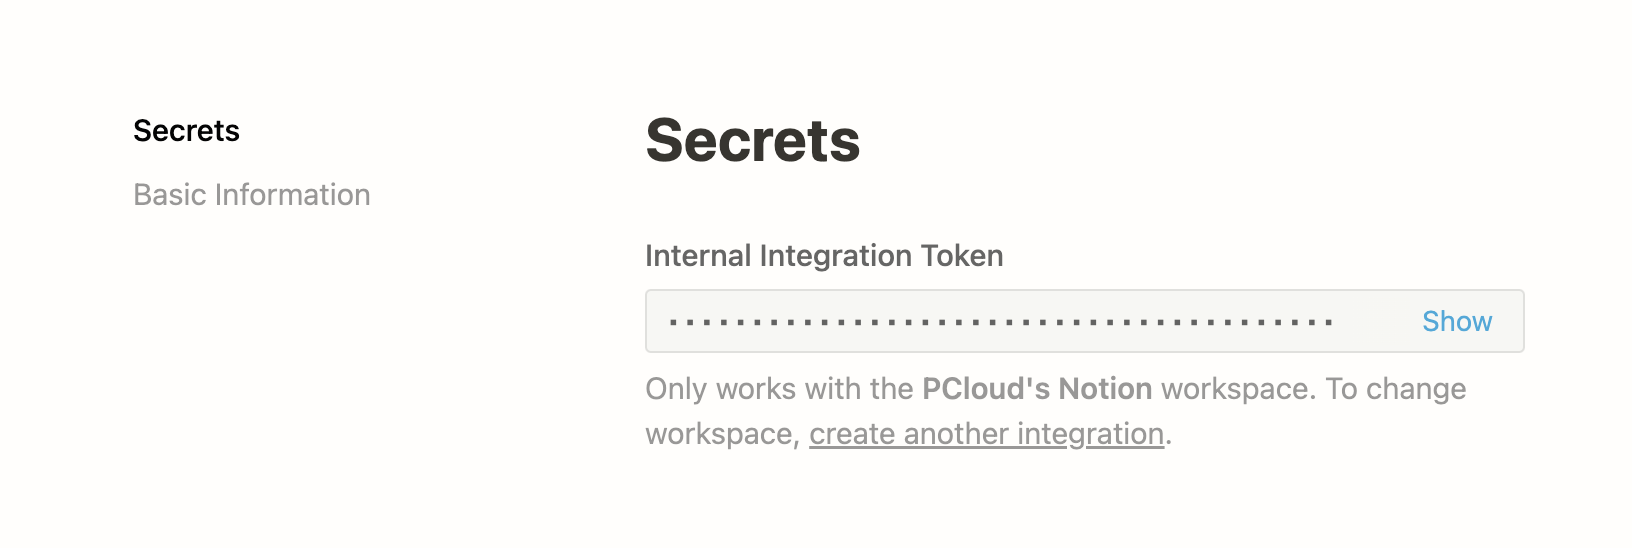
Click the submit button to finish creating the Notion integration.
Copy the Internal Integration Token.
Navigate to the GitHub repo you just created, click on Settings -> Secrets -> Actions.
Click the "New Repository Secret" button on the top right.
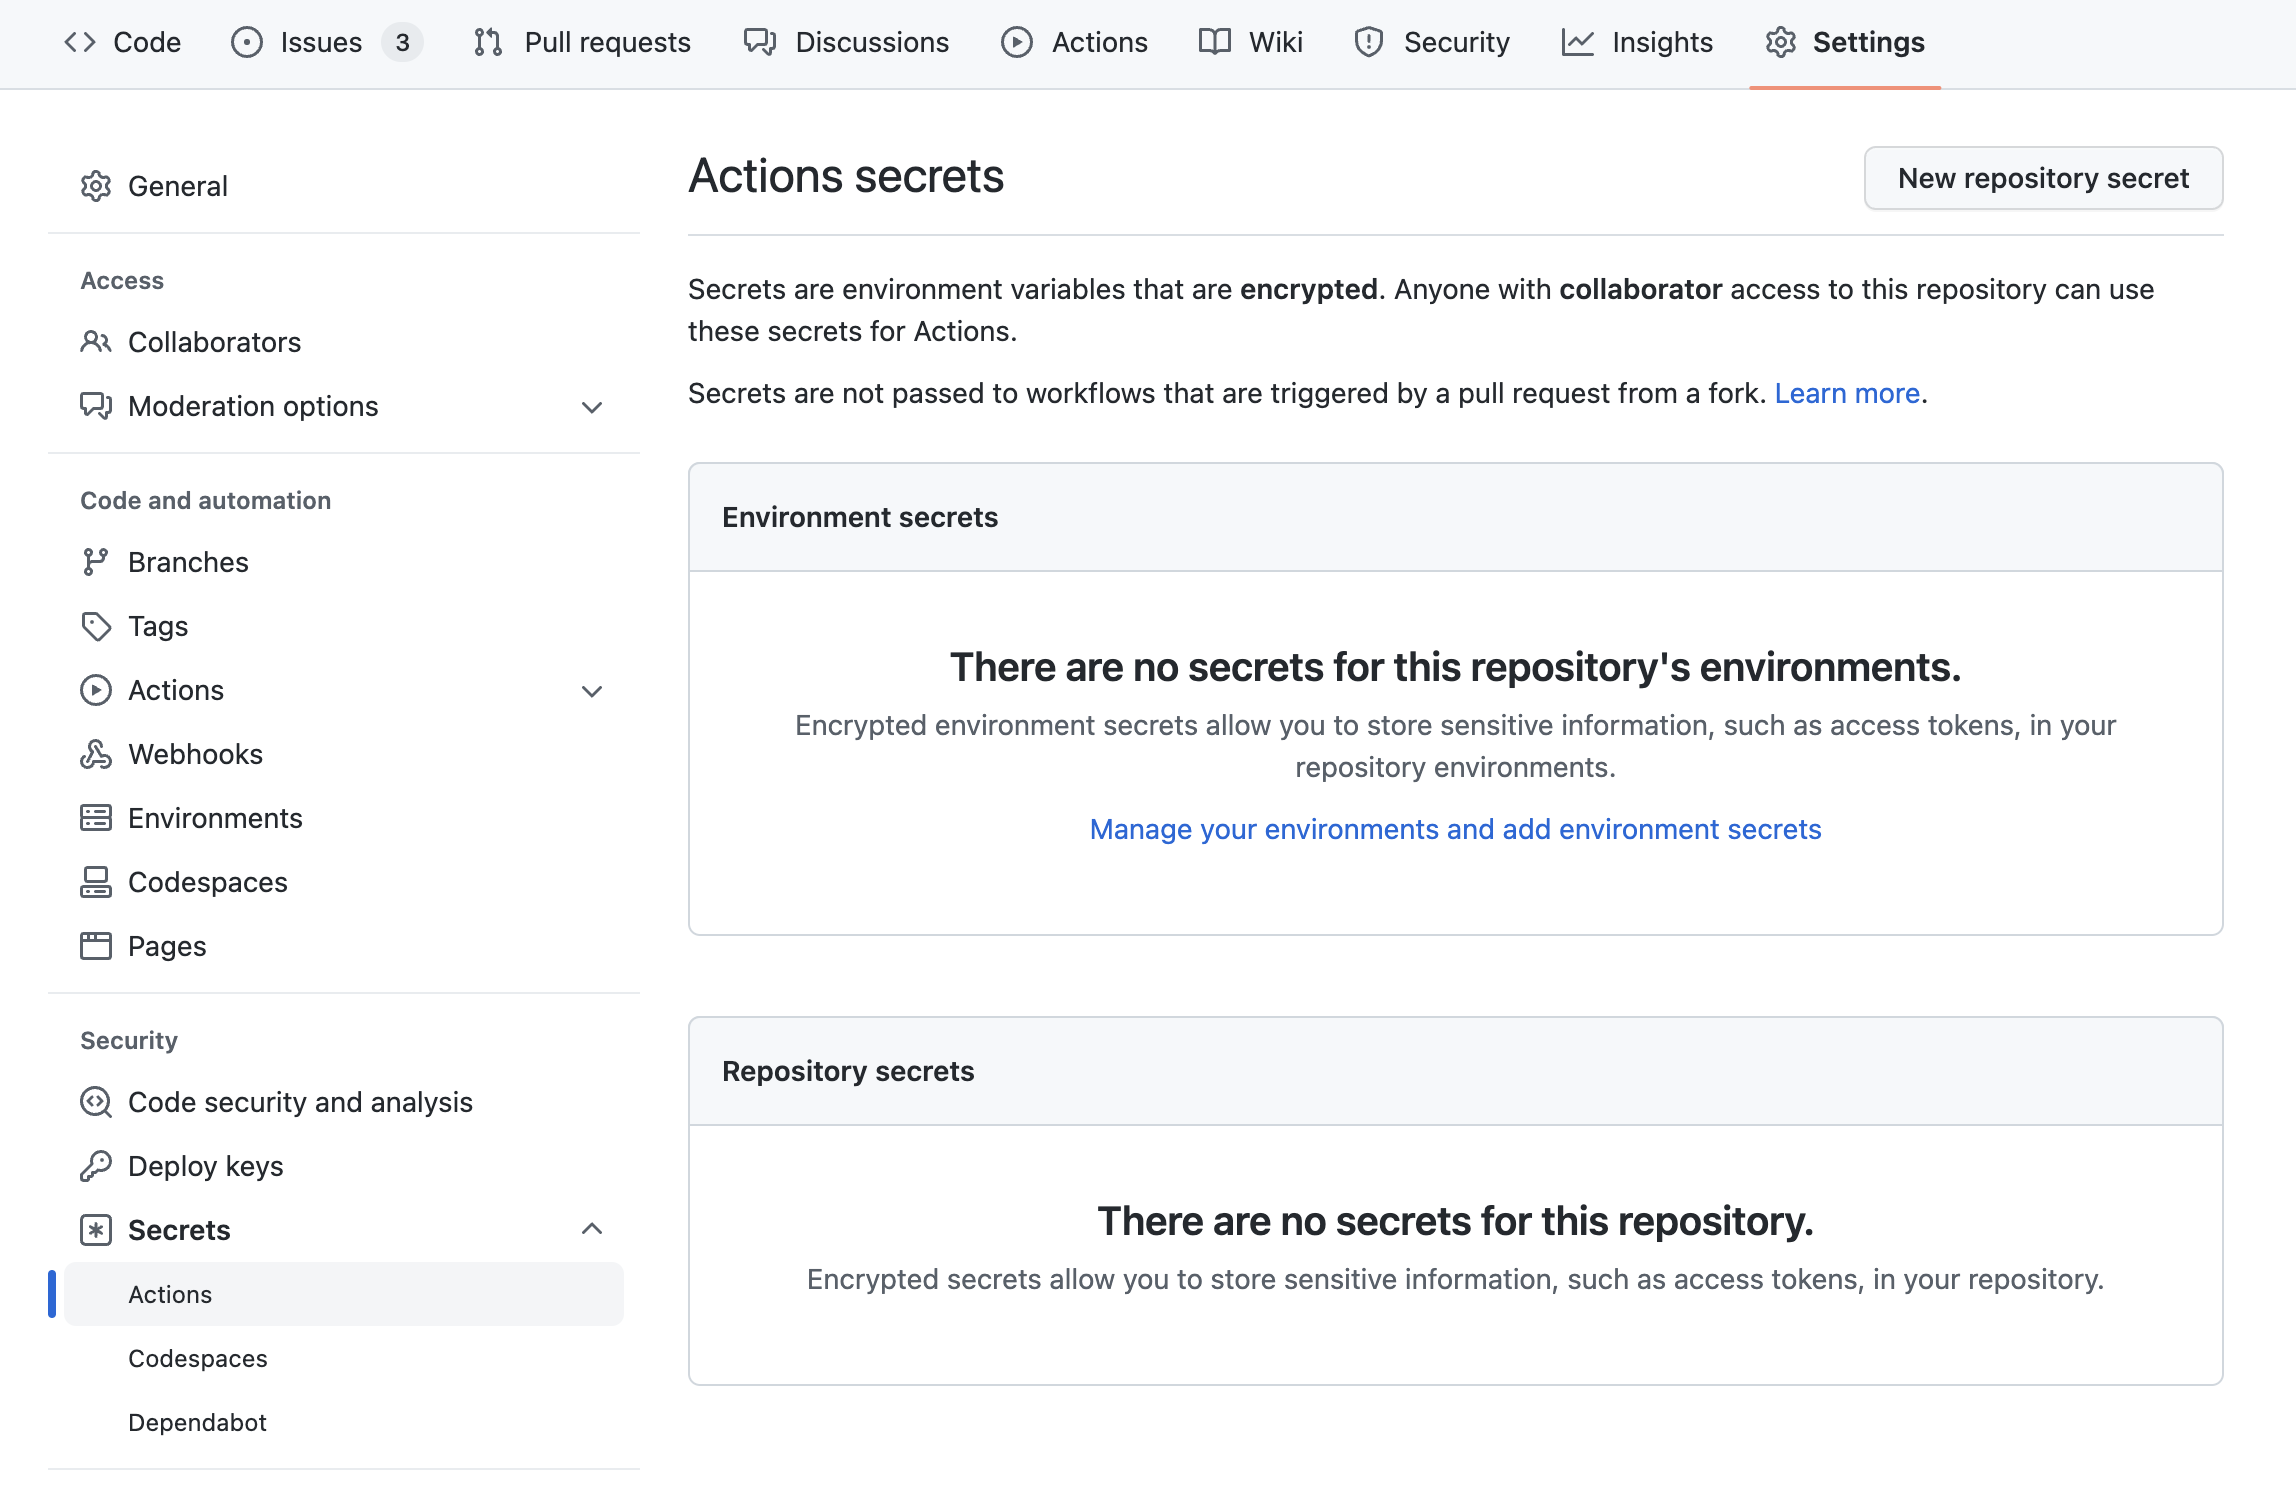
Add a new secret with name NOTION_TOKEN, paste the copied token into the secret field. Click the green "Add secret" button to save the change.

Duplicate this Notion Template into your own workspace.
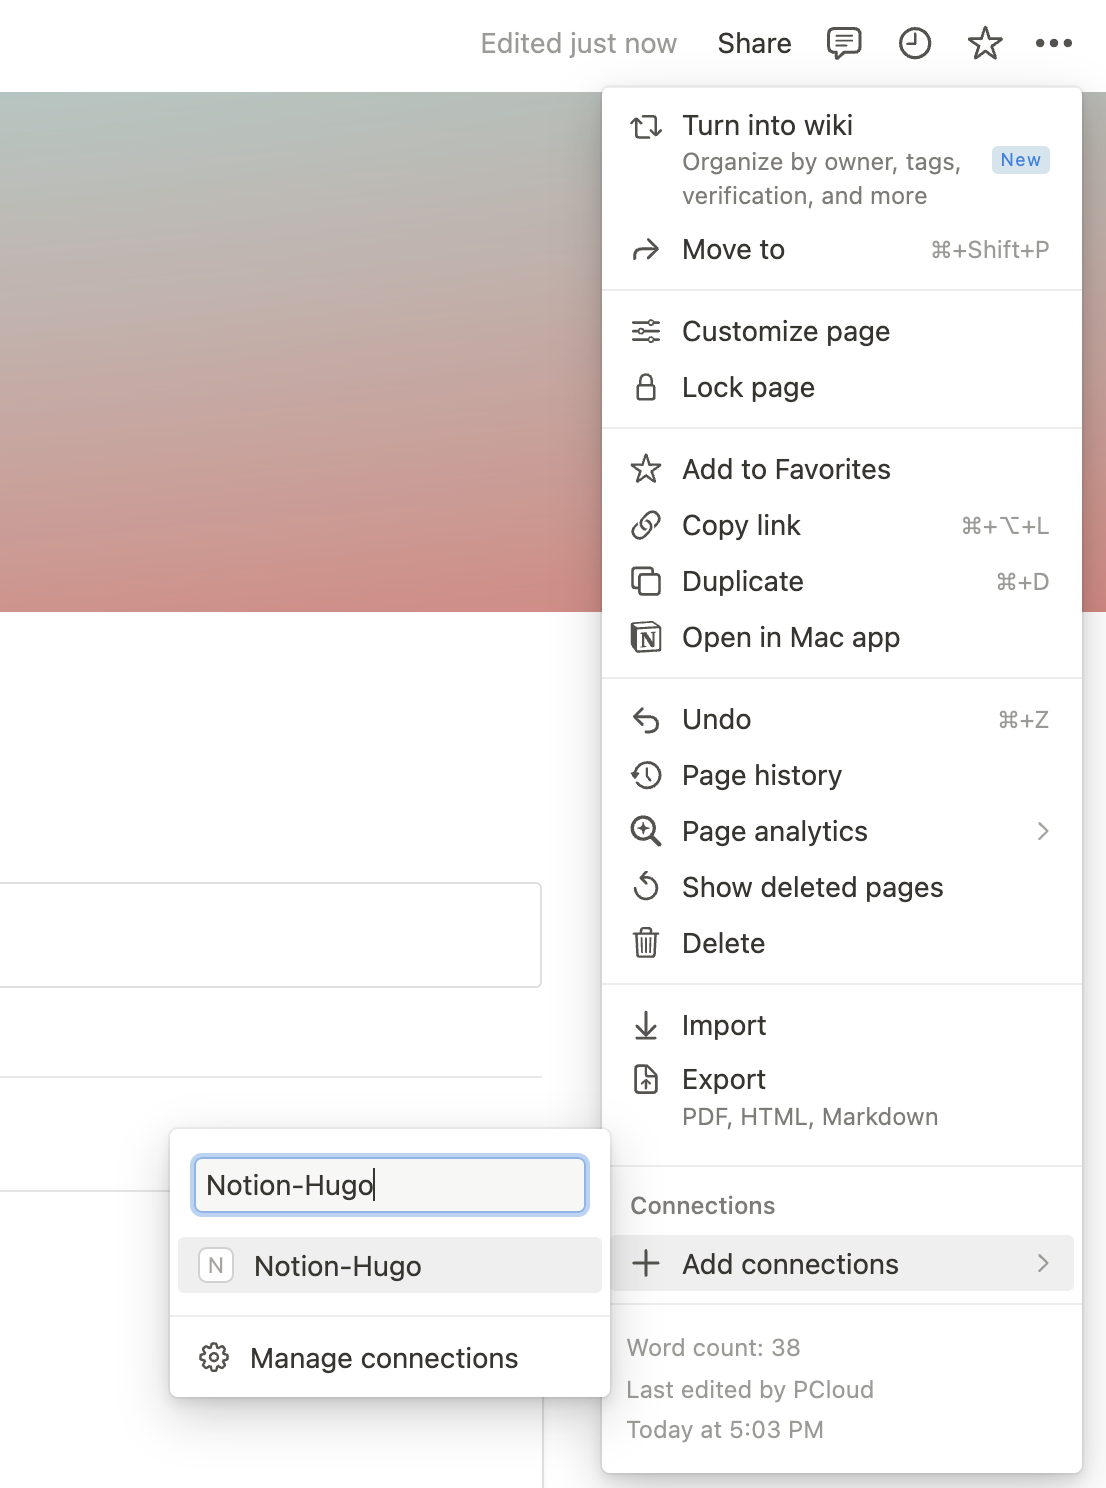
Visit the page you just duplicated, click the ellipsis button on the top right and add the integration you just created as a connection.
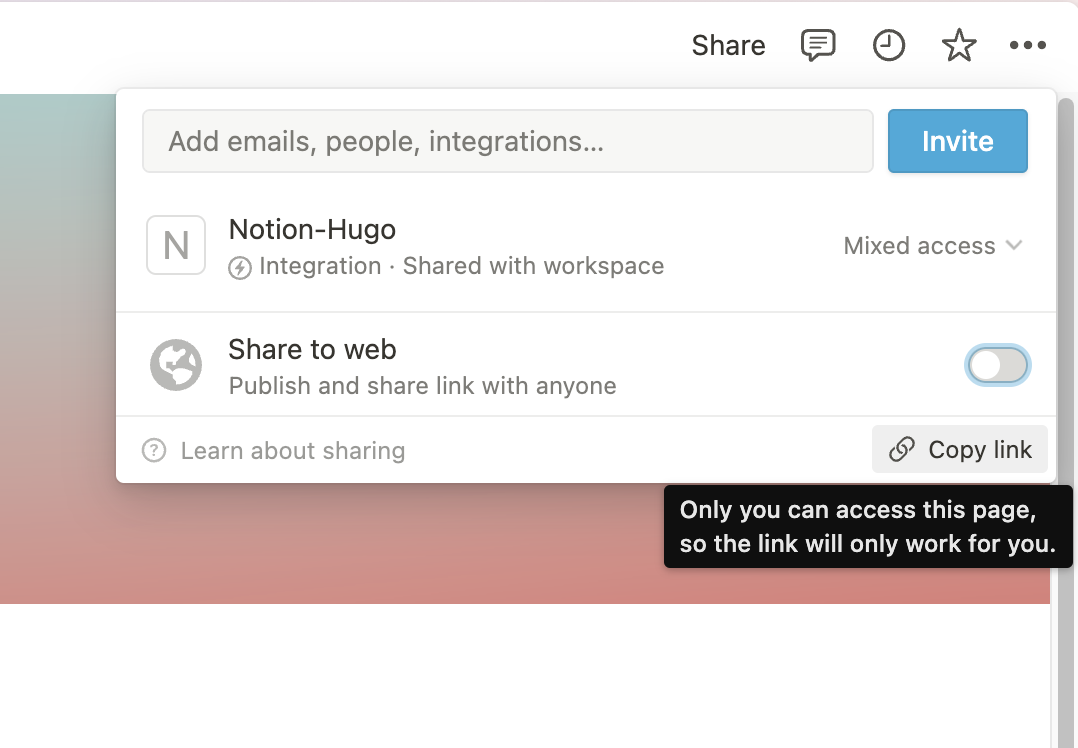
On the page you just shared with the integration, click on the "share" button again, then click the "copy link" button on the bottom right to copy the link to this page.
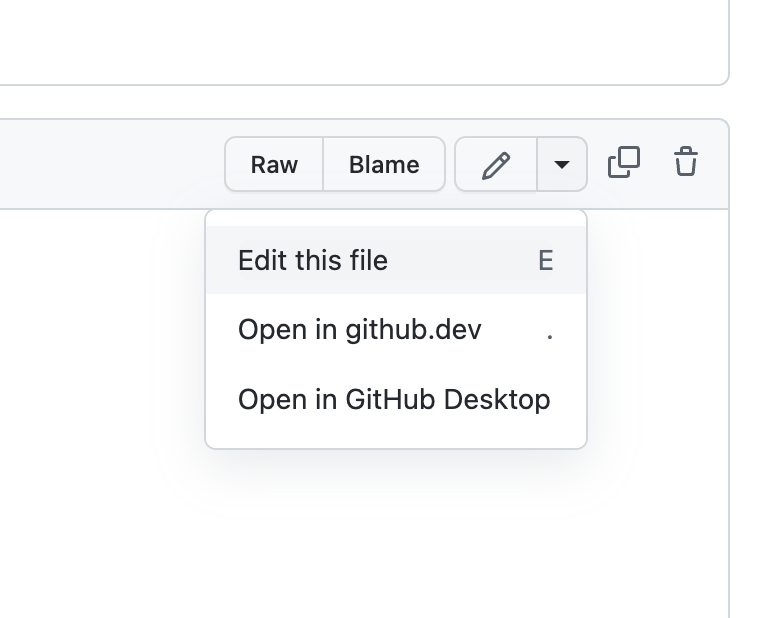
Now navigate back to your GitHub repository, open the notion-hugo.config.ts file, click to edit the file.
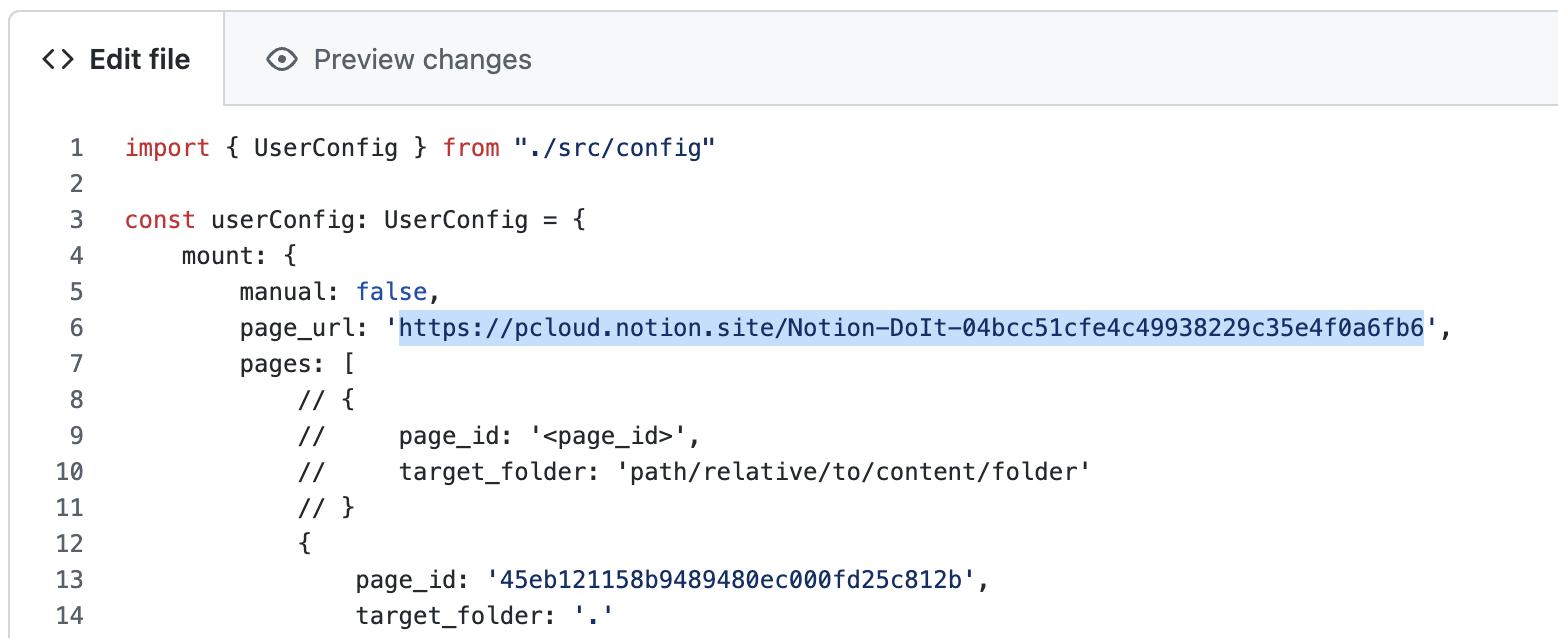
Replace the page_url with the link you just copied.
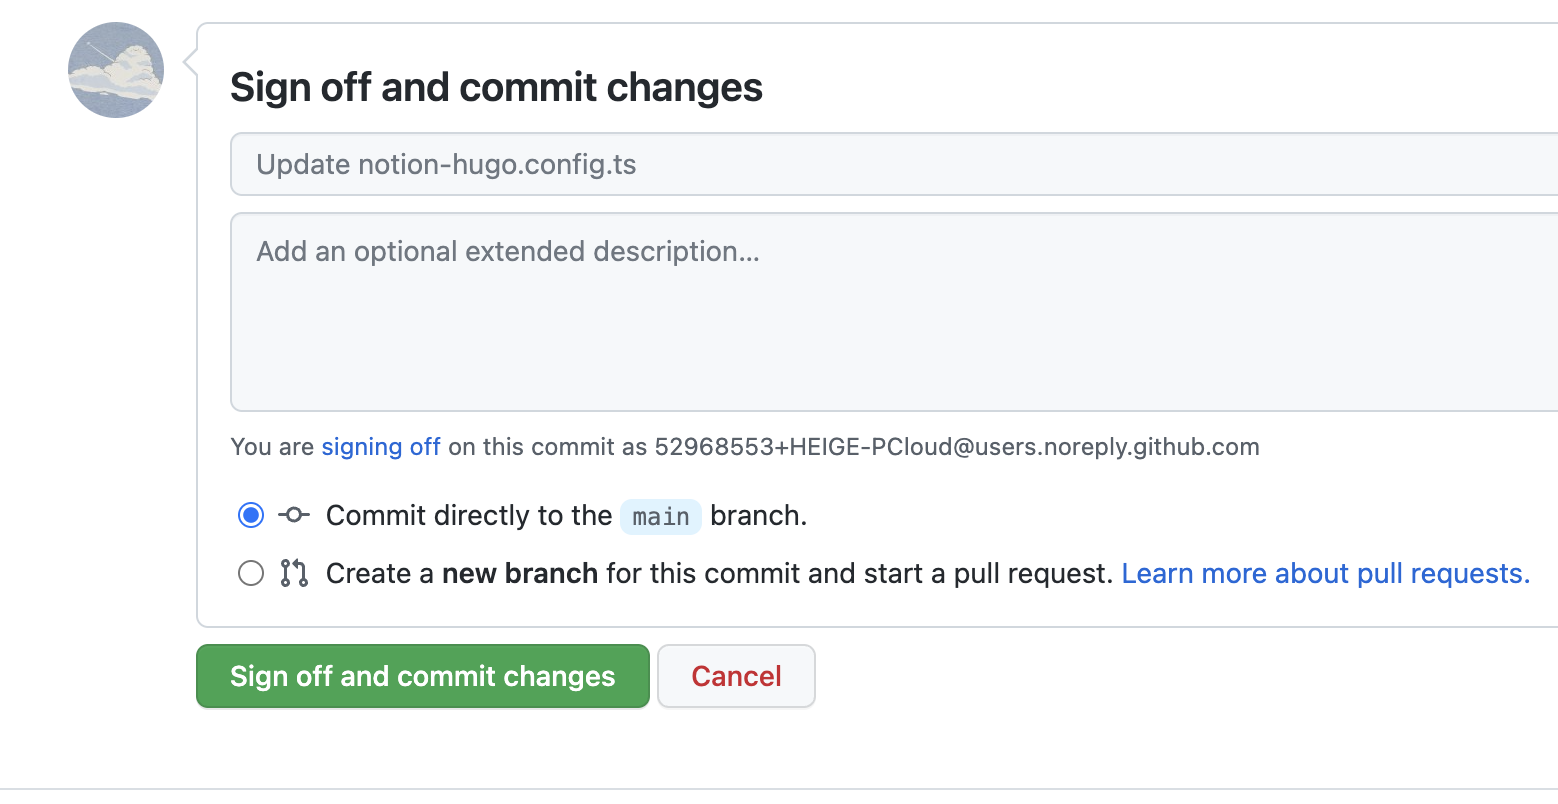
Click the commit changes button at the bottom to save the file.
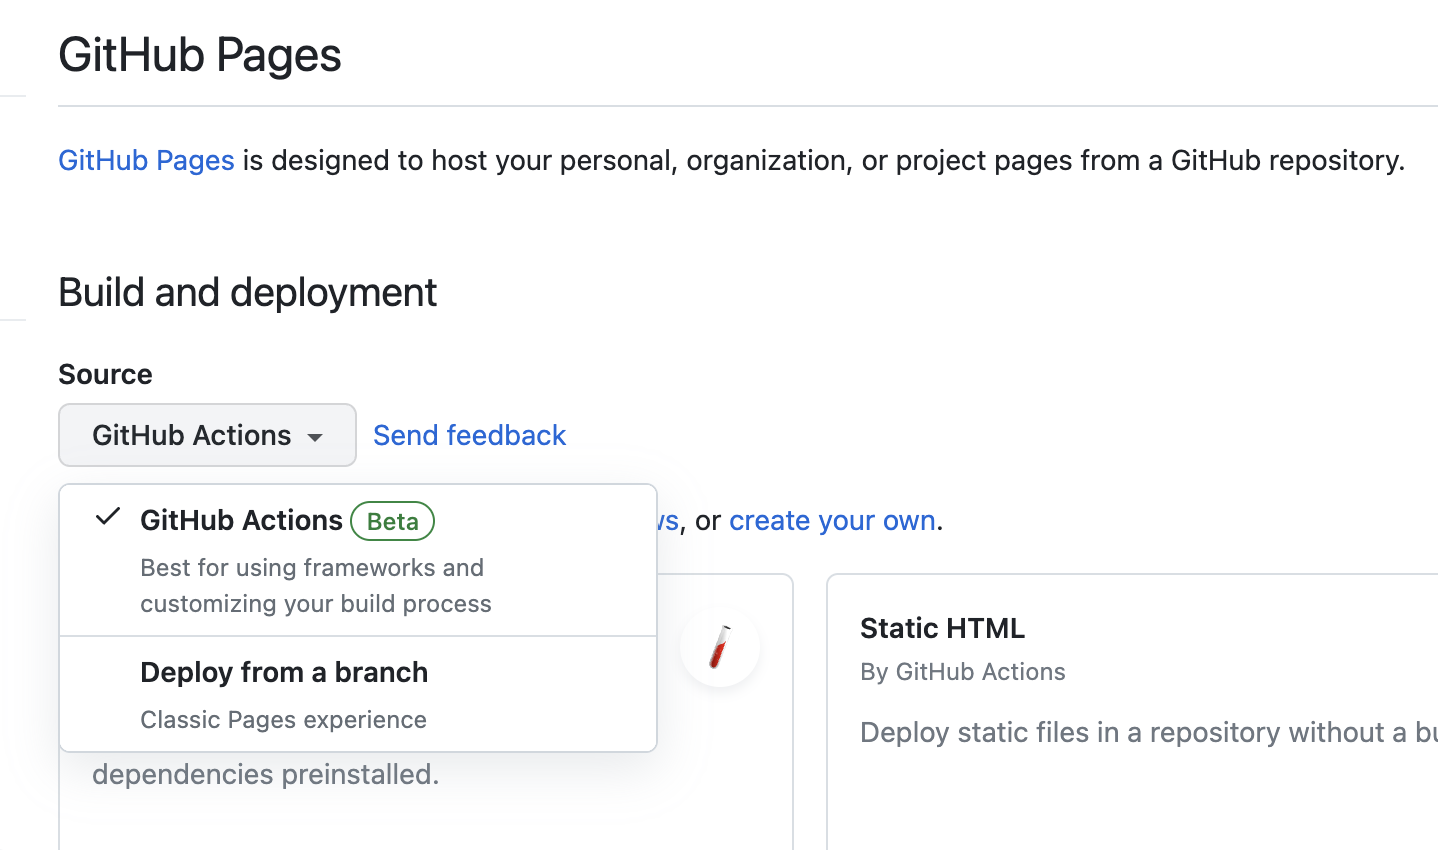
Navigate to Settings -> Pages to enable GitHub Pages for your repository.
There is one final step to make your website work correctly. Copy the url of your new website, then go to file config/_default/config.toml and change the baseURL from https://example.org/ to the url you just copied. Commit the changes and wait for your website to be deployed.
Now, visit your website and you will see your content from Notion is rendered into static webpages successfully.
Visit the wiki to learn more about how to
- Pick a different Hugo theme
- Deploy to other platforms
- Configure Notion-DoIt
Yes. By default, the notion-hugo blog will be re-generated every 1 hour through CD action in Github Actions. You can change this in .github/workflows/cd.yml using cron option:
name: CD

on:
  ...

  schedule:
    - cron: '0 * * * *' # run every hour
Be aware that Github will allow you to re-run the job no more often than once per 5 minutes.
This repo at the moment supports only cron option.
But, as an idea or direction - you could look for ways to listen for updates in Notion database and trigger Github Action when Notion database is updated. Usually webhooks are used for that purpose - but at the moment Notion has no official webhook support. So you would need to find a work around.