Initial State
We want to stream all of our weather data to a cloud service and have that service turn our data into a nice dashboard. Our data needs a destination so we will use Initial State as that destination.
Go to https://iot.app.initialstate.com and create a new account.
Install the Initial State Python module onto your laptop or Raspberry Pi.
At a command prompt, run the following command:
$ \curl -sSL https://get.initialstate.com/python -o - | sudo bash
After Step 2 you will see something similar to the following output to the screen:
$ \curl -sSL https://get.initialstate.com/python -o - | sudo bash
Password:
Beginning ISStreamer Python Easy Installation!
This may take a couple minutes to install, grab some coffee :)
But don't forget to come back, I'll have questions later!

Found easy_install: setuptools 1.1.6
Found pip: pip 1.5.6 from /Library/Python/2.7/site-packages/pip-1.5.6- py2.7.egg (python 2.7)
pip major version: 1
pip minor version: 5
ISStreamer found, updating...
Requirement already up-to-date: ISStreamer in /Library/Python/2.7/site-packages
Cleaning up...

Do you want automagically get an example script? [y/N]
Where do you want to save the example? [default: ./is_example.py]

Please select which Initial State app you're using:
1. app.initialstate.com
2. [NEW!] iot.app.initialstate.com
Enter choice 1 or 2:
Enter iot.app.initialstate.com user name:
Enter iot.app.initialstate.com password:
When prompted to automatically get an example script, type y. This will create a test script that we can run to ensure that we can stream data to Initial State. The next prompt will ask where you want to save the example file. You can either type a custom local path or hit enter to accept the default location. Finally, you'll be asked which Initial State app you are using. If you've recently created an account, select option 2 then enter user name and password. After that installation will be complete.
Let’s take a look at the example script that was created.
$ nano is_example.py
On line 15, you will see a line that starts with streamer = Streamer(bucket_ .... This lines creates a new data bucket named “Python Stream Example” and is associated with your account. This association happens because of the access_key=”...” parameter on that same line. That long series of letters and numbers is your Initial State account access key.
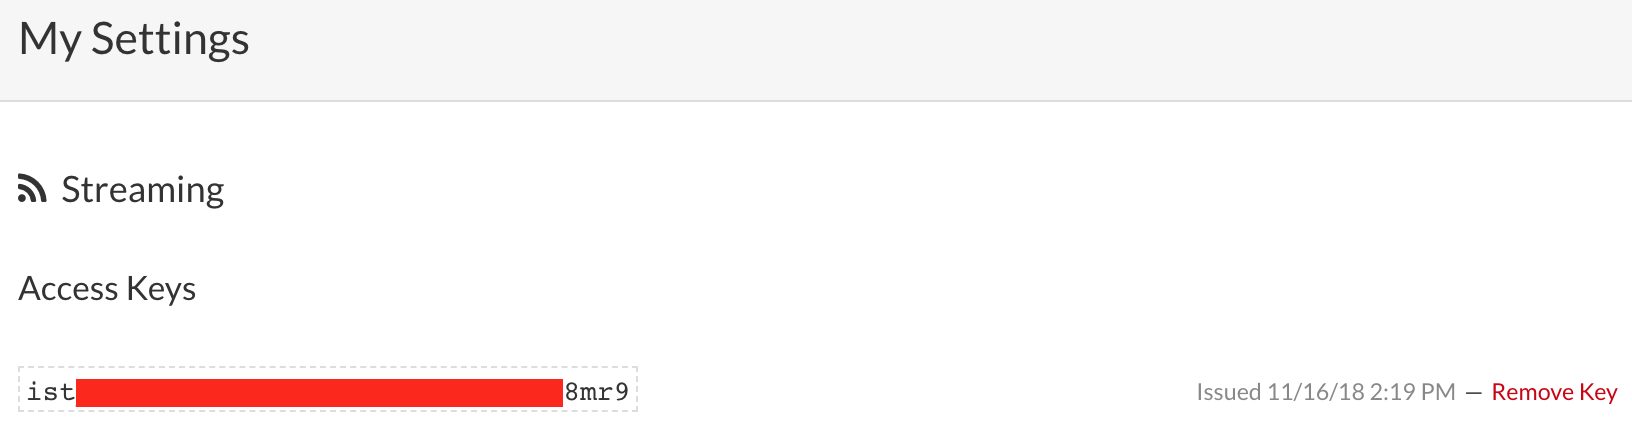
If you go to your Initial State account in your web browser, click on your username in the top right, then go to “my settings”, you will find that same access key at the bottom of the page under “Streaming Access Keys”. Every time you create a data stream, that access key will direct that data stream to your account (so don’t share your key with anyone).
Run the test script to make sure we can create a data stream to your Initial State account. Run the following in your command prompt:
$ python is_example.py
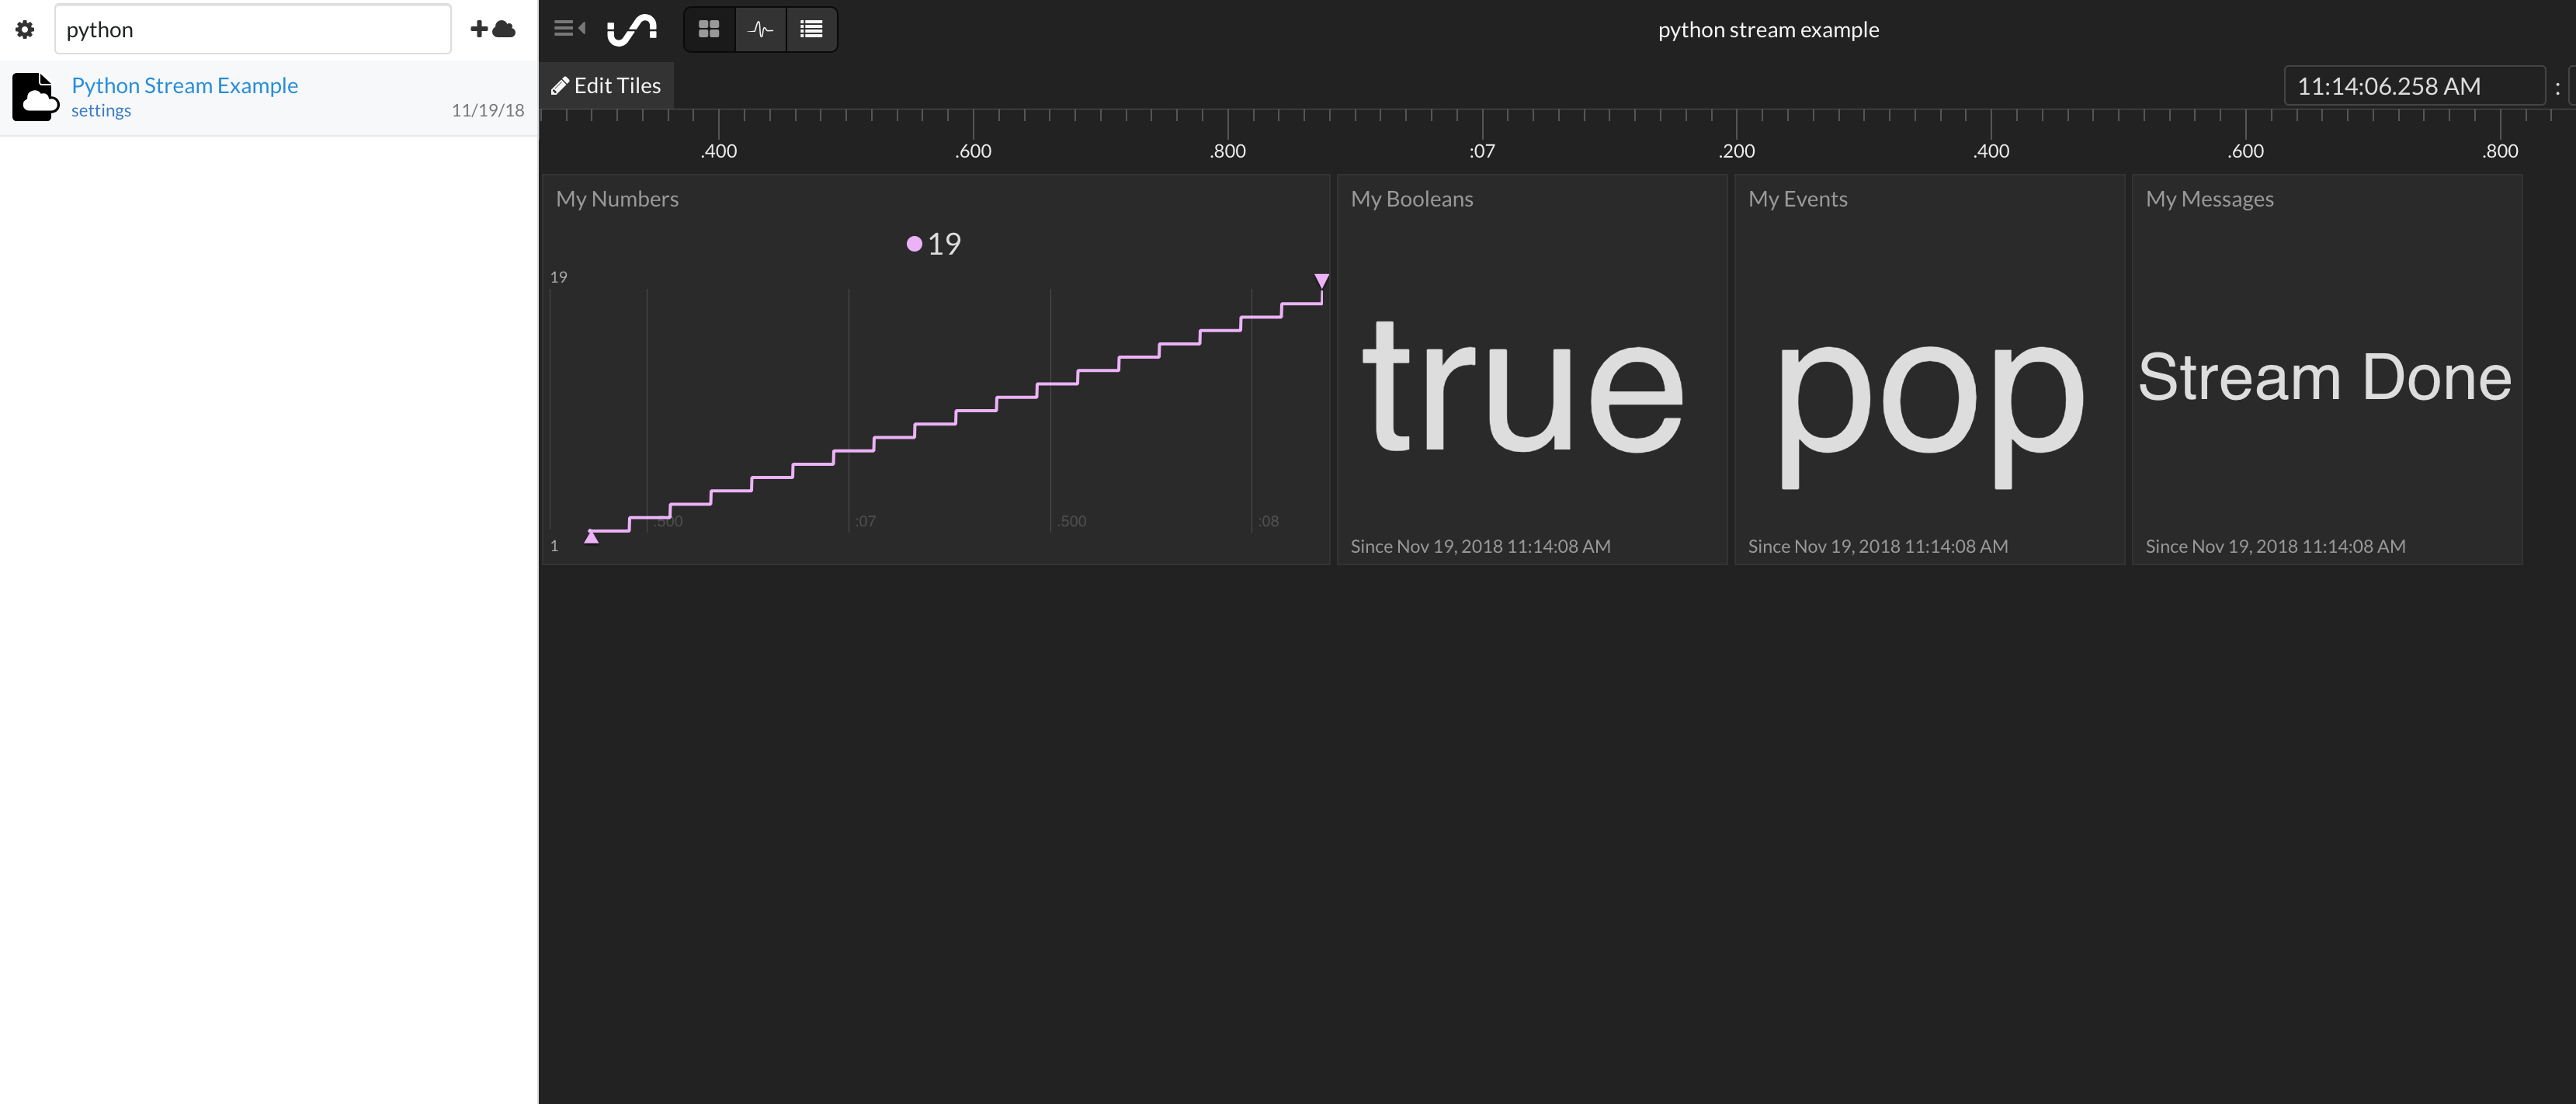
Go back to your Initial State account in your web browser. A new data bucket called “Python Stream Example” should have shown up on the left in your bucket shelf (you may have to refresh the page). Click on this bucket to view the data.
You are now ready to start streaming real data from the AirVisual API.