Getting Started
First download the latest public release here (or check out the repository and build it yourself). This will get you a single executable. Launch it up.
The application works on the concept of a 'project' which is essentially a root folder and a definition folder. As you have not yet run the tool you will be greeted with this dialog:
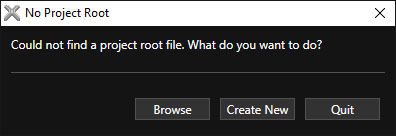
Click 'create new' to be lead through the process of creating the project file. It will prompt you to select the assets root folder, then a folder to store definitions in. You can also select a premade ProjectRoot.xml file to use that instead.
Once that is complete the tool will launch:
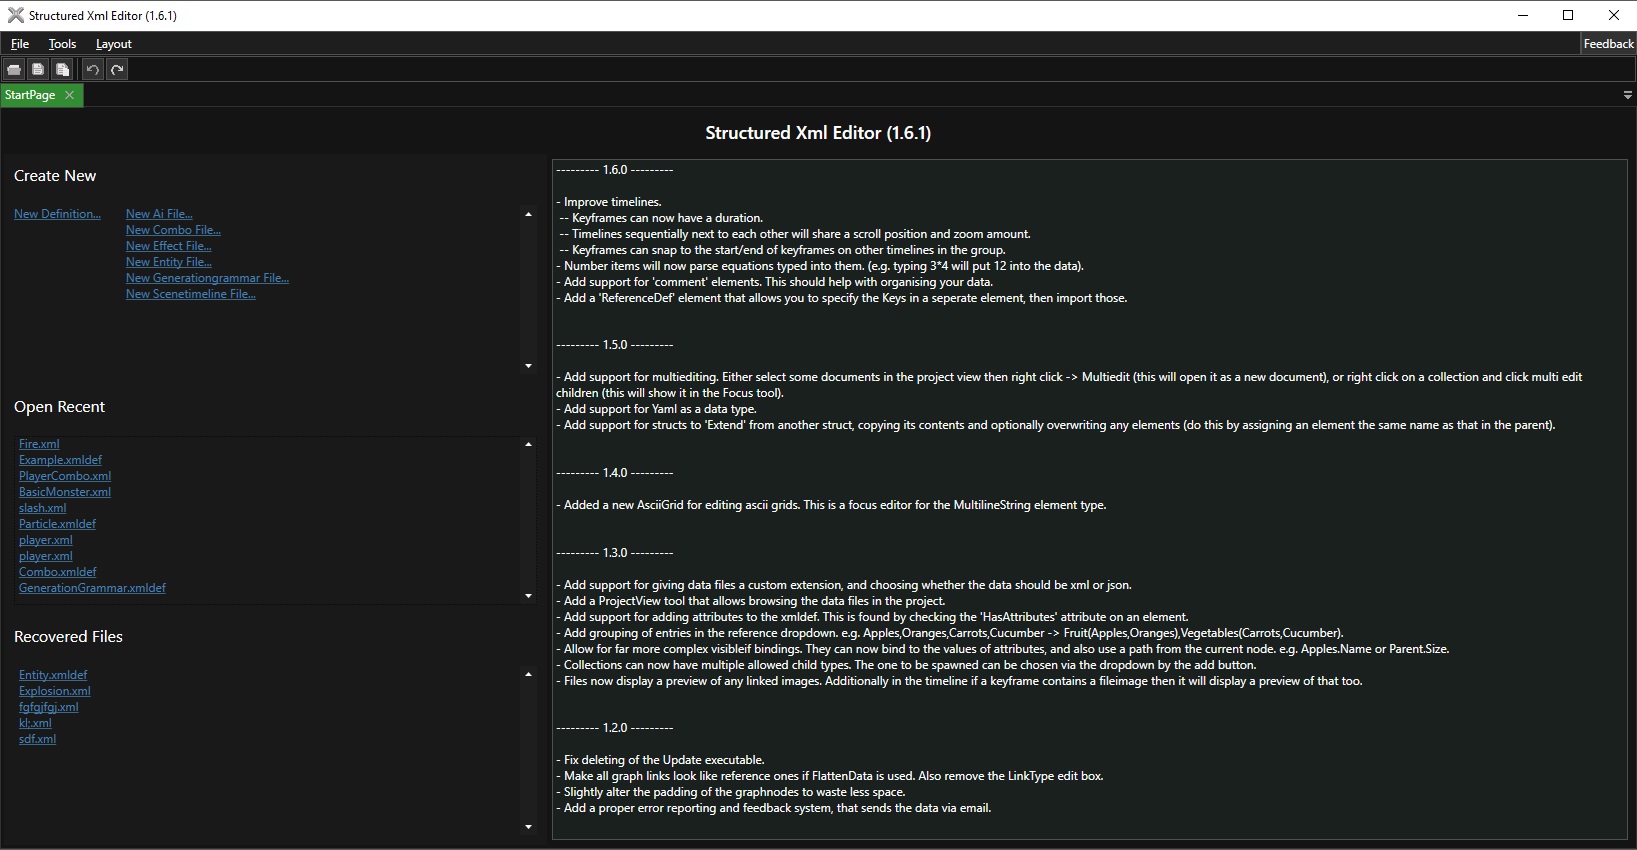
At this point it is very empty. At the top left is the file menu and the toolbar. Mouse over the buttons to see a tooltip of what they do.
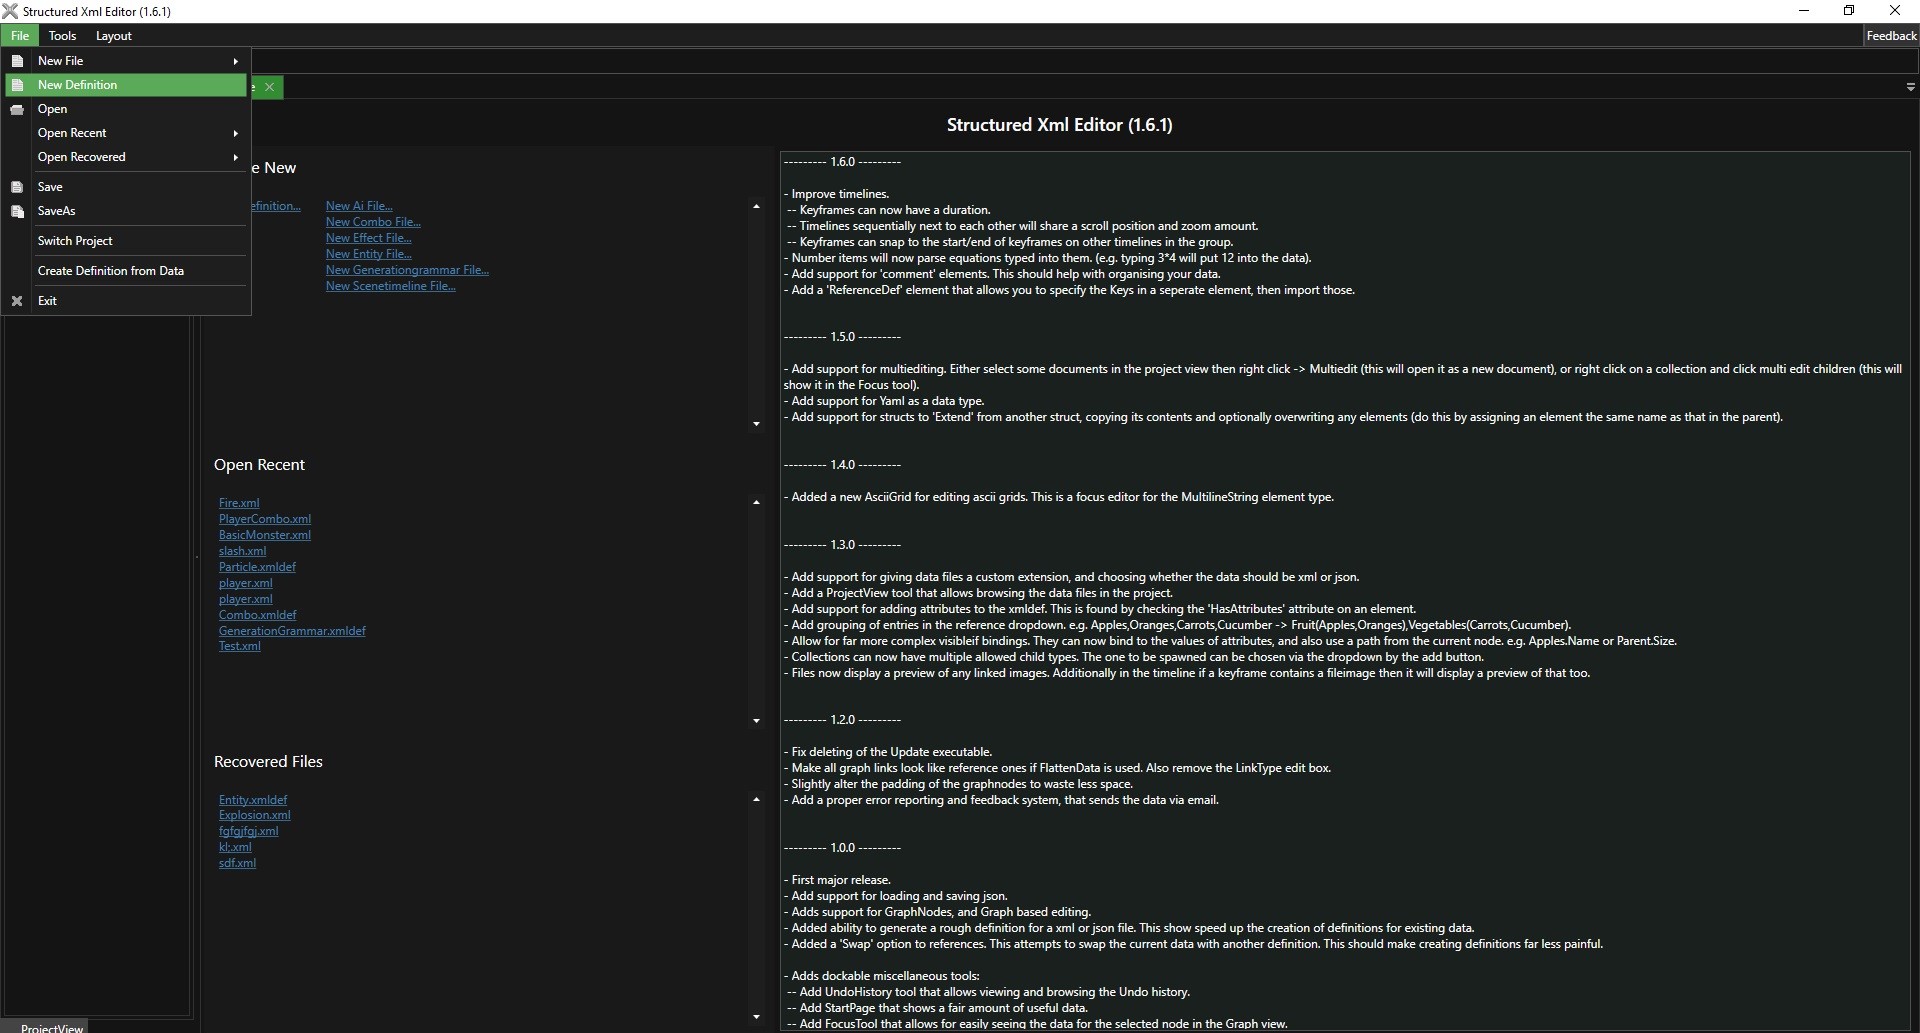
Now that we have the tool running we will want to create our first definition file. Navigate to File -> New Definition.
You will be prompted to choose a name, then the definition will open. A new document will appear in the documents list for the definition. It will look something like this:
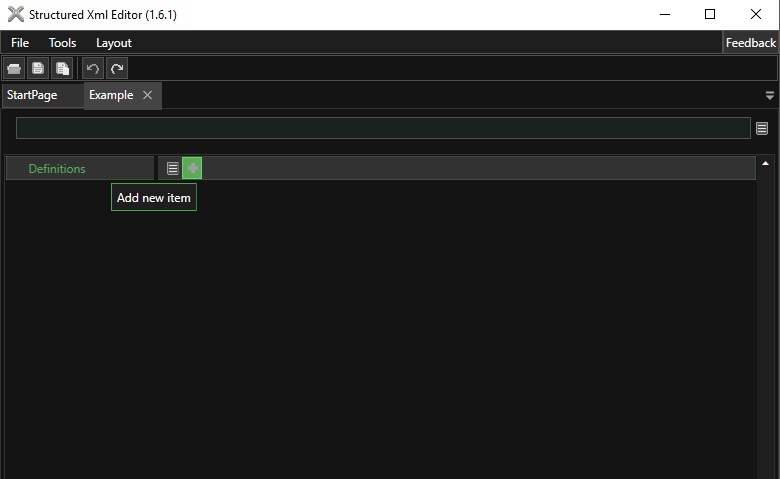
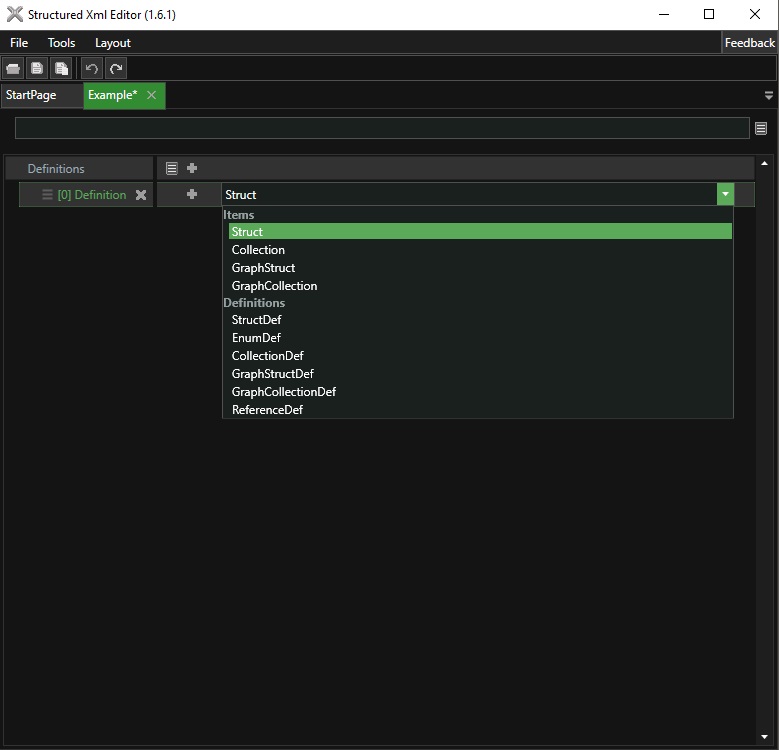
Click the new item button to add a new item to the definition. This allows for selecting one of a number of different types. At the moment we only care about making a struct. So click that.
You now have a single struct in your definition. Next to the struct name you should see two icons. One is the add icon you should be familiar with, the other is the attributes icon. Click this.
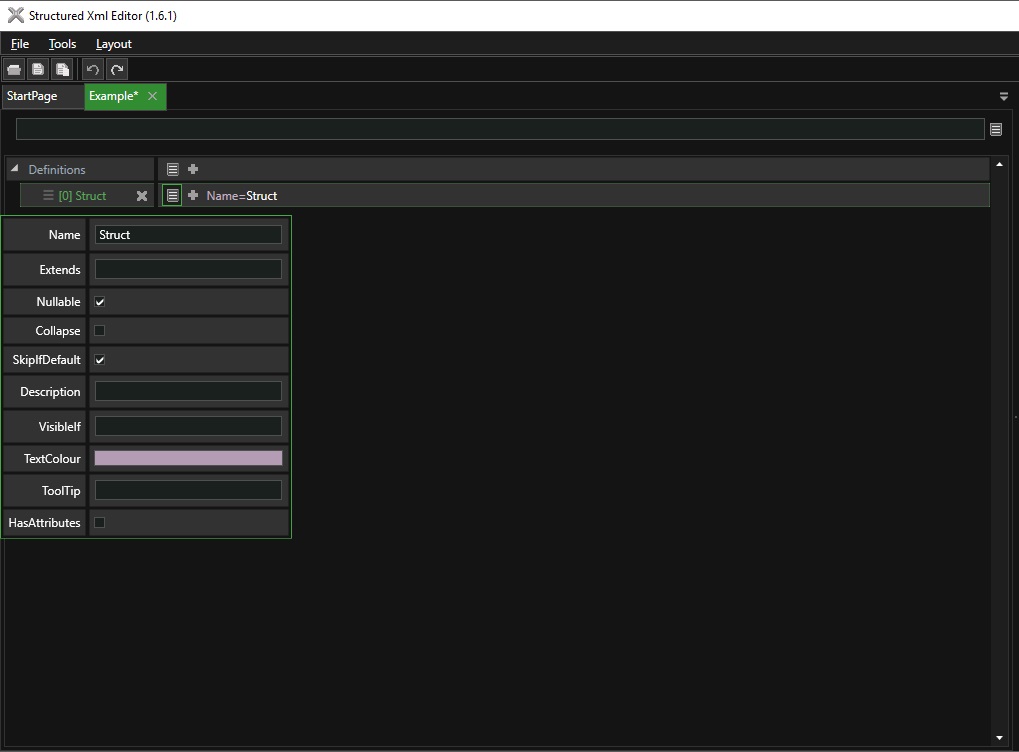
This allows you to modify all the various pieces of data supported by this type. In our case set the name to 'MyData'.
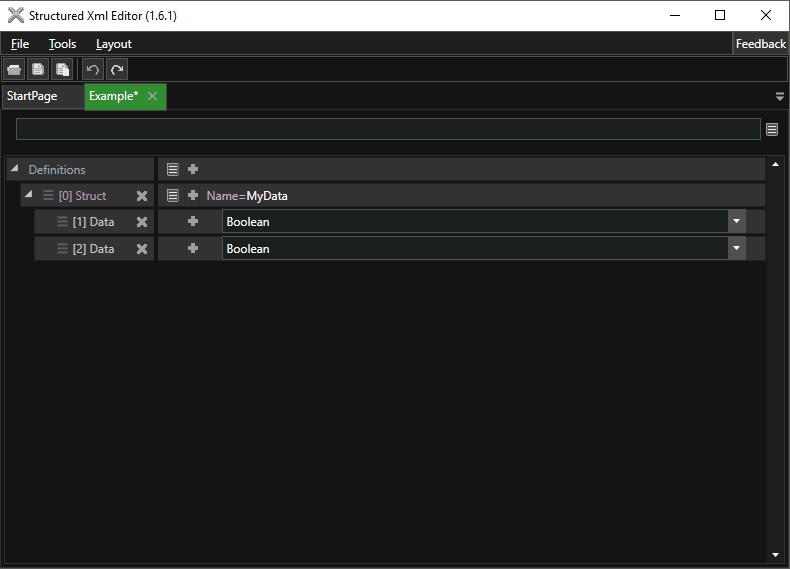
Now click the plus button twice to add two children to the struct. Click the struct name to expand to show its children. Each child will be shown as a dropdown with the valid types, and the add button which adds that type to the struct.
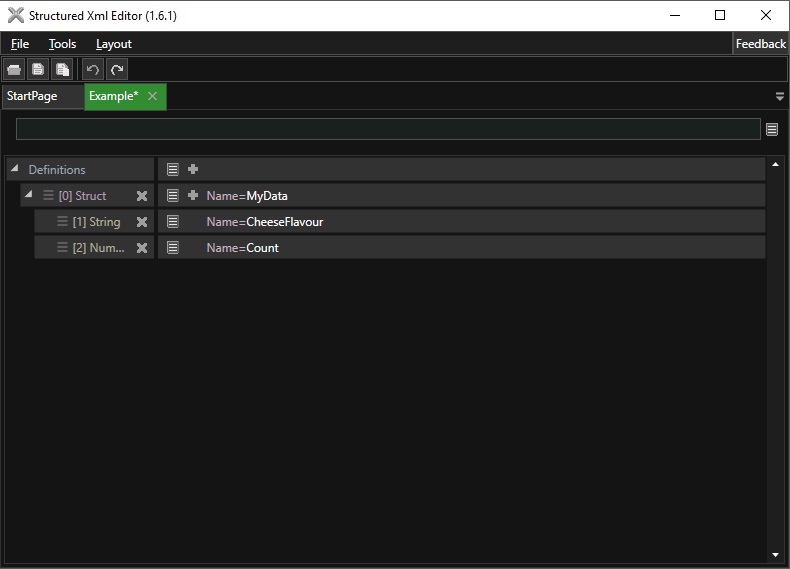
Make one of the children a string, and the other a number. Also name them something descriptive. I've named the string CheeseFlavour, and the number Count.
Now save your definition. You can either click the save button on the toolbar to the top or use the Ctrl-S keybinding.
Now that we have a definition lets create a data item of that type.
Navigate to the File -> New File menu. This will show a list of the available definitions found in the Definitions folder.
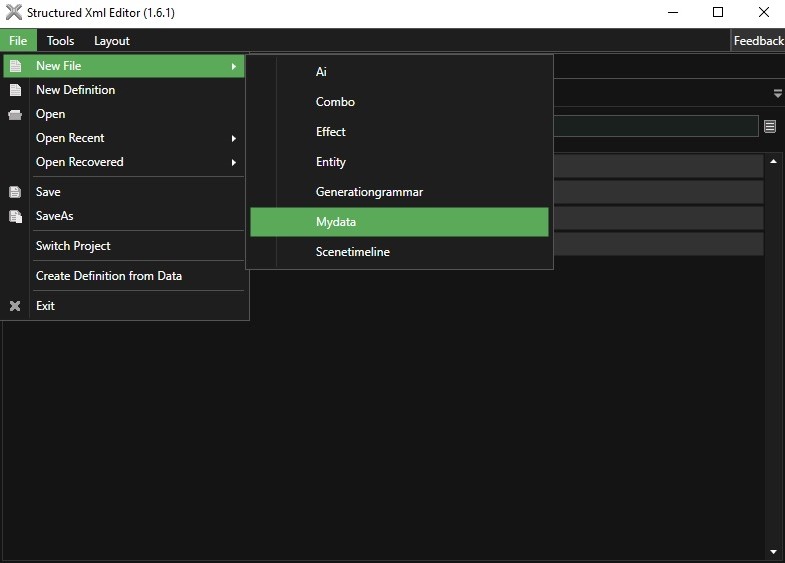
Choose the definition you created earlier, and give it a name.
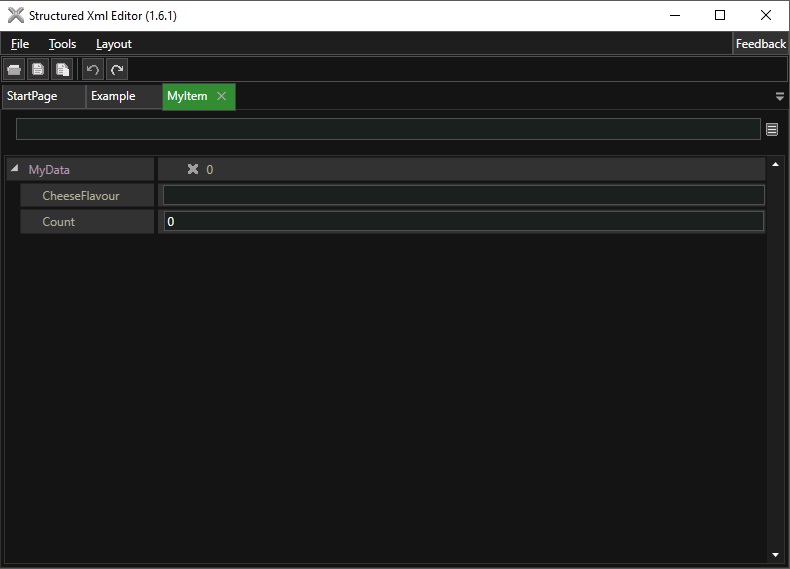
You can now set the values of the elements with the relevant editors
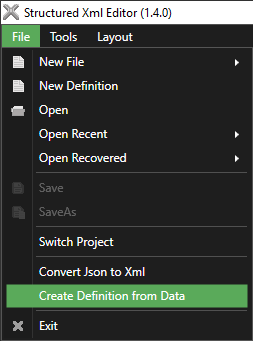
You can also create a definition from existing data. To do this go to File -> Create Definition From Data.
This will open a file selection window. Pick any number of files of the data type you want to generate data for then click open. This will show you a message box with the path to the saved definition. Find it and open it.

Now often this won't be perfect, so some tweaking will be needed. For example in the document above I want to change the enums to files instead. To do this right click on the element, then go to Swap, then pick the new element you want it to be.

This will attempt to keep your existing data as it switches, meaning you can easily swap between similar element types.