Getting started
Install TranSPHIRE (explained here).
Run the command from the command line:
transphire --edit_settings
In case the appearing window is too large for your screen, adjust the font size (default 20).
For example:
transphire --edit_settings --font 8
This will open the "Default settings" dialog:
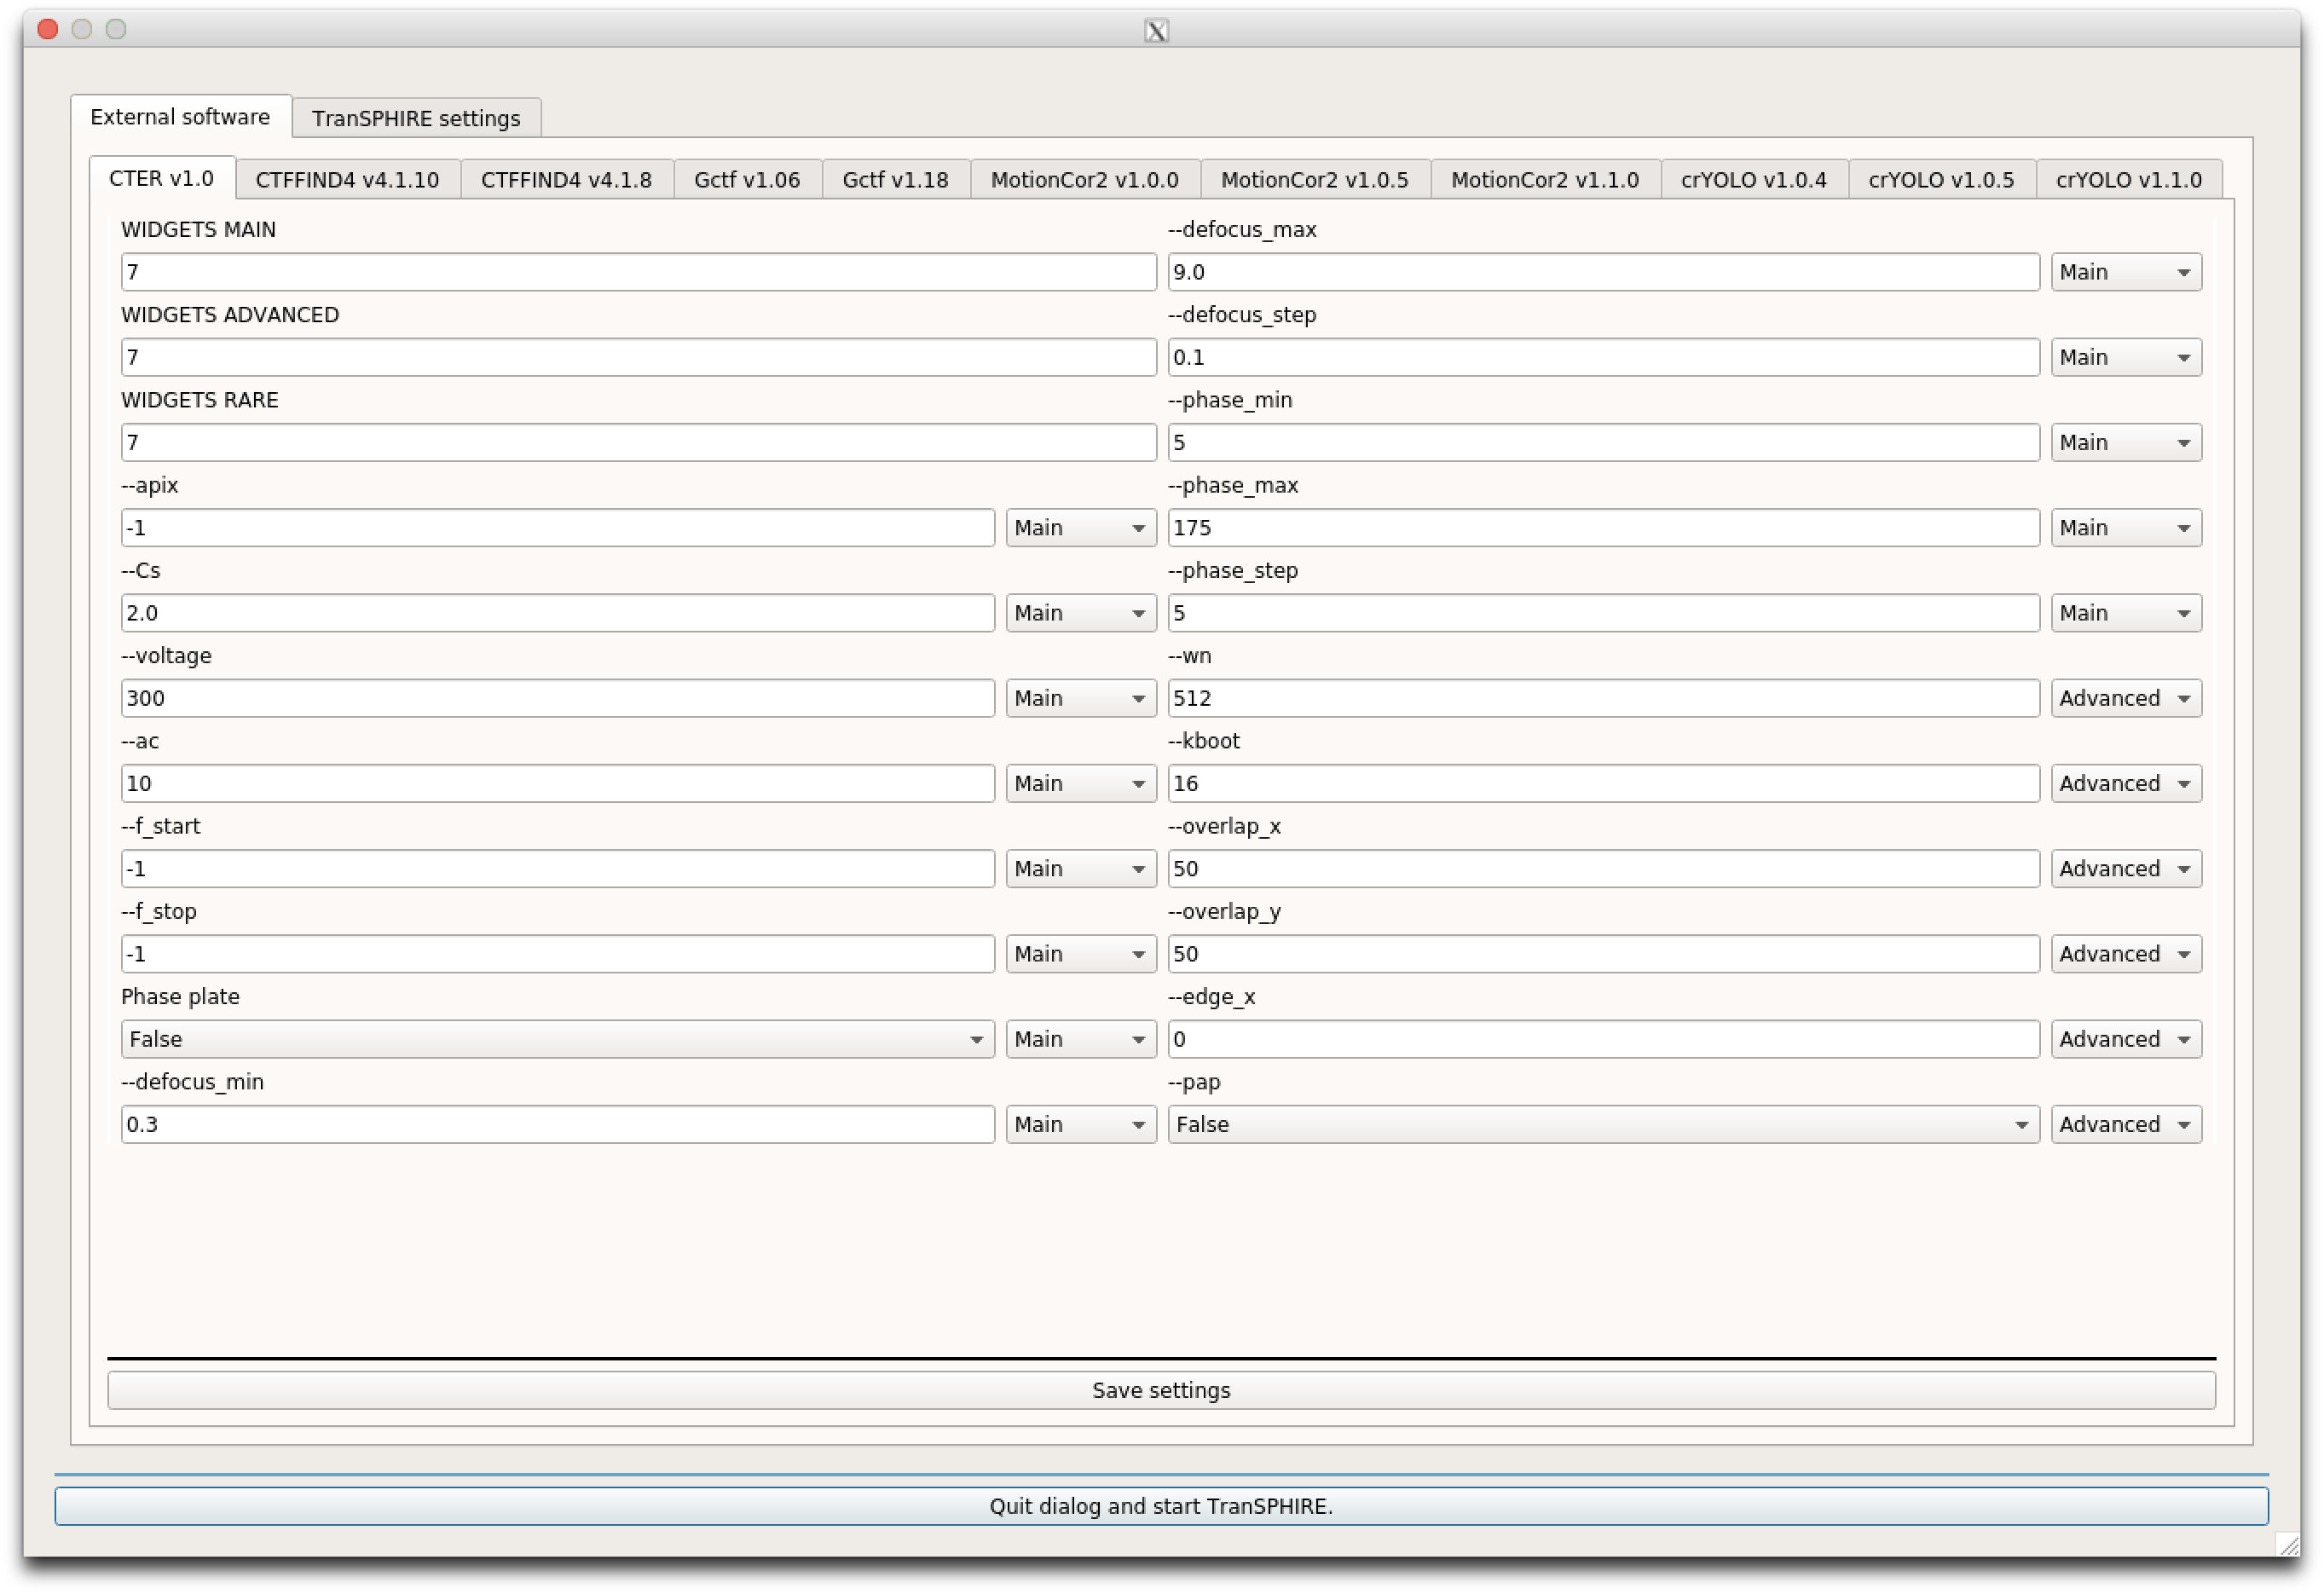
Most tabs contain settings about the appearance of this tab in the final GUI.
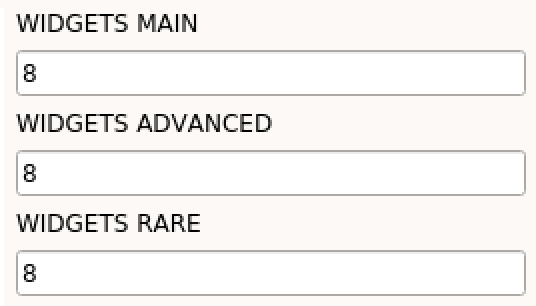
This number specifies how many setting entries per column are shown. For each "Setting window" there are three tabs available to simplify the usability of TranSPHIRE, while at the same time allow advanced users to tweak the settings to their liking.
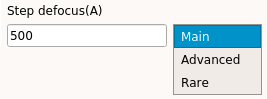
The tab categories are: Main, Advanced, and Rare.
Since each facility has it's own data collection scheme, every setting can be moved to one of this categories by changing the value next to the setting.
Thinking example for the program crYOLO 1.1.0:
Before modification

- --conf
In our lab, we do pick most of the time with crYOLO in combination with the generalized model. Updates for the generalized model and the related configuration file in crYOLO evolve quite quickly. Therefore, we have symlinks to the latest version on our dedicated TranSPHIRE machine.
I add the symlink to the field:
/home/em-transfer-user/shared/config_last.json
and change the tab to Advanced.
I choose Advanced, since most of the time people do not need to adjust this setting.
But I know, that some people do have a self-trained model for their project, so some users will change this setting from time to time.
- --weights
In our lab, we do pick most of the time with crYOLO in combination with the generalized model. Updates for the generalized model and the related configuration file in crYOLO evolve quite quickly. Therefore, we have symlinks to the latest version on our dedicated TranSPHIRE machine.
I add the symlink to the field: /home/em-transfer-user/shared/model_last.h5 and change the tab to Advanced. I choose Advanced, since most of the time people do not need to adjust this setting. But I know, that some people do have a self-trained model for their project, so some users will change this setting from time to time.
- --threshold
For the generalized model, the value of 0.3 works good most of the time. Therefore, I do not change this value, but move it to Advanced. This has the effect, that the user is only exposed to it, if the person exchanges the model and config with the self-trained model.
- Pixel size (A/px)
The pixel size is used to filter the image prior picking. This needs to be set correctly. Therefore, I will leave this in the Main tab.
- Box size
This value is used to visualize the picked particles within TranSPHIRE. Since every project is different, this will be in the Main tab.
- --filament
Some lab members work on helical filaments, therefore, I move it to the Advanced tab.
- --filament_width | --box_distance | --minium_number_boxes
This settings are related to the filament mode, there I also move them to the Advanced tab.
- Filter micrographs
To filter the images prior to picking improves the picking quality. Therefore, I move this to Rare.
- Filter value high pass (A) | Filter value low pass (A)
Since those values only needs to be changed, in case a self-made model is used with different filter options, this setting is moved to Advanced.
- --patch
By default, the patch size is read from the config file, therefore changing this option is nearly never necessary. Therefore, this is moved to Rare.
- --gpu
This Options specifies the numbers of the GPUs that can be used. On a machine with 1 GPU this would be just "0", on another one with 4 GPUs this would be "0 1 2 3". In our case, the machine has 3 GPUs, therefore I change the value to "0 1 2". Since this value is specific for this machine, it will not be changed and the setting is moved to Rare.
- Split GPU?
TranSPHIRE has the option to split the specified GPUs into it's own processes. That means, that the first crYOLO run will run on GPU 0, the second crYOLO run on GPU 1 and the third crYOLO run on GPU 2. Since those can run in parallel and one job on three GPUs is not much faster than one job on one GPU, I choose yes and move this option to the Rare tab.
After modification

The Copy tab is responsible for the workflow and the logic of TranSPHIRE.
In the upper tab row (Order might vary) choose "TranSPHIRE settings" and in the lower row "Copy".

The default programs and mount points for the different can be set here:
- Copy to work
Default work mount point
- Copy to backup
Default backup mount point
- Copy to HDD
Default HDD mount point
- Motion
Default program for motion correction
- CTF
Default program for ctf estimation
- Picking
Default program for picking
- Compress data
If the data should be compressed
- Session to work | HDD | backup
If the EPU session information should be copied to work | HDD | backup mount point
- Frames to work | HDD | backup
If the Frames should be copied to work | HDD | backup mount point
- Meta to work | HDD | backup
If the meta information should be copied to work | HDD | backup mount point
- Sum to work | HDD | backup
If the corrected sum files should be copied to work | HDD | backup mount point
- CTF to work | HDD | backup
If the CTF files should be copied to work | HDD | backup mount point
- Picking to work | HDD | backup
If the picking files should be copied to work | HDD | backup mount point
- Delete data after import?
If the original data on the camera computer should be deleted
- Delete stack after compression?
If the mrc stack should be deleted after successful compression
The general tab contains the general settings information.
- Software
Default software version
- Type
Default frame data type
- Camera
Default camera
- Search path frames
This path is meant for the directory containing the session frames. Usually, one does not set the default path here.
- Search path meta
This path is meant for the directory containing the session meta information. Usually, one does not set the default path here.
- Input extension
Input extension of the frame stack
- Output extension
Output extension of the frame stack after the copy command (Should be mrc if the input extension is mrc or dm4)
- Project name
Name of the current project. Usually, one does not set the default name here.
- Number of frames
Expected number of frames of the data collection. This value is used to verify, that the frame stack is not corrupt.
- Rename micrographs
If the micrographs should be renamed
- Rename prefix
Prefix of the renamed micrographs
- Rename suffix
Suffix of the renamed micrographs
- Start number
Number that will be used for the next incoming image
- Estimated mic number
Estimated number of micrographs of the data collection. This value is used to define the number of leading zeros of the renaming number.
- Project directory
TranSPHIRE project directory. This needs to be specified and should not be changed.
- Scratch directory
TranSPHIRE scratch directory. One can specify a scratch directory to speedup the process. If there is no scratch disc available, this needs to be the same directory as the project directory.
This tab is there to set the mount points.
By clicking the "Add mount point", one can specify different mount points.
The tabs can be arranged in a different order and this influences the order of the mount points in the final GUI.
The values for the different fields can be asked from your system administrator.
The "Typ" value specifies the type of the mount point.
In this tab, rules for notifications can be set.
In addition to general information settings, the valid value range for all imported values can be set here.
Notifications can be send via e-mail or telegram bots.
To be able to use a telegram bot, one needs to create one first.
The resulting bot token can be specified in the "Bot token" widget and default users can be specified in the "Default names telegram" widget.
To use e-mail for the notifications, one needs to specify a SMTP server address and an e-mail address.
The others tab is used for other settings ^^
- Image
The image in the lower right corner of the TranSPHIRE GUI can be specified here. By default, the TranSPHIRE logo is used.
- Project name pattern
To establish a unified project naming convention in the lab, the project name pattern can be specified here. The pattern is given with regular expression syntax, starting with ^ and ending with $ Regular expression.
- Project name pattern example
Examples for the pattern specified in the "Project name pattern"
In the Path tab, the absolute paths to the different programs can be specified.
If the tab name is different from Main the program will not show up in the final GUI.
In the pipeline tab, the number of threads per process can be specified.
If one is specifying a value different from 1 the final GUI will show the status per thread instead of per program.
Usually, we use the following number of threads:
- Meta: 1 (Should not be changed)
- Find: 1 (Should not be changed)
- Import: 1 (Should not be changed)
- Motion: Number of GPUs
- CTF: Number of GPUs for GCTF, Number of GPUs * 2 for other programs
- Picking: Number of GPUs
- Compress: Same as Motion
- Copy_work: 1 (Should not be changed)
- Copy_hdd: 1 (Should not be changed)
- Copy_backup: 1 (Should not be changed)