Setup Guide
This is an essential guide for your first time setup of the MiSTer system. It will guide you through the SD card installation, help you update the MiSTer system files, and shows you how to install an example console core and run a game.
There are two option for getting started, the recommended method is to use the Mr Fusion setup script. This is the best option for beginners and works on all platforms.
The second option is a manual install which is only recommended for users with specific use cases.
Mr Fusion provides a compact image that you can download and flash onto an SD card of any size with a tool like Apple Pi Baker, balenaEtcher, Win32 Disk Imager, or even dd.
When you put this SD card into your DE10-nano and start it up, it will expand the card to its full capacity and install a basic MiSTer setup. This will be familiar to anyone who's worked with a Raspberry Pi before.
From there, using the built-in scripts, you can configure WiFi (or use ethernet out of the box) and run the standard MiSTer Downloader/Update script to get an up to date MiSTer installation.
You can optionally provide custom WiFi and Samba configuration which Mr. Fusion will install alongside the basic MiSTer setup.
- A Micro SD card of minimum 2 GB, for example the one that came with your DE10-nano kit.
- Windows, Mac or Linux based computer with a (micro)SD card reader.
- An SD card flash utility.
Download the latest version from the releases page.
Download and install an SD card flash utility for your system. Here are a few example in no particular order:
Refer to the documentation of the SD card flash utility for more information.
Follow your SD card flash utility's instructions to flash the downloaded image onto your SD card.
Note: Extract the downloaded SD card image zip file if your SD card flash utility does not support flashing zip files!
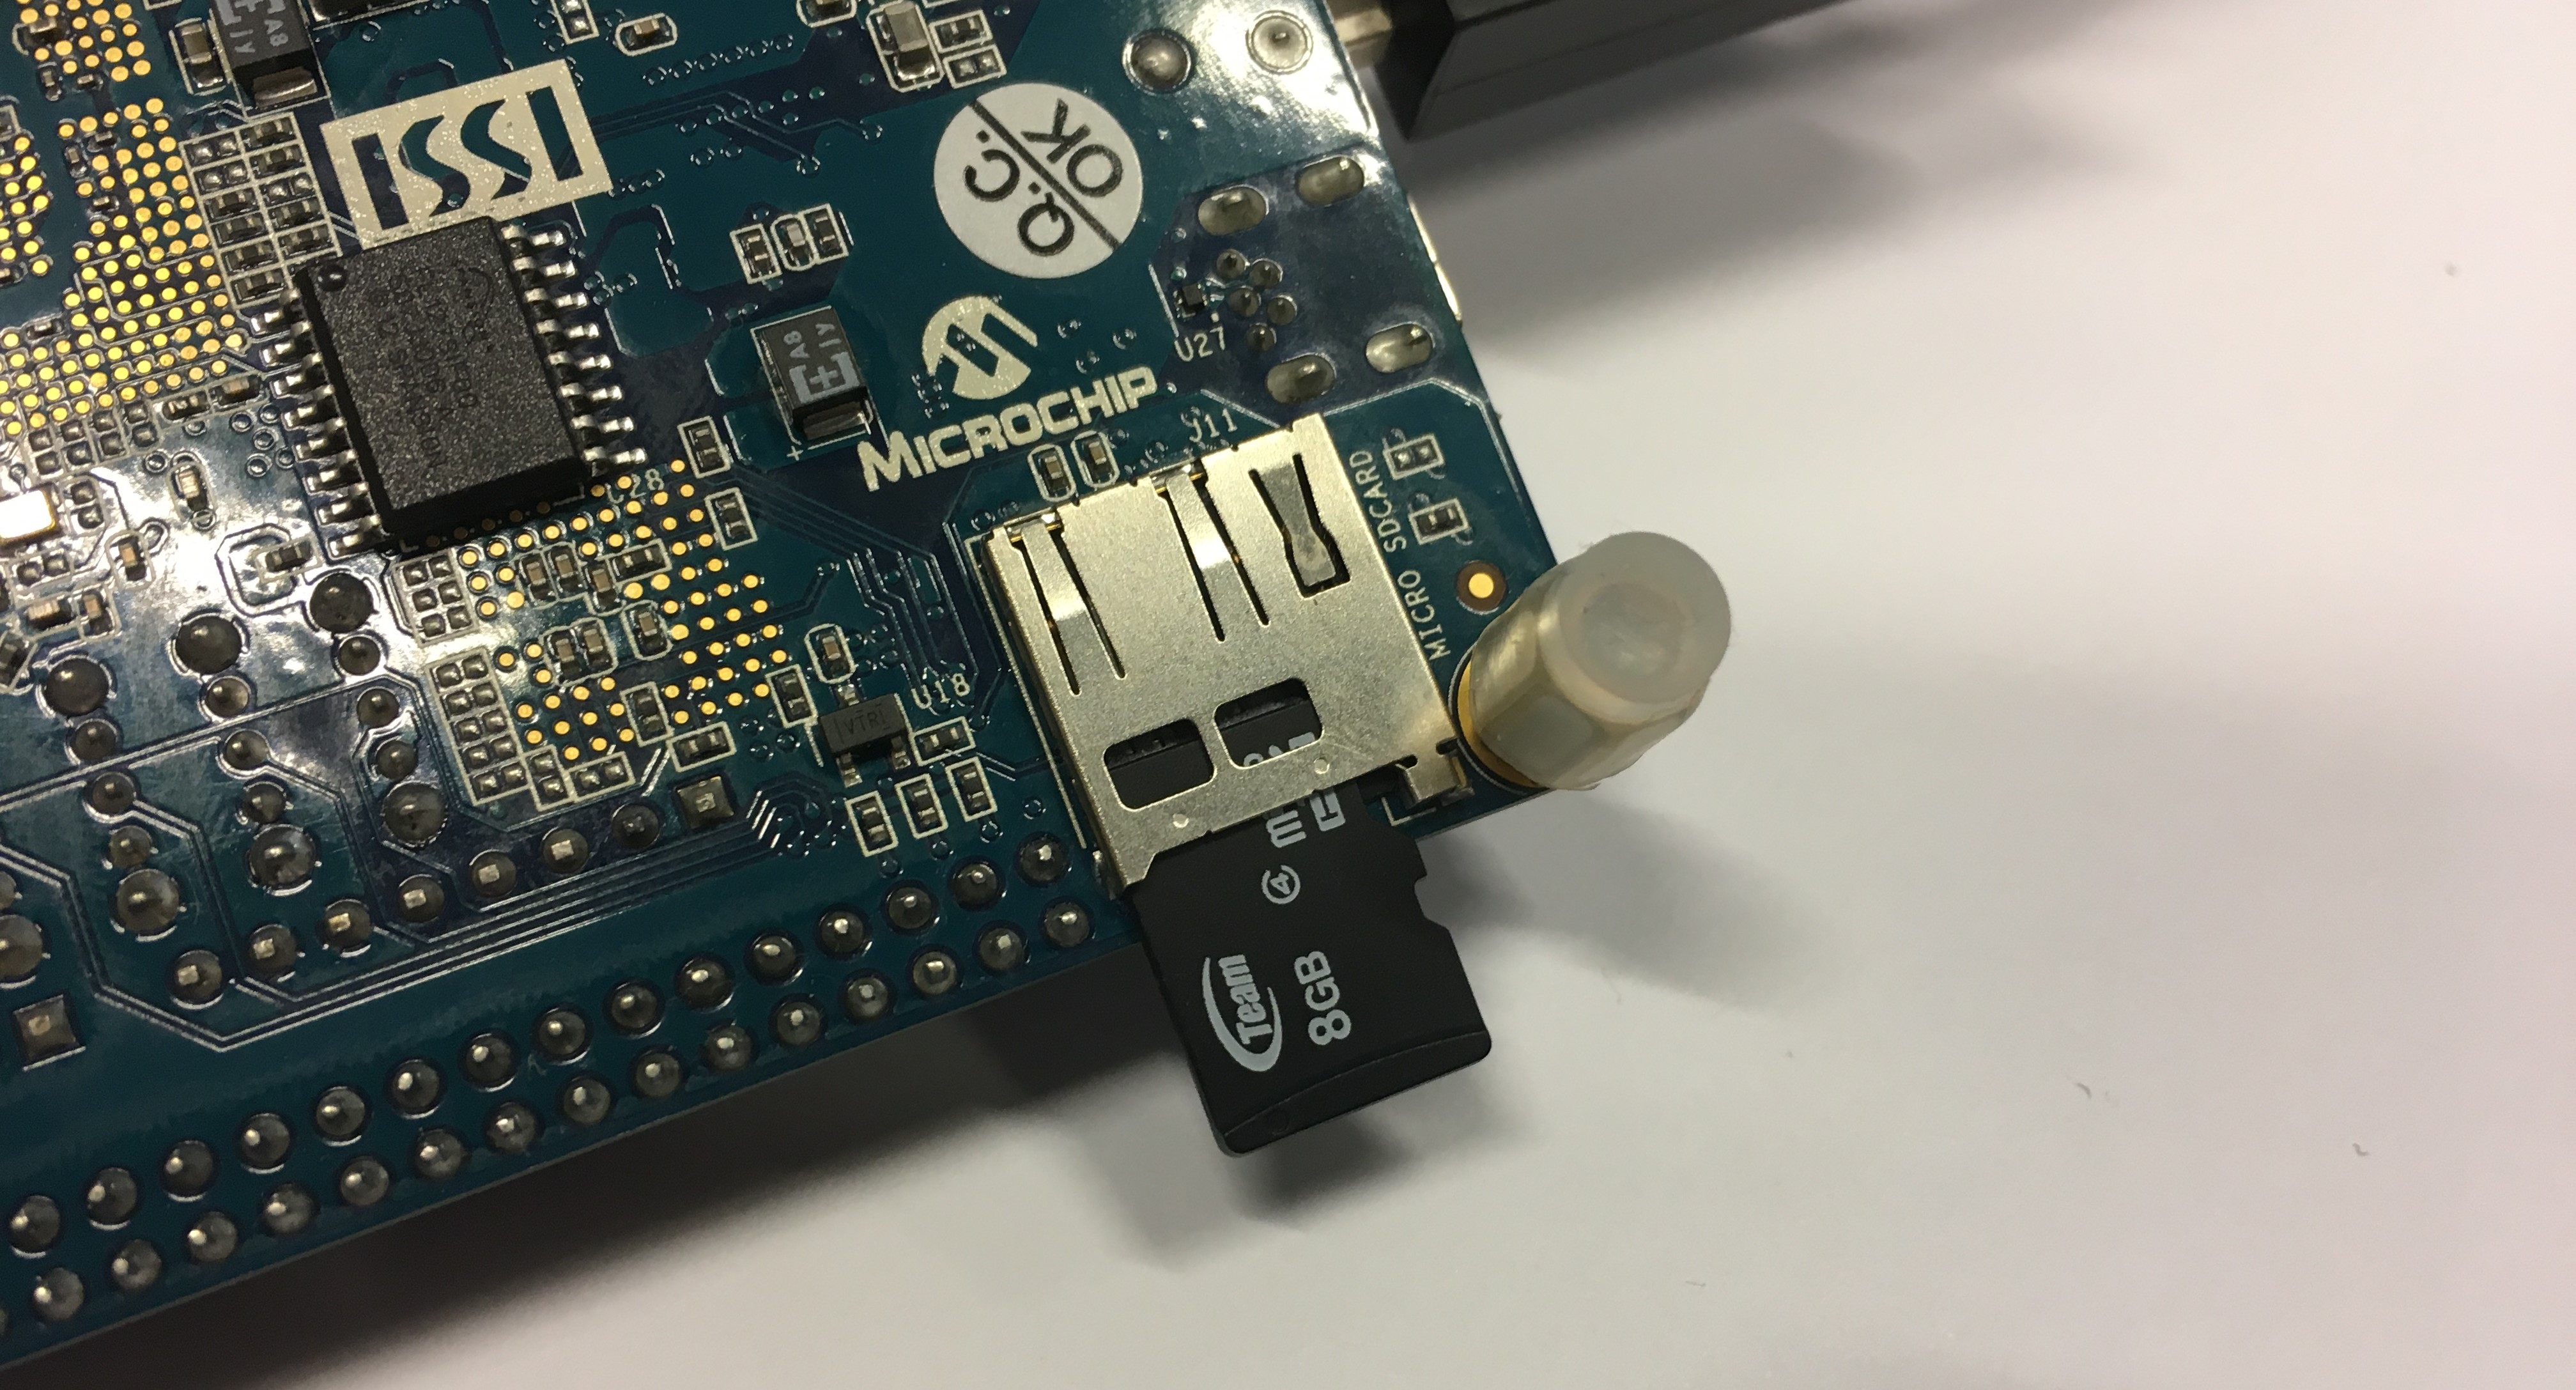
Put the SD card into the DE10-nano and power it on. (Be careful to pick the right SD card slot! Some pre-configured bundles have a secondary SD card slot on, e.g., the I/O board. Using the secondary slot will not work in this step. The SD slot on the DE10-nano is on the underside of that board.)
After a few seconds the orange LED on the board should light up. If you have a TV or monitor connected to the HDMI port, the screen will turn blue and then show an installation notice splash screen:

Mr. Fusion will automatically re-partition and resize your SD card and copy all the necessary MiSTer files onto it. When it's done it will reboot your DE10-nano and you will be greeted by the MiSTer menu.
Connect a keyboard to your DE10-nano and hit F12 to open the menu. Through the Scripts section you can configure WiFi and update your MiSTer.
Note: From powering on the DE10-nano and getting to the MiSTer menu should not take more than 90 seconds. If you don't see the MiSTer menu appear after two minutes, power off the DE10-nano, remove the SD card and start over.
The MiSTer Downloader tool is included by default in every MiSTer installation. It will install every new update for the system, including core updates. This image also includes the WiFi setup script to allow you to quickly setup a wireless internet connection after installation.
You can add more scripts if necessary: After you have flashed your SD card and
before you move it over to the DE10-nano, re-insert it into your computer.
A new drive called MRFUSION will appear. In it is a Scripts folder. Put
any script you want to have available in your MiSTer in this folder. It will
be copied to your MiSTer's Scripts folder automatically during the installation.
You can copy a custom wpa_supplicant.conf file in the root of the SD card
after flashing the Mr. Fusion image. It will automatically be copied to the
correct place during the installation of MiSTer.
This allows you to configure your WiFi credentials before you install MiSTer
and thus removes the need to connect a keyboard after installation.
You can copy a custom samba.sh file in the root of the SD card
after flashing the Mr. Fusion image. It will automatically be copied to the
correct place during the installation of MiSTer.
This allows you to enable Samba before you install and thus removes
the need to connect a keyboard to your MiSTer or having to ssh into it.
You will need the following things to get everything started.
For the SD card setup:
- Windows 10 (recommended, older versions may work). For SD card creation under macOS and Linux, see this script.
- Internet connection.
- SD card reader.
- SD card with at least 2GB capacity.
And to run it:
- DE10-Nano board + 5V power supply (supplied with the board).
- HDMI monitor + HDMI cable.
- USB-OTG (Micro USB) adapter + USB keyboard.
- SDRAM Board (Optional, but is required for a majority of the cores, see wiki page for instructions.)
Do check the How to start and Input devices wiki pages for further information.
-
Download the latest SD card installer.
-
Insert your SD card into your card reader. All data on the SD card will be deleted! Make sure that the correct drive is selected, and if needed, backup the SD card.
-
Extract the
release_201#####.rarfile. -
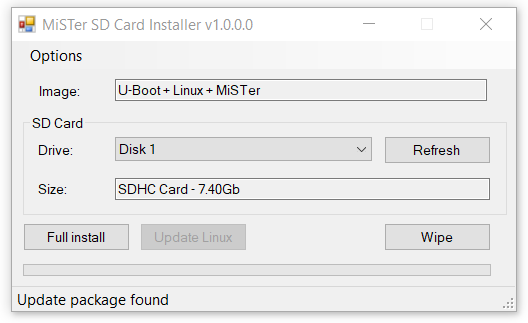
Start
MiSTer SD Card Utility.exe
-
Make sure it says "Boot + Files" in the "Image" field.
- Older versions of Mister SD card Utility (as pictured above) will say
U-Boot + Linux + MiSTerin theImagefield.
- Older versions of Mister SD card Utility (as pictured above) will say
-
Select your SD card in the
Drivefield. If you have inserted the SD card after starting the Installer, hit theRefreshbutton and your SD card should appear. -
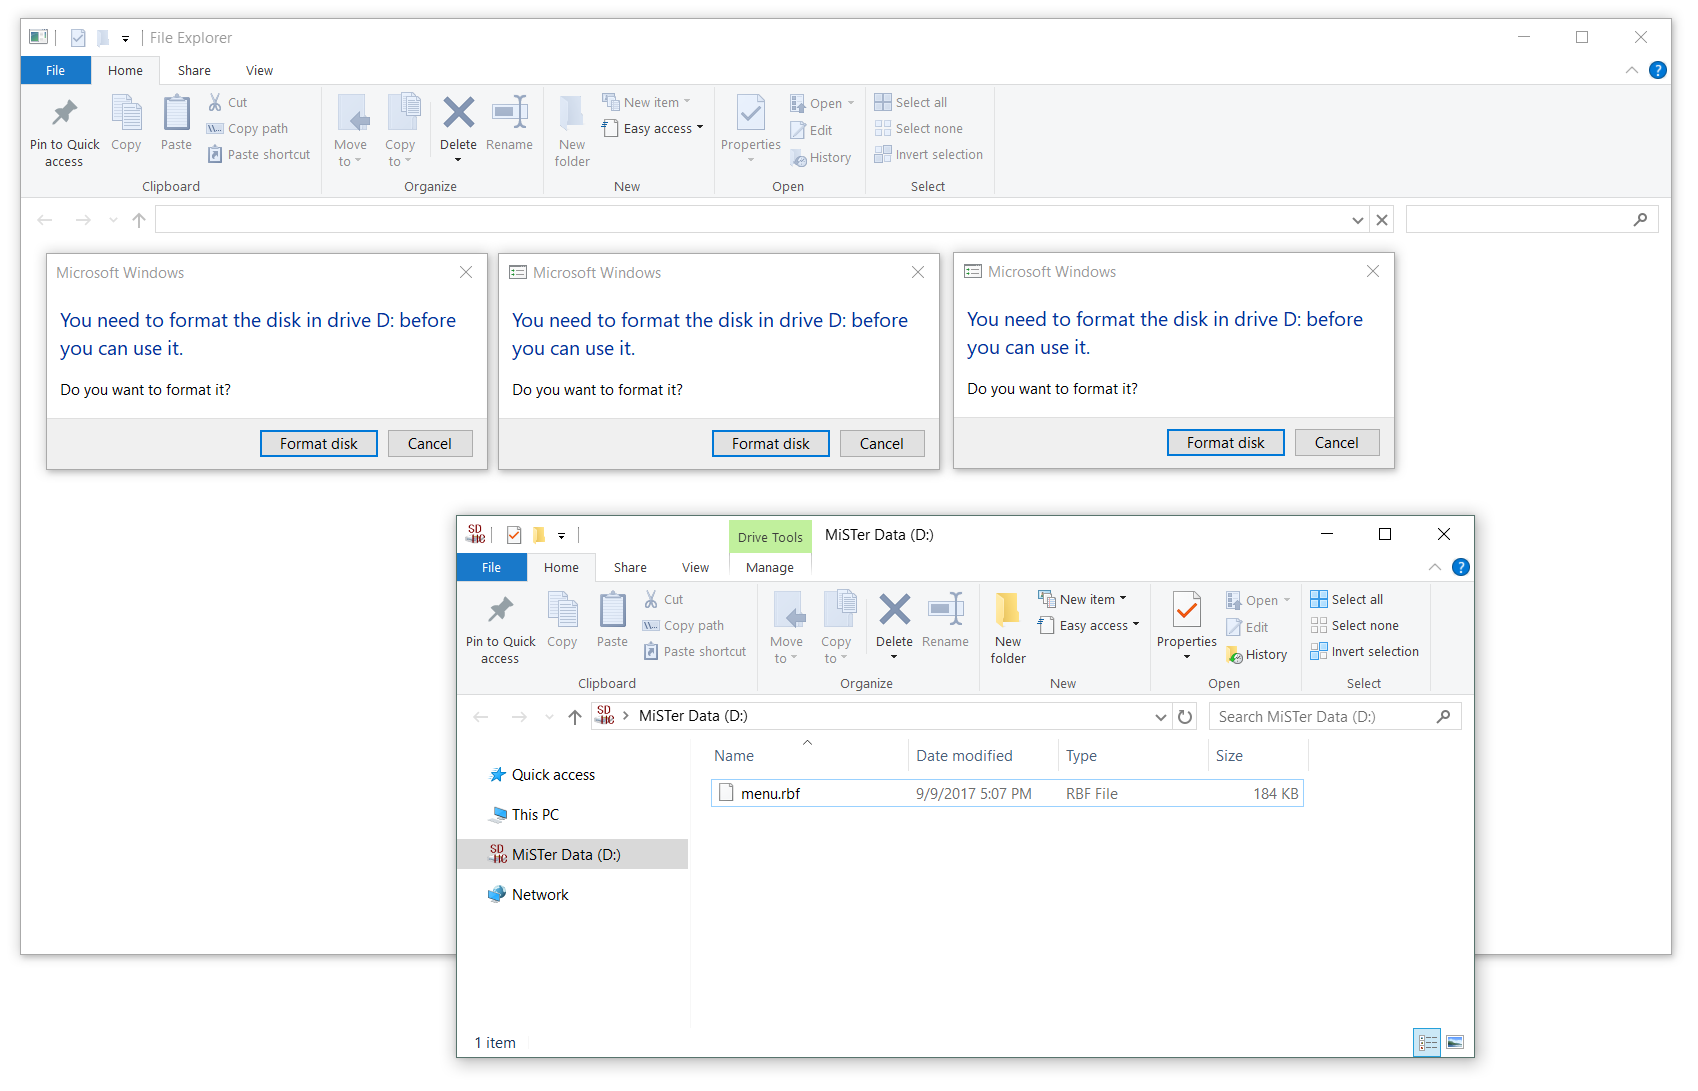
The Installer may open multiple windows which will ask you to format the drive. If this happens, don't format the drive! Press
Cancelin all windows.
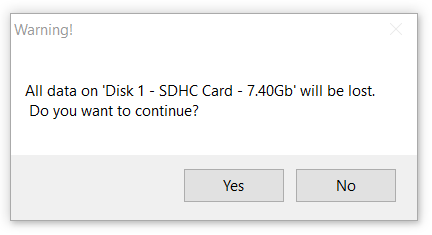
- Press
Full Installand confirm the following Warning withYes. All data on the SD card will be deleted! If needed, make sure to backup the SD card before you execute this.
- Confirm the successful installation with
OK

- The SD card file explorer window may be opened twice, if so, close one of them. The SD-card should contain the following files and folders:

If you see only the menu.rbf file, hit F5 on your keyboard or right click > Refresh to refresh the window. You should see all of them now. There may be other files and folders, but these are the essentials.
The files and folders you should see are:
-
linux- Folder containing linux files -
config- The configuration folder where various config files are placed automatically. Those files usually don't need any manual modifications.- This folder is no more created by newer version of SD Card Utility, but it will be created automatically by the MiSTer hardware at first run (you can manually create and populate it if you want)
-
menu.rbf- This is the actual MiSTer menu core, which you will see when you boot up the DE10-Nano board (GitHub). -
MiSTer- MiSTer main firmware (GitHub)
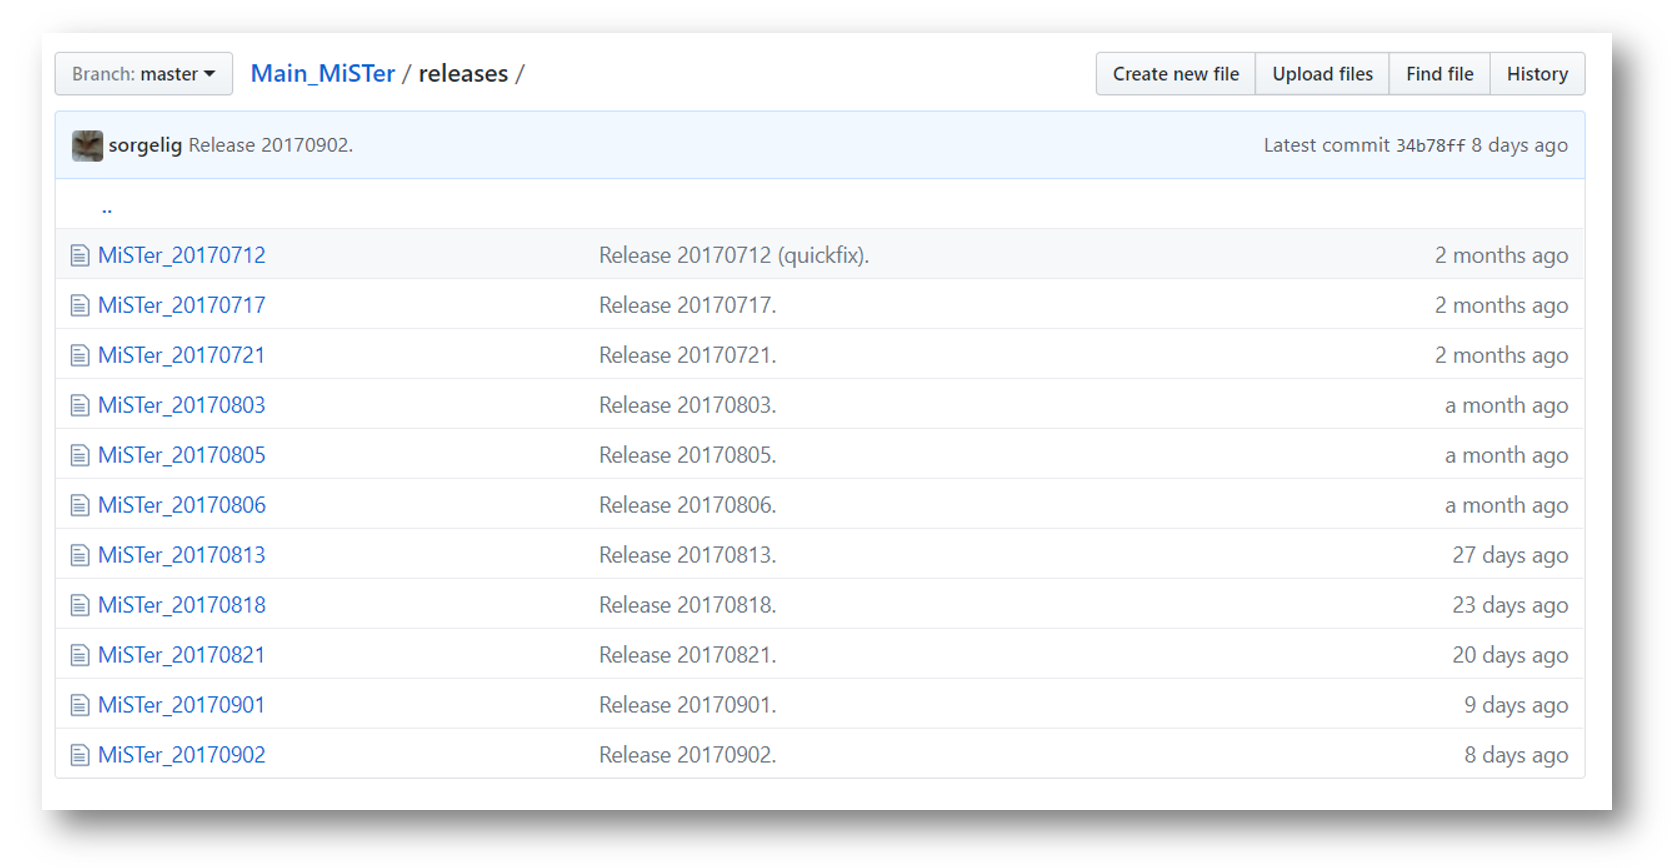
The SD card installer will be older then the actual binary releases of the MiSTer firmware and the menu core. Therefore, we want to bring those files up to date.
- Go to the MiSTer-devel/Main_MiSTer Repository and download the most recent
MiSTer_202#####firmware file on the bottom of the page.
- Rename the
MiSTer_202#####file toMiSTer
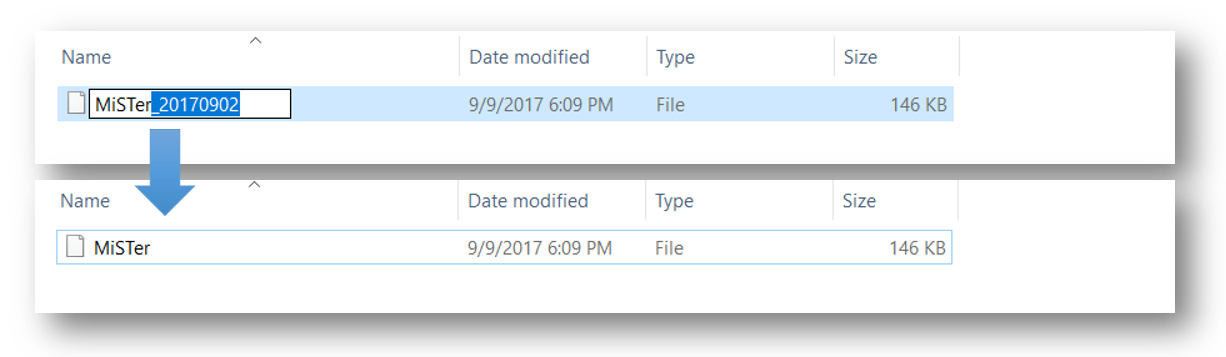
- Copy the file over to your SD-card and override the old
MiSTerfile.

- Repeat this for the menu core file. Go to the MiSTer-devel/Menu_MiSTer repository and download the most recent
menu_202#####.rbfcore file on the bottom of the page. Renamemenu_202#####.rbftomenu.rbfand override the old file on the SD card.
We want to actually run a core like the NES or Genesis (Megadrive) console or Amiga computer on our DE10-Nano FPGA board. Therefore, we have to copy a core .rbf file to the root of the SD-card. The sidebar on the right contains a list of MiSTer compatible cores. Check out the GitHub repository page of each core for specific information.
The following description is a generic example based on the NES core, but it is applicable to most other cores.
Do note that the NES core requires additional SDRAM. If you do not have this add-on, you can still continue following the example by using the Genesis core (which does not require additional SDRAM) instead of NES.
- Click in the sidebar on Cores > "NES" or go directly through this link to the MiSTer-devel/NES_MiSTer release folder. Download the lates
NES_20######.rbfcore file
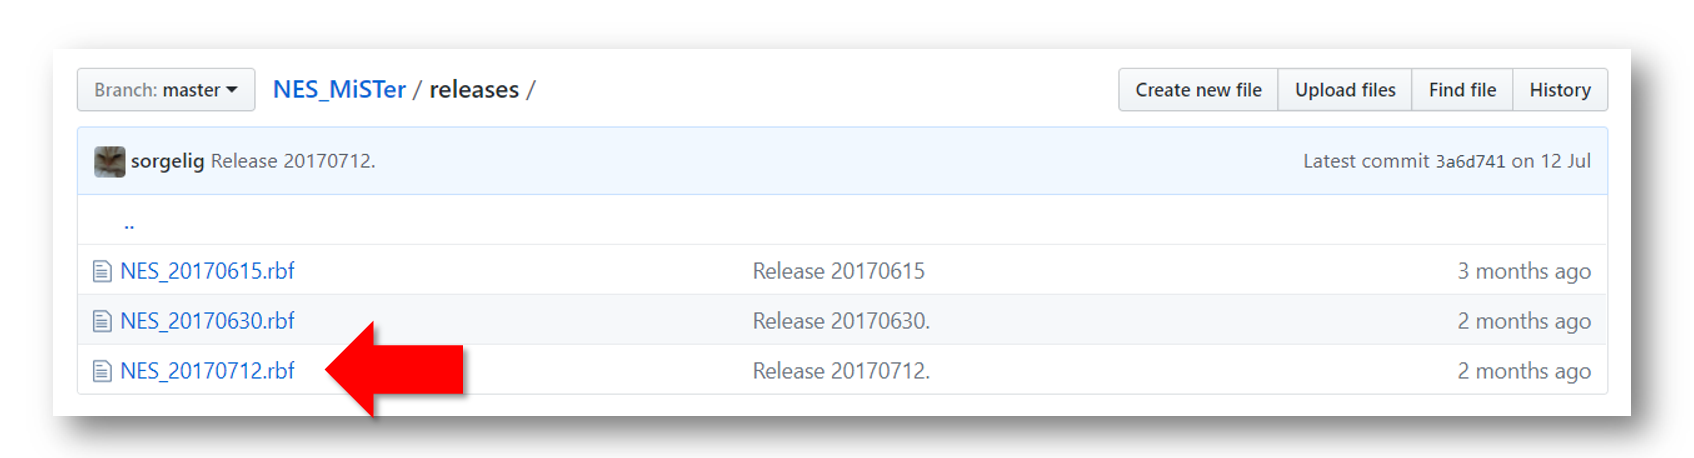
- Copy the core file to the root of the SD Card. Leave the date in the filename. By this, you know which version you are actually using.

- Create a new folder and name it for example
NES Games.
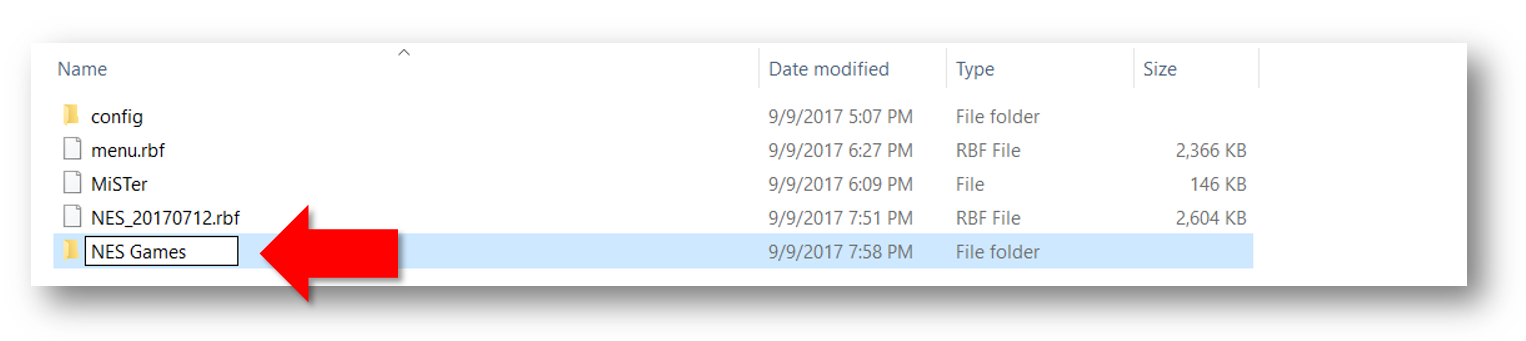
- Download a
.nesROM (Game) file and copy it into yourNES Gamesfolder. You have to google that by yourself...

- If you're using additional SDRAM, make sure the SDRAM-Board is properly attached to the GPIO header JP1 of the DE10-Nano board.
Connect the DE10-Nano board via HDMI to a monitor and via USB-OTG adapter to a keyboard. Do not connect the power supply as yet.
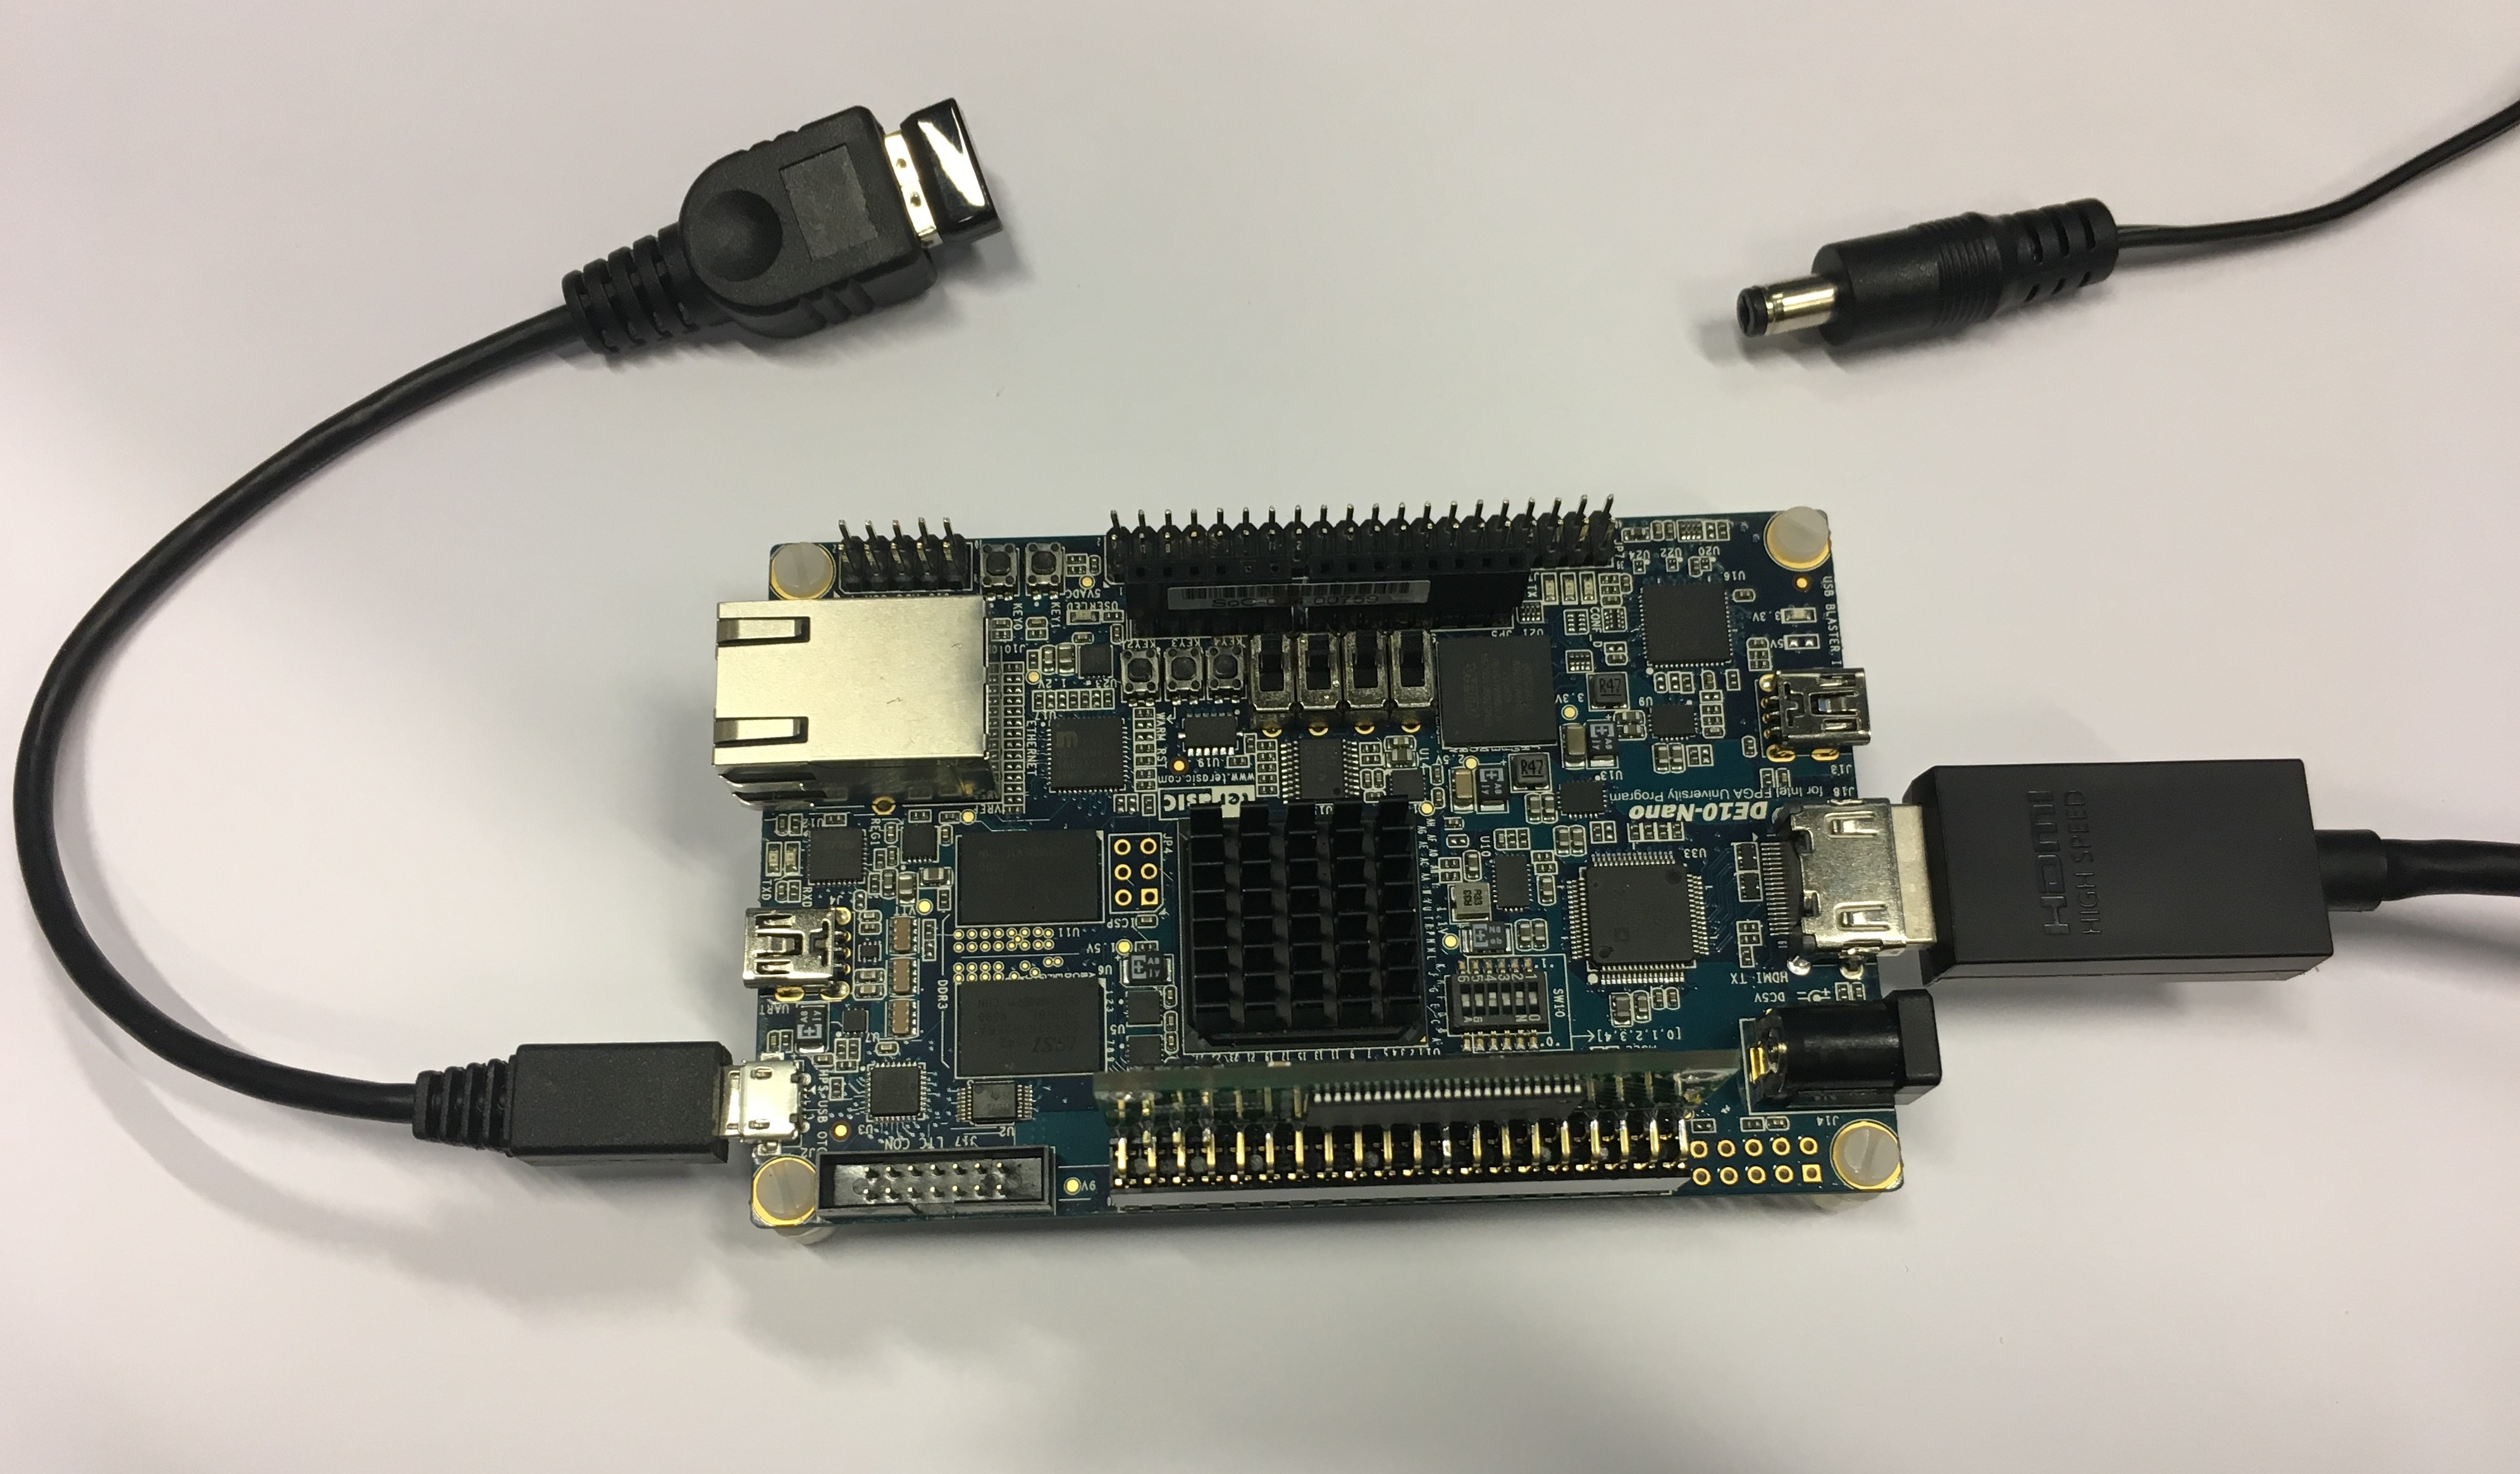
- Remove the SD card from your PC and insert it in the DE10-Nano board.
- Connect the power supply. This will turn on the DE10-Nano board. You will see the MiSTer menu on the monitor. You see in the menu the NES (or Genesis) core we have copied to the SD Card. Hit the Enter key to start it.
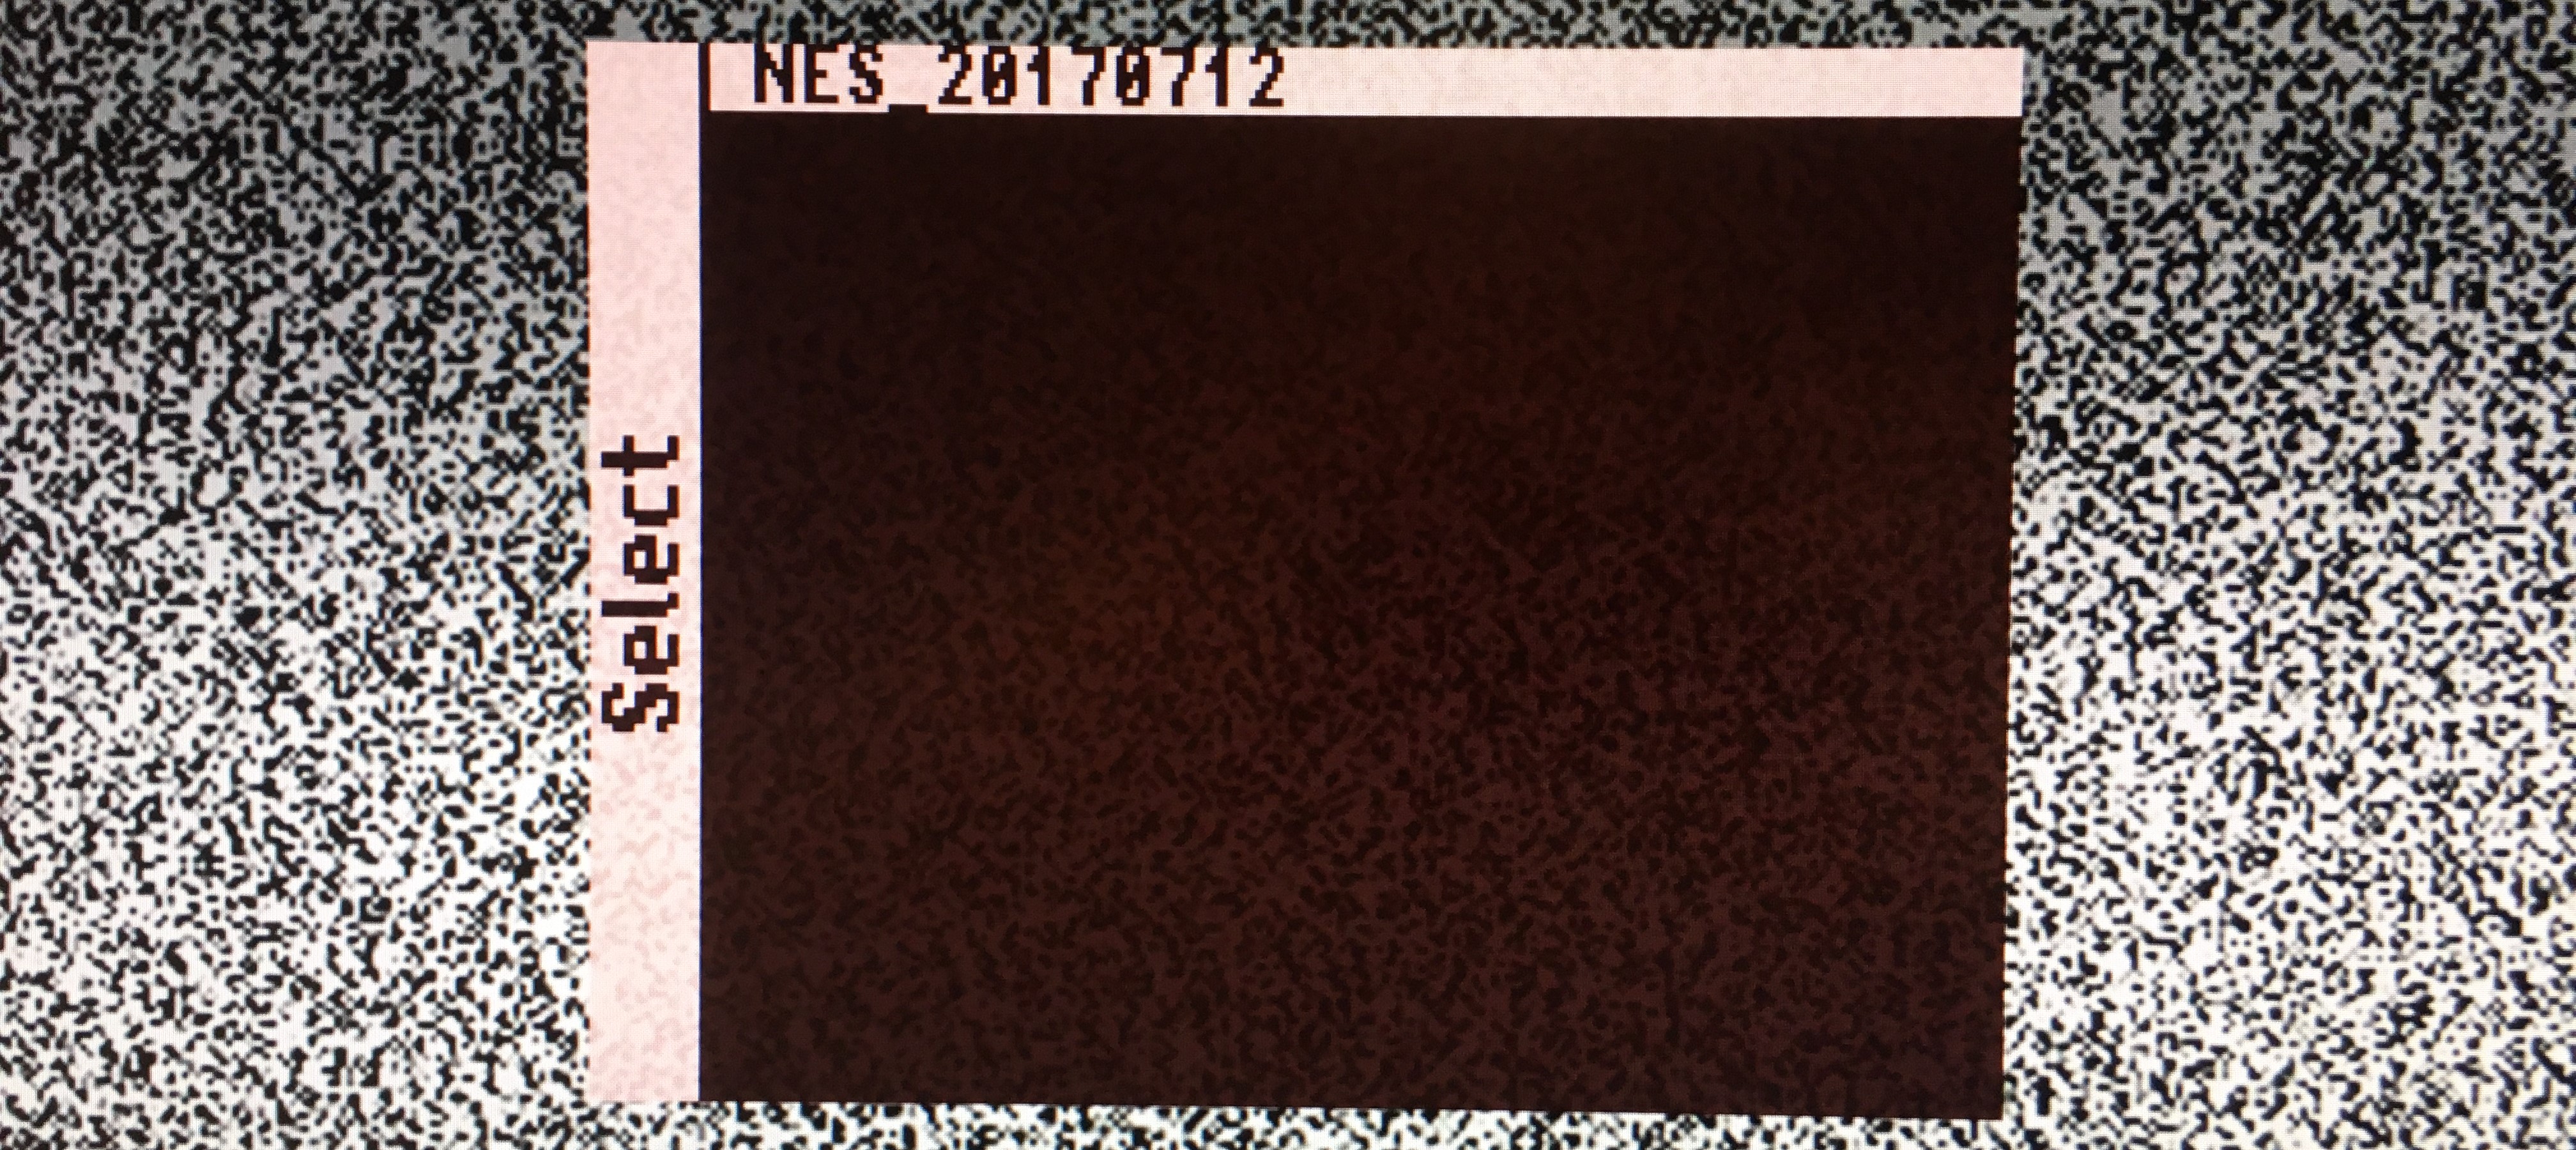
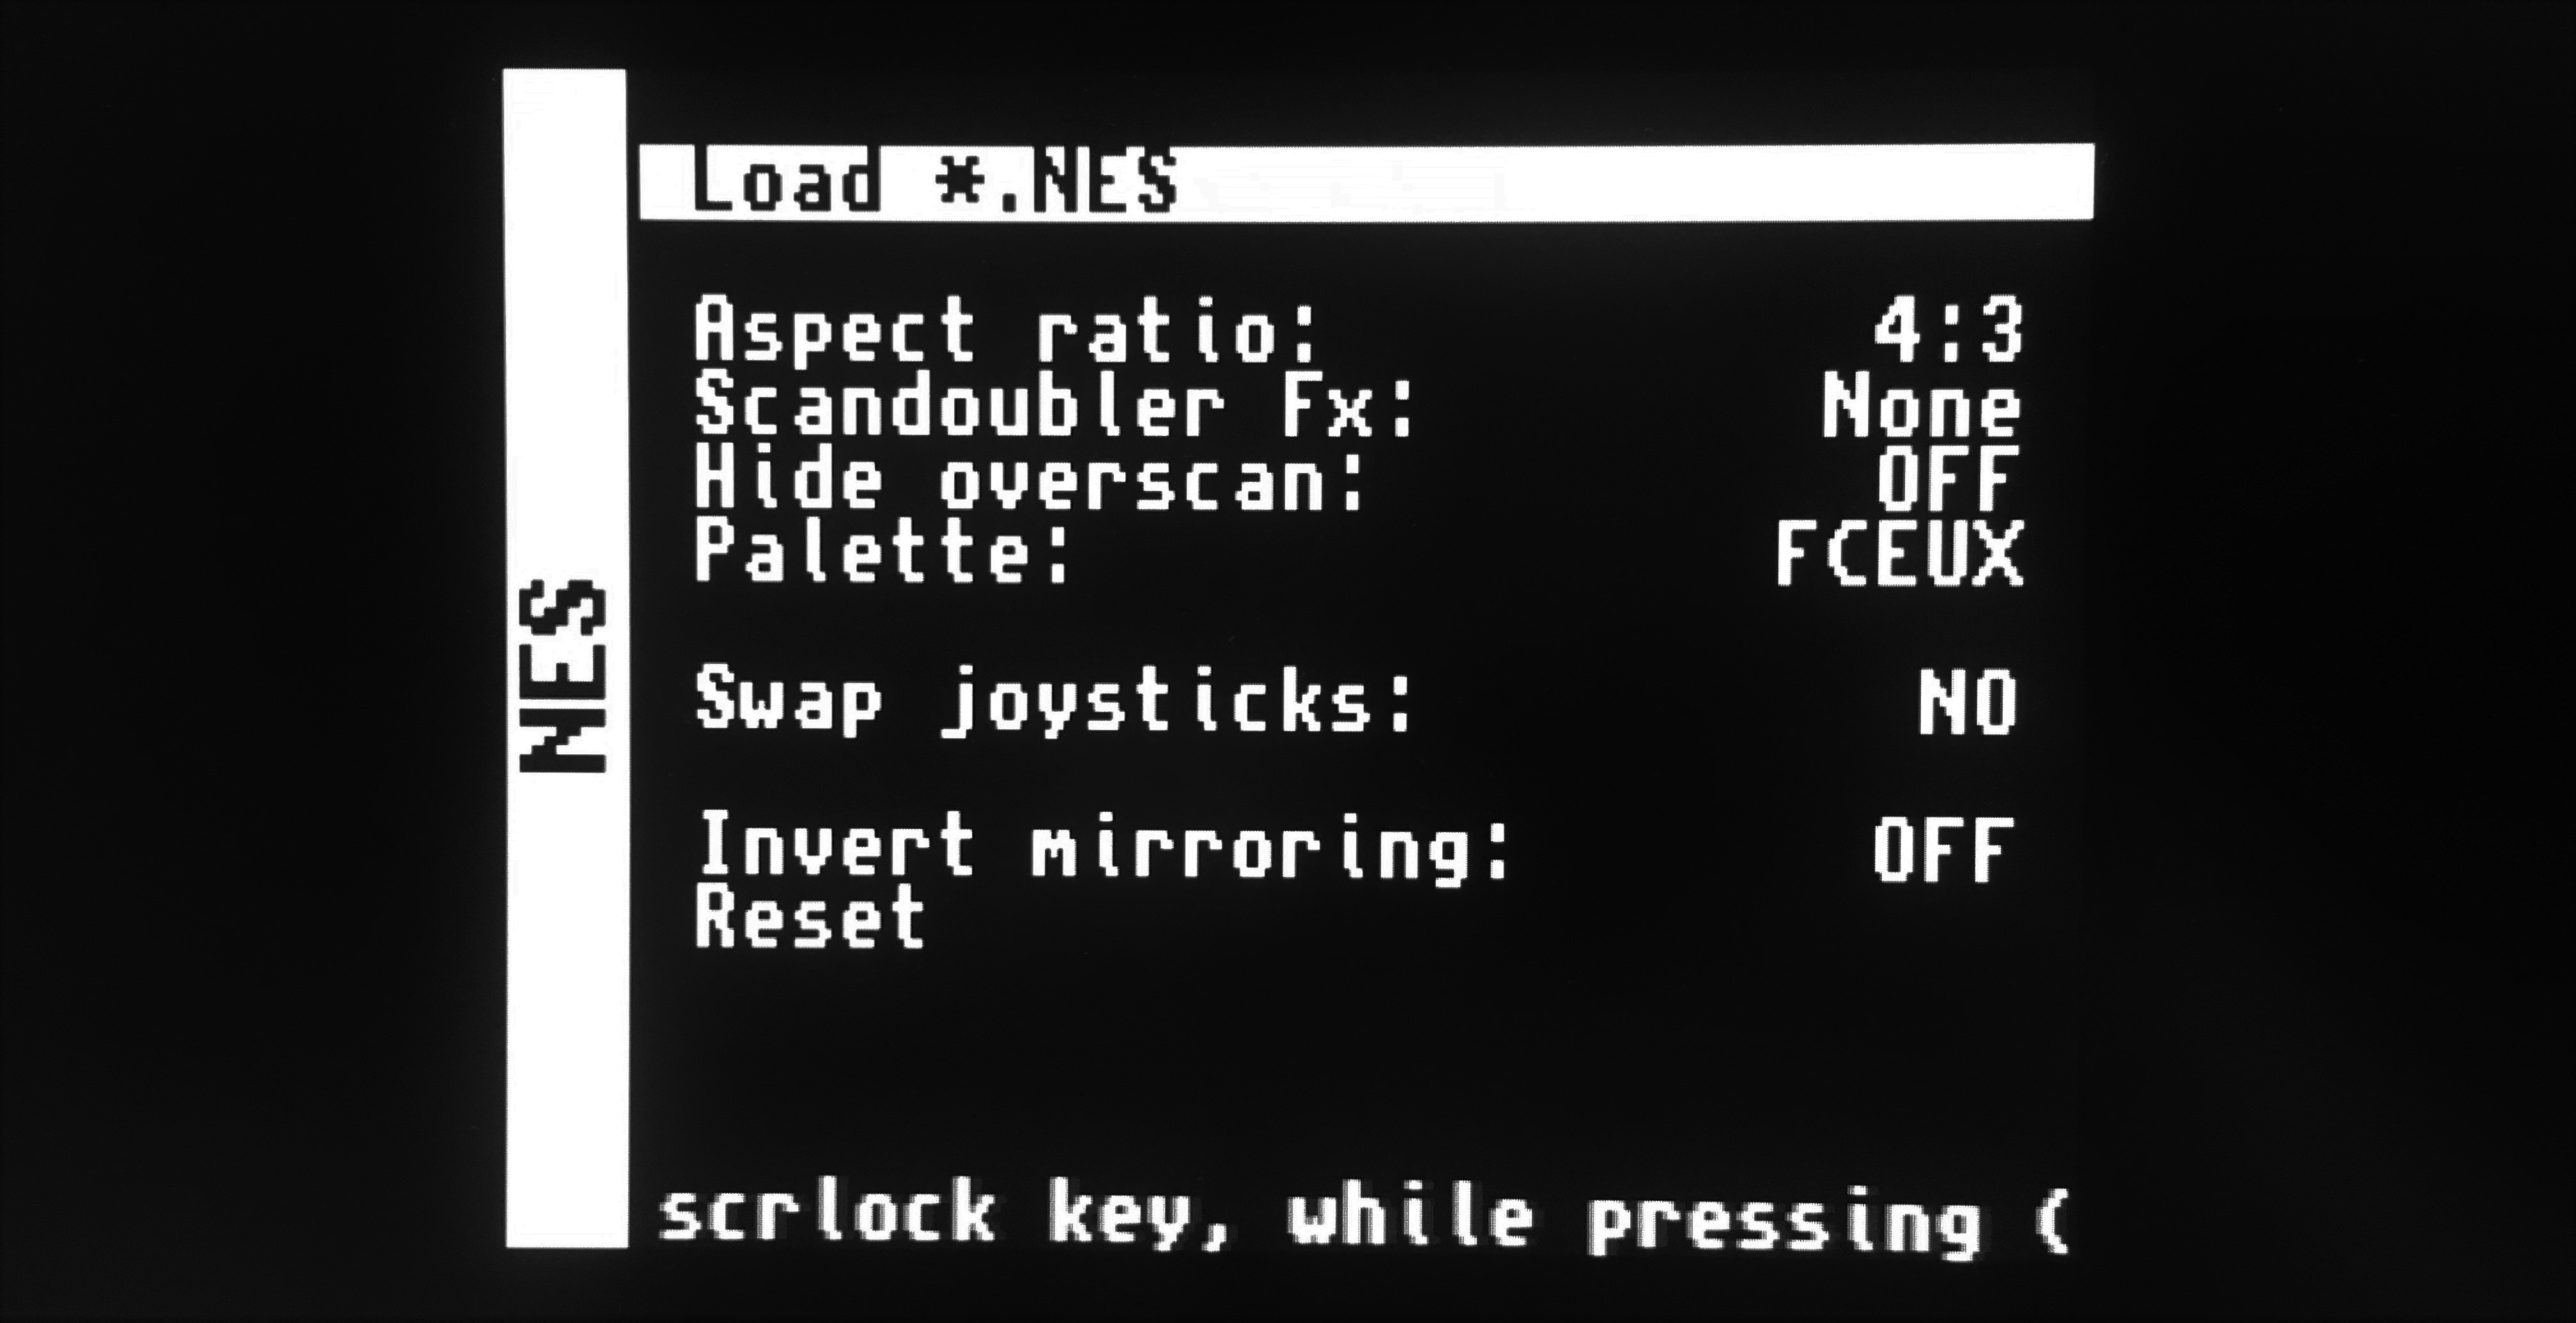
- You will see a black screen. This is normal because no ROM is loaded yet. Press F12 to bring up the MiSTer menu. In order to run a game, select "Load *.NES" and hit Enter.
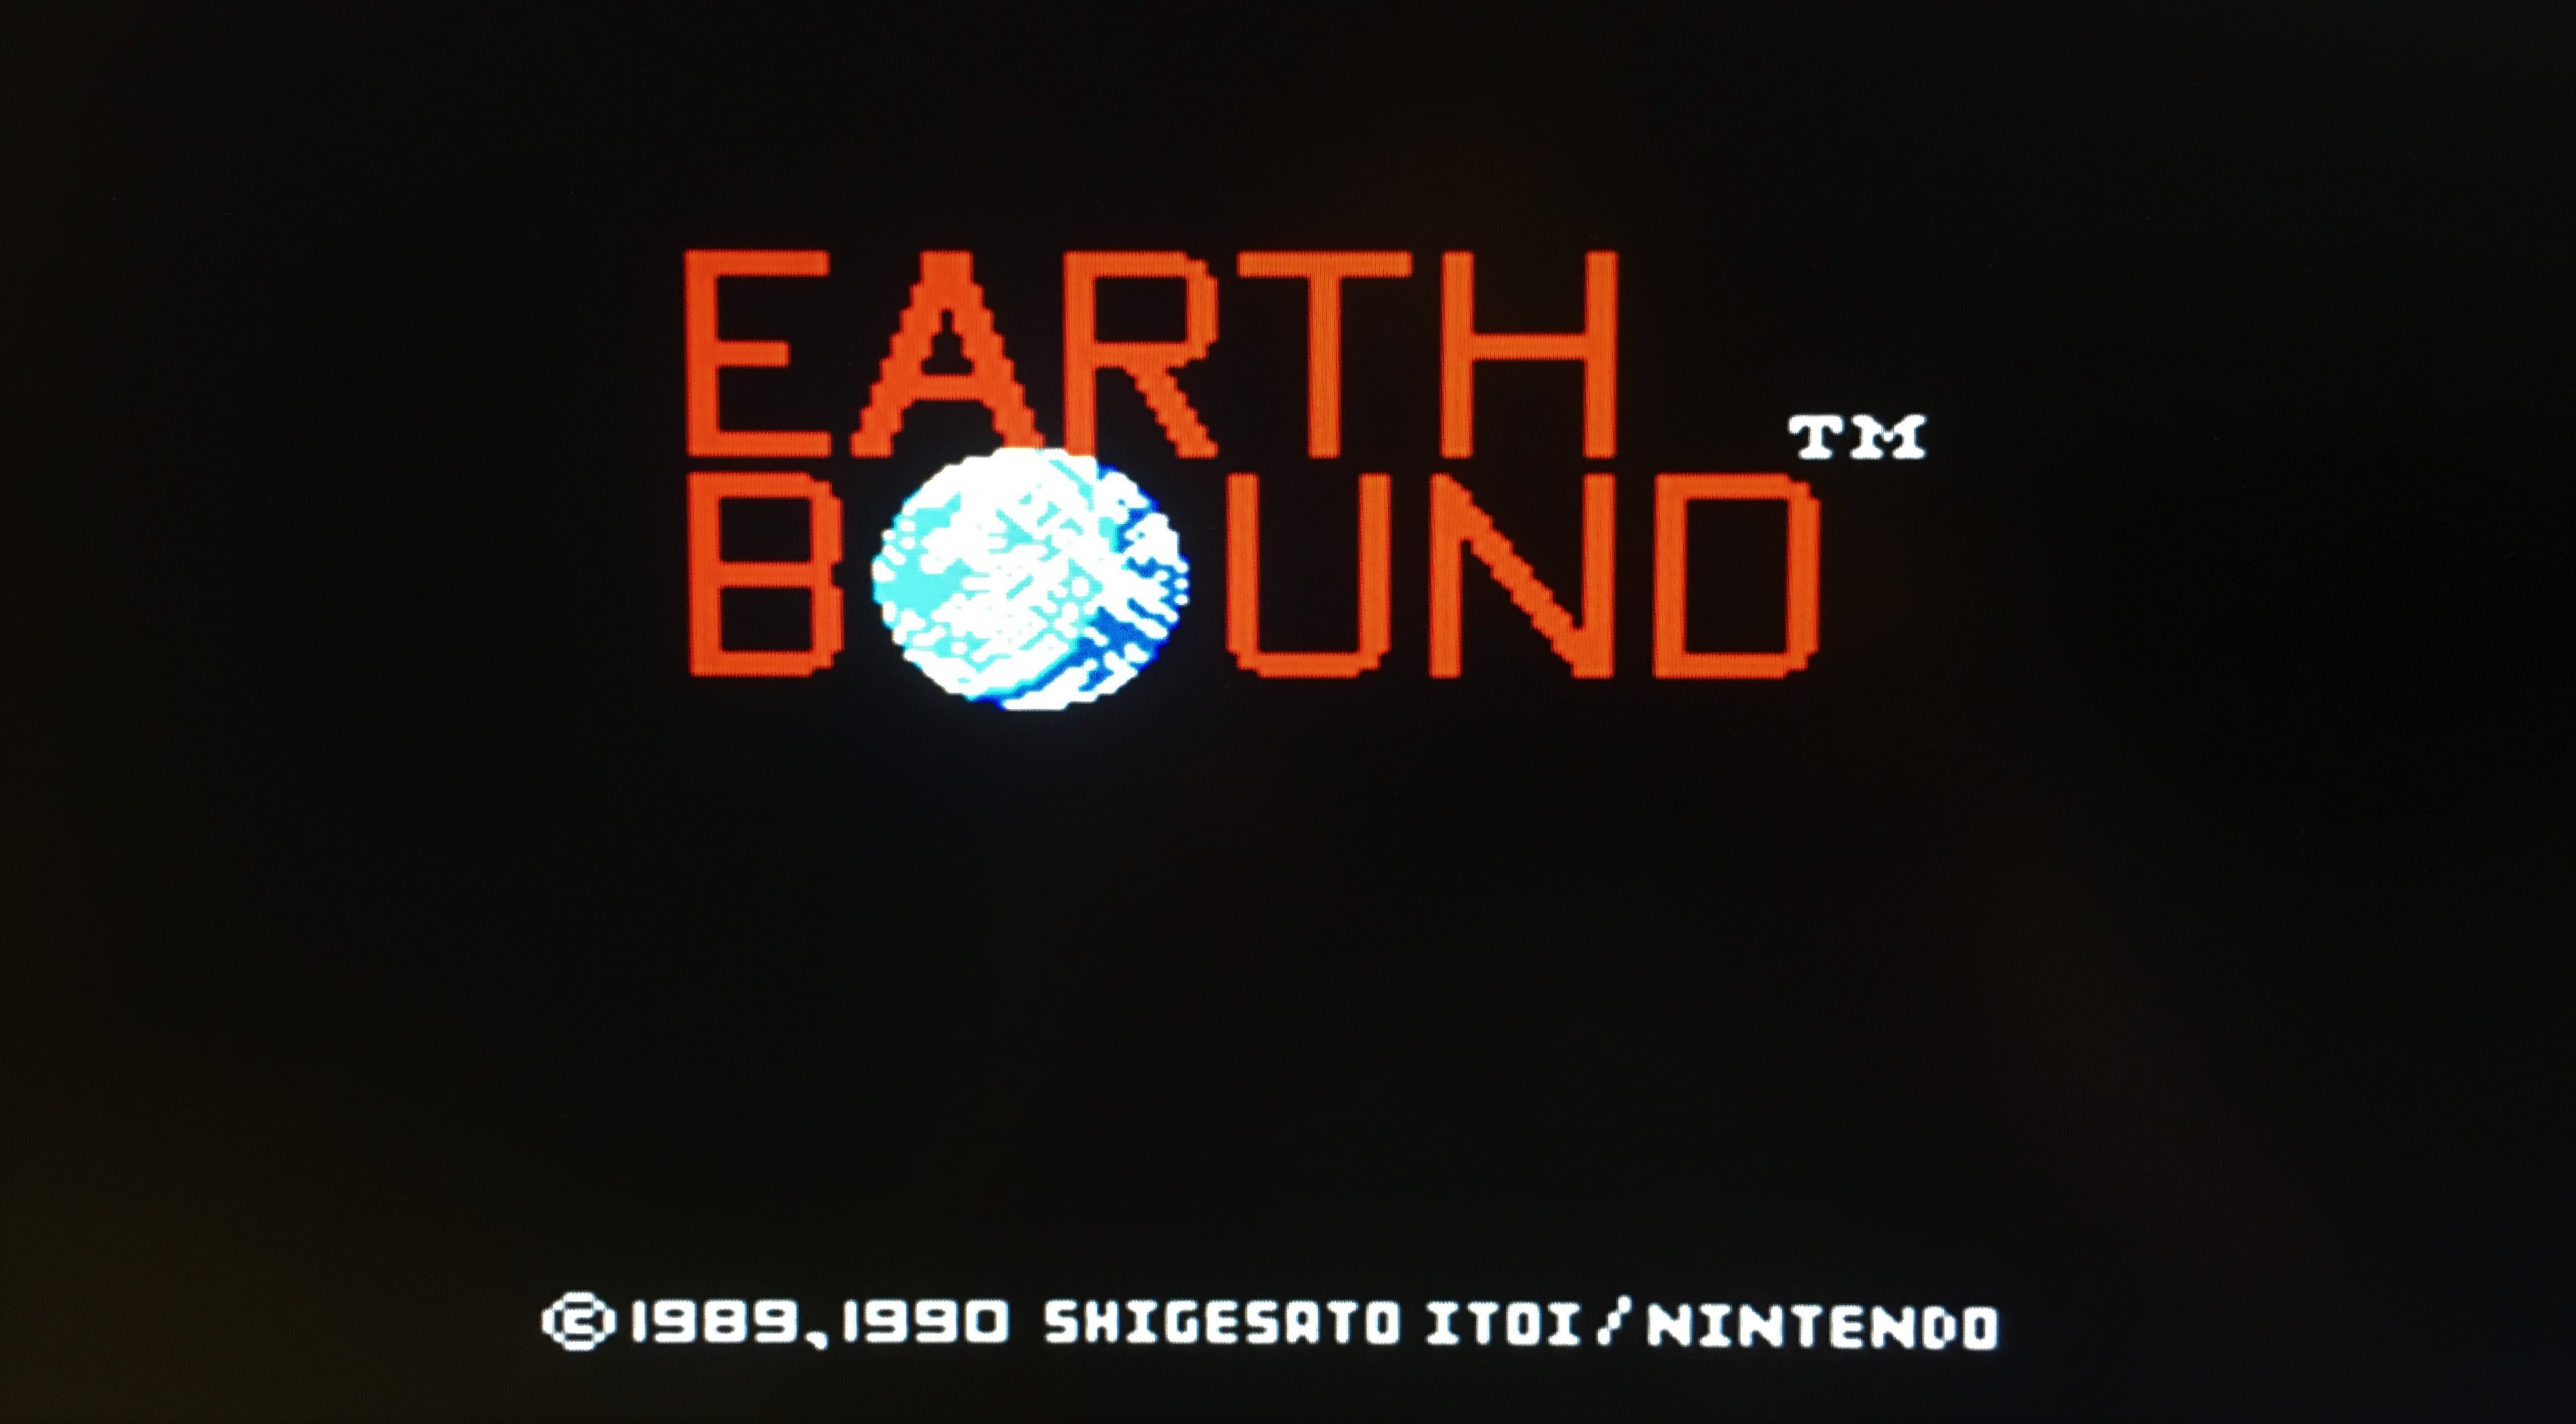
- This will bring up the SD card root directory. Navigate into your "NES Games" folder and select the ROM you want to start and hit Enter.

- Congratulations, you have successfully started your first game on your new MiSTer!
To get the most out of your MiSTer don't forget to (at least) check out the following pages:
Once you've installed Release_20180115 or later, you can install future updates on MiSTer without removing the SD card. It's done in 2 stages:
- Copy everything from files folder of release to /media/fat using FTP client and then reboot MiSTer (use Left Shift + Left CTRL + Left Alt + Right Alt combination).
-
Log in via serial console or ssh and type
updatebootthen reboot again.
Usually the bootloader has little or no change and does not always require updating. But for a better experience it's advised to update the bootloader with every release. If by any chance a new version of Linux isn't able to boot with a previous bootloader, then simply use the SD card Installer Tool to update the bootloader (Update Boot button).
You may organize the cores into directories (folders) rather than have them stored on the root directory, to make these directories visible simply add an underscore in front of the directory name.