This issue was moved to a discussion.
You can continue the conversation there. Go to discussion →
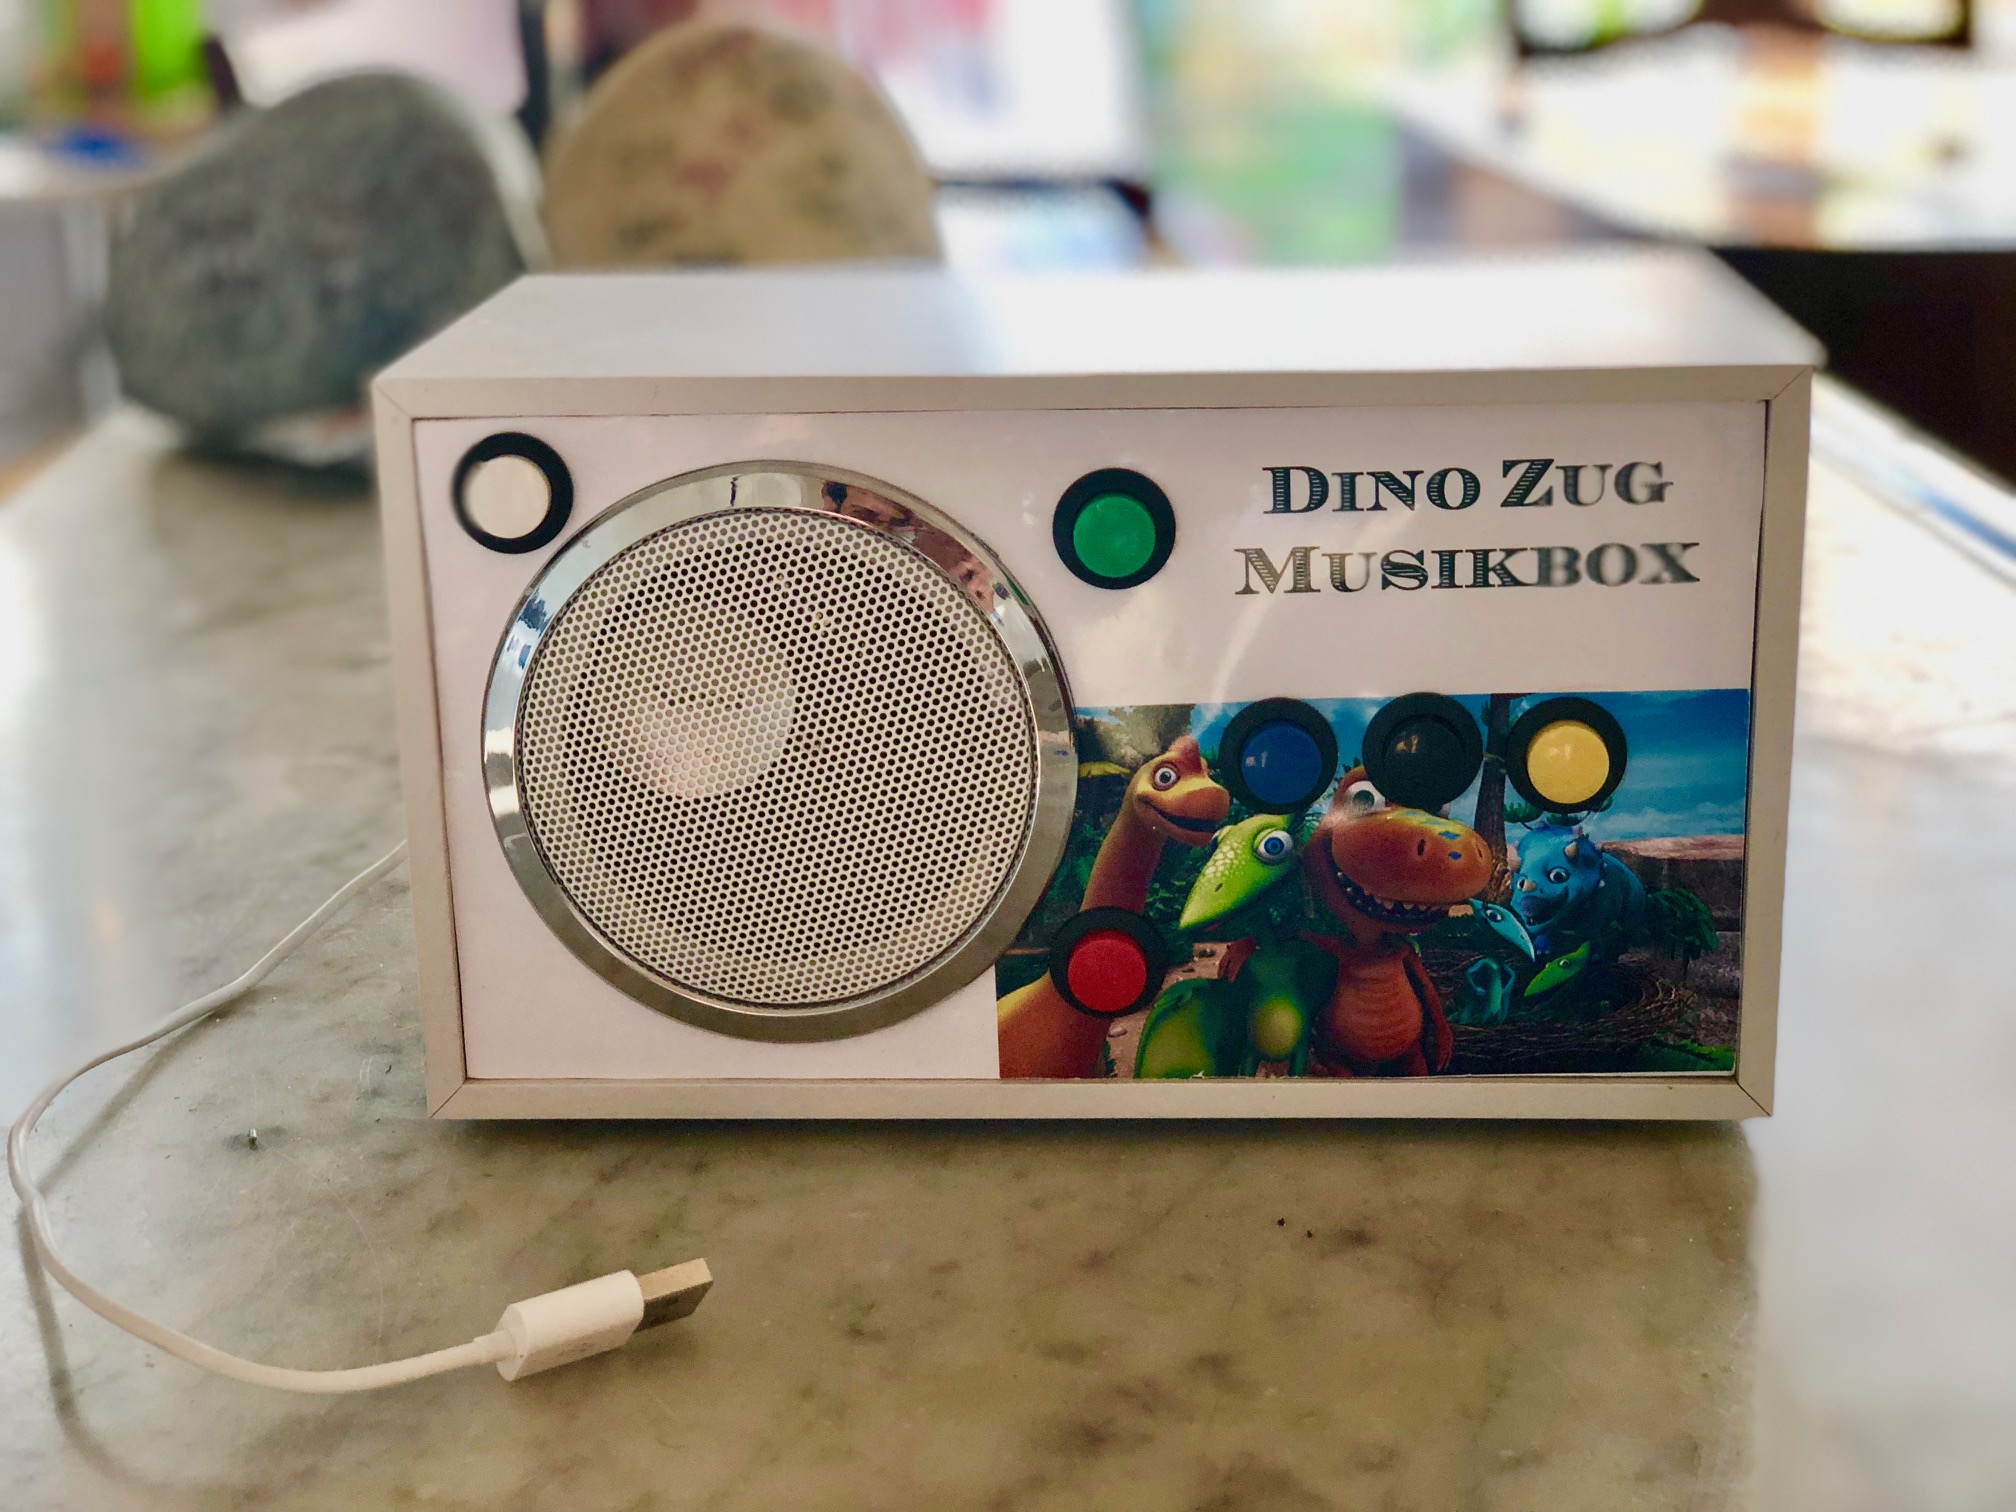
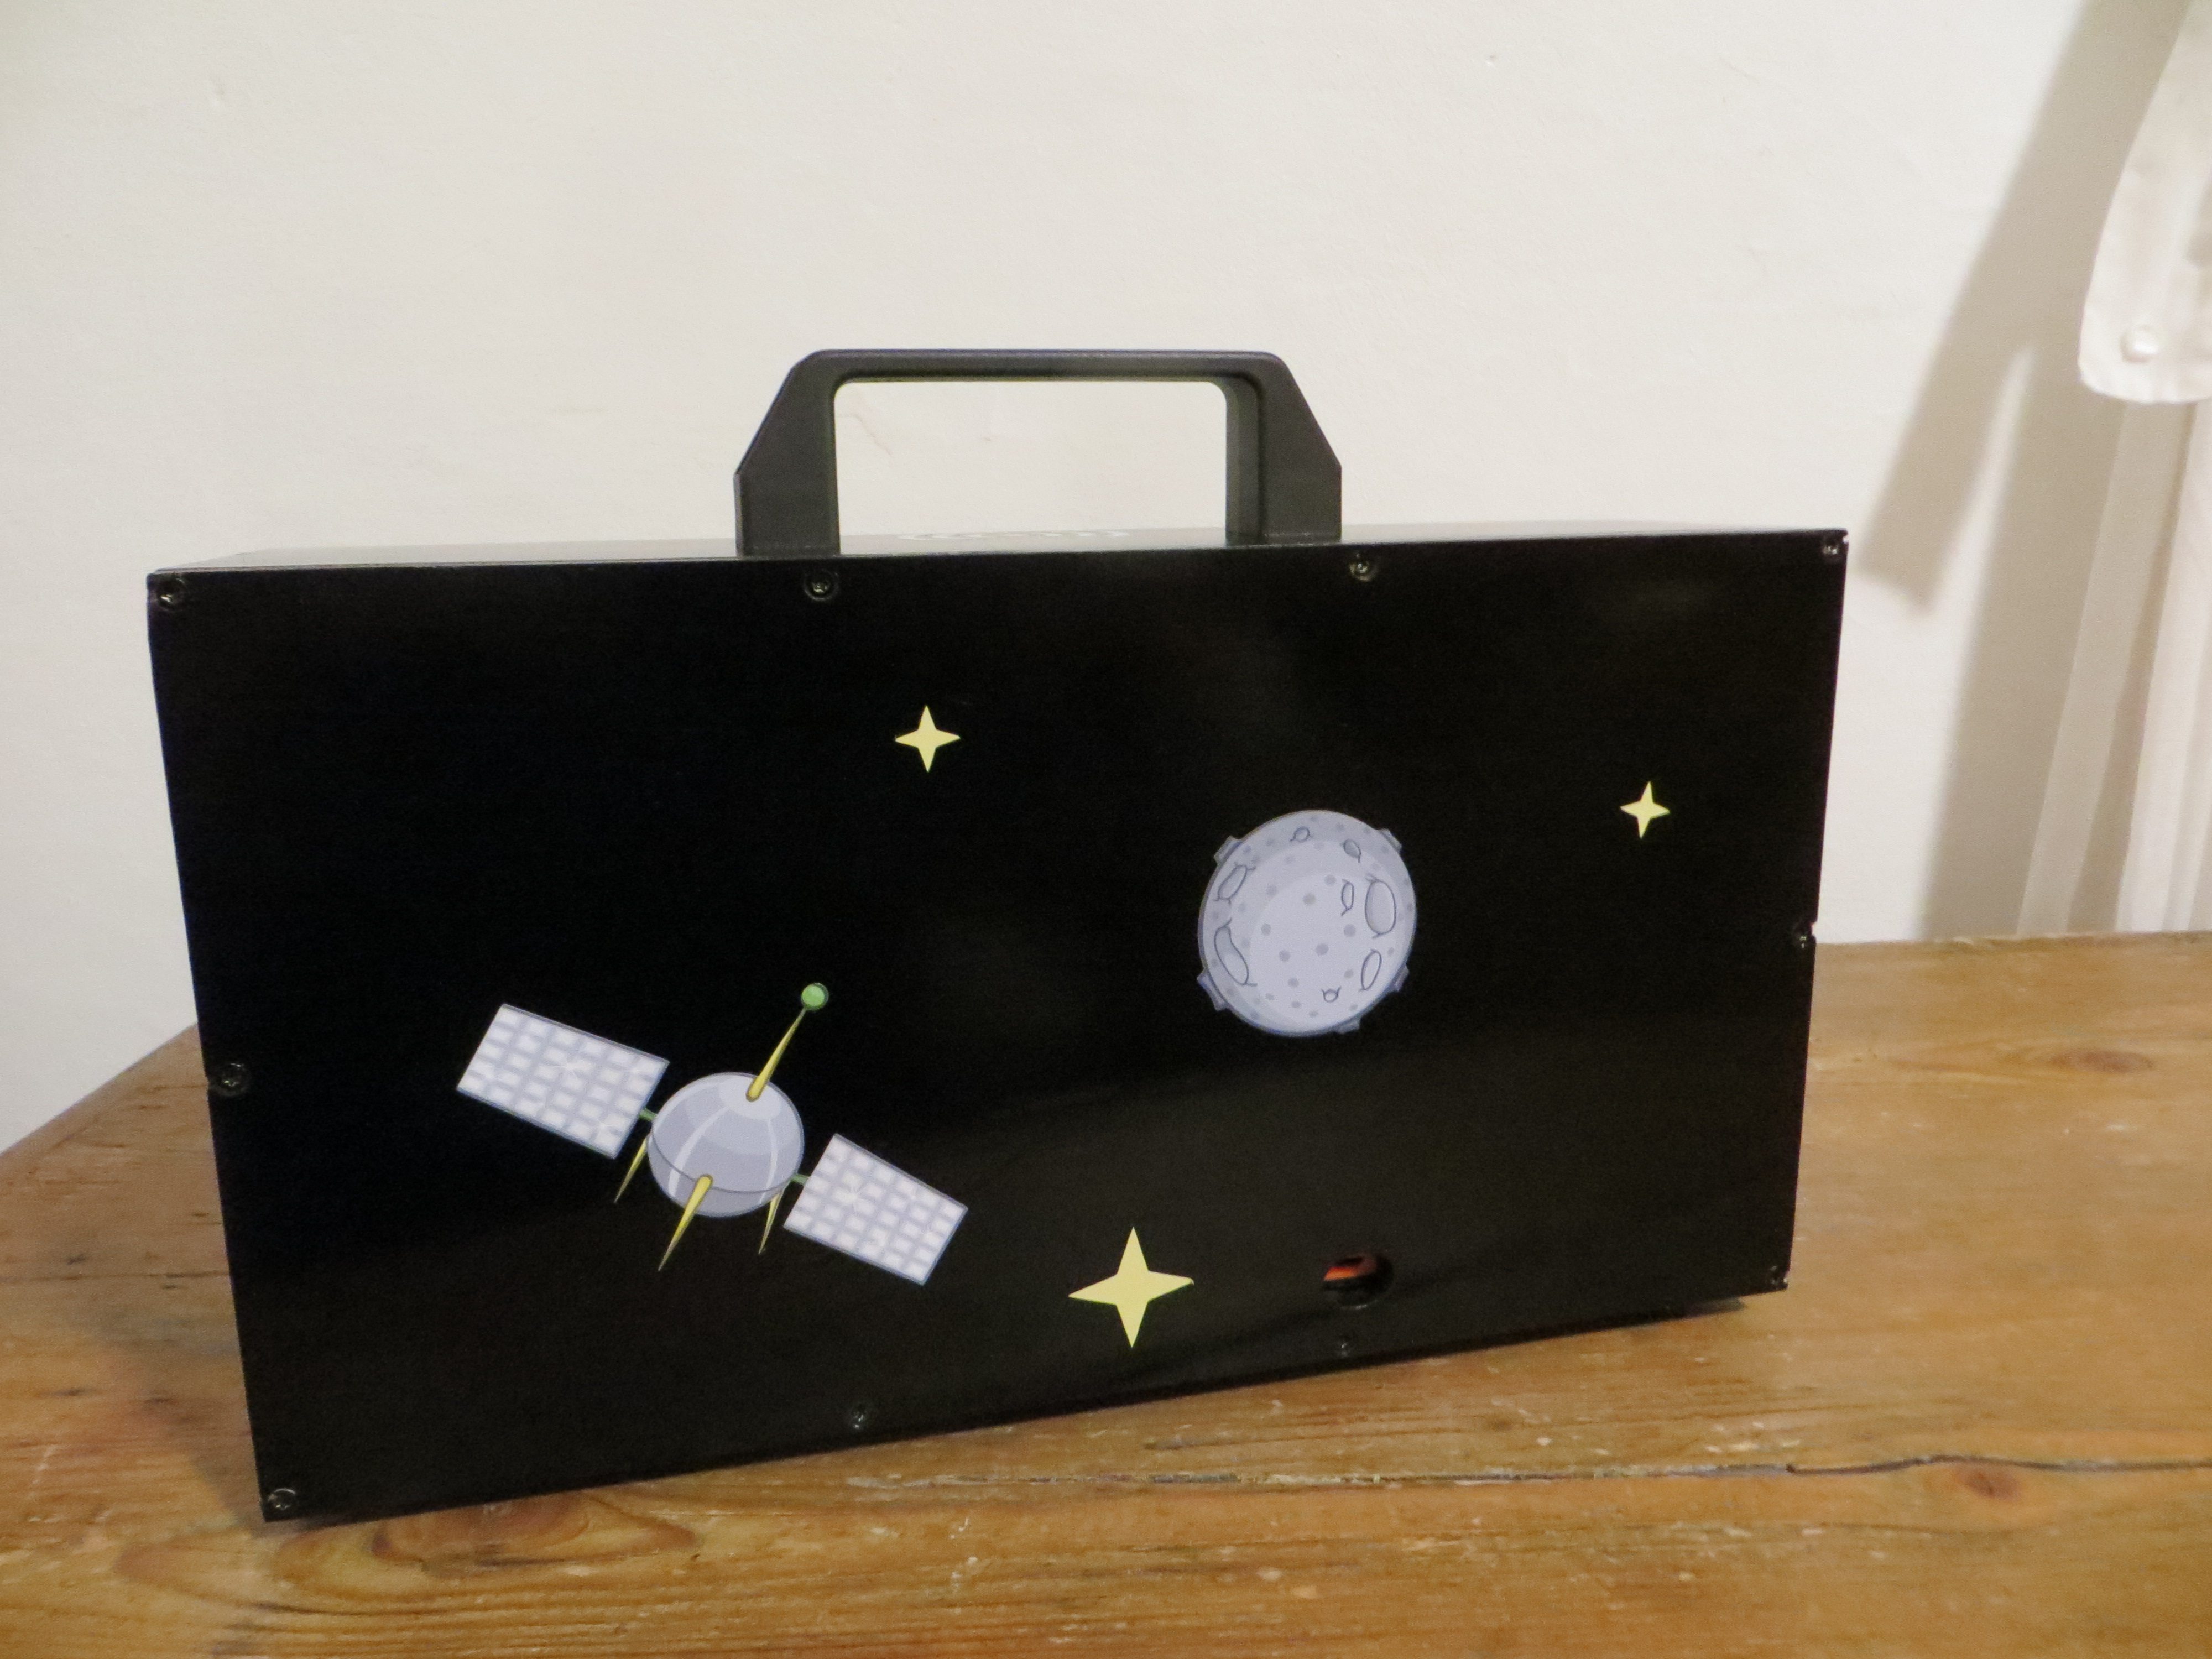
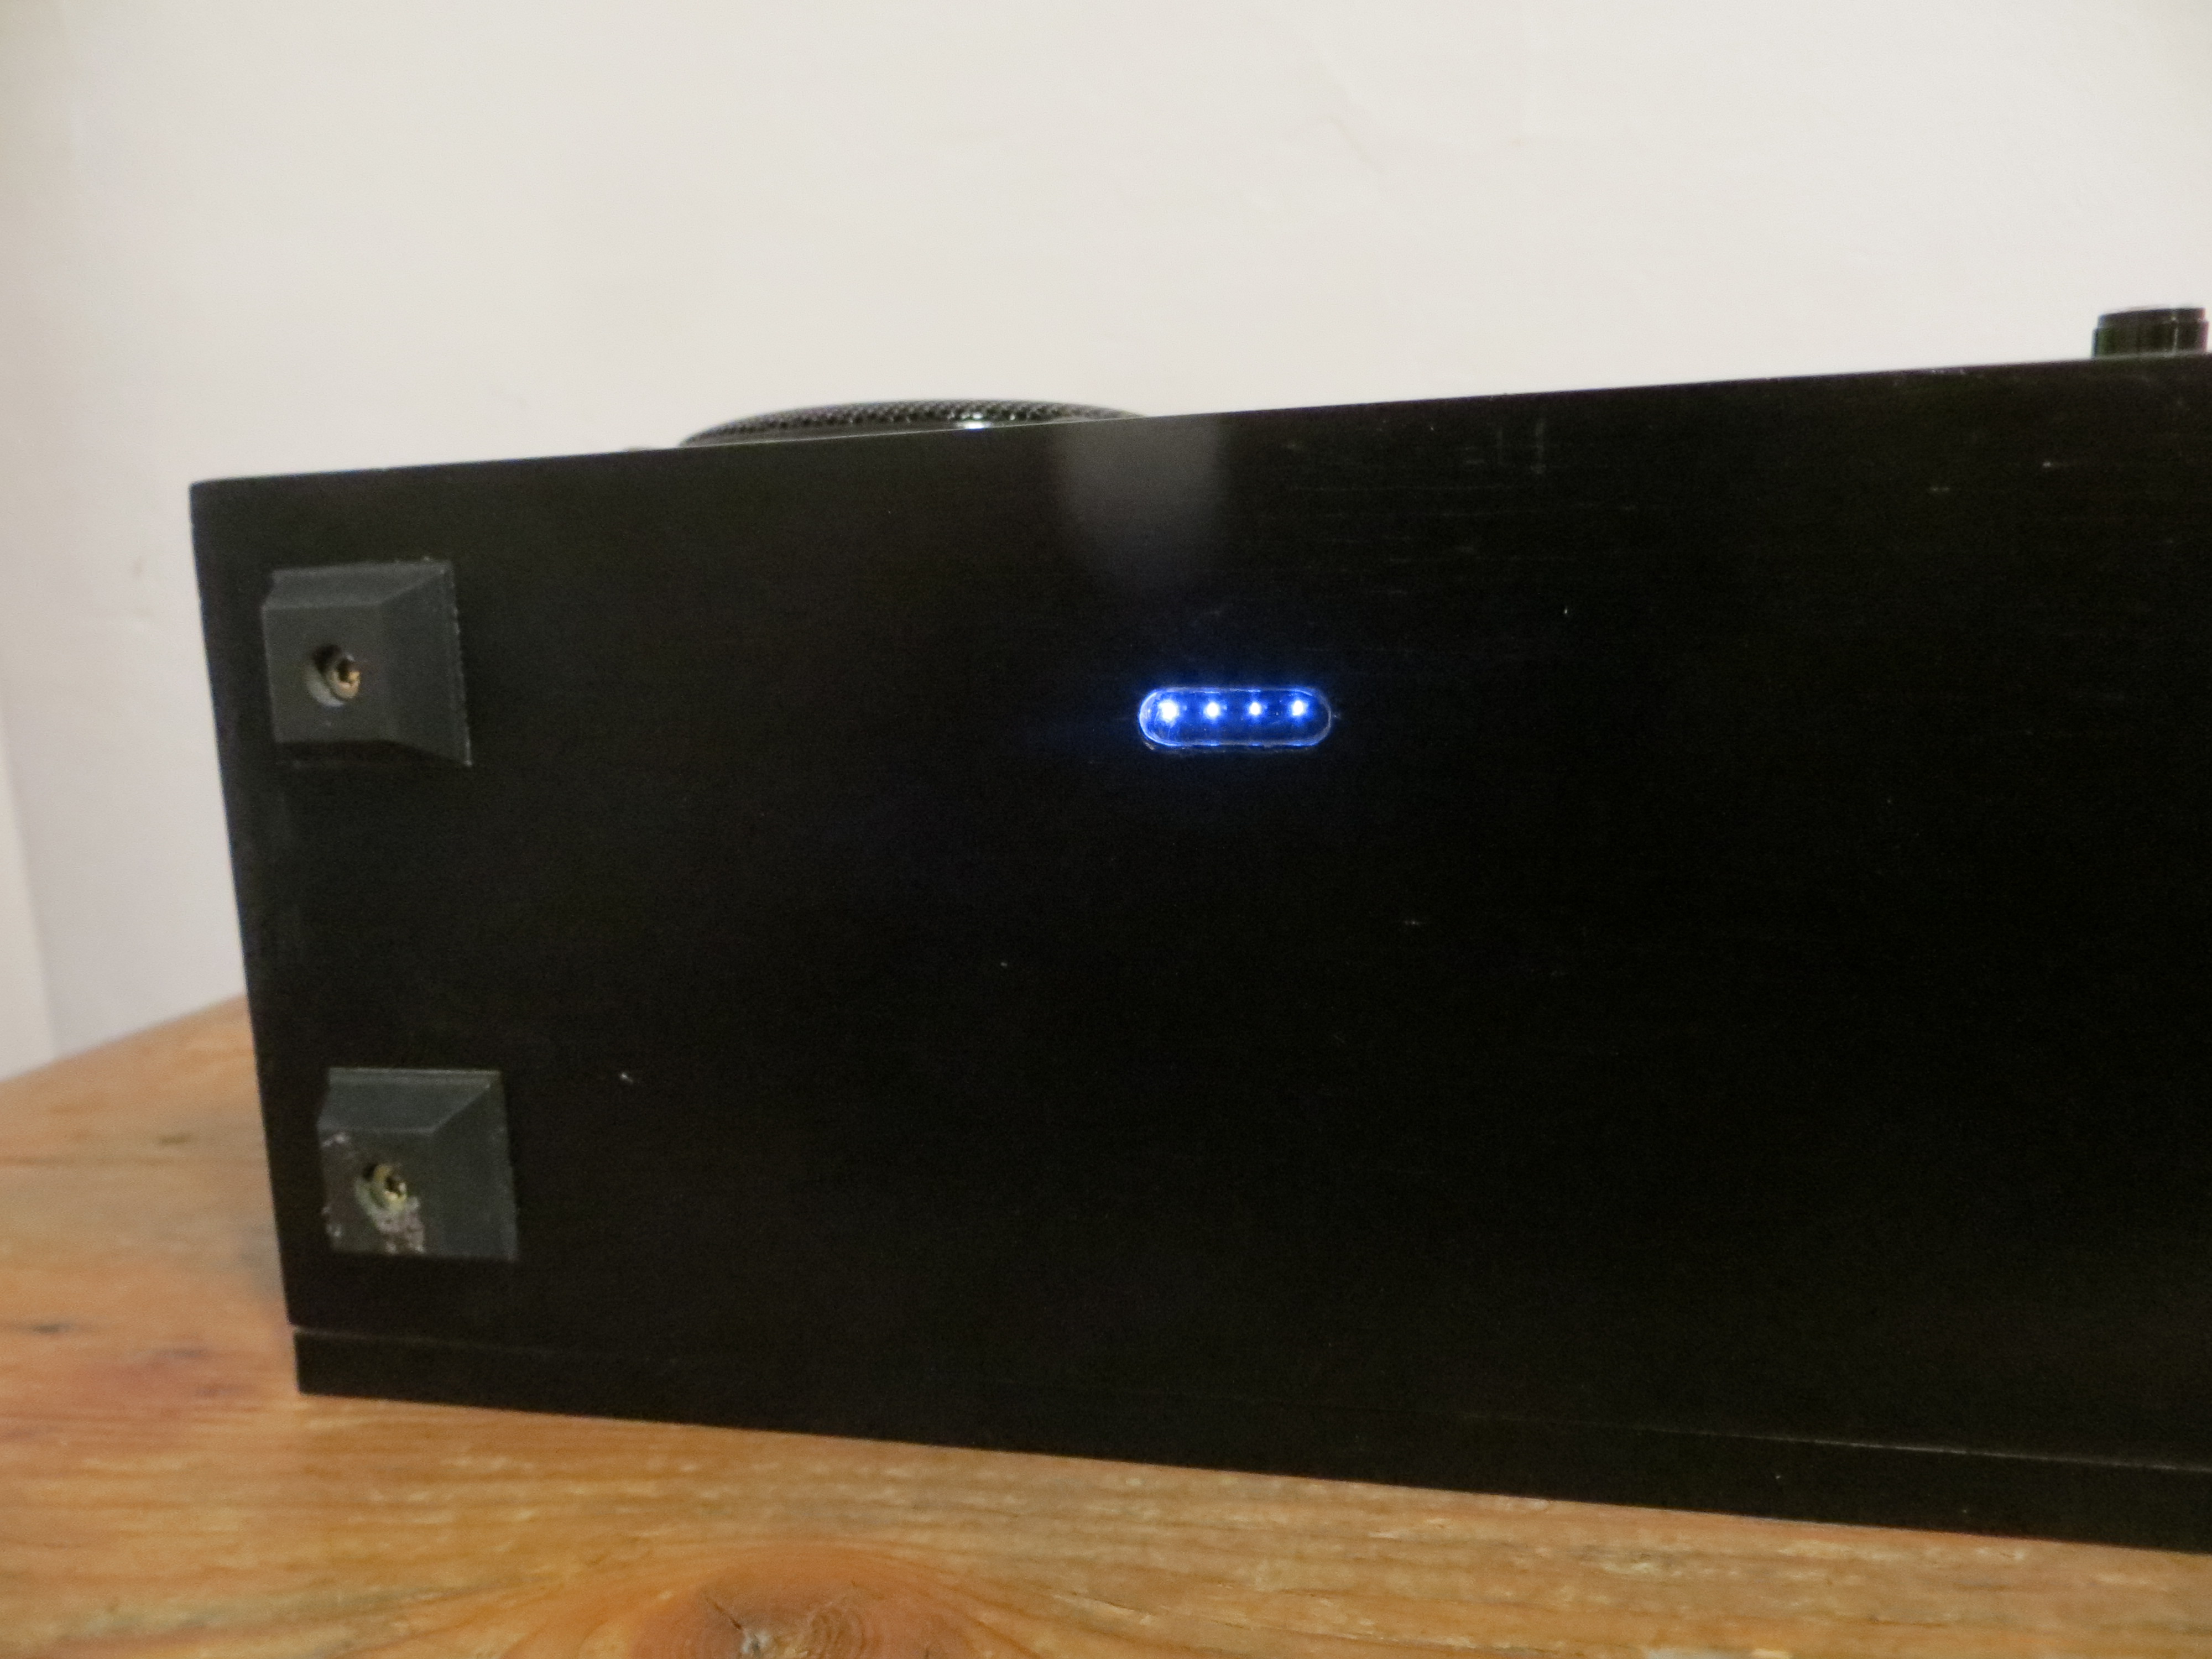
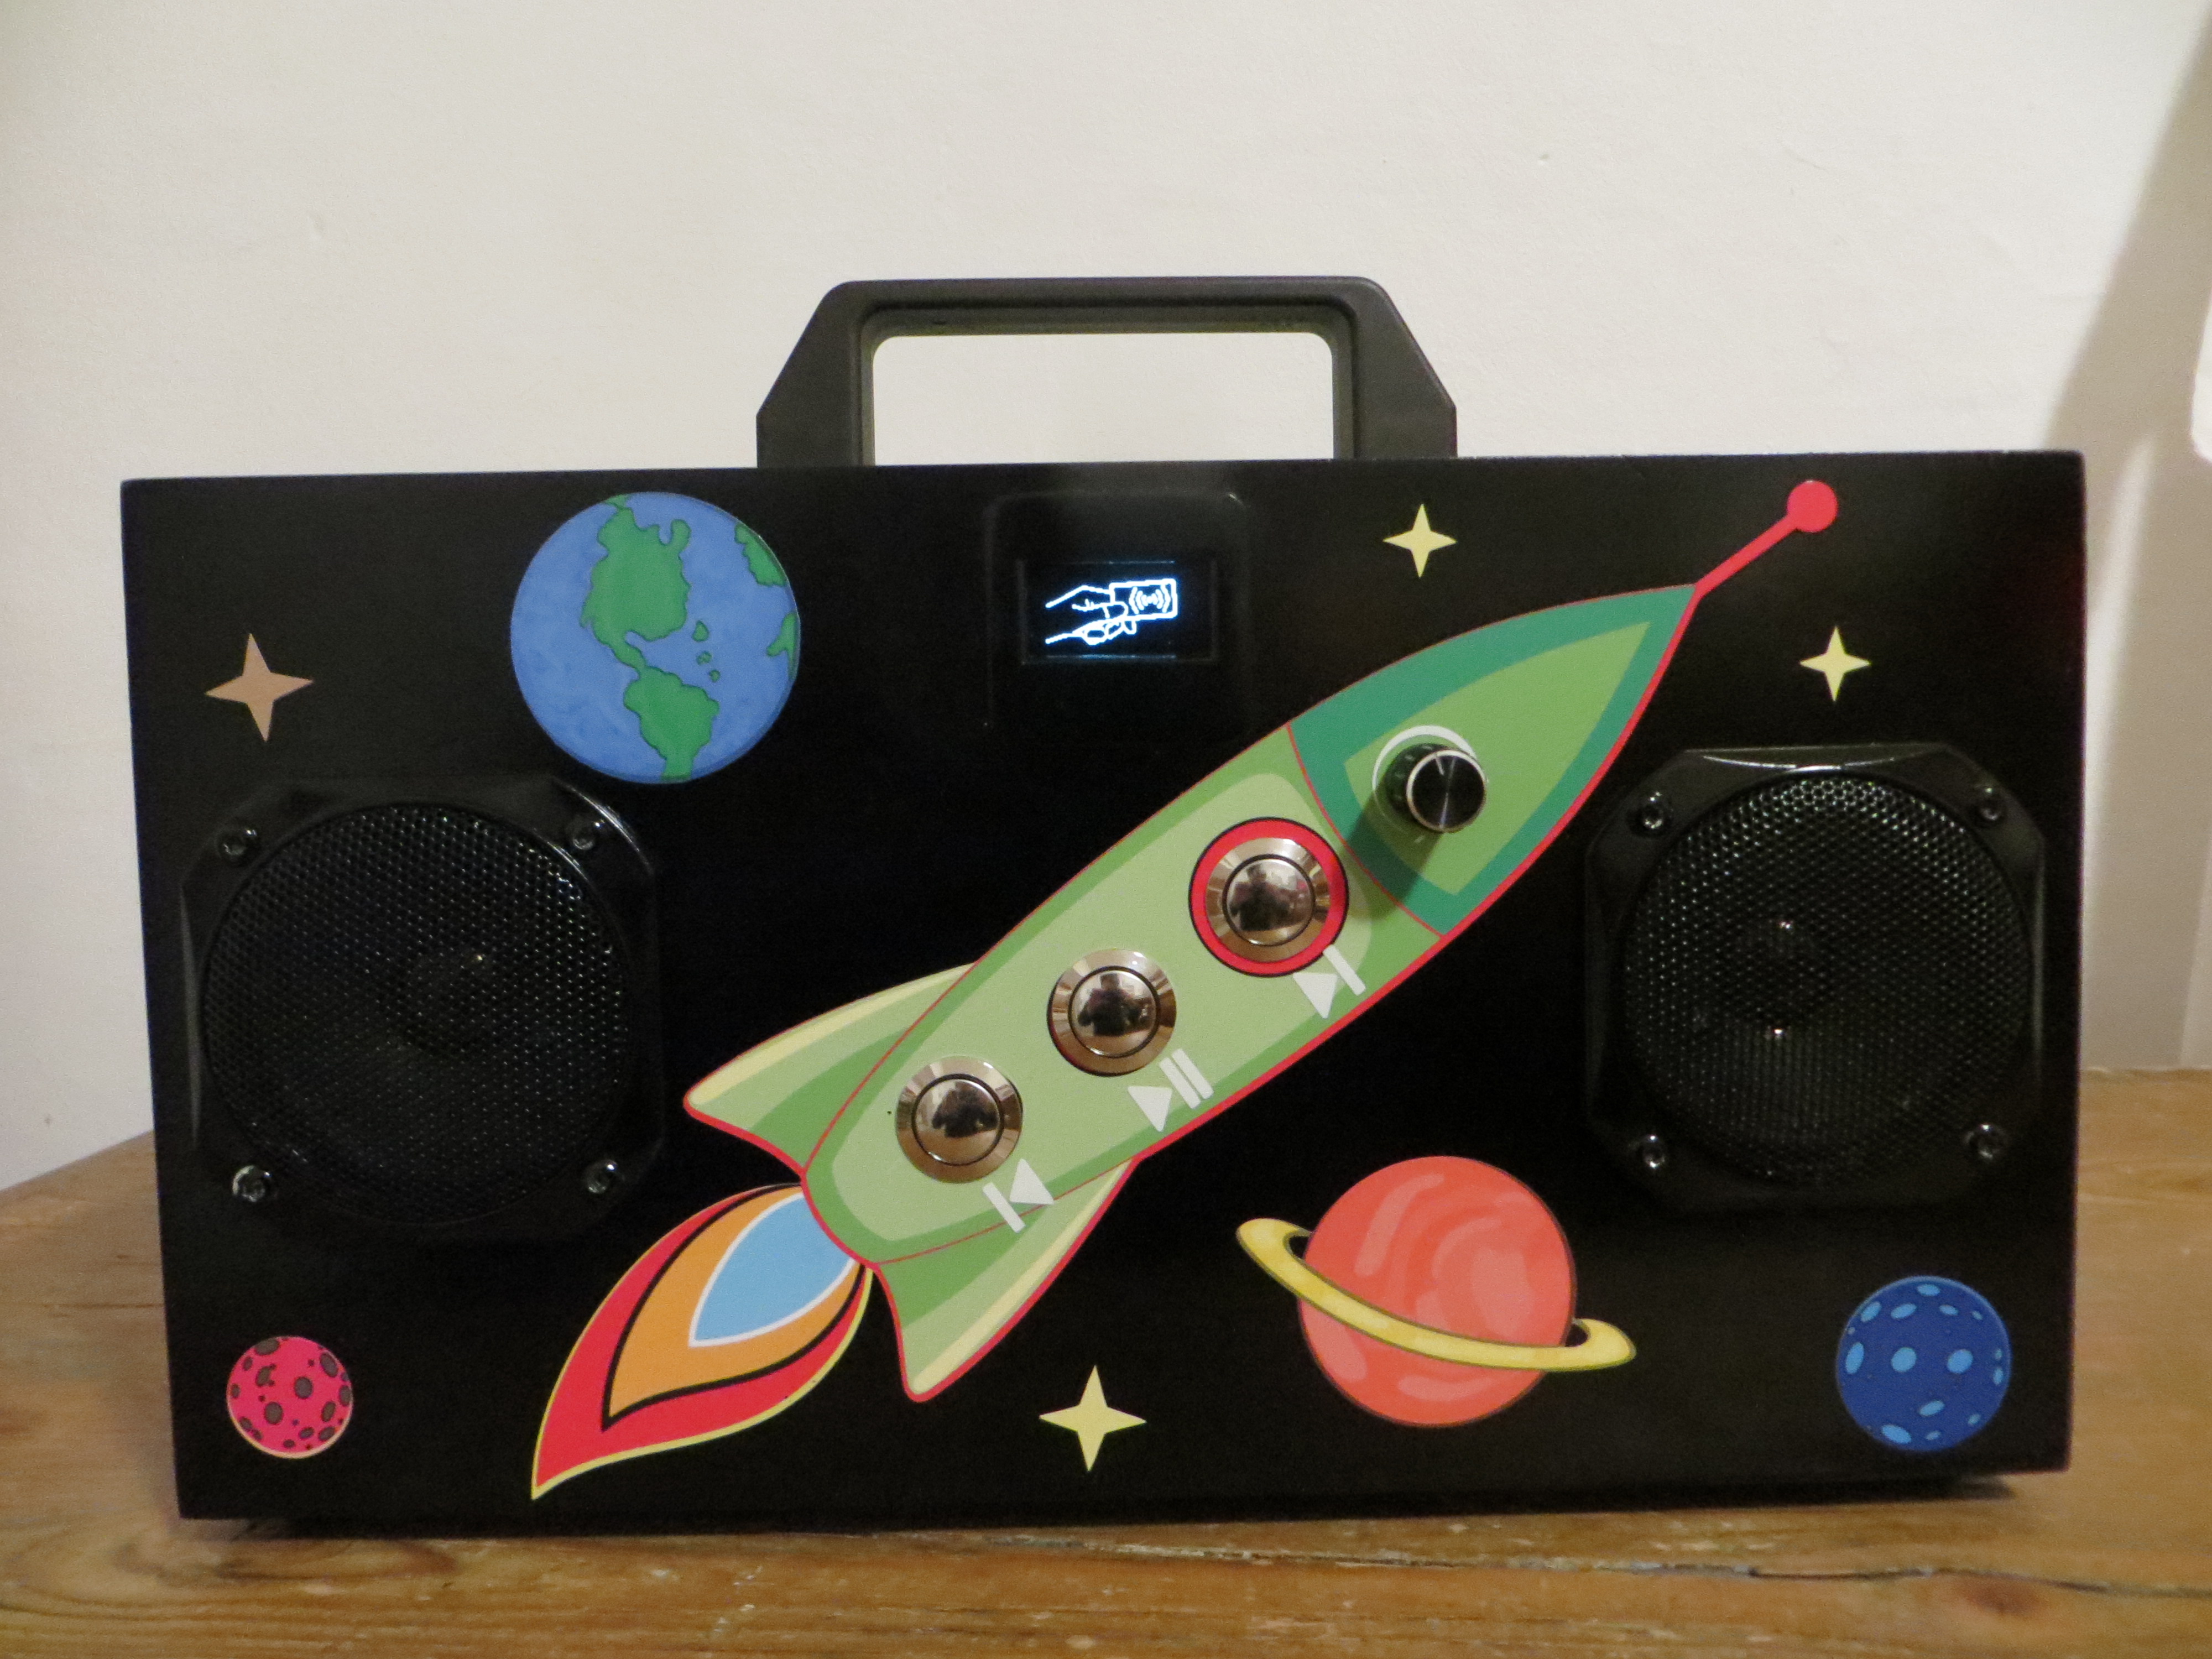
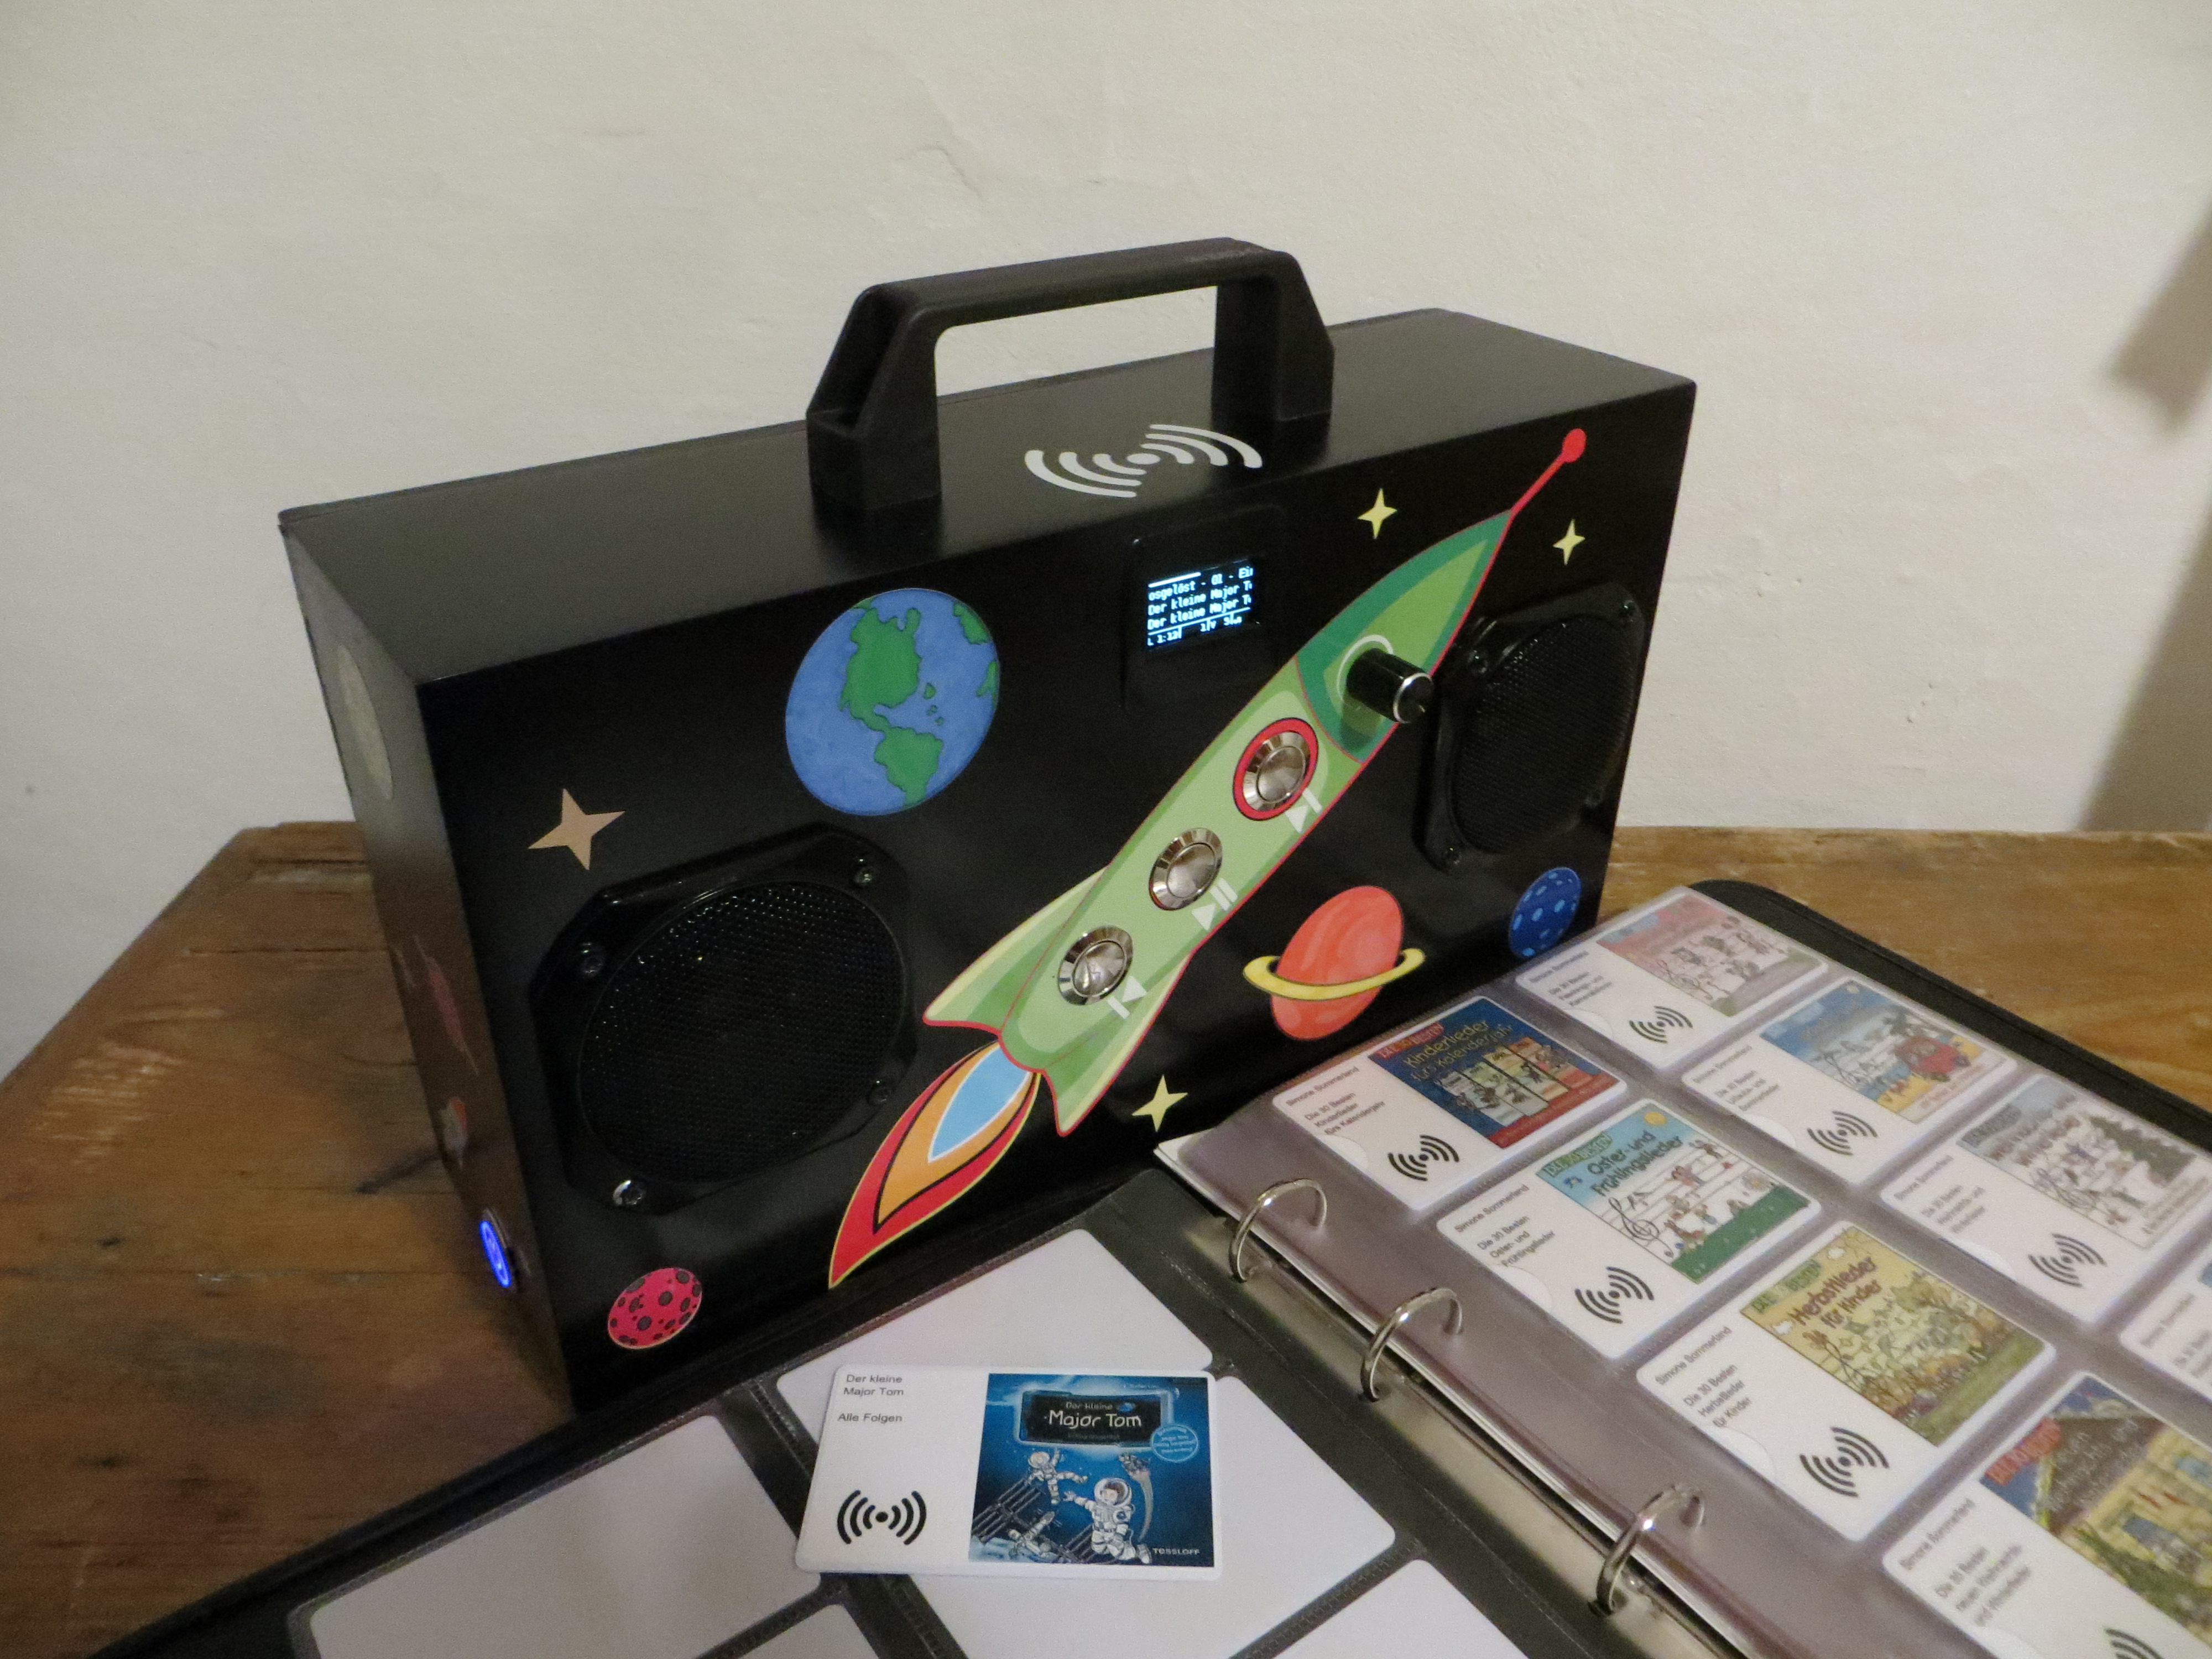
Some Jukebox Pics for inspiration #5
Comments
|
Something is wrong with the links. But copied url of the video. Looks great. How did you made the rfid cards? Printed? You could answer in german if this is allowed :) |
|
I have bought https://www.amazon.de/gp/product/B001CPF3FE/ref=oh_aui_detailpage_o05_s00?ie=UTF8&psc=1 (Klebe Etiketten) To laminate them was not possible for me because the cards were to hight for my machine. |
This comment has been minimized.
This comment has been minimized.
This comment has been minimized.
This comment has been minimized.
This comment has been minimized.
This comment has been minimized.
This comment has been minimized.
This comment has been minimized.
This comment has been minimized.
This comment has been minimized.
This comment has been minimized.
This comment has been minimized.
This comment has been minimized.
This comment has been minimized.
This comment has been minimized.
This comment has been minimized.
This comment has been minimized.
This comment has been minimized.
This comment has been minimized.
This comment has been minimized.
This comment has been minimized.
This comment has been minimized.
This comment has been minimized.
This comment has been minimized.
|
The one with the only Red Buttons is the one I made in december. |
|
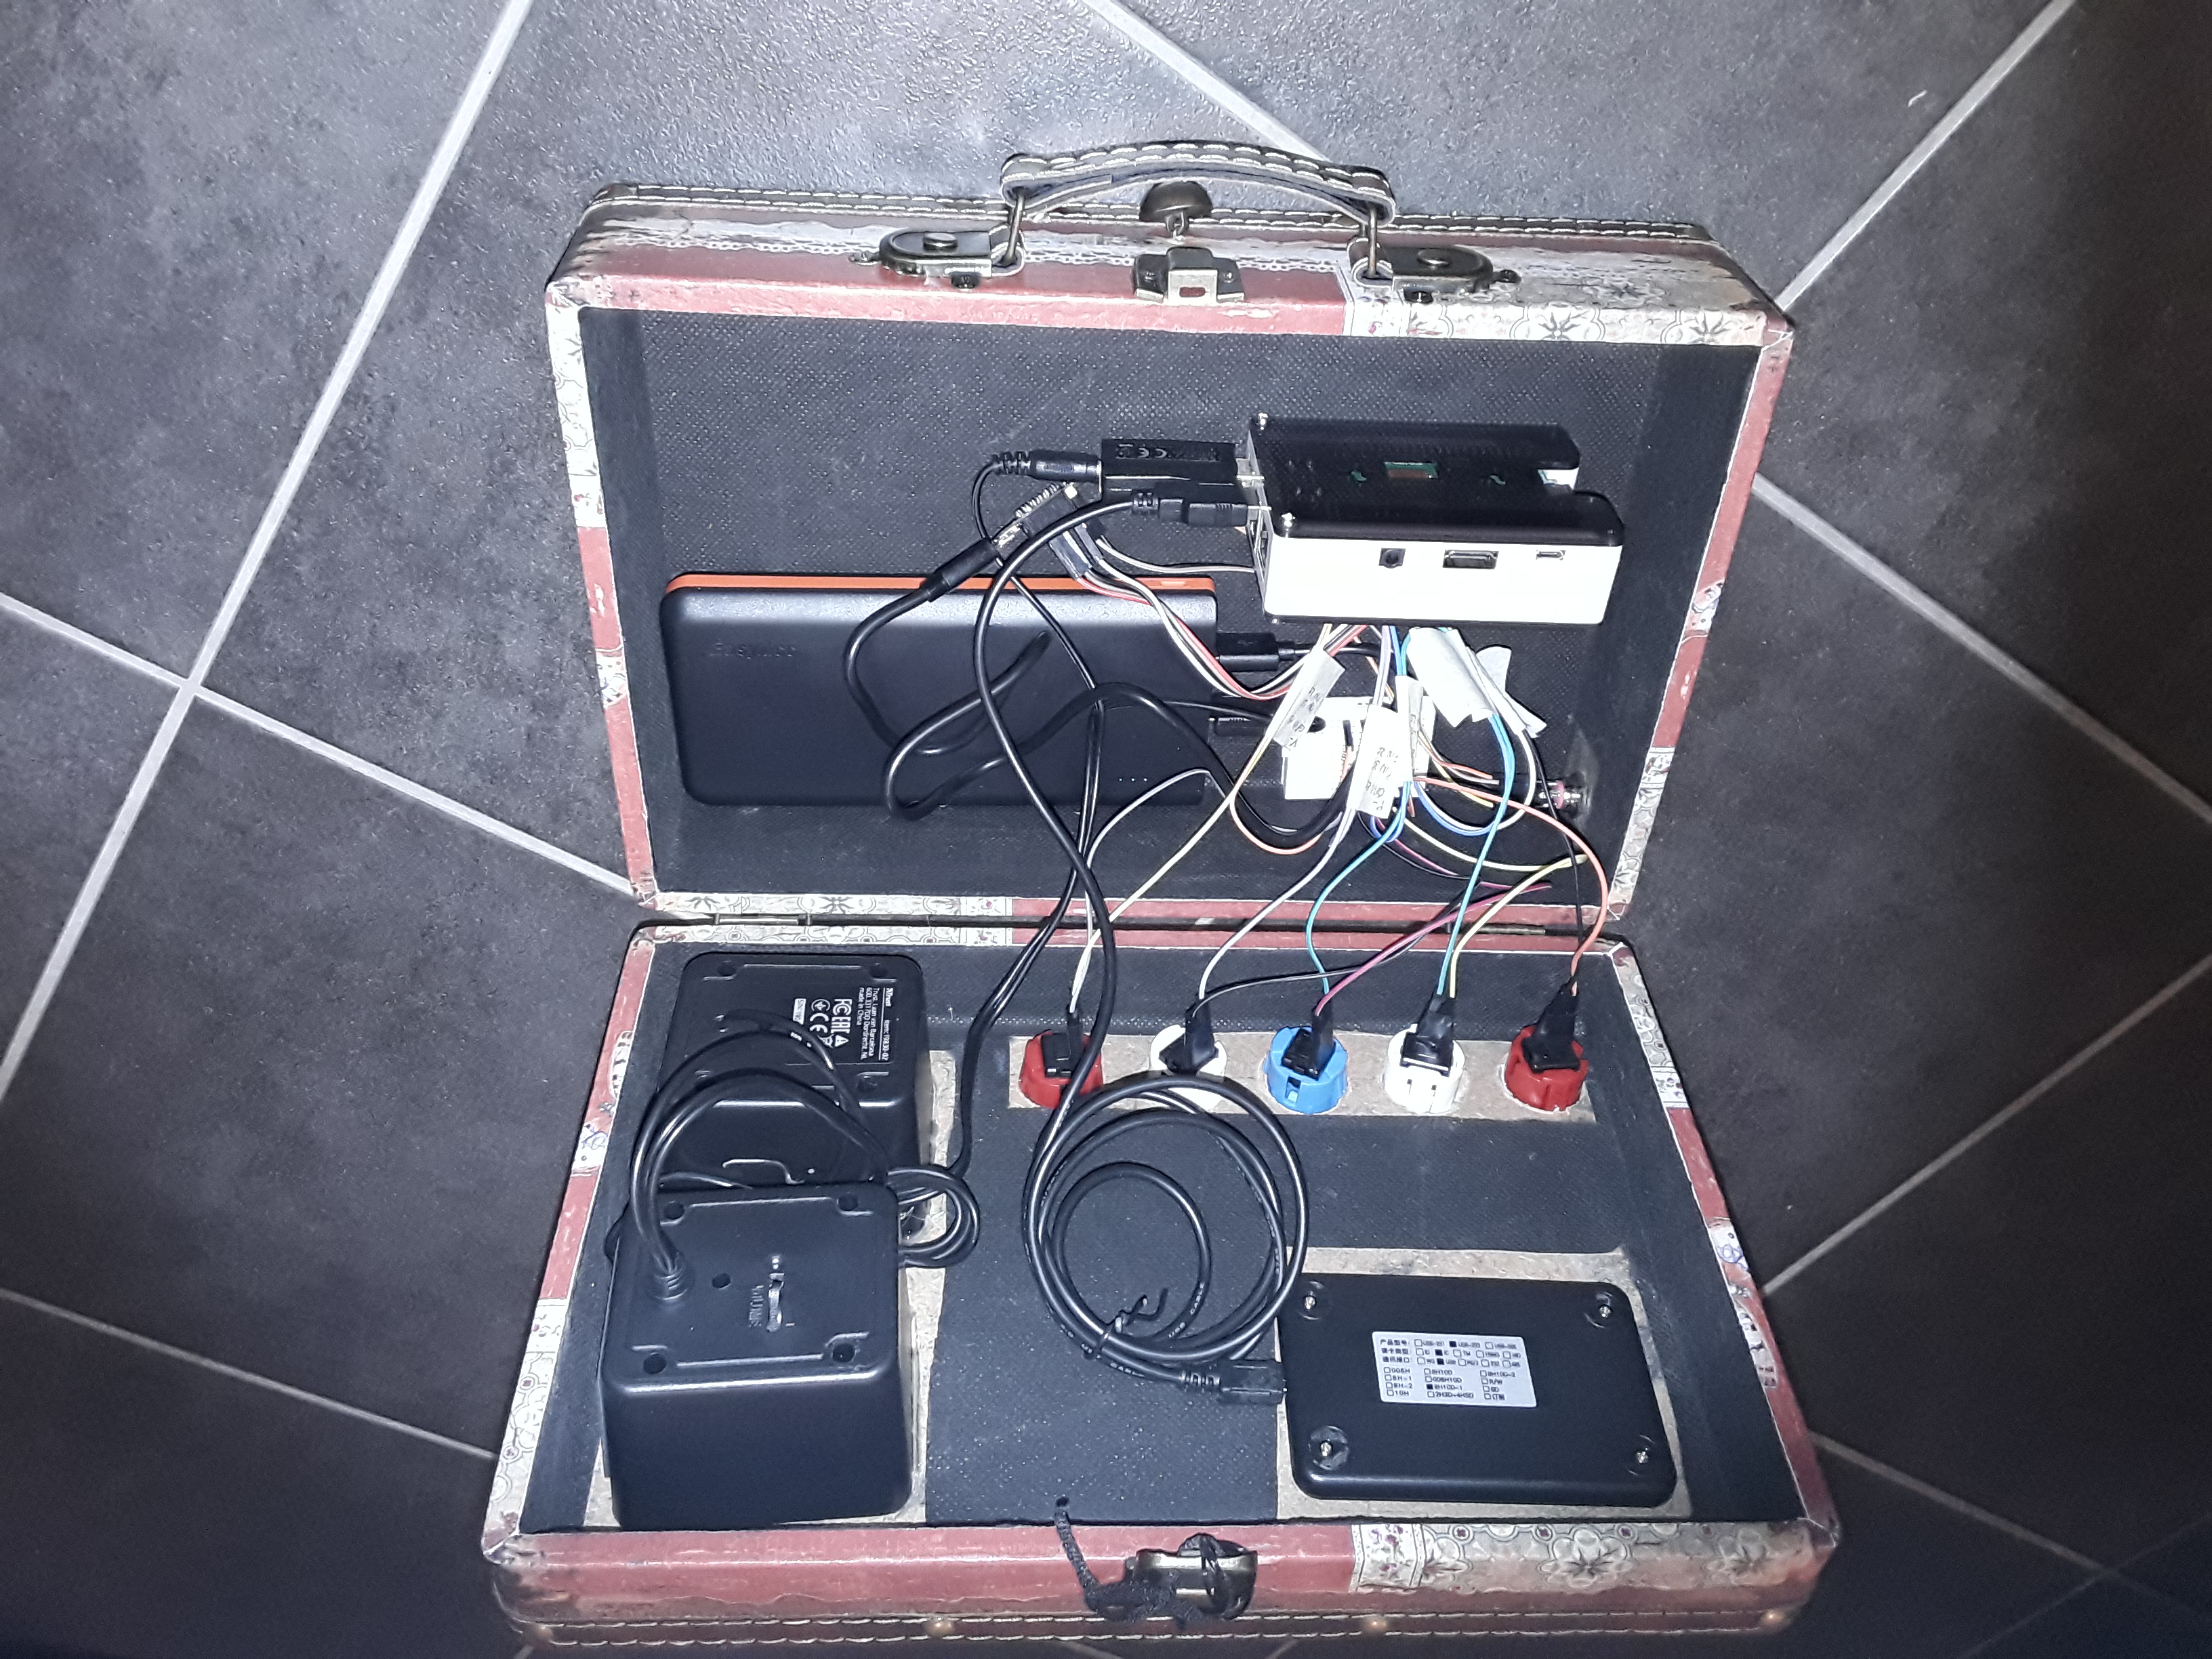
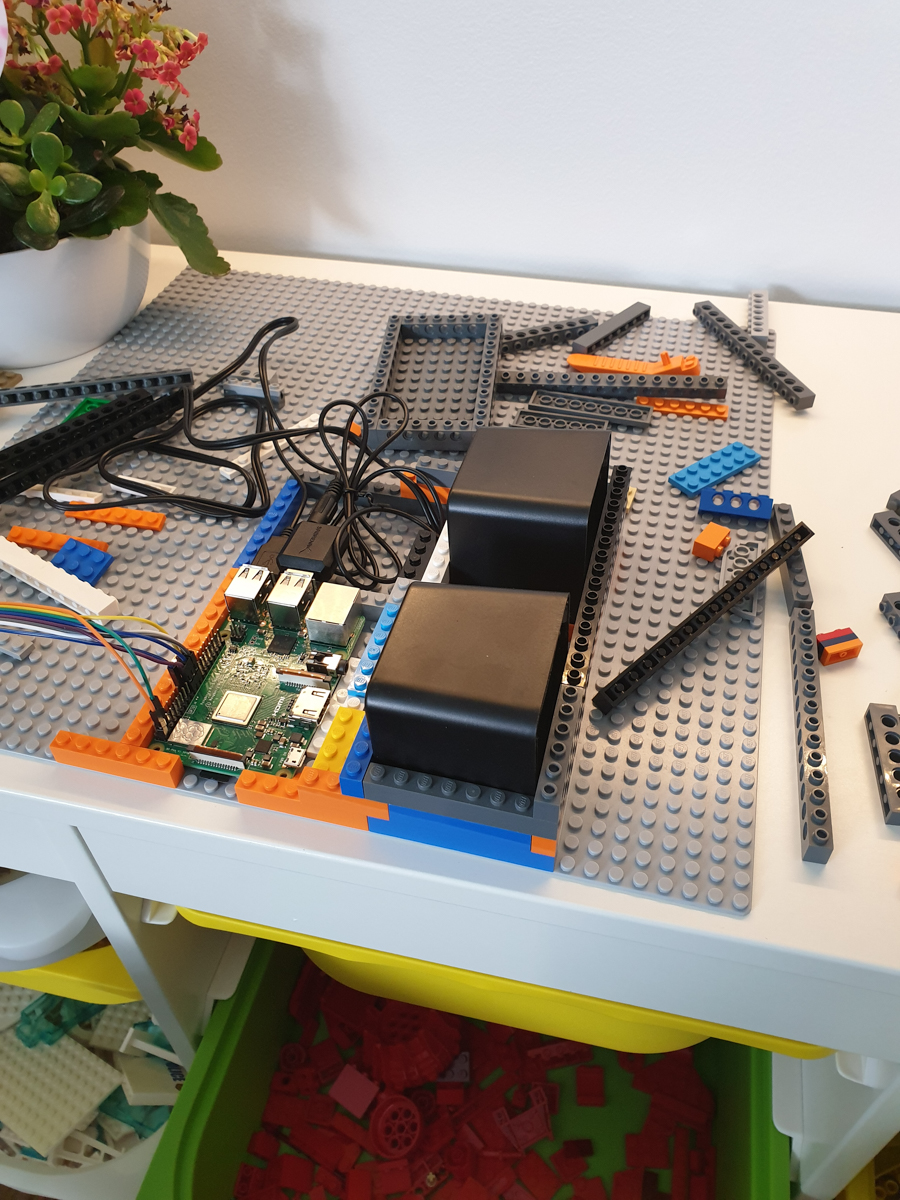
Hi, i used this wiring: Usb-charging port on outside of the box I also soldered to the amplifier: So yes, all is internal, the RFID cards work through the wood of the box, if you put them on the top right of the box. |
|
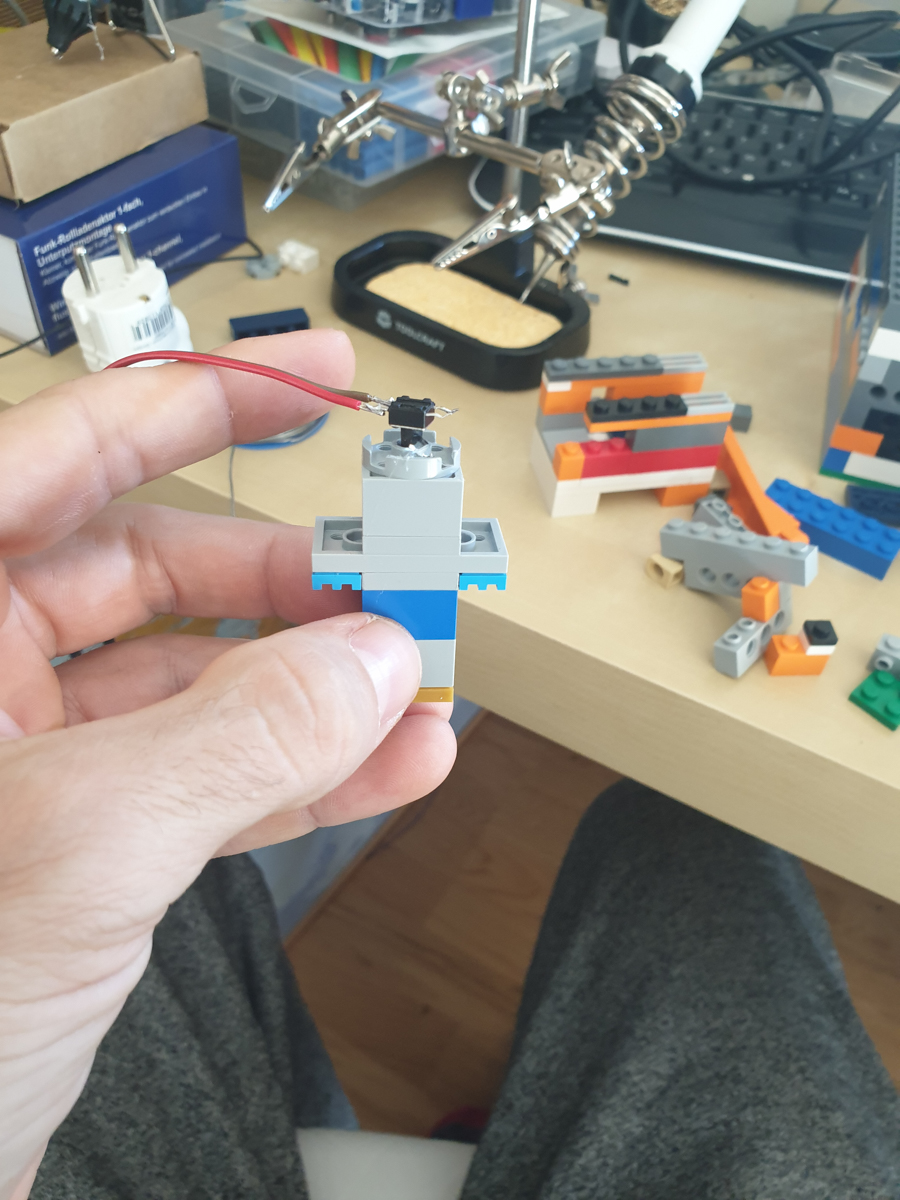
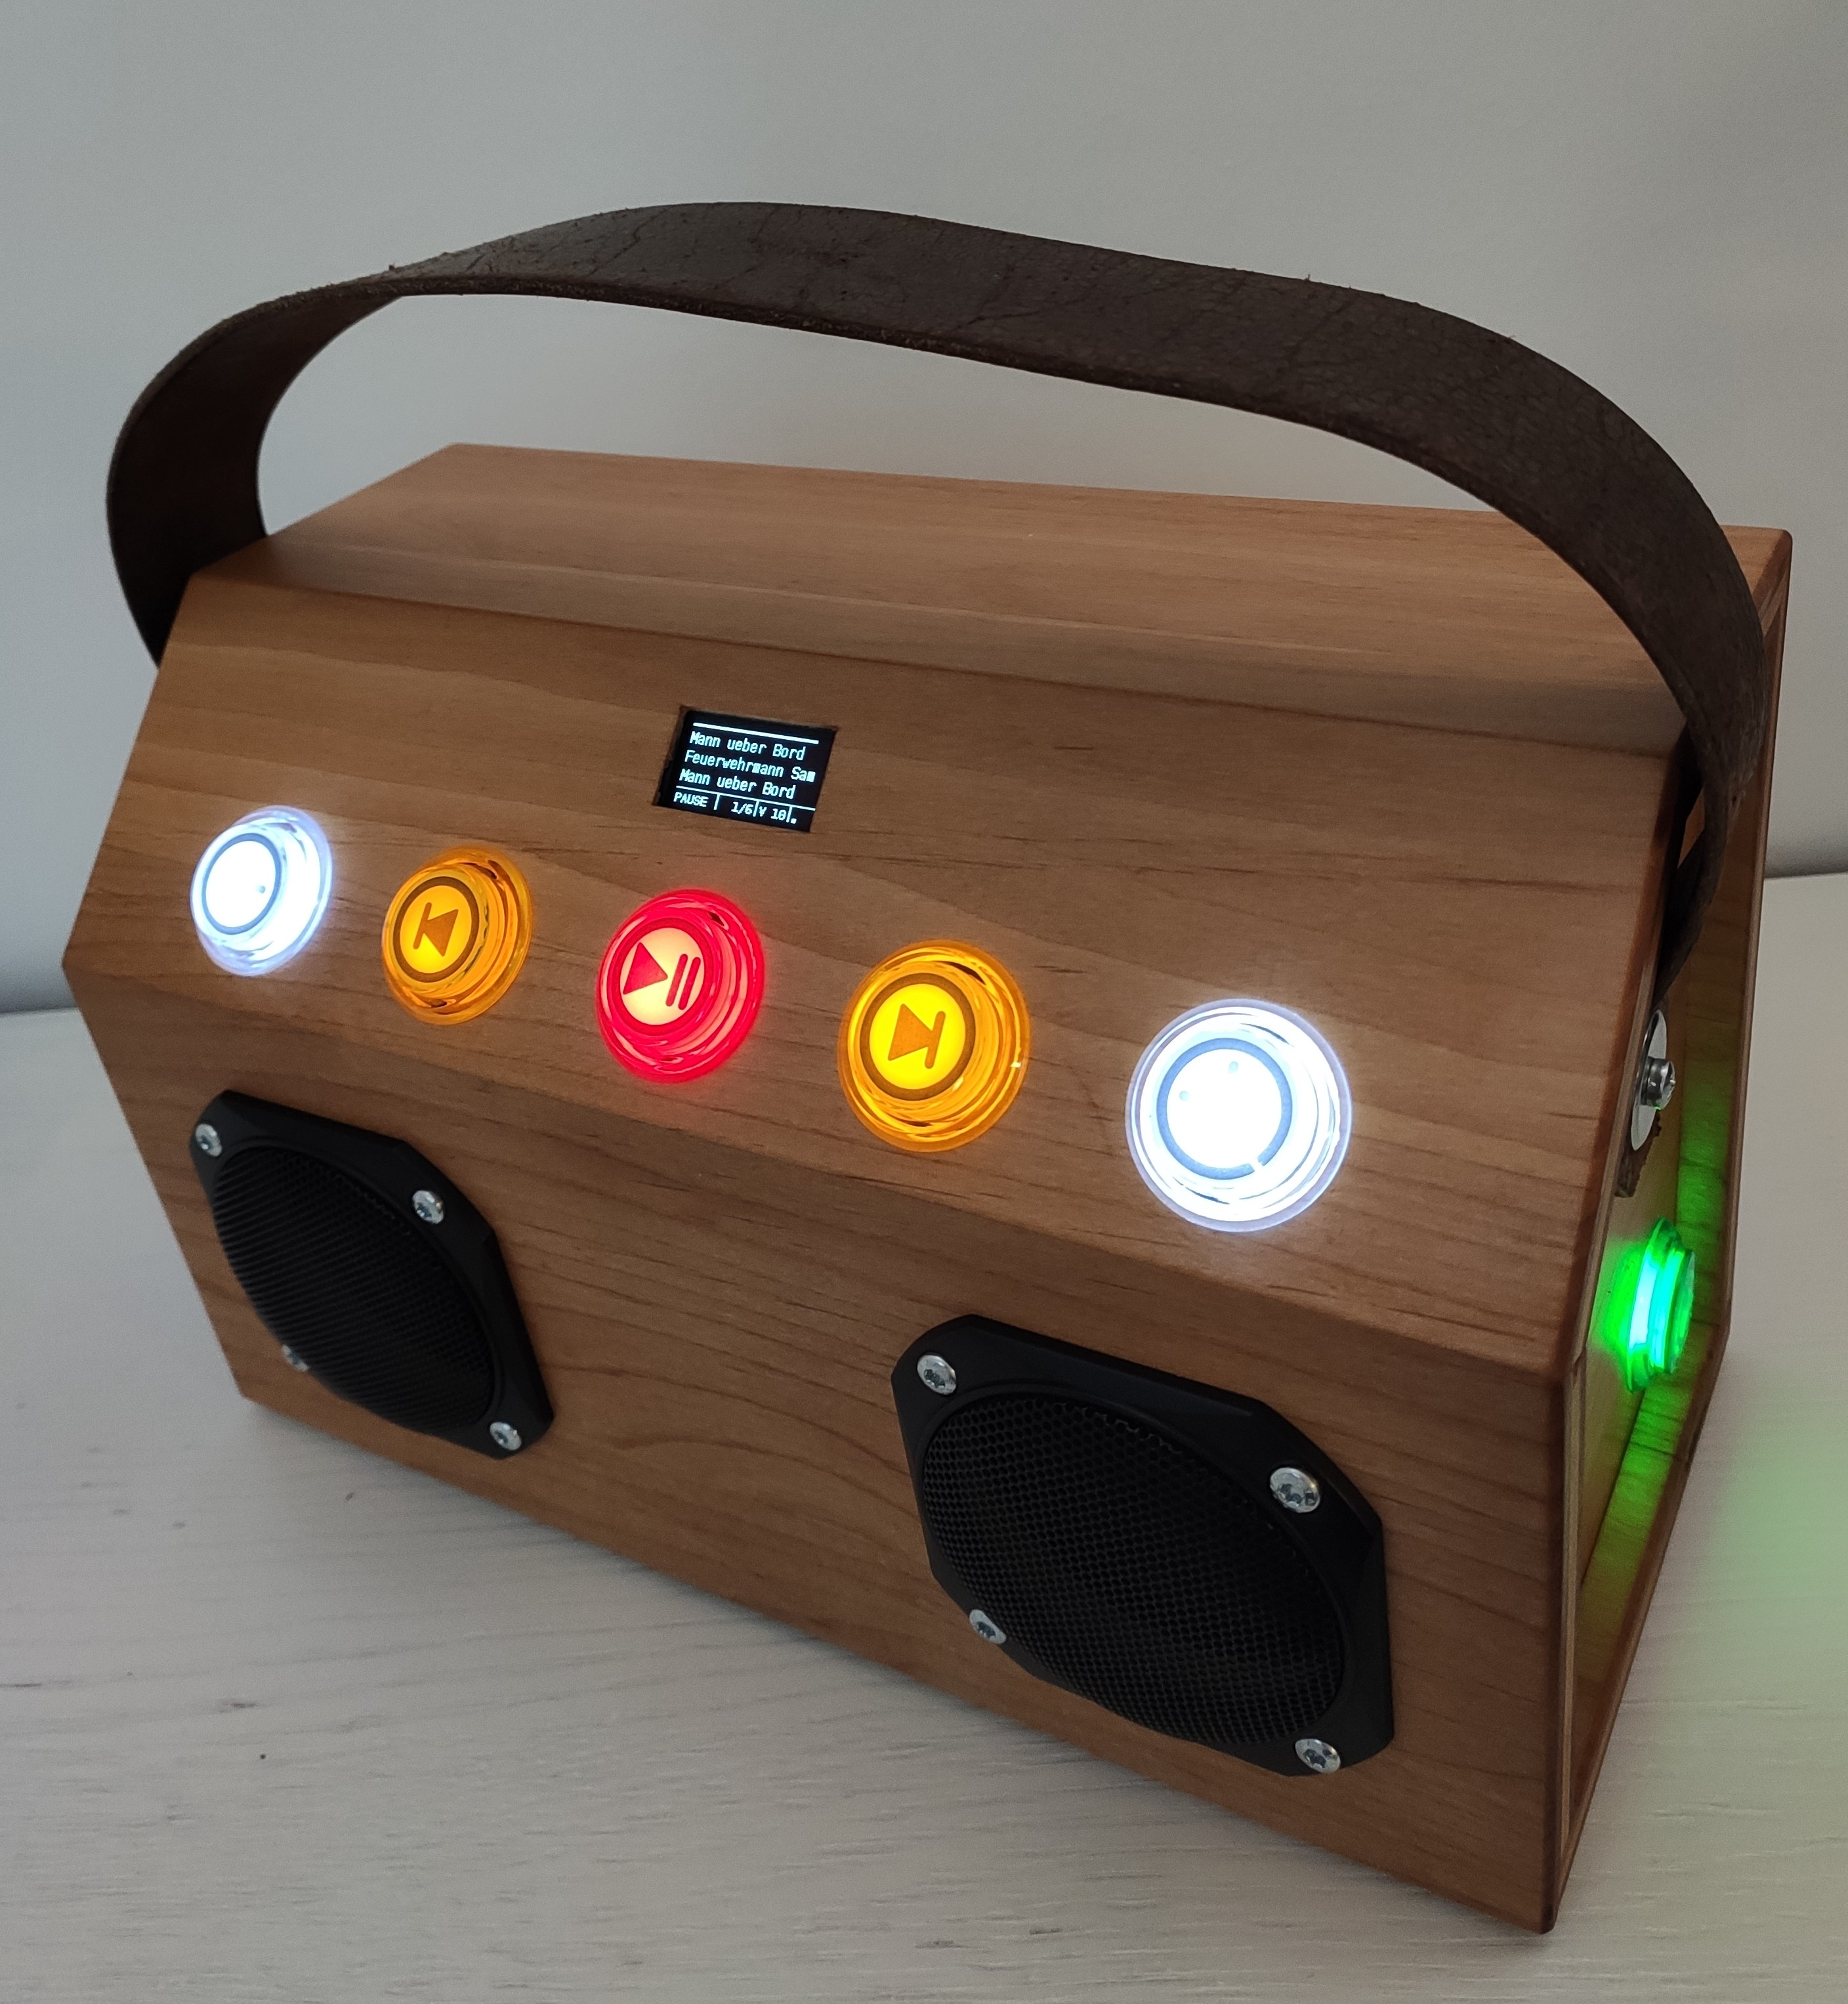
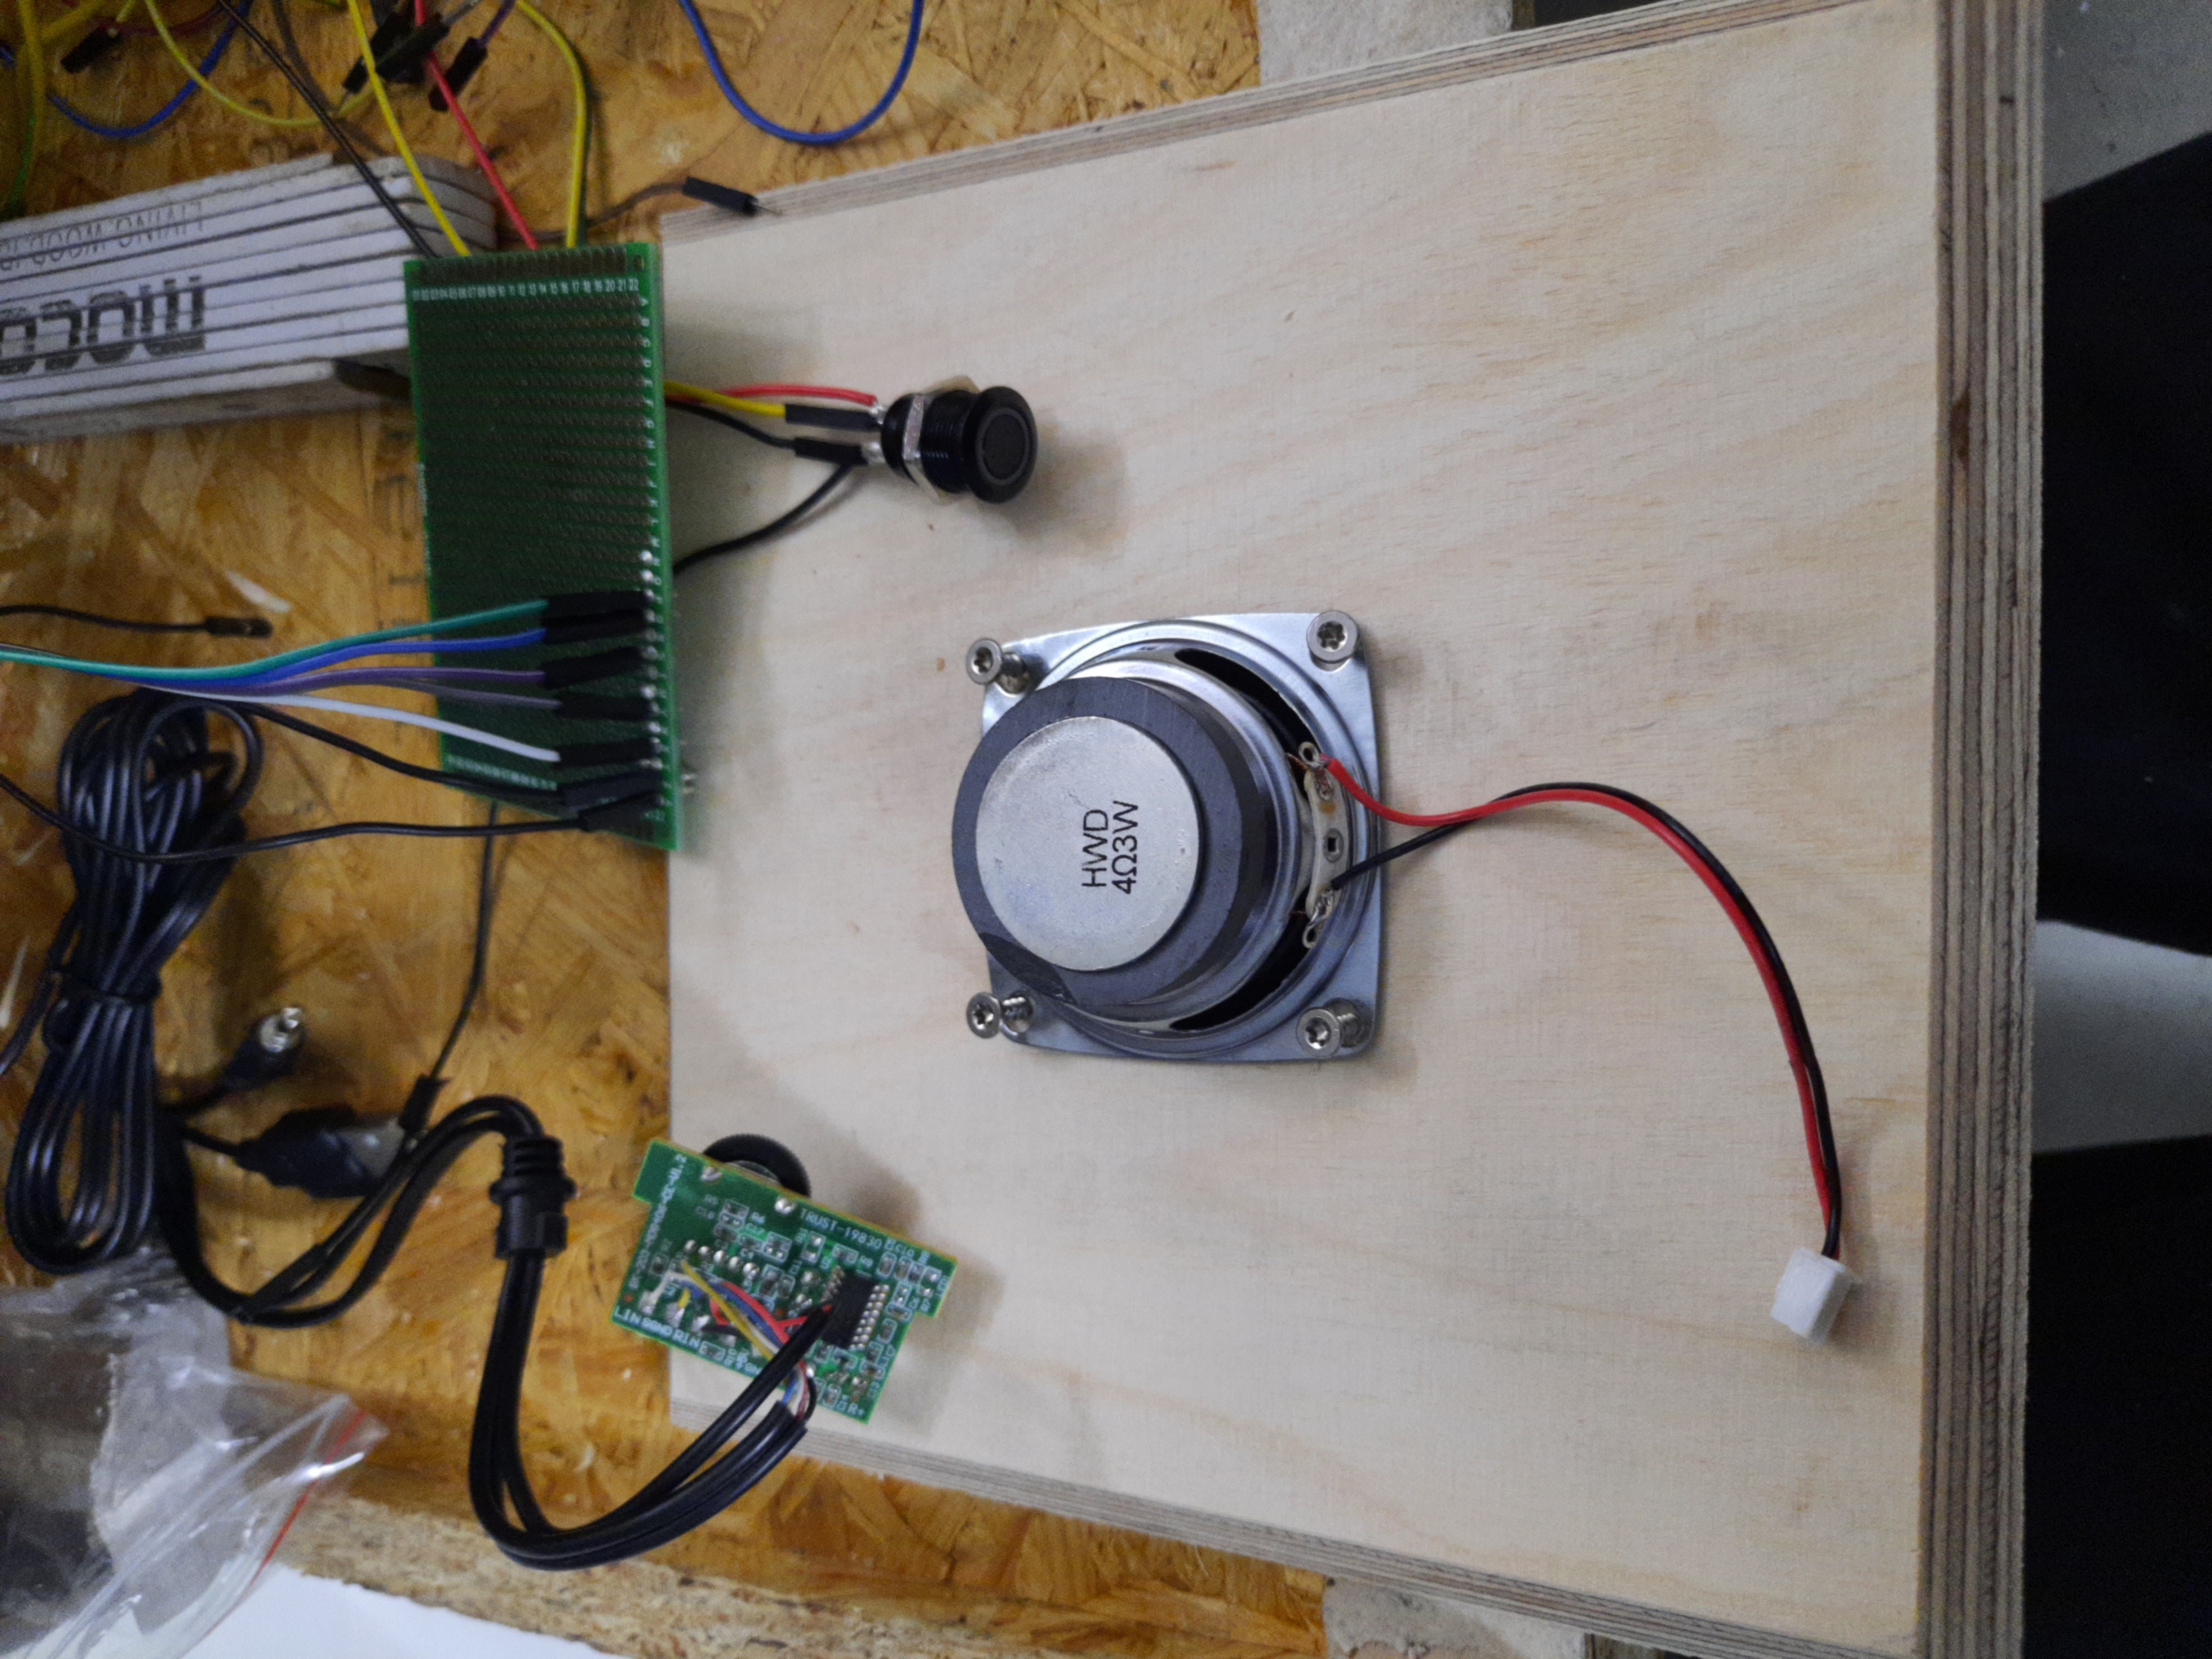
Here an update, 3 buttons (play=green, prev=yellow, next=blue) and an LED that the raspberry pi is ready to accept cards or that its processing a card/button request. For that, the code could be added to the standard repository i guess...
Wiring the Buttons to GPIO0,1,2 and the LED with 220 Ohms to GPIO3. These buttons are OK: |

|
|

|
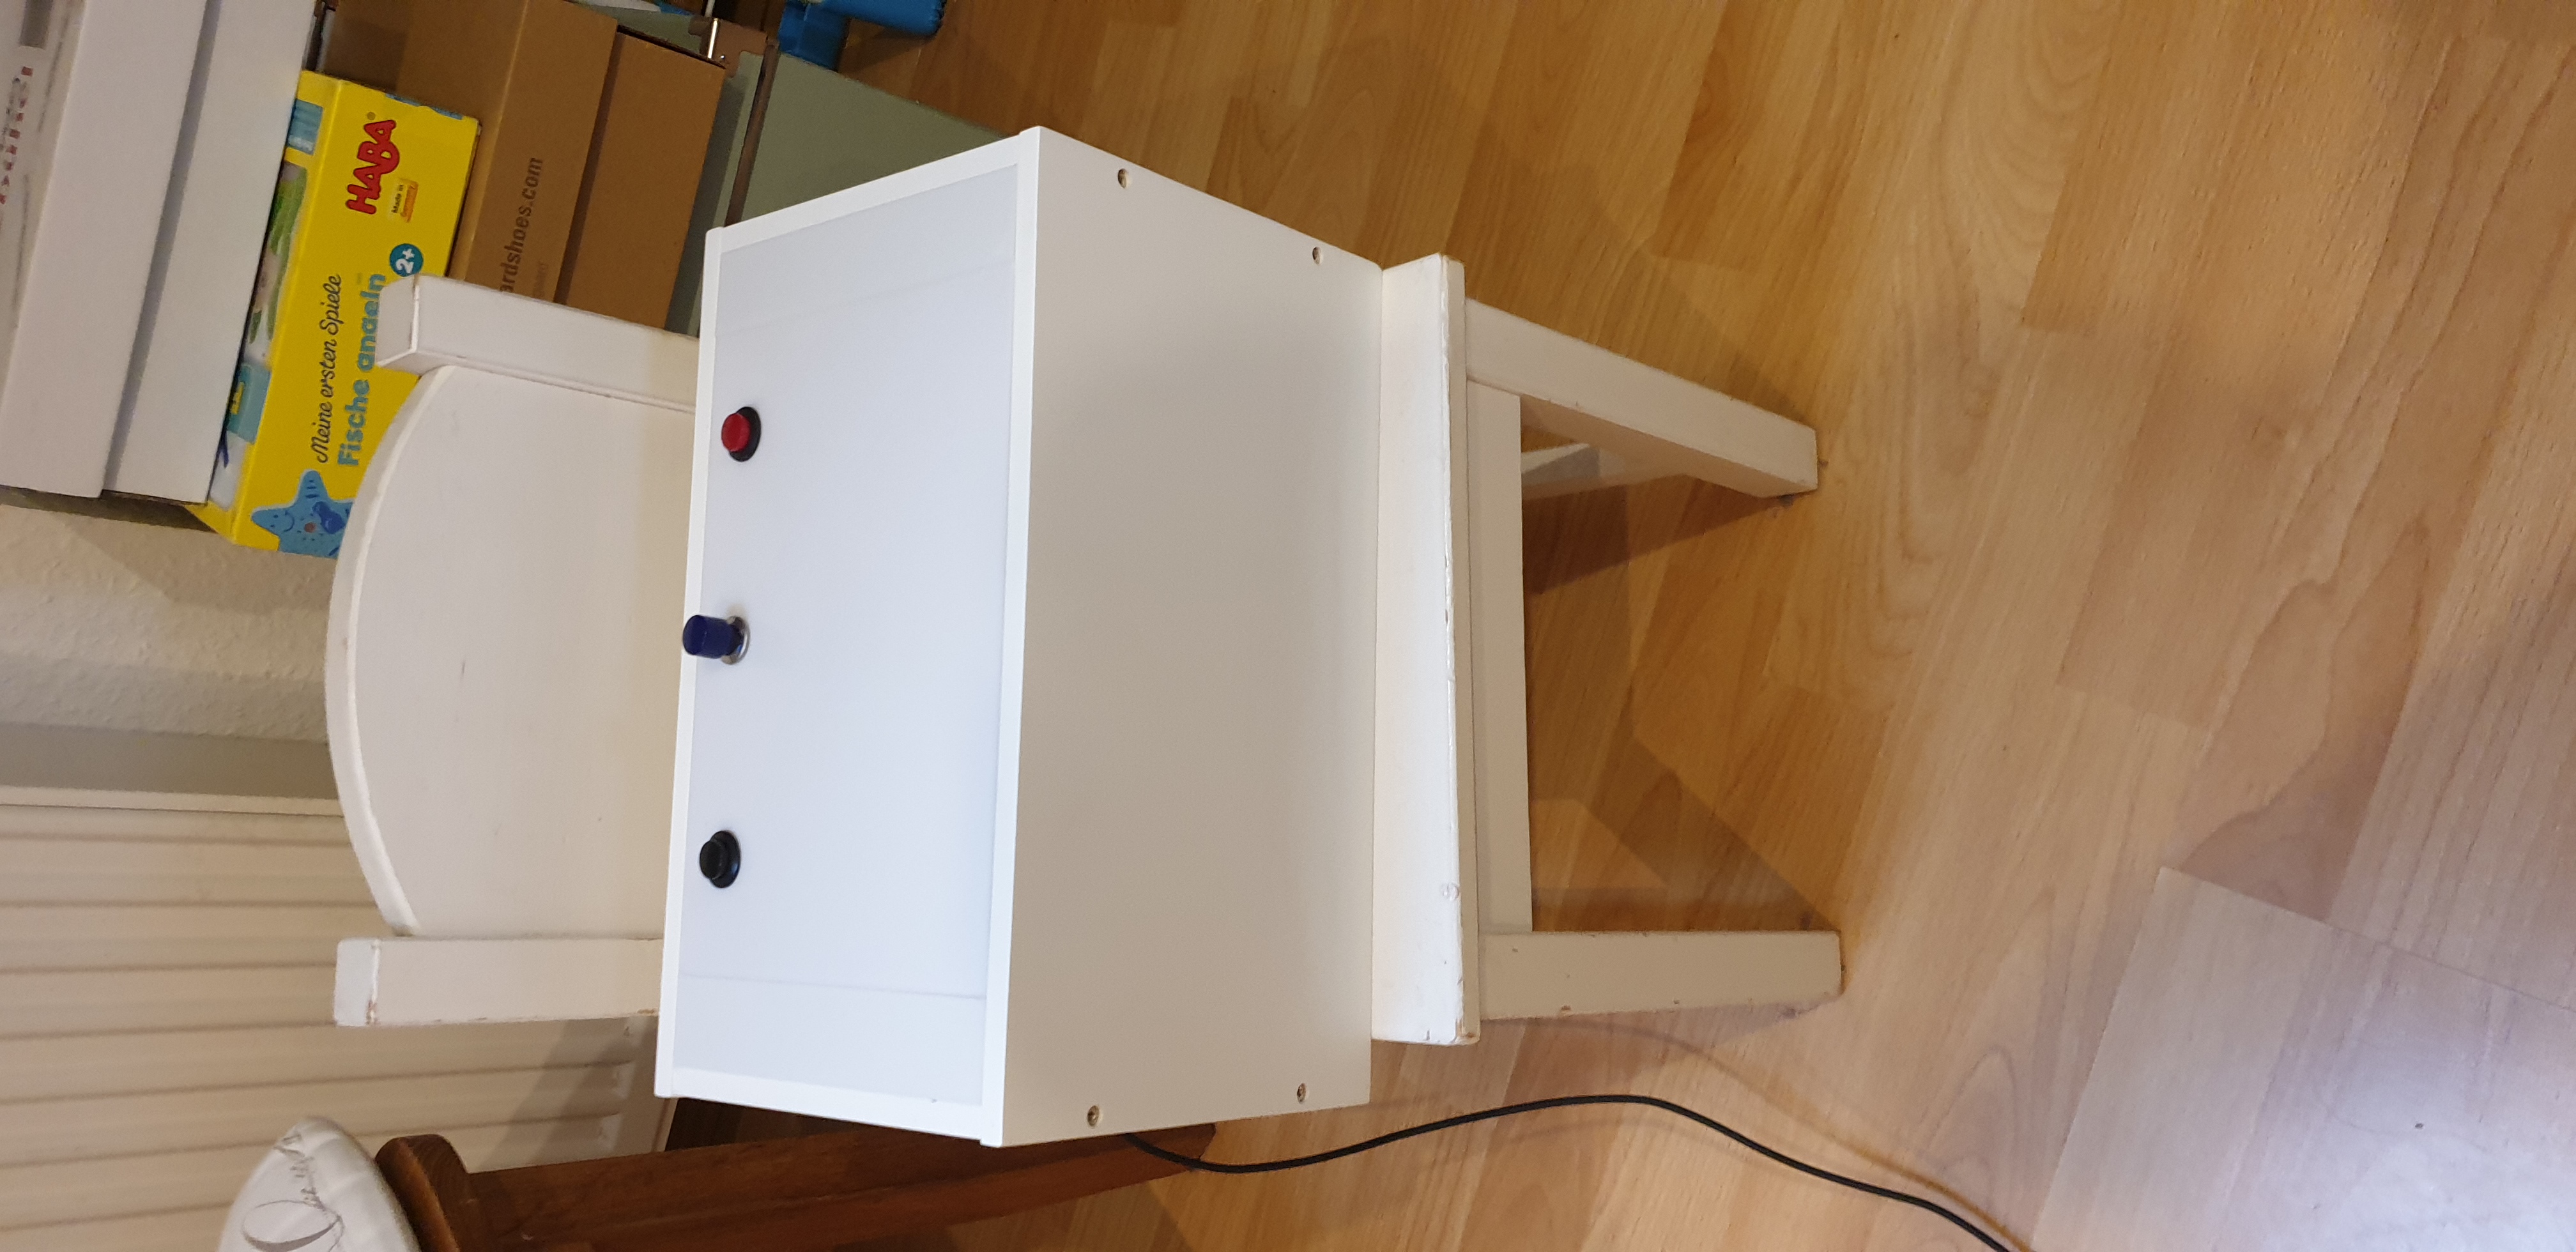
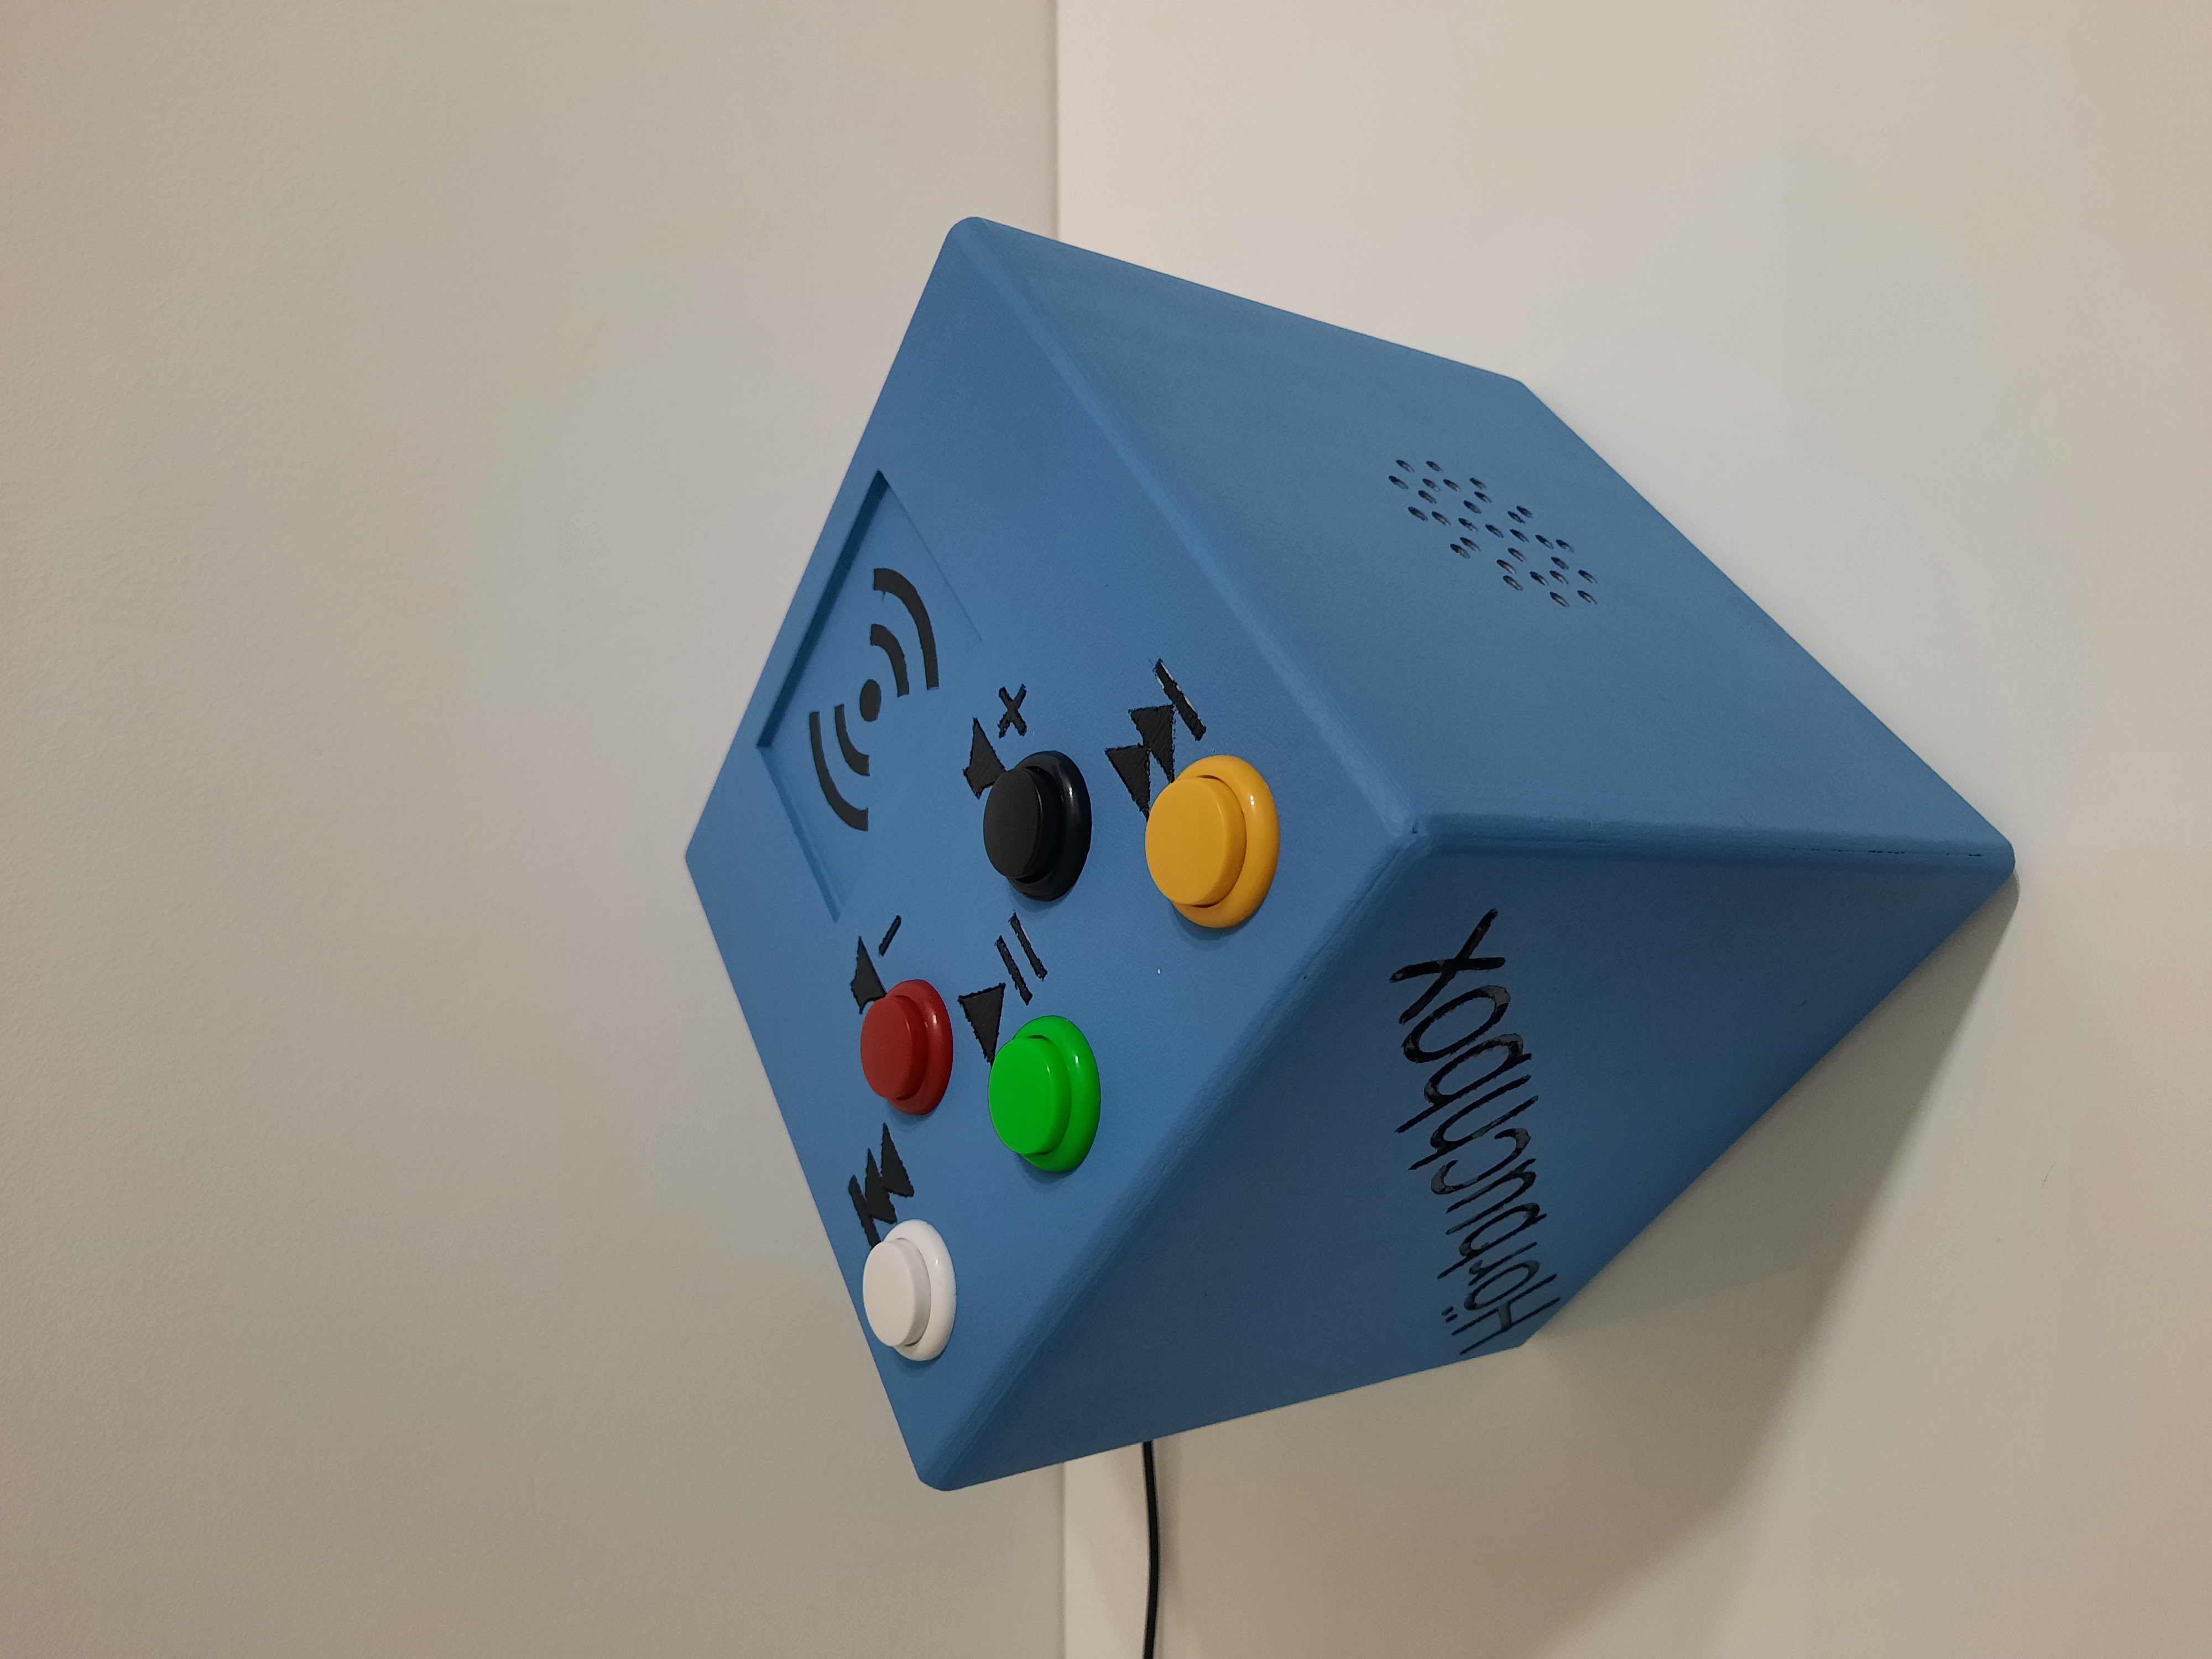
this is our father-and-3y-old-son self-build wood-waste phoniebox with gpio buttons |

|
Hi @MiczFlor et al, what a great project, many thanks for all the support and tutorials! This finally brought me back to do handicrafts and soldering - it had been >20 years! Attached is my first version using an old radio and attaching 5 GPIO buttons, which I built with my 4year old son. Since I have a 2nd one, I guess I have to build a 2nd (similar) one too...
Next I want to include fast forwarding, and Napster/Rhapsody support - any hints for that are highly welcome. |


|
Hi @JuCarax @Caliandroid @morivox |
|
Thanks @MiczFlor, unfortunately I am not there, yet, being able to code "start playing when RFID is near the Phoniebox". I still wanted to have that feature so used the Neuftech USB RFID Reader, which does allow for it. It's also a bit cheaper, but does only come with 5 RFID coins. (https://smile.amazon.de/gp/product/B018OYOR3E/). Maybe it's worth referring to that product as well in your "shopping list"? |
|
@morivox : I have the same USB reader, but i dont see any option to know wether the RFID card is near. You can leave the card on the reader and it will continue to play. But there is no way to know that the card is removed, even the LED doesnt change (it initially only blinks once in red and then turns to green as if no card is near). So you remove the card, but it will not stop playing. For me, this behaviour is however good, i like it like that. |
|
@genkigenki: fully correct, thanks for clarifying! |
Mein Mann spielt table top.da werden bases für die figuren benutzt. Die machen sich prima für die chips zum aufkleben. Einfach mal "bases für table top" googeln. |
|
Hi, Parts list and photos and video in action are here The only caveat currently is that the boot time is really long (about 2 min). One part is most likely the zero, the rest is to be figured out. Maybe I can remove some services.... |

|
Hallo Zusammen, erst einmal vielen Dank für die Inspiration und die gute Dokumentation. Meine Box ist fertig und ich habe nun Zeit bis Weihnachten, auch noch mehr Musik aufzuspielen und schöne Karten zu basteln. Auch ich möchte euch gern mit ein paar Fotos erfreuen und vielleicht auch den ein oder anderen inspirieren.
|


|
I used the Phoniebox version without Spotify, but since we do have a premium account, I'm planning to update when I have more time... :-) Parts used:
Upgrade planned:
Thanks to all who helped with the Phoniebox software! I'ts a great product and the kids get very quickly how it works... :-) |


|
Dear vansli.
Very well done! I like the woodwork and clicking in the beautiful front via
magnets is an amazing solution.
Could you enlighten us about the capacitator use to overcome the power drop
when switching from standalone to charging mode? I was not able to solve
that challenge and decided to take out the power bank at the end to not
endanger the pi in the switching phase (wired and battery powered worked
well, just (dis-)connecting was the problem).
Thank you
Codeschnipsler
…On Sun, Nov 17, 2019, 12:24 vansli ***@***.***> wrote:
[image: 753A7078-2]
<https://user-images.githubusercontent.com/2428168/69006640-33c84880-0932-11ea-9eb6-dfc808aff980.jpg>
[image: 753A7064]
<https://user-images.githubusercontent.com/2428168/69006648-50fd1700-0932-11ea-85f0-d770769aa5d6.jpg>
[image: 753A7069]
<https://user-images.githubusercontent.com/2428168/69006676-9588b280-0932-11ea-83cb-b4e8d7817d3a.jpg>
[image: 753A7076]
<https://user-images.githubusercontent.com/2428168/69006673-8b66b400-0932-11ea-8c85-d10229819c19.jpg>
I used the Phoniebox version without Spotify, but since we do have a
premium account, I'm planning to update when I have more time... :-)
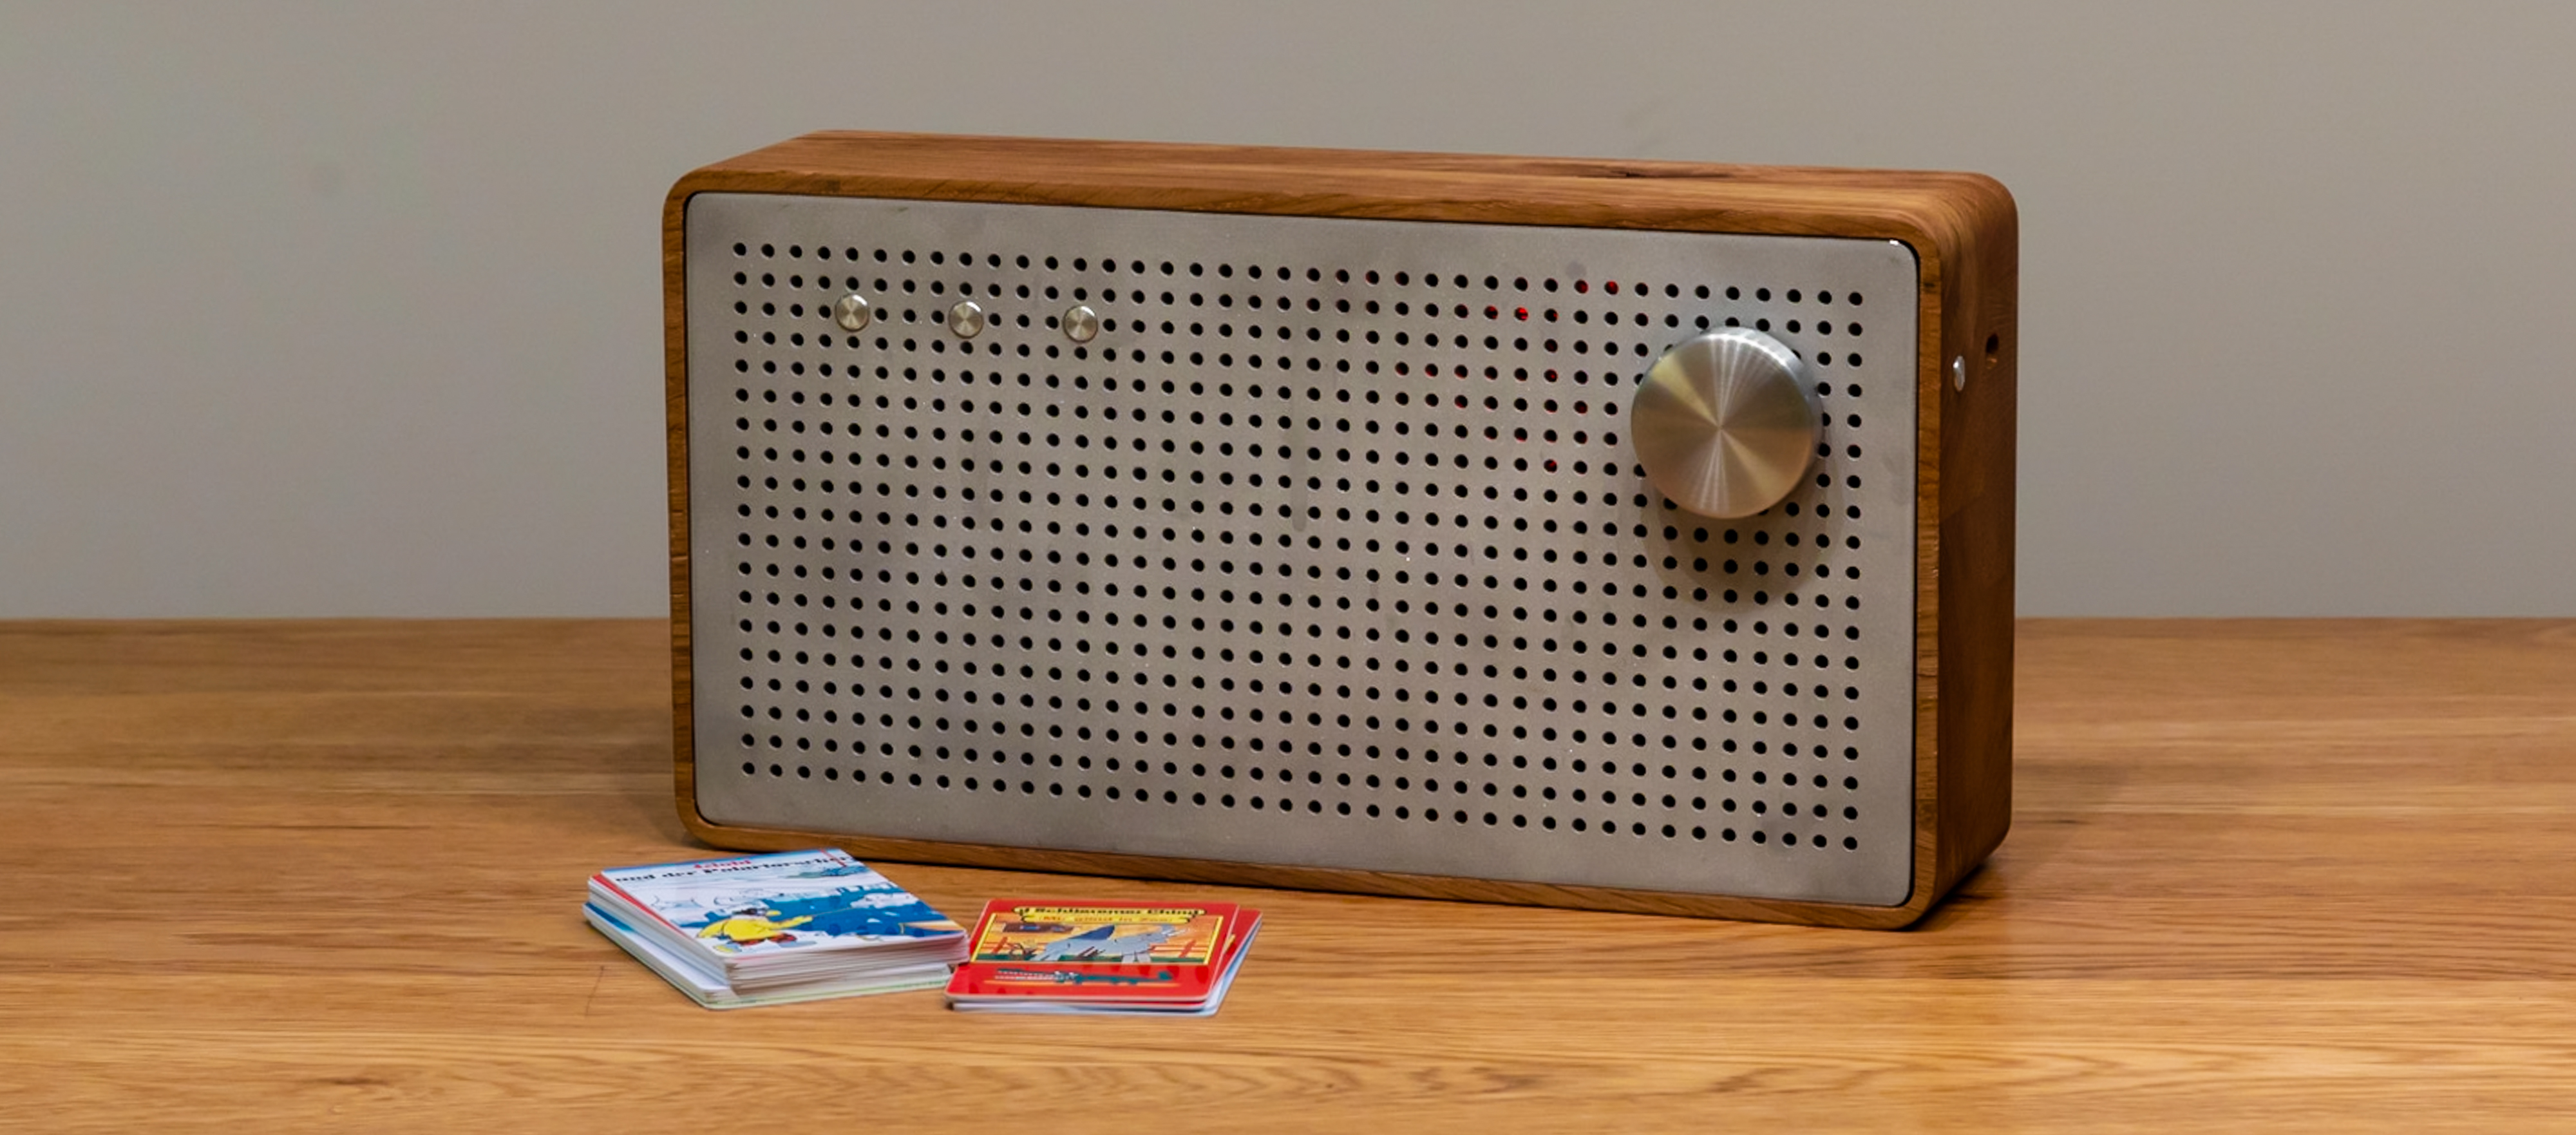
The case is machined from a block of oak wood, the front is aluminum,
buttons and volume dial are aluminum as well, all custom made. Front is
"mounted" with magnets to make it look nice and to still be able to open it
for maintenance.
I was able to buy a used Evolis card printer at a good price to create the
nice cards... :-)
Parts used:
- Raspberry Pi Zero
- Hifiberry MiniAMP
- 2x Dayton Audio P95-8 Speakers
- Cellularline Freepower Slim 10'000 mAh Powerbank (Power delivery and
charging simultaneously)
Upgrade planned:
- Power: Add Pimoroni OnOff Shim, because the Pi doesn't switch off
100% when shutting down and therefore still drains the power bank.
- Add a capacitor to catch the quick power drop when the power bank
switches to chargin mode
- Create a proper print to connect the buttons and the HiFiberry.
Thanks to all who helped with the Phoniebox software! I'ts a great product
and the kids get very quickly how it works... :-)
—
You are receiving this because you commented.
Reply to this email directly, view it on GitHub
<#5?email_source=notifications&email_token=AJHRIT6SBJ2AJV7NKIN7IQLQUESX3A5CNFSM4EJNYMW2YY3PNVWWK3TUL52HS4DFVREXG43VMVBW63LNMVXHJKTDN5WW2ZLOORPWSZGOEEIJUWY#issuecomment-554736219>,
or unsubscribe
<https://github.com/notifications/unsubscribe-auth/AJHRIT3FGYMDGMBOX7LNBKLQUESX3ANCNFSM4EJNYMWQ>
.
|
|
Codeschnipsler, in case you can understand German (I assume, you do) there is an article on heise.de about this specific problem: https://www.heise.de/select/ct/2017/20/1506369689396119 You basically connect a capacitor and an inductor to the power pins... Regards, |
|
Hallo alle, Chris |


It looks amazing! Great work! What kind of magnets did you use? Where did you buy the aluminum front? |
|
Erstmal vielen Dank für die tolle Software, hier nun meine Verpackung:
|


|
|

|
Hi together! With the help of this wonderful project I was also able to create a Phoniebox for my son. It uses Spotify and also includes a microphone recording feature where I had to modify the original code a little bit to fit my use case. |


|
Hi, i built this box in March 2019, since then i works like a charme almost every day.
|


|
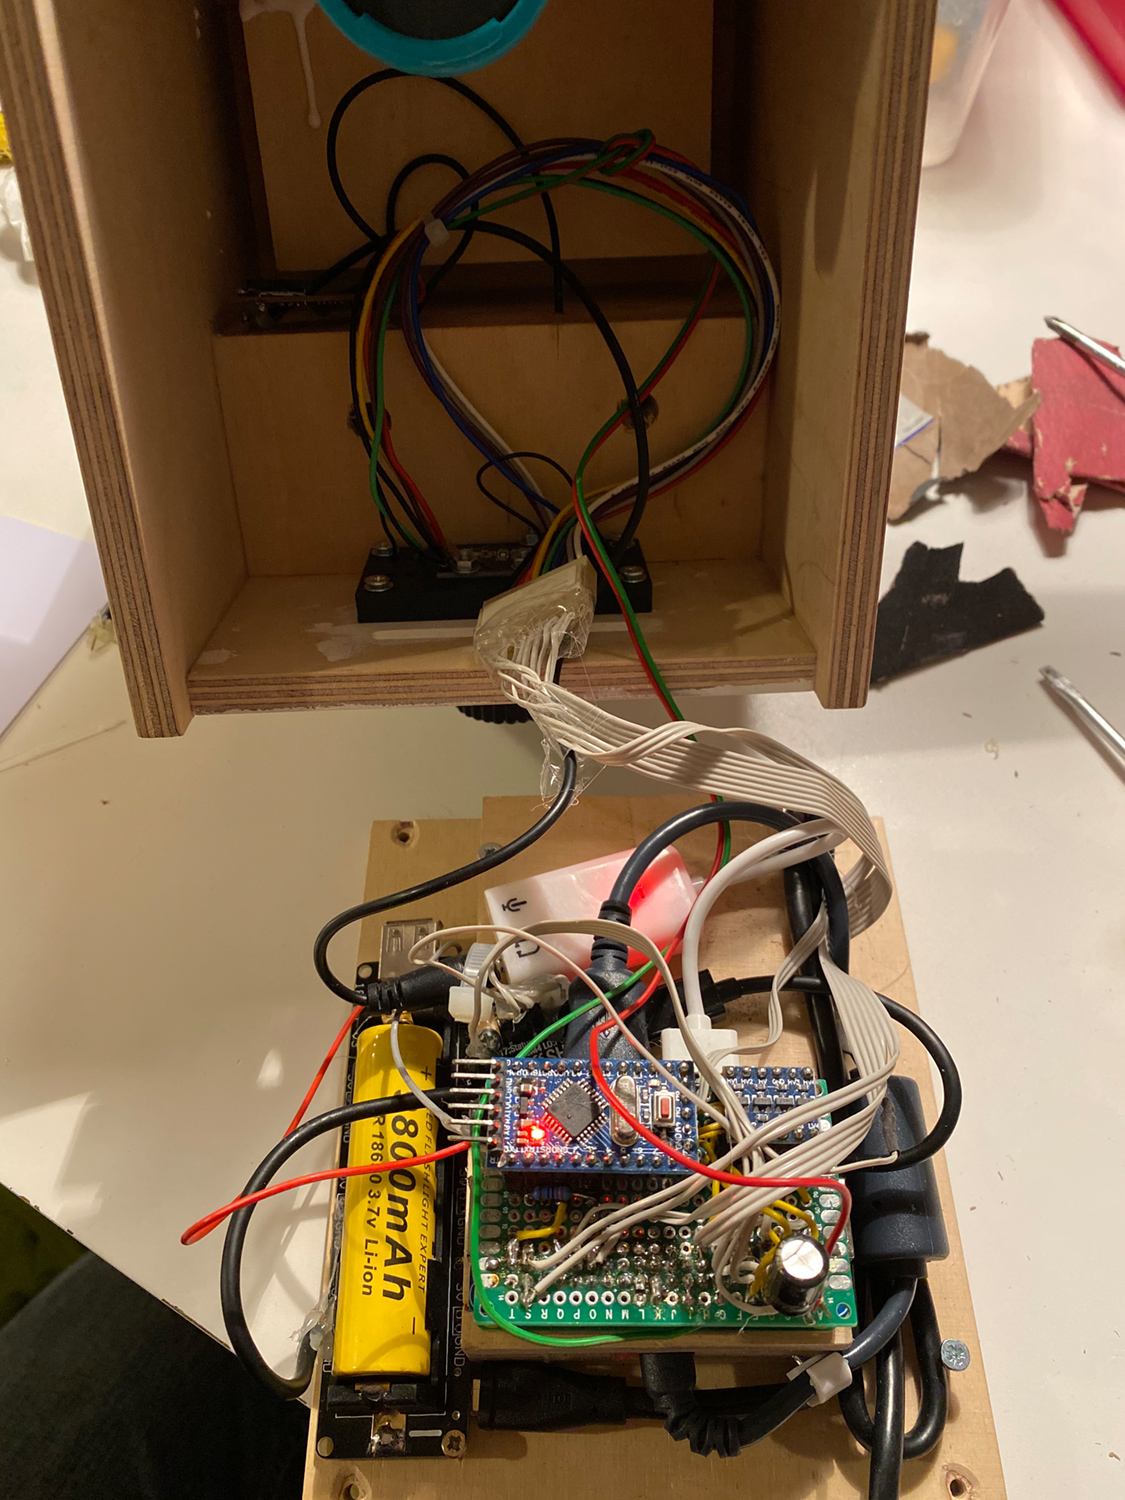
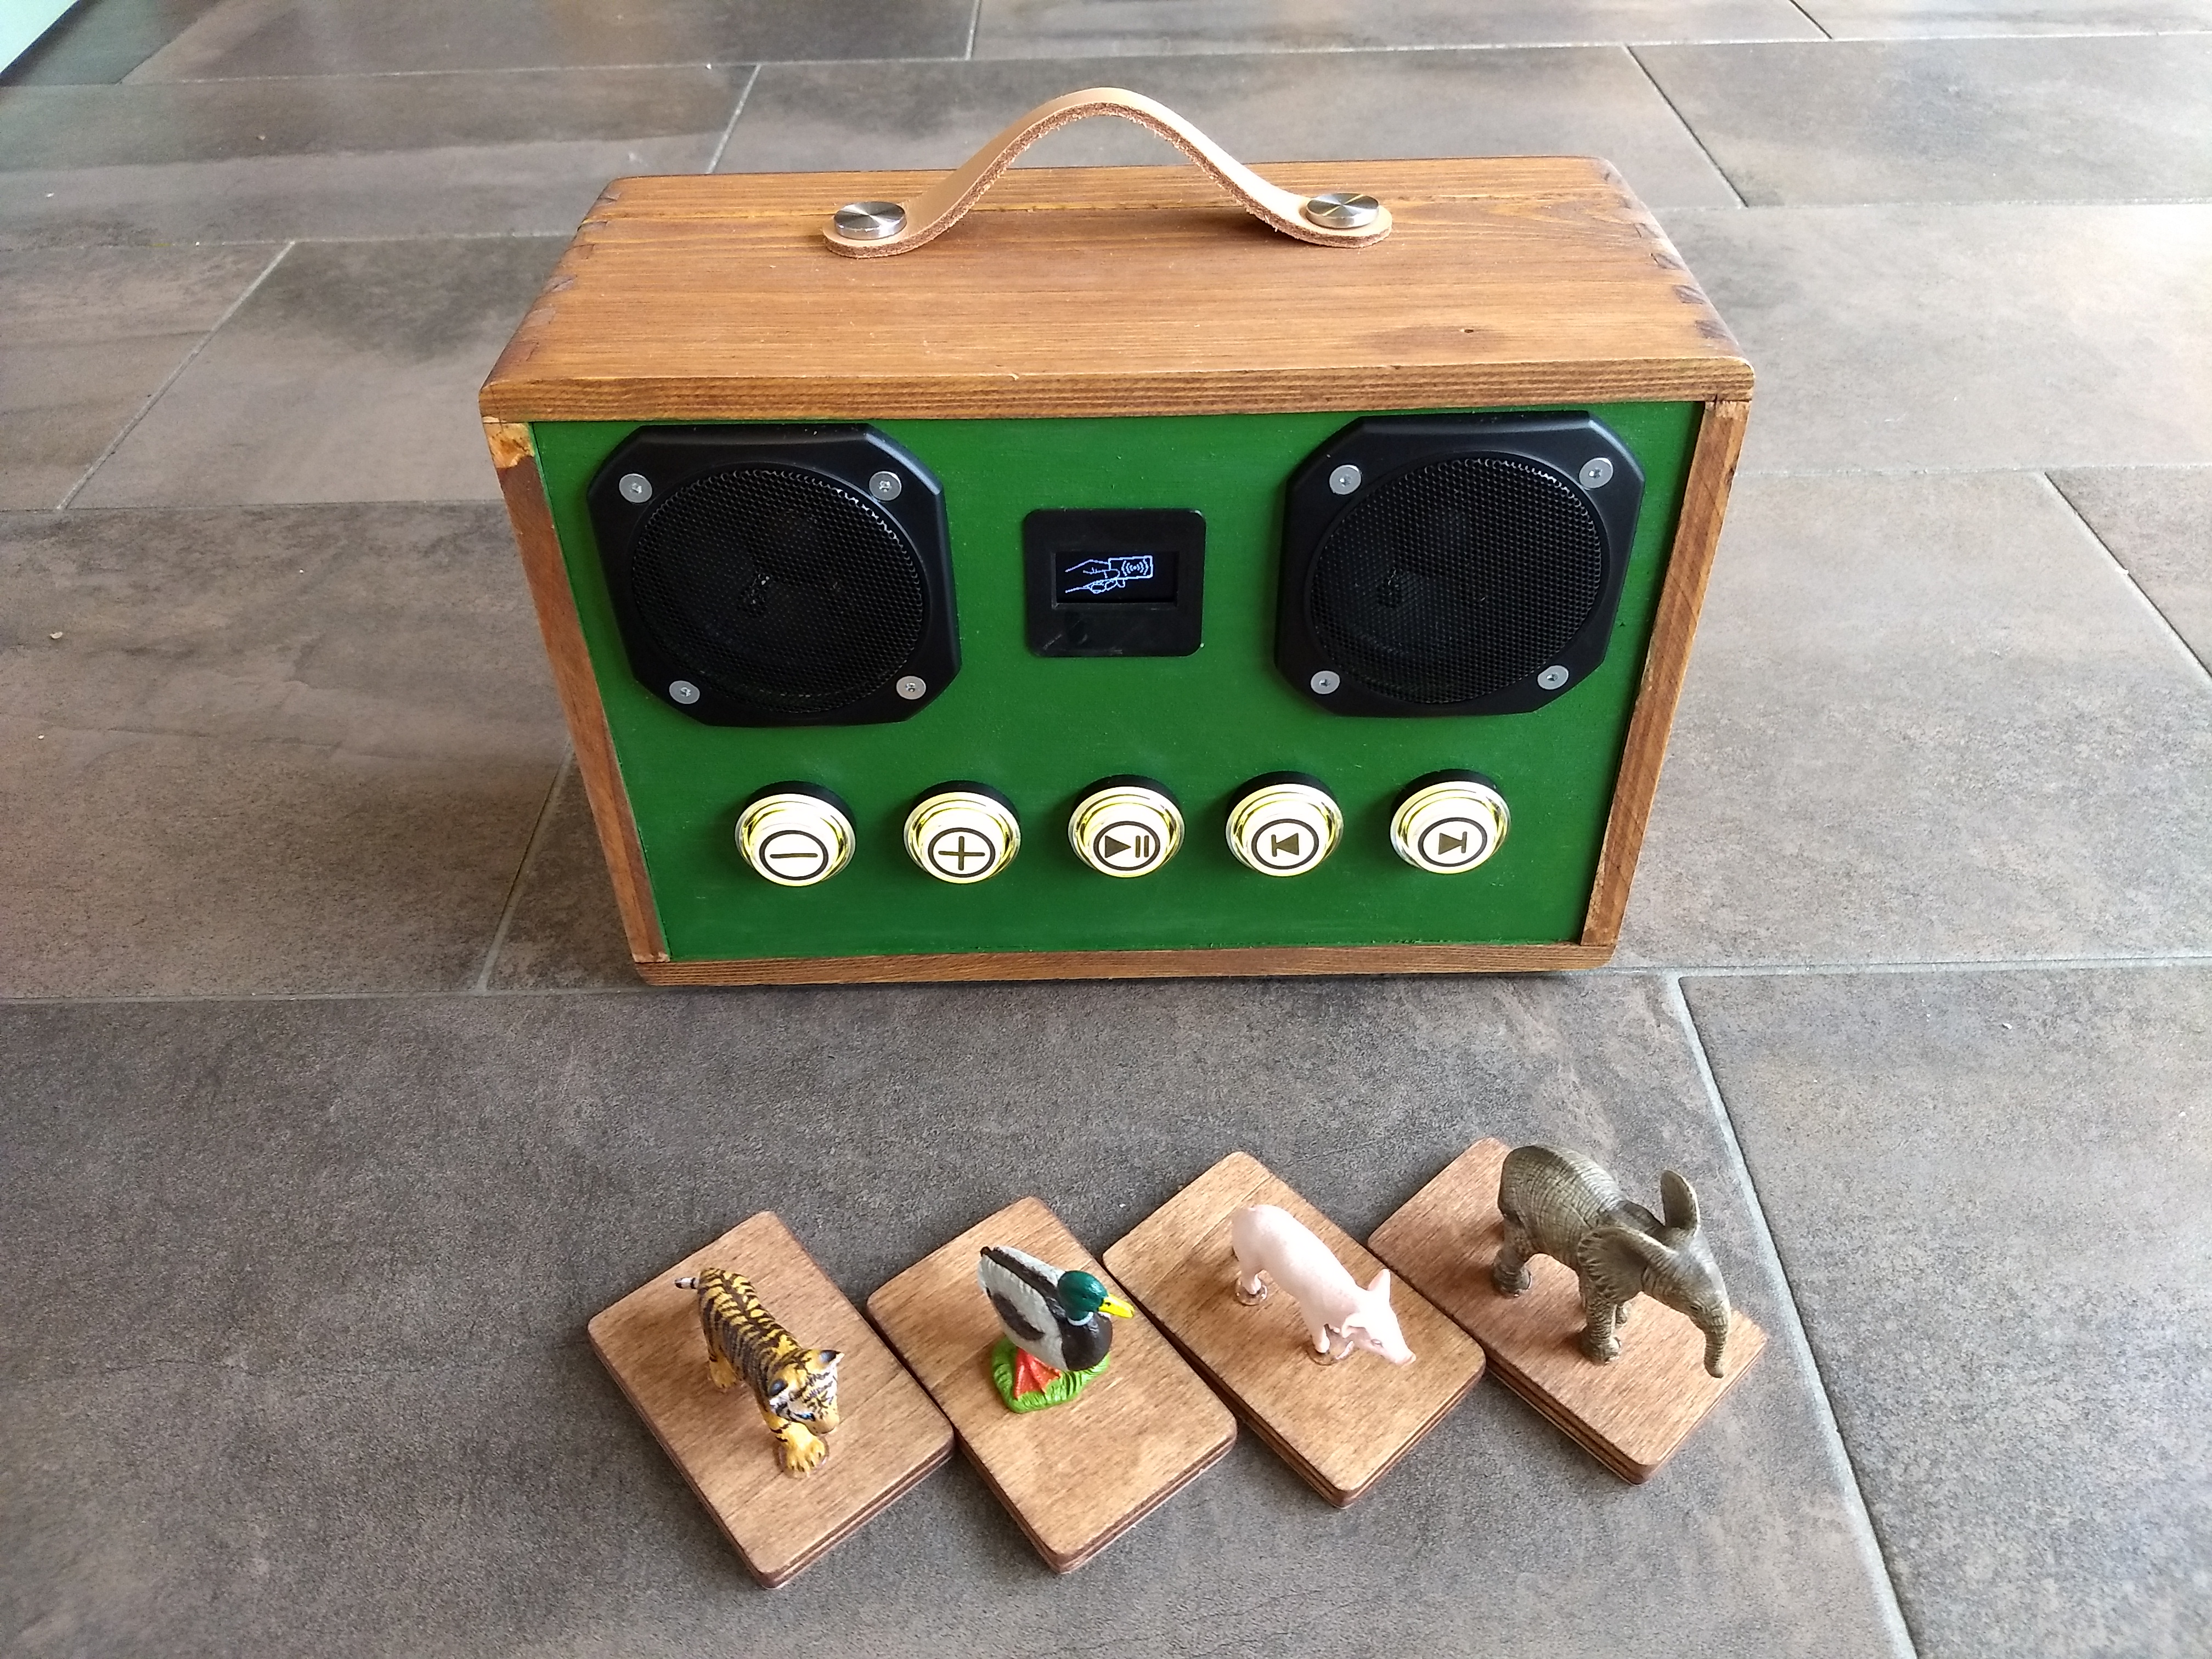
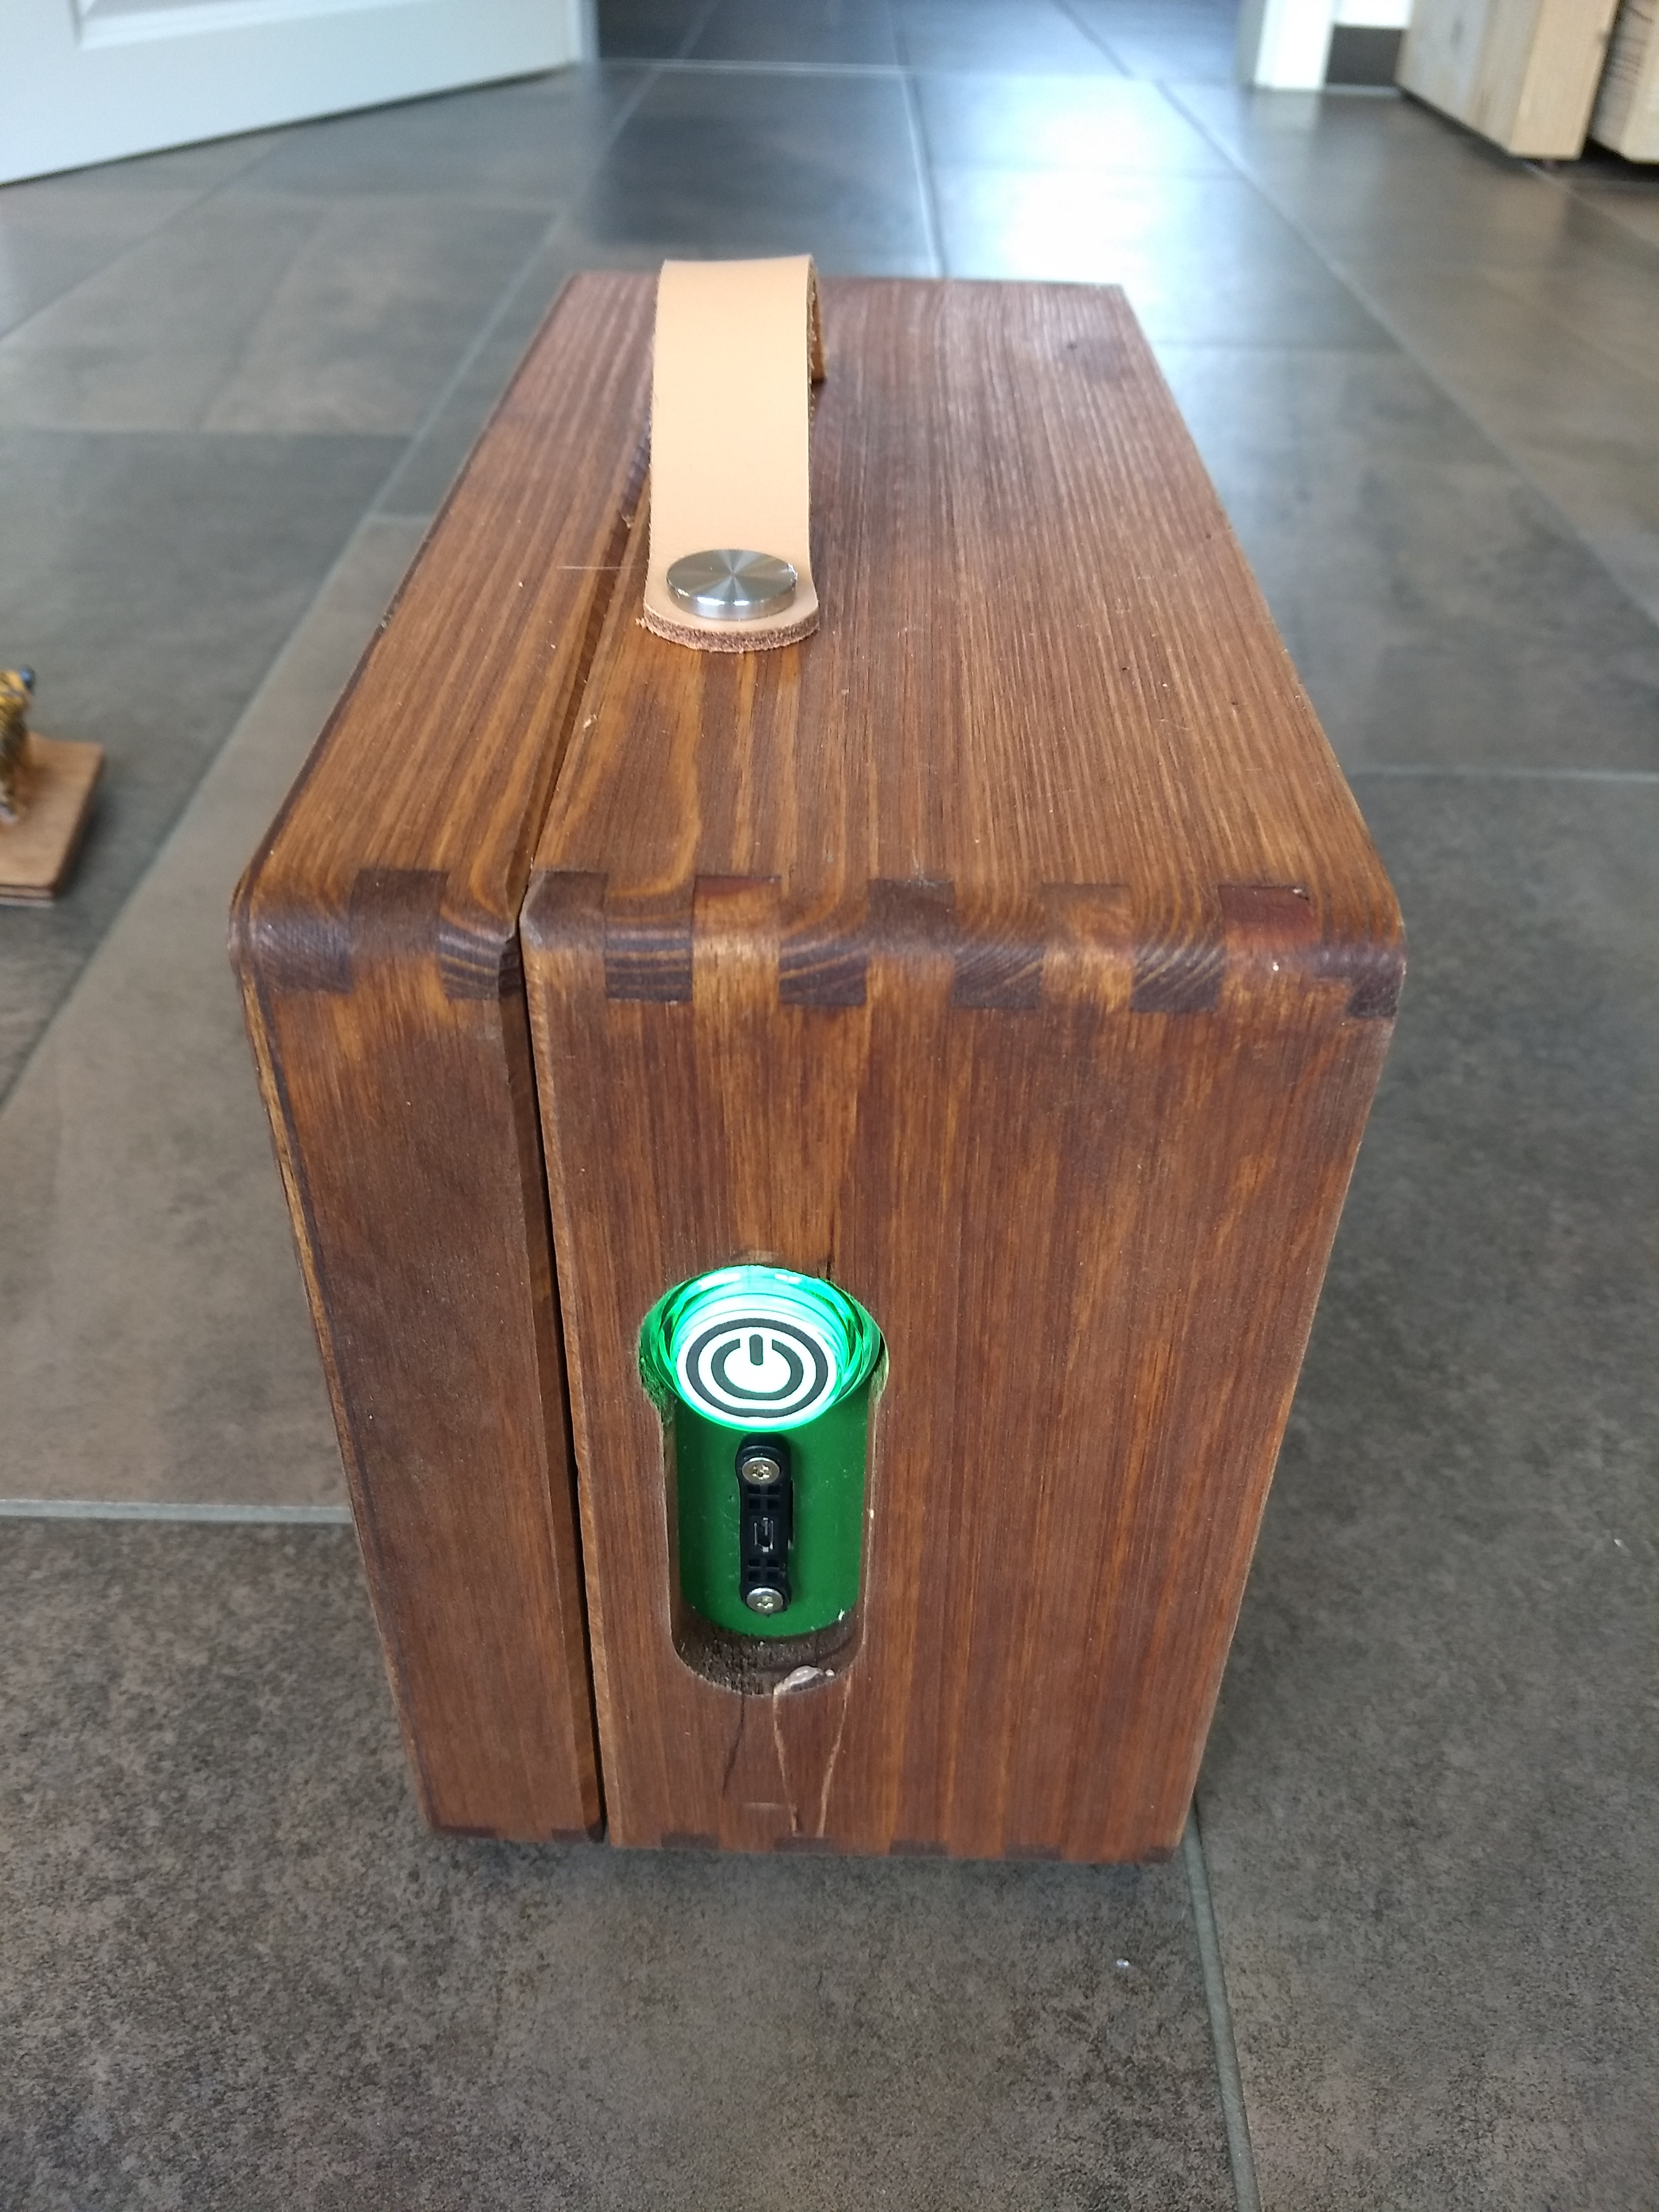
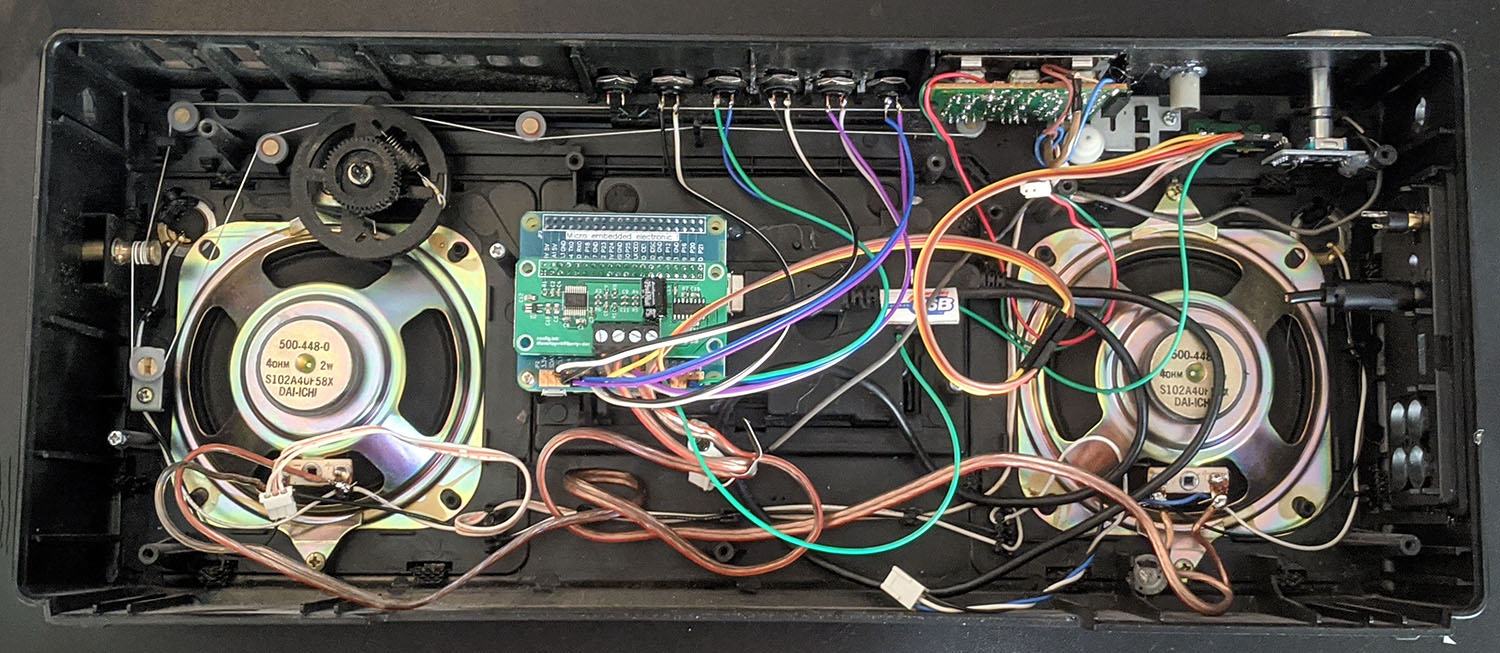
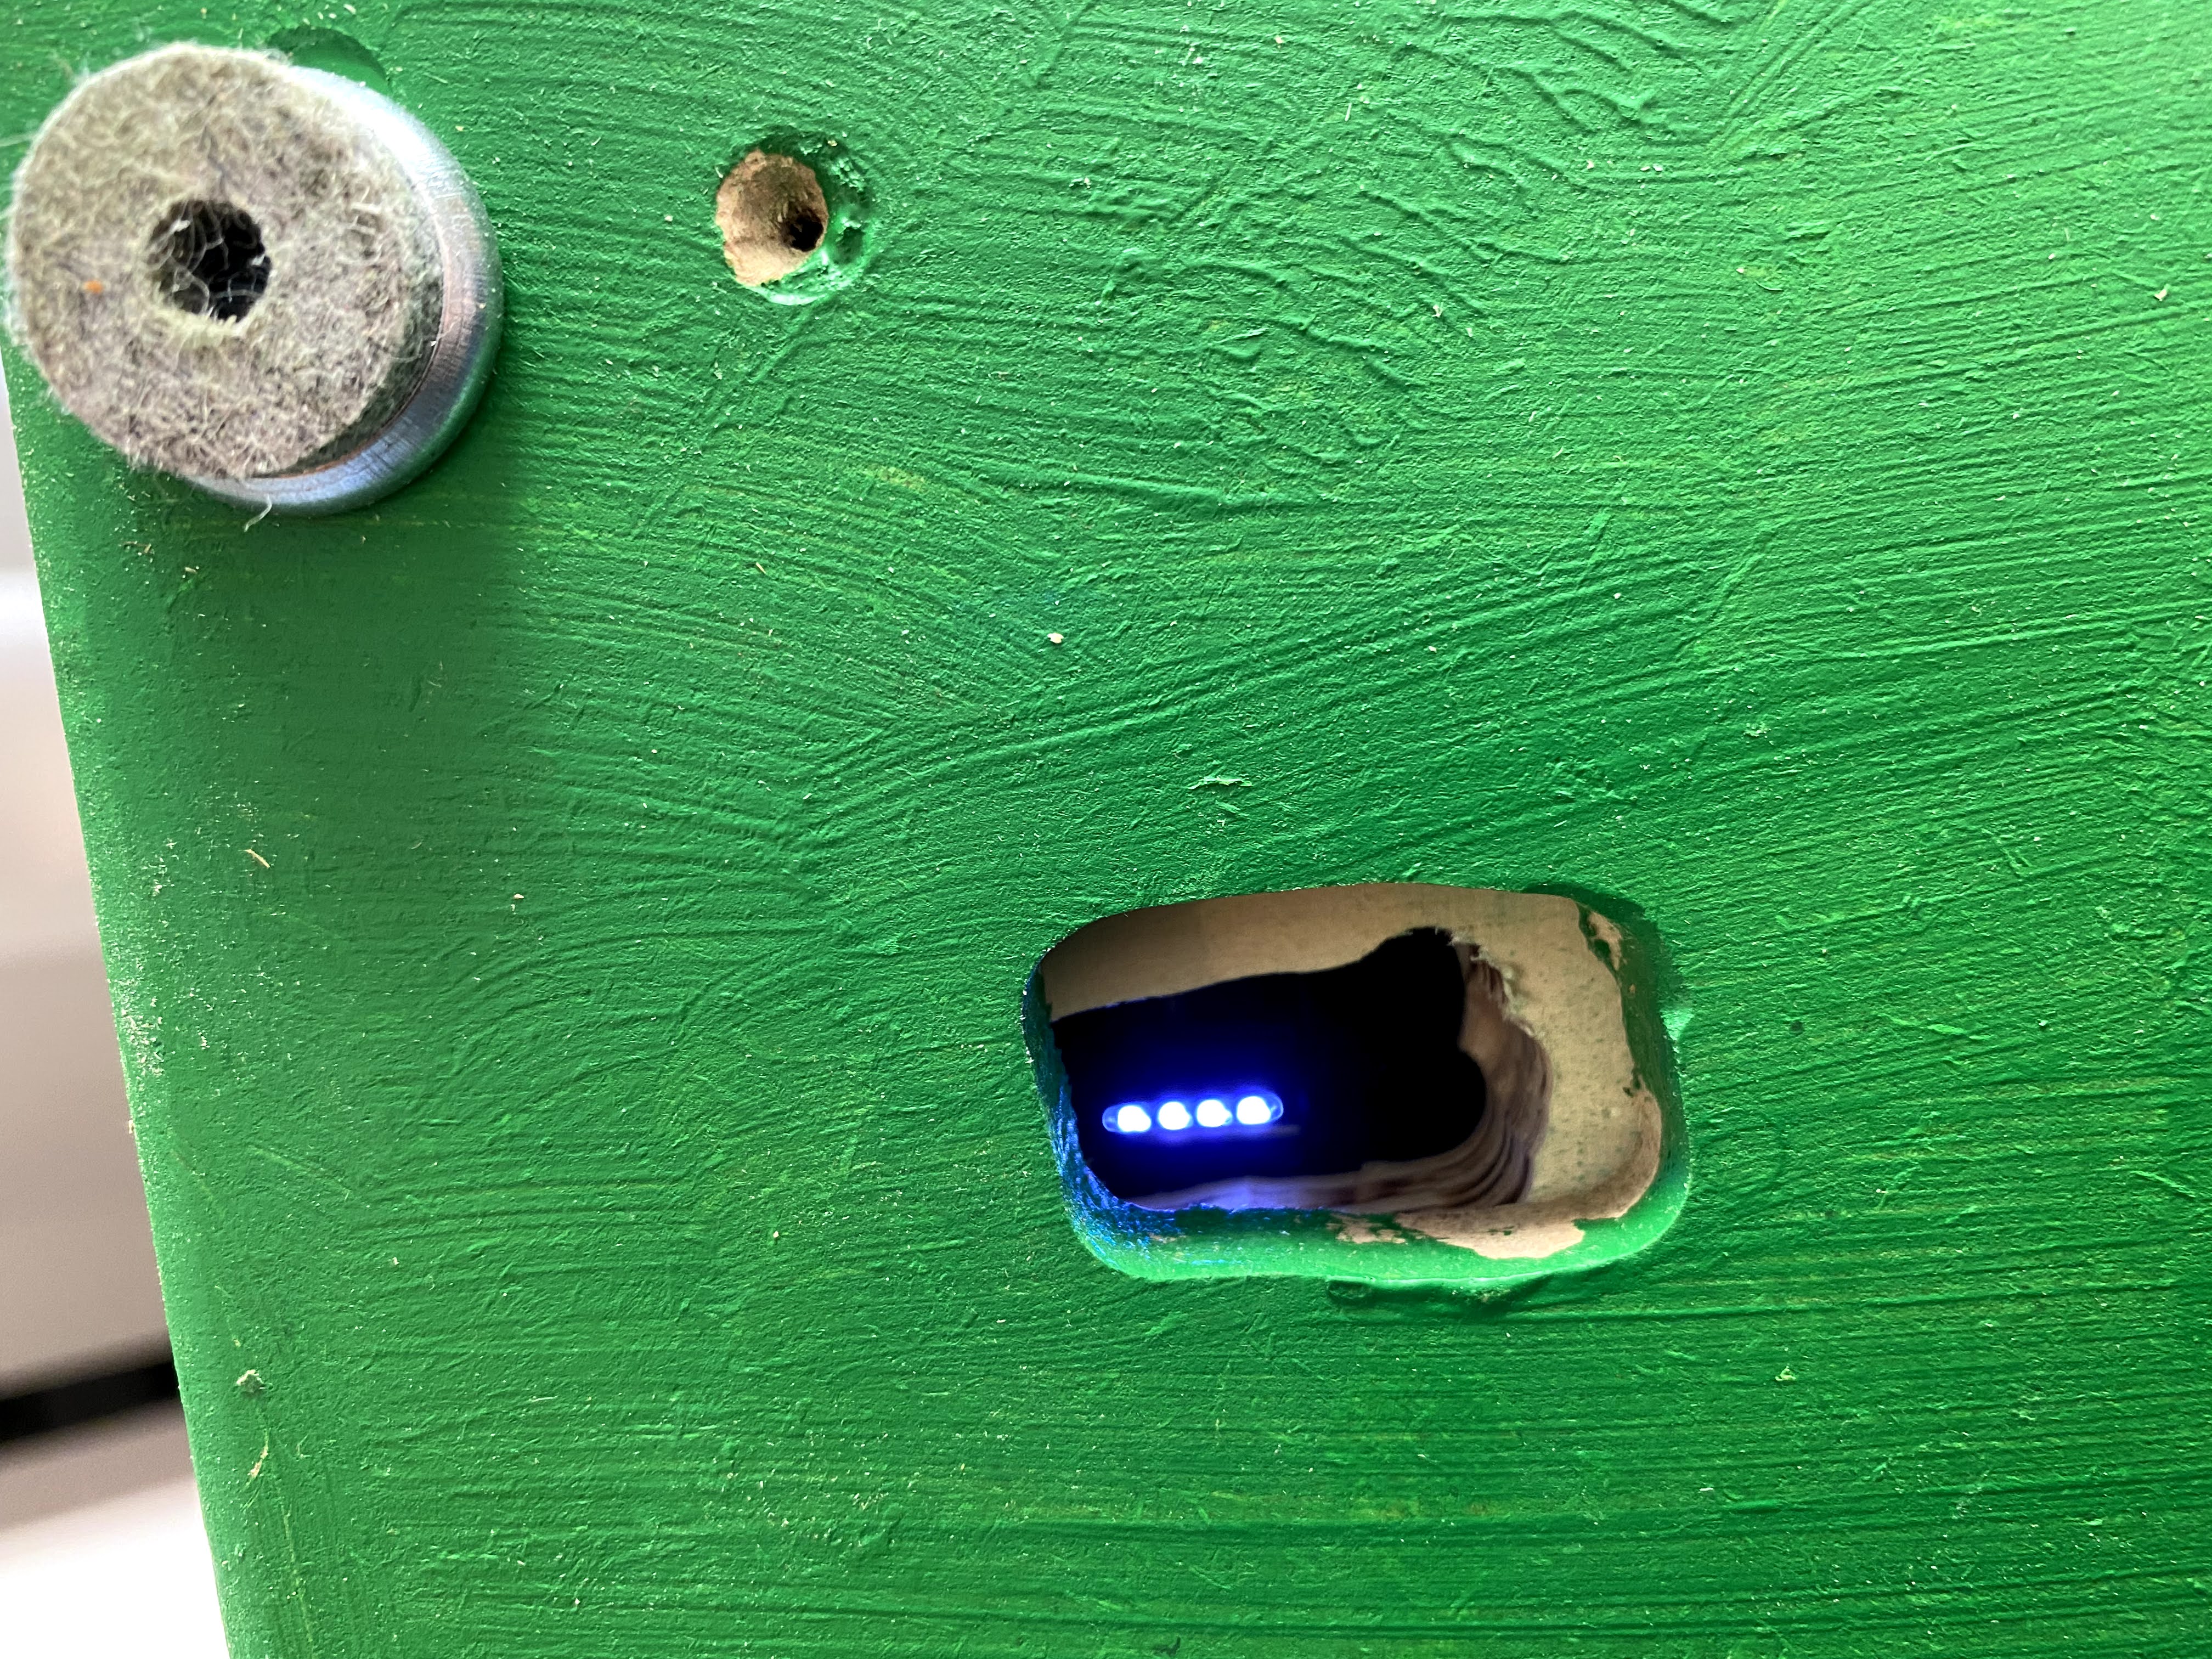
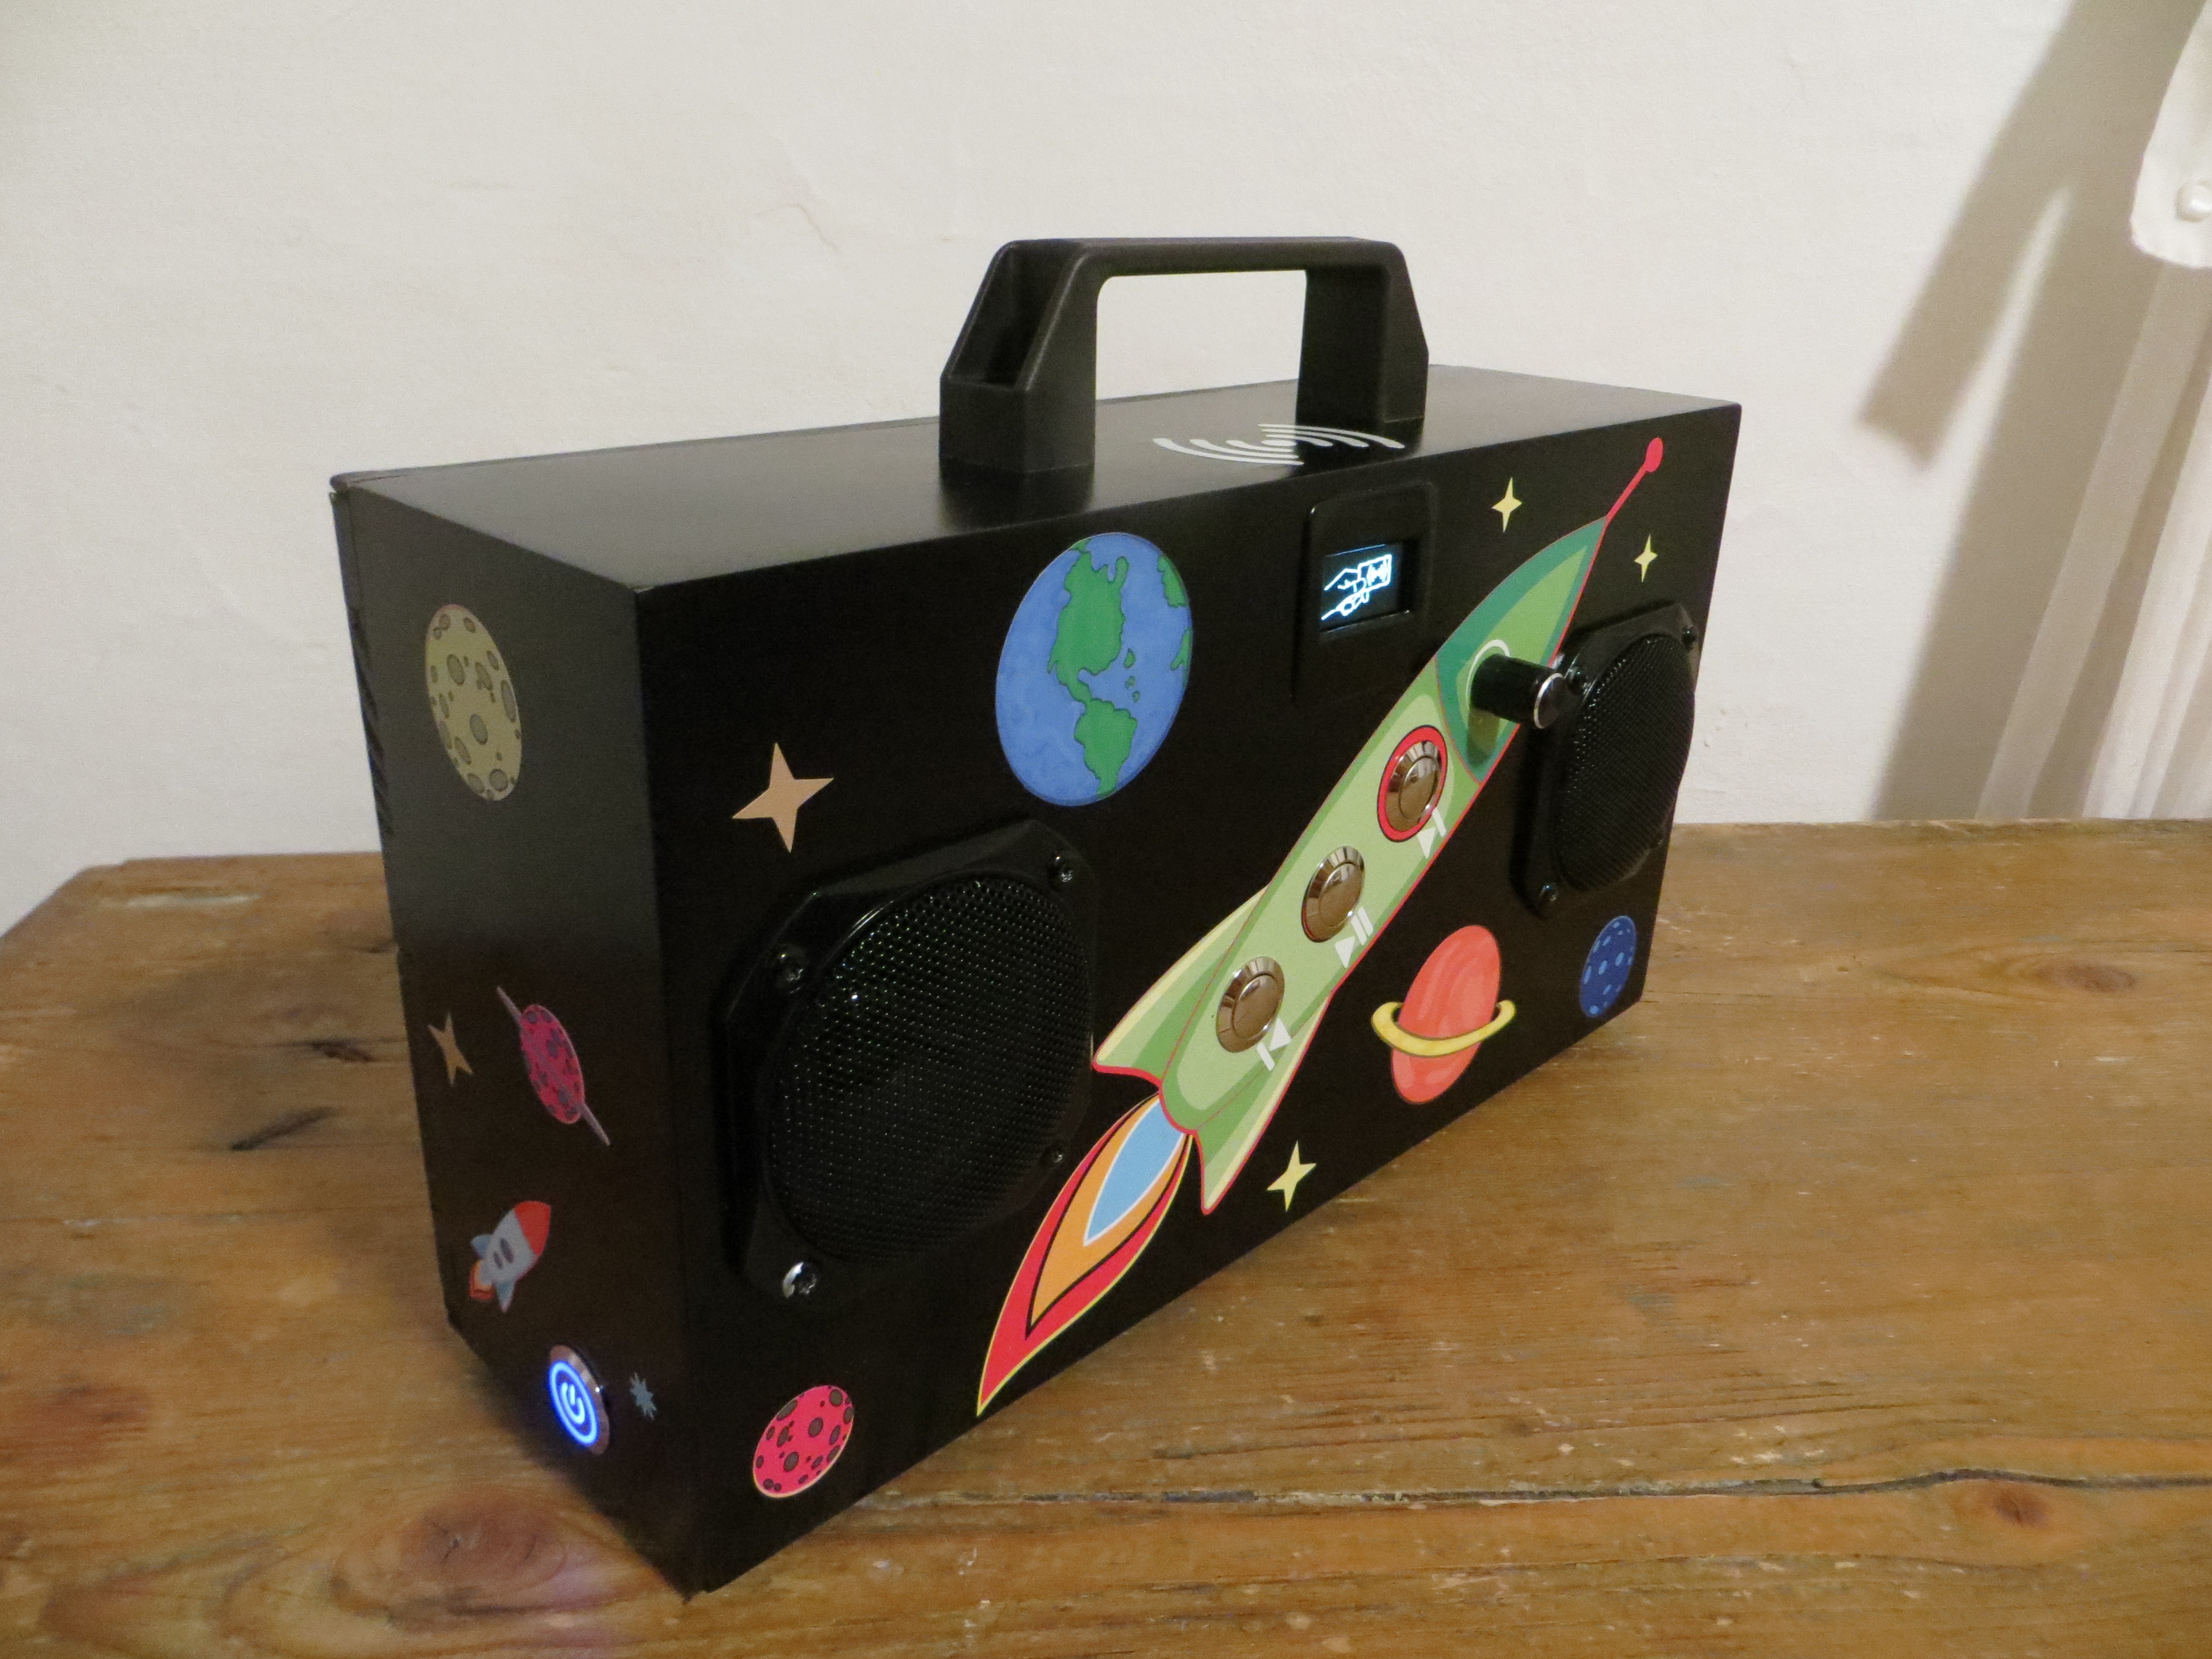
“PhonieblasteRR” upcycling After a few attempts I finally came up with a presentable version of my Phoniebox. I used an old Grundig Radio Recorder (from 1988) as a case including its speakers. It works like a charm and sounds not bad at moderate volume. The original volume knob is reused connected to a rotary encoder via GPIO. The physical tape buttons are replaced by colourful push buttons (switches) to be more appealing to the kids (they love it). The former tape deck is housing the RFID-Reader, almost a perfect fit. So instead of opening the tape deck the cards can simply be swiped in front of it. Previous Attempts: Parts of the current setup: Planned steps:
The volume control is fully functional. However, R-L-balance and EQ are simply glued in place for esthetics (more to come) Parts of the original tape button slots had to be covered. A laminated print with corresponding symbols was used for test puposes. RFID-Reader in the former tape deck The cable and a small powerbank can be fitted in the battery compartment for mobility. The tape deck is held in place by white tag (patafix) After removing most of the original components the case offers lots of space for future adventures. Big thanks to everyone who worked on the software and contributed to this project. It brings joy! |


|
Hello, I just finished this years x-mas present! Its a PI 3 with Trust Leto speakers, KKmoon reader and some buttons, a led and a powerbank. It works very well and the sound quality is reasonable good. My key concerns in design were stability, resistance and maintainability. I think I achieved those goals. On the downside, the box is quite bulky and heavy. As always, after crafting, I learned a lot and will make it different the next time. The next design will be lighter and hopefully more elegant. Thanks to all contributors - the code and documentation is perfect!
|


|
Hi folks, I finally finished in time. Yesterday I was able to give my son his Sheepsoundbox. What can I say it is now running without interruption. I wanted to thank MiczFlor and Splitti79 again for developing the scripts, and the German Raspberry Forum for the great support! You are the greatest! Merry Christmas!
|


|
Hi folks, I just finished this present for XMAS 2020 - my son loves his box. It works like a charme almost every day.
I also wanted to thank MiczFlor and Splitti79 again for developing the scripts, and the German Raspberry Forum for the great support! |


|
Nice box, @Kollisionskurs! |
Hi vansli, greetz from Germany |
Danke, dann probier ich das bei Gelegenheit mal aus.. |
|
I have juste given my phoniebox to my son for his birthday today. Here is my take on the project:
Case is 3d printed and I use the pirate audio 3w amp for the display and sound. I am also using an Adafruit Powerboost 1000c paired with a 2500mAh LiPo battery. I hacked a stop on removal for the PN532 since I was not sure how to adapt the current pull request for the stop on removal on RC522. I plan to realign with the branch once the stop on removal feature becomes more mature. Thanks a lot to the community for this great project ! |


|
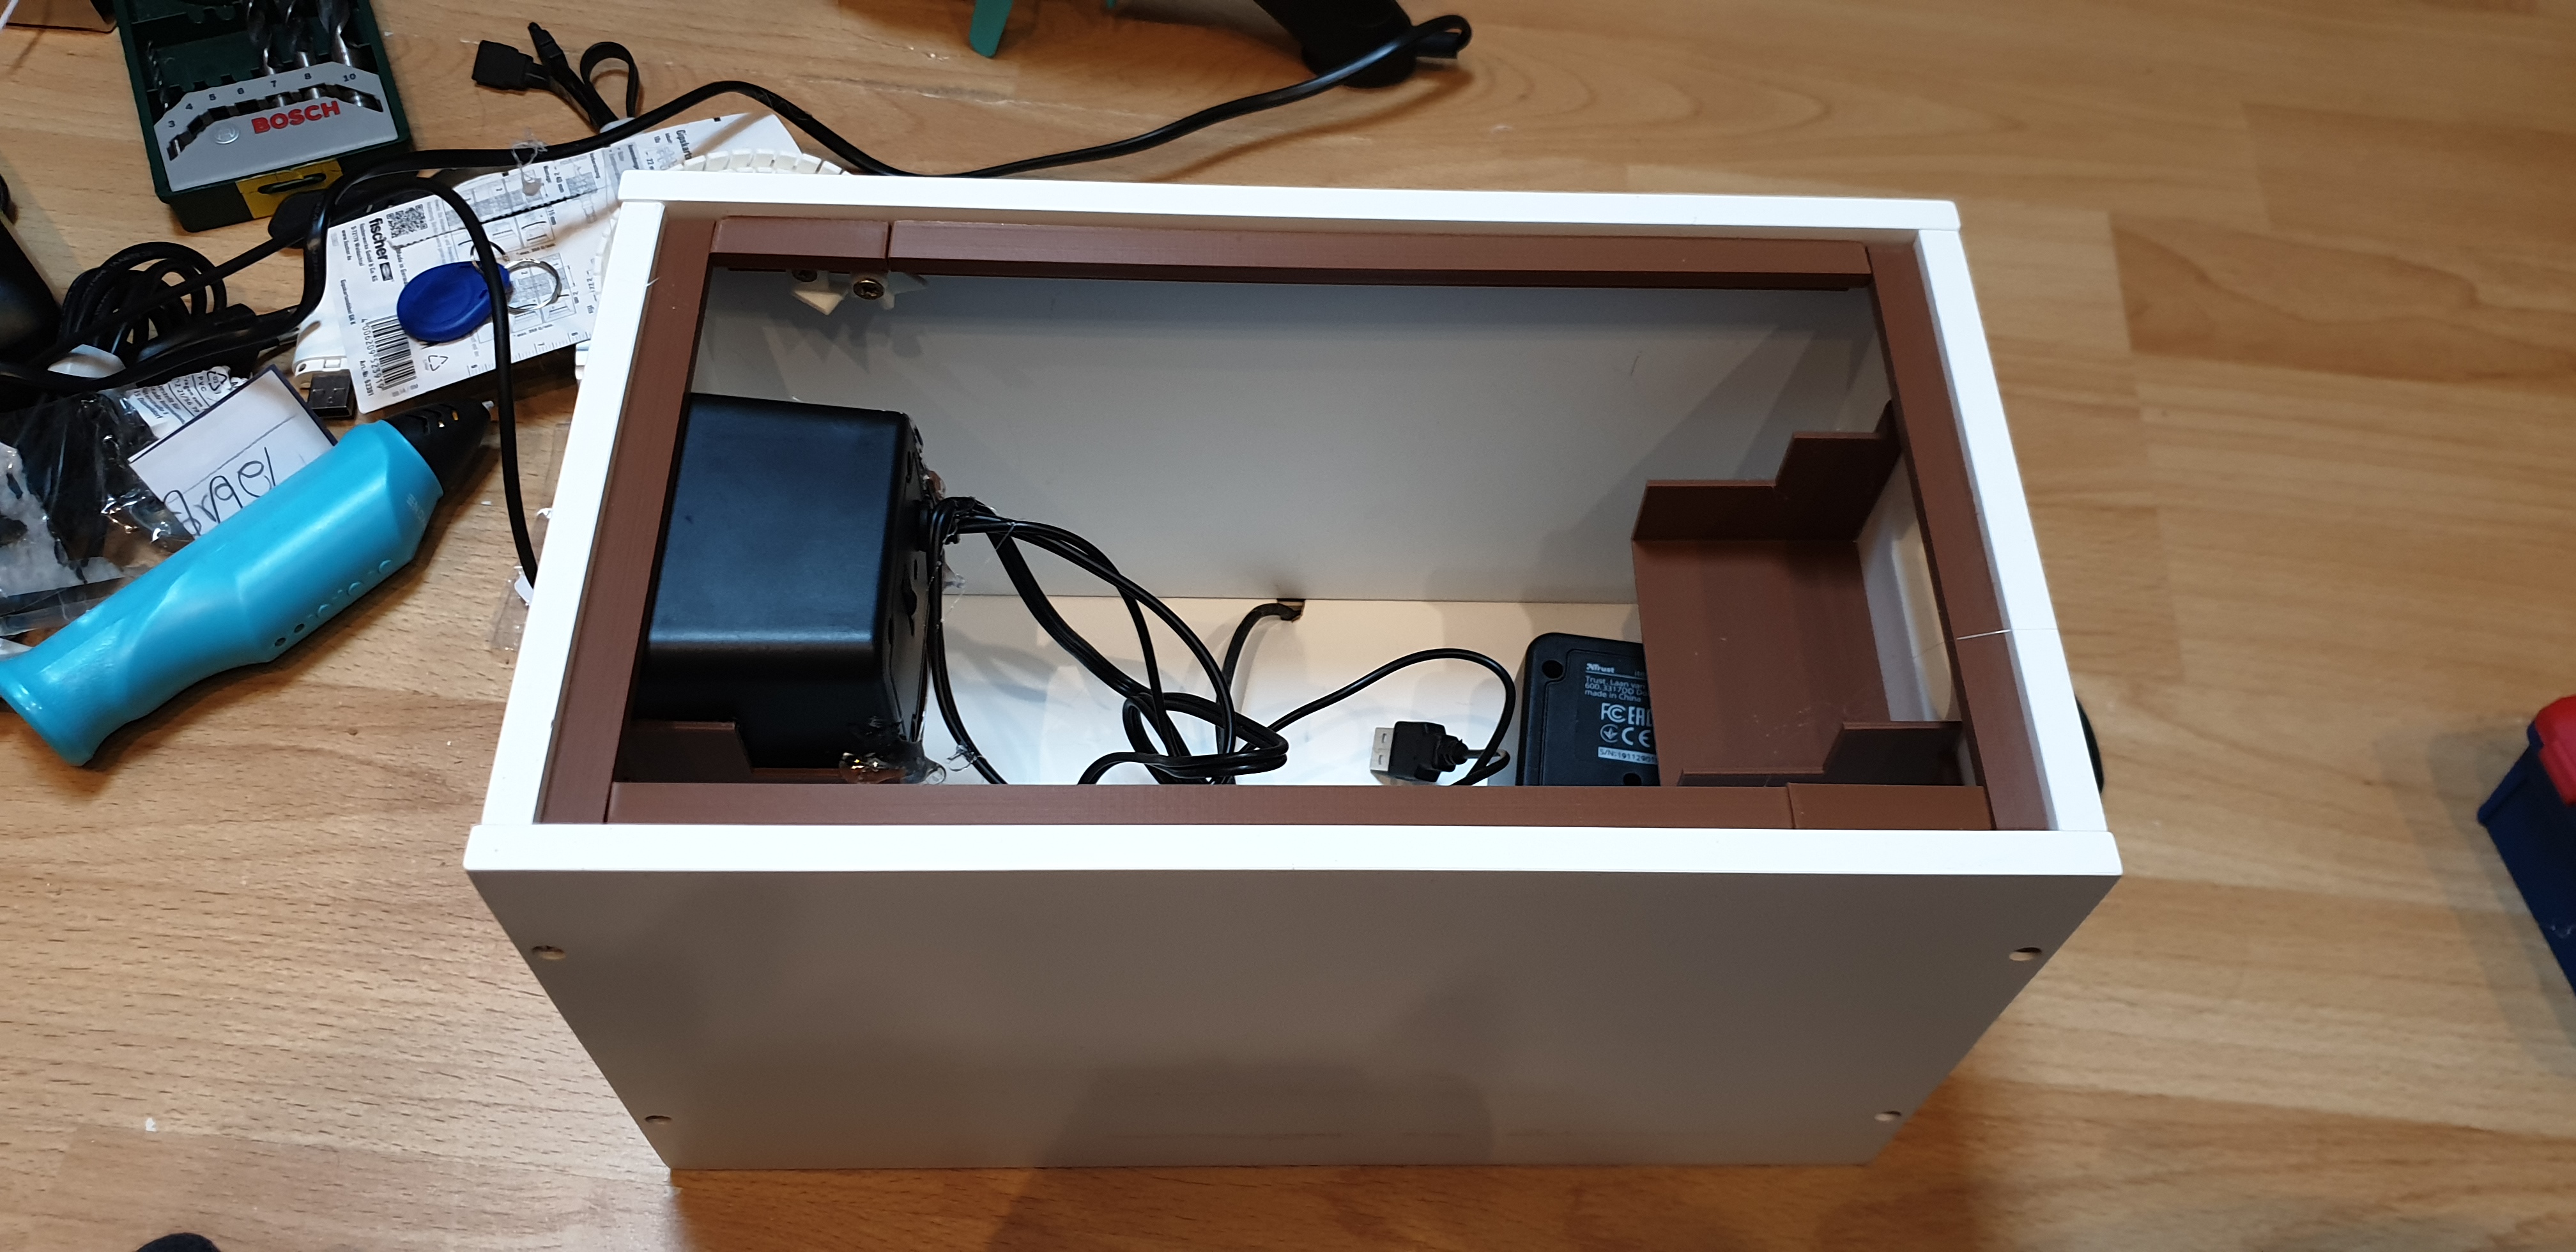
Hallo zusammen, Habe 9mm Multiplex genommen mit einem Rpi 3. Habe momentan noch das Problem das der Pi alle 10 bis 30 Minuten unerwartet von alleine runter fährt, kann es mit dem Shutdown Button zusammen hängen? Viele Grüße |


|
My box is finally ready and the kids love it! Many thanks to the community for this great project!
|


This issue was moved to a discussion.
You can continue the conversation there. Go to discussion →
Here are some pics of my Jukebox.
Thank you Micz for your support.
http://www.directupload.net/file/d/4944/v2zyipxd_jpg.htm
http://www.directupload.net/file/d/4944/nv7jdoy9_jpg.htm
http://www.directupload.net/file/d/4944/axcns3d6_jpg.htm
http://www.directupload.net/file/d/4944/96dalxrv_jpg.htm
http://www.directupload.net/file/d/4944/lnetffm4_jpg.htm
Video
The text was updated successfully, but these errors were encountered: