MapboxGL js deel 1
We will start with the most basic form of using MapboxGL.js using their already provided styles. In order to use the default styles and data we need a Mapbox token. Later on we will use MapboxGL.js without this token, because we will use our own data and styles!
🔗 If you are not that comfortable with HTML, CSS and JavaScript yet, this Making a Web page tutorial will help you along!
➡️ If you already know some HTML, CSS and JavaScript, you can start immediately with this tutorial and read through the HTML explanations.
➡️ Feel real confident? Just skip Setting up the basics and go to Setting up mapboxGL.js
<!DOCTYPE html>
  <html>
    <head>
      <title> My title </title>
    </head>
  <body>
    <H1>Example</H1>
  </body>
</html>yourDirectory and call the file index.html.
<div> in the <body>
<div id="map"></div>The <div> is a kind of frame where our map will come! This frame does not contain anything yet. We will have to give it some dimensions in order to show content. We will specify the width and height with CSS, so the <div> can be seen. Later, we will give content to the <div> with JavaScript. To be able to do that, we will need its id to be able to reference it.
main.css in 📂yourDirectory.
With CSS we will style our <div> object. In the main.css we will reference to the <div> with a "#map" selector which indicates a object with the id="map" in the HTML. Now set the rule height(and optional width).
#map {
  height: 500px;
  width:100%;
} To link our CSS file with our HTML objects we will have to put a link in our HTML file.
<head>.
<link rel="stylesheet" href="main.css"/>Now we will add the JavaScrip Library MapboxGL.js.
<script src='https://api.tiles.mapbox.com/mapbox-gl-js/v0.45.0/mapbox-gl.js'></script>
<link href='https://api.tiles.mapbox.com/mapbox-gl-js/v0.45.0/mapbox-gl.css' rel='stylesheet' /><head> of your HTML file.
The last thing we need is add is a JavaScript file for our own custom JavaScript.
yourDirectory
and call the file main.js.
<script> in the <body> of your HTML file.
Your HTML file should look like this:
<!doctype html>
<html>
<head>
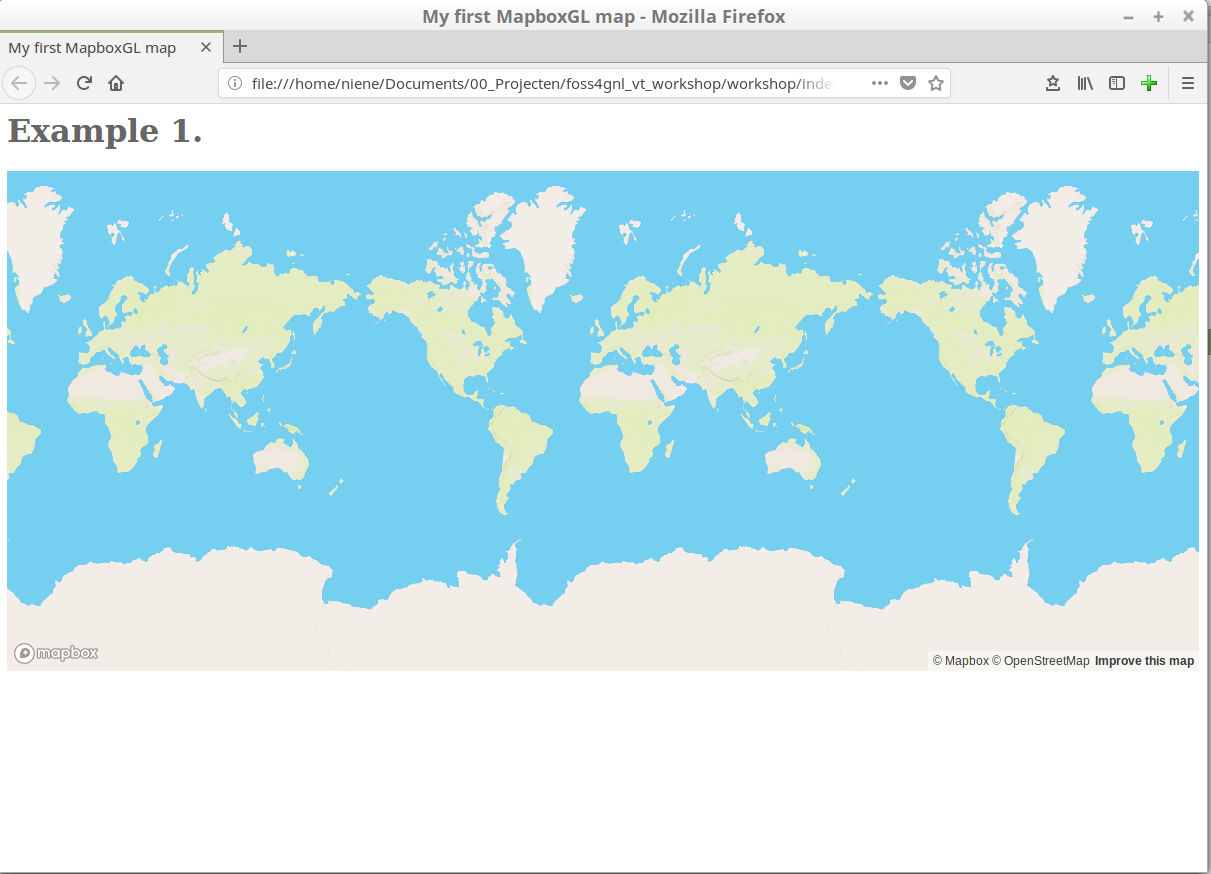
<title>My first MapboxGL map</title>
<script src='https://api.tiles.mapbox.com/mapbox-gl-js/v0.45.0/mapbox-gl.js'></script>
<link href='https://api.tiles.mapbox.com/mapbox-gl-js/v0.45.0/mapbox-gl.css' rel='stylesheet'/>
<link rel="stylesheet" href="main.css"/>
</head>
<body>
<H1>example</H1>
<div id="map"></div>
<script src="main.js"></script>
</body>
</html>You will only see a title. This is correct. We still have to set up our map.
In the JavaScript file we need to define our map.
mapboxgl.accessToken = '<YourAccess token>';

var map = new mapboxgl.Map({
    container: 'map',
    style: 'mapbox://styles/mapbox/streets-v9',
    hash: true,
    zoom: 11,
    pitch: 60,
    bearing: 62.4,
    center: [ 4.8, 52.4]
});main.js file and save it.
ℹ️ new mapboxgl.Map({...}); creates a mapbox GL map!
ℹ️ container: "map" places the map in our <div id="map"> object from the HTML file.
ℹ️ style: 'mapbox://styles/mapbox/streets-v9' is the mapbox url for the tiles, style, fonts and Glyphs! .
A default Mapbox style contains all the elements we need for a map:
- Vector Tiles
- Styling information
- Fonts, Sprites and Glyphs
![]()
ℹ️ hash: true puts the #location in the URL of our map. With /zoom/lat/long/angle. See what happens to the URL of your map when you pan around.
ℹ️ zoom,pitch , bearing and center set the starting position of our map when opening it the first time. Now pointing to Amsterdam.
Something like this:
In step 1 Mapbox Studio we created our own styled map. We can also use this instead of the standard supplied Mapbox styles.
You can find this url on your Mapbox account under Share, develop & use .

 mapboxgl.accessToken = '<YourAccess token>';
    var map = new mapboxgl.Map({
        container: 'map-container',
        style: 'mapbox://styles/nieneb/cjg3h8yp80oi82rldxukpu0oi',
        hash: true,
        zoom: 11,
        pitch: 60,
        bearing: 62.4,
        center: [ 4.8, 52.4]
});Use the Web Console.
The web inspector shows you the content of your page and the current state of the DOM. DOM stands for Document Object Model and refers to the hierarchical structure of HTML. Web browsers parse the DOM in order to make sense of a page’s content.
Inspector, Do you see the same content as we just made in our text editor?
The Console logs any errors or comments!
Web Console to see if it reports anything useful for you.
Fix your problems!
➡️ Next Setting up our own style with MapboxGL.js Style json