  _______      _  _                   _____
 |__   __|    | || |           /\    |_   _|
    | |  __ _ | || | _   _    /  \     | |
    | | / _` || || || | | |  / /\ \    | |
    | || (_| || || || |_| | / ____ \  _| |_
    |_| \__,_||_||_| \__, |/_/    \_\|_____|
                      __/ |
                     |___/                       Prototype
2019-01-06 This is a Django app for data science micro service,
... ... ... locally running on Windows 10, deployed on AWS Elastic Beanstalk.
2019-01-09 【AWS EB deployment logs】
2019-01-12 【All SQLs used in this project】, 【A D3.js line chart】
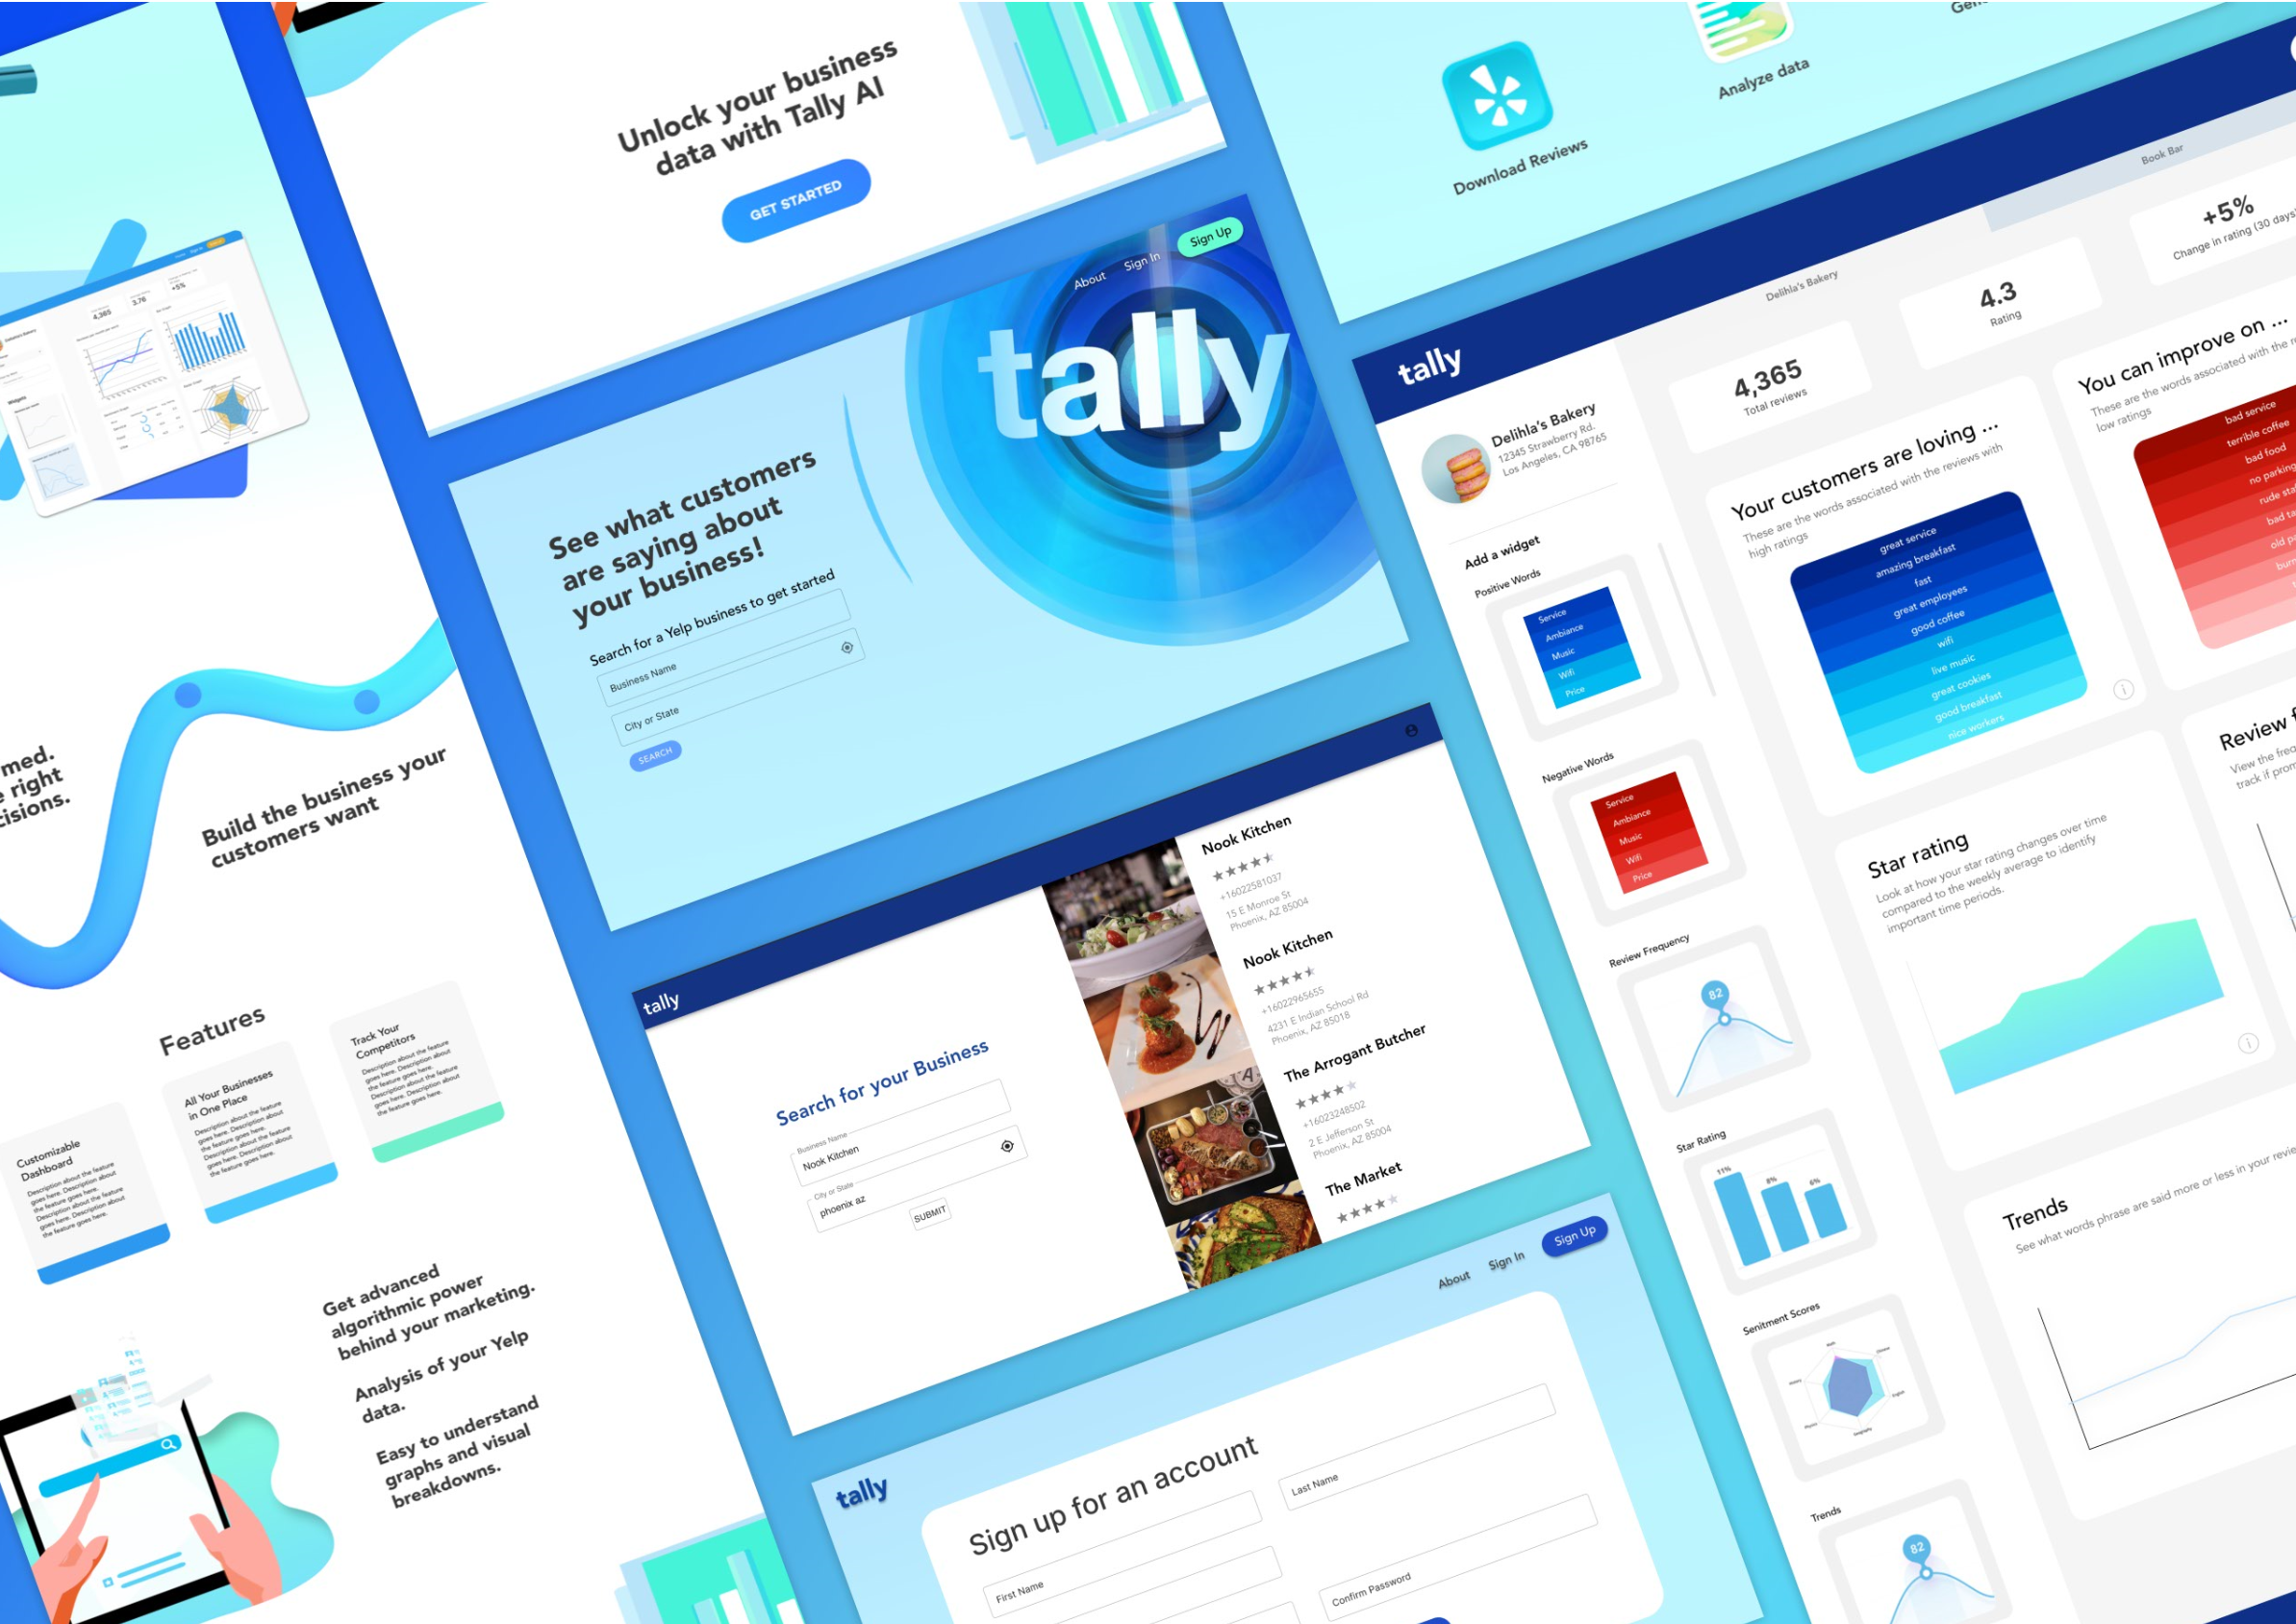
2020-02-05 You can visit the demo product at https://www.tally-ai.com/.
... ... ... Visit the project folders at https://github.com/Lambda-School-Labs?q=tally.
... ... ... Visit the project documenation at https://drive.google.com/open?id=1MWFCPFGBZk_Jcn70ixPg7sh1URSwvuLN.
2020-02-06 Demo video https://www.youtube.com/watch?v=IUzjatvmT0s
Miniconda3 or Anaconda3 Python 3.7 【Logs】
(If you are using Python 3.6 or manage your enviroments in some other way, skip this step.)
$ conda create -n python3.6 python=3.6
$ pip install pipenv
$ conda activate python3.6
(base) PS D:\github\django-tally>
$ pipenv install
$ pipenv shell
Install dependencies:
(If you have downloaded the repo, you can skip this step.)
$ pipenv install django psycopg2-binary djangorestframework pyyaml lxml "spacy>=2.0.0,<3.0.0" https://github.com/explosion/spacy-models/releases/download/en_core_web_sm-2.2.5/en_core_web_sm-2.2.5.tar.gz pytextrank "apscheduler>=3.6.3" django-apscheduler gensim sklearn
Generate requirements.txt
$ pip freeze > requirements.txt
Or $ pip freeze | Out-File -Encoding UTF8 requirements.txt
In the requirements.txt file, remove entries for spacy and en_core_web_sm, and add the following lines.
spacy>=2.0.0,<3.0.0
https://github.com/explosion/spacy-models/releases/download/en_core_web_sm-2.2.5/en_core_web_sm-2.2.5.tar.gz
$ python manage.py runserver
$ python manage.py makemigrations
$ python manage.py migrate
$ python manage.py test --keepdb
$ python manage.py inspectdb > models.py
$ python manage.py collectstatic
$ python -m django --version
During the deployment, you may need to use the following AWS CLI commands.
$ eb init -p python-3.6 django-tally
$ eb create django-tally
$ eb status
$ eb deploy
$ eb open
$ eb logs
$ eb config
$ eb terminate django-tally
$ aws elasticbeanstalk restart-app-server --environment-name django-tally
- Install the AWS CLI version 1 Using Python and pip on Windows
- Configuring the AWS CLI
- Install Python, pip, and the EB CLI on Windows
- AWS eb config
【Logs】
(base) PS C:\Users\guido> aws2 --version
aws-cli/2.0.0dev3 Python/3.7.5 Windows/10 botocore/2.0.0dev2
(base) PS C:\Users\guido> python --version
Python 3.7.4
(base) PS C:\Users\guido> aws --version
File association not found for extension .py
aws-cli/1.17.5 Python/3.7.4 Windows/10 botocore/1.13.50
(base) PS C:\Users\guido> aws2 --version
aws-cli/2.0.0dev3 Python/3.7.5 Windows/10 botocore/2.0.0dev2
(base) PS C:\Users\guido> eb --version
EB CLI 3.17.0 (Python 3.7.4)
(django-tally-QTYVOJb0) (python3.6) D:\github\django-tally>python manage.py collectstatic
163 static files copied to 'D:\github\django-tally\static'.
【AWS Elastic Beanstalk Configuration】
All Applications -> django-tally -> Configuration -> Software -> Change:
Set WSGIPath = tally/wsgi.py
Set system environment variables here too
http://127.0.0.1:8000/admin
http://127.0.0.1:8000/admin/django_apscheduler/
Below links are for【tesing】.
http://127.0.0.1:8000/yelp/index
https://www.yelp.com/biz/aunt-jakes-new-york
http://127.0.0.1:8000/yelp/aunt-jakes-new-york (by business alias)
http://127.0.0.1:8000/yelp/I2lgw_7DUnwD92ND4PN-Ow?viztype=0 (by business ID)
http://127.0.0.1:8000/yelp/DR22QPe3A52diajwPuooVA?viztype=0
https://www.yelp.com/biz/Iq7NqQD-sESu3vr9iEGuTA (Butters Pancakes & Café)
http://127.0.0.1:8000/yelp/Iq7NqQD-sESu3vr9iEGuTA?viztype=1
https://www.yelp.com/biz/y0GZCNHDbFYr6Rjk3OzgYg (Jarrod's Coffee, Tea & Gallery)
http://127.0.0.1:8000/yelp/y0GZCNHDbFYr6Rjk3OzgYg?viztype=1
You should get trendy phrases such as "beautiful art", "art gallery", "downtown mesa", etc.
http://127.0.0.1:8000/jobs/logs/jga_2HO_j4I7tSYf5cCEnQ?num=20 (view job logs by business ID)
The links below are 【examples】.
http://127.0.0.1:8000/yelp/y0GZCNHDbFYr6Rjk3OzgYg?viztype=1
You should get monthly rating counts like below.
[{"date": "2017-8-31", "reviews": 4}, {"date": "2017-12-31", "reviews": 2},
{"date": "2018-1-31", "reviews": 1}, {"date": "2018-2-28", "reviews": 2},
{"date": "2018-3-31", "reviews": 1}, {"date": "2018-4-30", "reviews": 4},
{"date": "2018-5-31", "reviews": 2}, {"date": "2018-6-30", "reviews": 1},
{"date": "2018-7-31", "reviews": 3}, {"date": "2018-8-31", "reviews": 1},
{"date": "2018-9-30", "reviews": 1}, {"date": "2018-11-30", "reviews": 1}]
http://127.0.0.1:8000/bucketlists (create)
http://127.0.0.1:8000/bucketlists/1 (get, put, delete)
http://127.0.0.1:8000/jobs/example (APScheduler background job)
【Testing URLs】
【Testing data documents】
【Testing script Colab】
【Example】
$ cd C:\Users\guido\.virtualenvs\django-tally-QTYVOJb0\Scripts\
$ python django-admin.py startproject tally D:\github\django-tally
project name: tally
project created in directory: D:\github\django-tally
$ cd path/to/django-tally
$ python manage.py runserver
【Logs】
Watching for file changes with StatReloader
Performing system checks...

System check identified no issues (0 silenced).

You have 17 unapplied migration(s). Your project may not work properly until you apply the migrations for app(s): admin, auth, contenttypes, sessions.
Run 'python manage.py migrate' to apply them.
January 07, 2020 - 01:05:29
Django version 3.0.2, using settings 'tally.settings'
Starting development server at http://127.0.0.1:8000/
Quit the server with CTRL-BREAK.
[07/Jan/2020 01:05:55] "GET / HTTP/1.1" 200 16351
[07/Jan/2020 01:05:55] "GET /static/admin/css/fonts.css HTTP/1.1" 200 423
[07/Jan/2020 01:05:55] "GET /static/admin/fonts/Roboto-Light-webfont.woff HTTP/1.1" 200 85692
[07/Jan/2020 01:05:55] "GET /static/admin/fonts/Roboto-Bold-webfont.woff HTTP/1.1" 200 86184
[07/Jan/2020 01:05:55] "GET /static/admin/fonts/Roboto-Regular-webfont.woff HTTP/1.1" 200 85876
(If you have download the repo, you can skip this step.)
# Internationalization
# https://docs.djangoproject.com/en/3.0/topics/i18n/
LANGUAGE_CODE = 'en-us'
TIME_ZONE = 'US/Central' # 'UTC'
USE_I18N = True
USE_L10N = True
USE_TZ = True
- AWS: Python RDS Connect: Connecting to a Database
- AWS: Adding a Database to Your Elastic Beanstalk Environment (Not in use)
In the tally/settings.py file, edit the database connection configuration.
(If you have download the repo, you can skip this step.)
# Database
# https://docs.djangoproject.com/en/3.0/ref/settings/#databases
import os
if 'RDS_HOSTNAME' in os.environ:
    DATABASES = {
        'default': {
            'ENGINE': 'django.db.backends.postgresql_psycopg2',
            'NAME': os.environ['RDS_DB_NAME'],
            'USER': os.environ['RDS_USERNAME'],
            'PASSWORD': os.environ['RDS_PASSWORD'],
            'HOST': os.environ['RDS_HOSTNAME'],
            'PORT': os.environ['RDS_PORT'],
            'OPTIONS': {
            	'options': '-c search_path=django'
            },
            'TEST': {
                'ENGINE': 'django.db.backends.sqlite3',
            },
        }
    }
【Local Environment】
Add system environment variables in the Python virtual environment (NO quotation marks).
You can add a .env file in the django-tally folder, then add the following lines to the file (replace * with your credentials). Every time when you start the virtual environment, those variables will be set automatically. (Please make sure that in the .gitignore file .env has been added, or you are exposing the credentials to the Internet.)
RDS_DB_NAME=*
RDS_USERNAME=*
RDS_PASSWORD=*
RDS_HOSTNAME=*
RDS_PORT=*
【Manually】
Or you can manually add it every time after you start the virtual environment.
For Windows Powershell, use set VARNAME=value.
For MacOS/Linux use export VARNAME=value.
(django-tally-QTYVOJb0) (base) D:\github\django-tally>set RDS_DB_NAME=*
(django-tally-QTYVOJb0) (base) D:\github\django-tally>set RDS_USERNAME=*
(django-tally-QTYVOJb0) (base) D:\github\django-tally>set RDS_PASSWORD=*
(django-tally-QTYVOJb0) (base) D:\github\django-tally>set RDS_HOSTNAME=*.*.us-east-2.rds.amazonaws.com
(django-tally-QTYVOJb0) (base) D:\github\django-tally>set RDS_PORT=*
【Verification】
To make sure the variables are properly created, type python then print out os.environ[<varname>].
(django-tally-QTYVOJb0) (base) D:\github\django-tally>python
Python 3.7.4 (default, Aug  9 2019, 18:34:13) [MSC v.1915 64 bit (AMD64)] :: Anaconda, Inc. on win32
Warning:
This Python interpreter is in a conda environment, but the environment has
not been activated.  Libraries may fail to load.  To activate this environment
please see https://conda.io/activation
Type "help", "copyright", "credits" or "license" for more information.
>>> import os
>>> os.environ['RDS_DB_NAME']
【Deployment】
To configure the instance deployed on AWS Elastic Beanstalk.
Go to the application Configuration page, choose Software.

Add system environment variables there.

- Grant permissions to the database users accordingly.
- For all the SQLs used in this project, refer to these documents.
If you have downloaded this repo, you can skip this step.
$ cd path/to/django-tally
$ python manage.py migrate
【Logs】
Operations to perform:
  Apply all migrations: admin, auth, contenttypes, sessions
Running migrations:
  Applying contenttypes.0001_initial... OK
  Applying auth.0001_initial... OK
  Applying admin.0001_initial... OK
  Applying admin.0002_logentry_remove_auto_add... OK
  Applying admin.0003_logentry_add_action_flag_choices... OK
  Applying contenttypes.0002_remove_content_type_name... OK
  Applying auth.0002_alter_permission_name_max_length... OK
  Applying auth.0003_alter_user_email_max_length... OK
  Applying auth.0004_alter_user_username_opts... OK
  Applying auth.0005_alter_user_last_login_null... OK
  Applying auth.0006_require_contenttypes_0002... OK
  Applying auth.0007_alter_validators_add_error_messages... OK
  Applying auth.0008_alter_user_username_max_length... OK
  Applying auth.0009_alter_user_last_name_max_length... OK
  Applying auth.0010_alter_group_name_max_length... OK
  Applying auth.0011_update_proxy_permissions... OK
  Applying sessions.0001_initial... OK
Django migration will create tables automatically in the database.
$ cd path/to/django-tally
$ python manage.py createsuperuser
【Logs】
Username (leave blank to use 'guido'): ***
Email address: admin@example.com
Password:
Password (again):
This password is too short. It must contain at least 8 characters.
This password is too common.
This password is entirely numeric.
Bypass password validation and create user anyway? [y/N]: n
Password:
Password (again):
Superuser created successfully.
(If you have downloaded the repo, you can skip this step.)
PS D:\github\django-tally>
# D:\github\django-tally\tally\settings.py
...
# Application definition
INSTALLED_APPS = [
    'django.contrib.admin',
    'django.contrib.auth',
    'django.contrib.contenttypes',
    'django.contrib.sessions',
    'django.contrib.messages',
    'django.contrib.staticfiles',
    'rest_framework',             # Add this line; other app names are not allowed
    'example',                   # Add this line; you can use app names other than "example"
    'yelp',                       # Add this app as well for this project
]
Create an app called "example".
$ python manage.py startapp example
Setting up URL patterns
E.g. regular expression match UUID as primary key (?P<pk>[0-9a-f-]+):
urlpatterns = {
    url(r'^yelp/$',
        YelpYelpScrapingCreateView.as_view(), name="create"),
    url(r'^yelp/(?P<pk>[0-9a-f-]+)/$',
        YelpYelpScrapingDetailsView.as_view(), name="details"),
}
E.g. query strings
urlpatterns = {path('<slug:business_id>', home, name='home')}
def home(request, business_id):
    viztype = request.GET.get('viztype')
    if viztype == '1':
        result = json.dumps(yelpTrendyPhrases(business_id))
    elif viztype == '2':
        result = json.dumps(yelpReviewCountMonthly(business_id))
    else:
        result = json.dumps(getDataViztype0(business_id))
    return HttpResponse(result)
Follow this tutorial to build a REST API.
$ python manage.py inspectdb > models.py
After running this command, modify class names in the models.py file.
Add to every class name. E.g.
For app "example", change class Bucketlist -> class ExampleBucketlist
For app "yelp", change class Business -> class YelpBusiness
Follow the instructions in the models.py file, make sure model definitions are correct.
Then move the models.py file to the corresponding app folder.
So every app would have their own models without conflicting with other apps.
This is an example of the Django data models created.
https://github.com/Nov05/django-tally/blob/master/example/models.py
You can query with or without Django data models. E.g.
https://github.com/Nov05/django-tally/blob/master/tallylib/sql.py
【Debug】
Issue: Django “ValueError: source code string cannot contain null bytes”
Solution: You can simply create a new .py file, copy and paste the models.py content to it, then replace the models.py file with it.
spaCy models
https://spacy.io/usage/models
How to install models
https://pypi.org/project/spacy/
Download spaCy model manually (Not in use)
https://github.com/explosion/spacy-models/releases
You can install spaCy models just like installing a Python package.
pipenv install https://github.com/explosion/spacy-models/releases/download/en_core_web_sm-2.2.5/en_core_web_sm-2.2.5.tar.gz
Then import the models in your code.
import en_core_web_sm
nlp = en_core_web_sm.load()
or
import spacy
nlp = spacy.load("en_core_web_sm")
【Deployment】
Make sure the following 2 lines are in the requirements.txt.
spacy>=2.0.0,<3.0.0
https://github.com/explosion/spacy-models/releases/download/en_core_web_sm-2.2.5/en_core_web_sm-2.2.5.tar.gz
Make sure remove spacy==2.2.3and en_core_web_sm==2.25 from the file, or you will get an error when delpoying saying "Could not find a version that satisfies the requirement en-core-web-sm==2.2.5".
【Manually】
Put the following folder in the repo (same level with manage.py).
spacy.load("en_core_web_sm/en_core_web_sm-2.2.5") with __init__.py
CAUTION: You can do it this way, but deployment from Windows 10 to AWS Elastica Beanstalk might have UnicodeDecodeError when loading a model, while both launching server on Windows 10 locally or deployment from MacOS seem fine.
Advanced Python Scheduler
- APScheduler official document
- Django-apscheduler Github repo
- An important tutorial
- A simple example of setting up a background job by using
apscheduler.schedulers.background.BackgroundScheduler. - 【My example code】, 【Logs】
$ pipenv install apscheduler
$ pipenv install django-apscheduler
Celery (Not In Use) 【Logs】
- Celery stopped supporting Windows since version 4.0 upwards
- Use django-celery-beat rather than django-celery
$ pipenv install celery
$ pipenv install django-celery-beat django-celery-result
$ celery -A tally worker -l info
$ celery -A tally beat -l info
$ python manage.py celery worker --loglevel=info
$ python manage.py celery beat --loglevel=info
- Django Documentation
- Python Django Web Framework - Full Course for Beginners Jan 2, 2019
- Django Message Framework
- AWS: Deploying a Django Application to Elastic Beanstalk
- AWS: Configure the EB CLI
- AWS: My security credentials
- Build a REST API with Django – A Test Driven Approach: Part 1
- List of Useful URL Patterns
- Understanding file encoding in VSCode and PowerShell 02/27/2019
- 【Repo】flask-yelp-reviews
- 【Repo】yelp-dataset-challenge
- Labs 19 Demo Week
https://onlineasciitools.com/convert-text-to-ascii-art
Font type: Big
  _    _      _ _                            _     _ _
 | |  | |    | | |                          | |   | | |
 | |__| | ___| | | ___   __      _____  _ __| | __| | |
 |  __  |/ _ \ | |/ _ \  \ \ /\ / / _ \| '__| |/ _` | |
 | |  | |  __/ | | (_) |  \ V  V / (_) | |  | | (_| |_|
 |_|  |_|\___|_|_|\___/    \_/\_/ \___/|_|  |_|\__,_(_)


