Compiling From Source Guide
Note: Pre-release software is less tested and therefore may contain bugs that cause crashes and/or data loss. Please make sure to back up your OpenEmu library and save your game progress regularly.
Using the guide below, we will try and walk you through the steps required to download and compile the OpenEmu application from source. You will need a Mac running the latest stable version of Xcode.
If you have used earlier OpenEmu versions (pre-2.0), please see Cleaning Up Previous Versions at the bottom before compiling OpenEmu.
Not afraid of the command line? Follow this guide if you already have Xcode or Command Line Tools and want to clone and compile via terminal. Otherwise, please follow the Visual Install Guide.
Alternatively, you can easily install the necessary Command Line Tools by typing xcode-select --install into your command line and clicking “Install”. Xcode is still necessary for successful compilation.
git clone --recursive https://github.com/OpenEmu/OpenEmu.git
cd OpenEmu
git submodule update --init --recursive
xcodebuild -workspace OpenEmu.xcworkspace -scheme "OpenEmu" -configuration Release
The compiled OpenEmu.app binary is located in the default DerivedData path, ~/Library/Developer/Xcode/DerivedData, within a generated OpenEmu-... folder and then inside Build/Products/Release.
To compile OpenEmu and the core plugins, change -scheme "OpenEmu" to -scheme "OpenEmu + Cores".
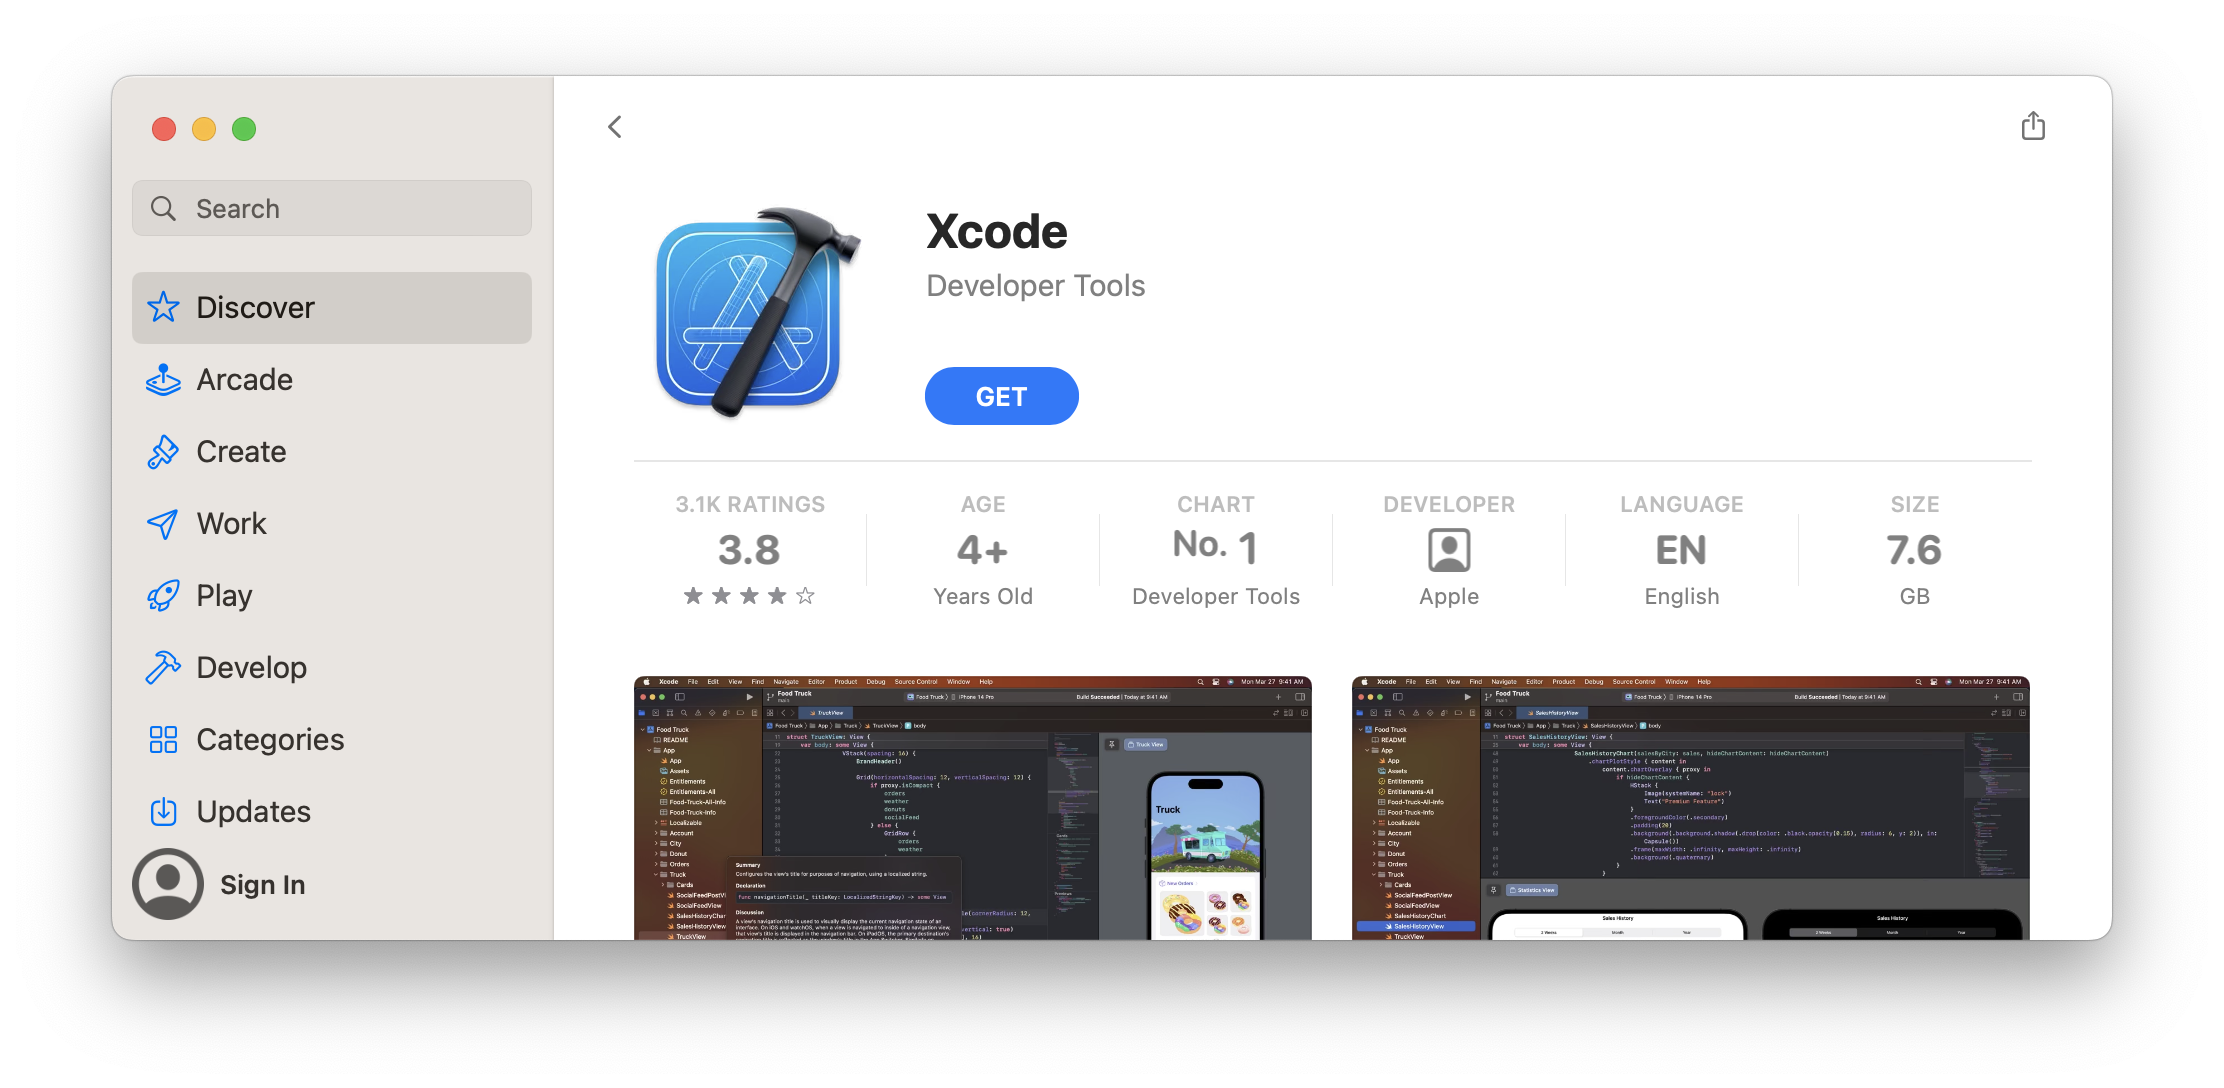
Download and install the latest version of Xcode from the Mac App Store.
Warning: Do not download the ZIP! It will not work!
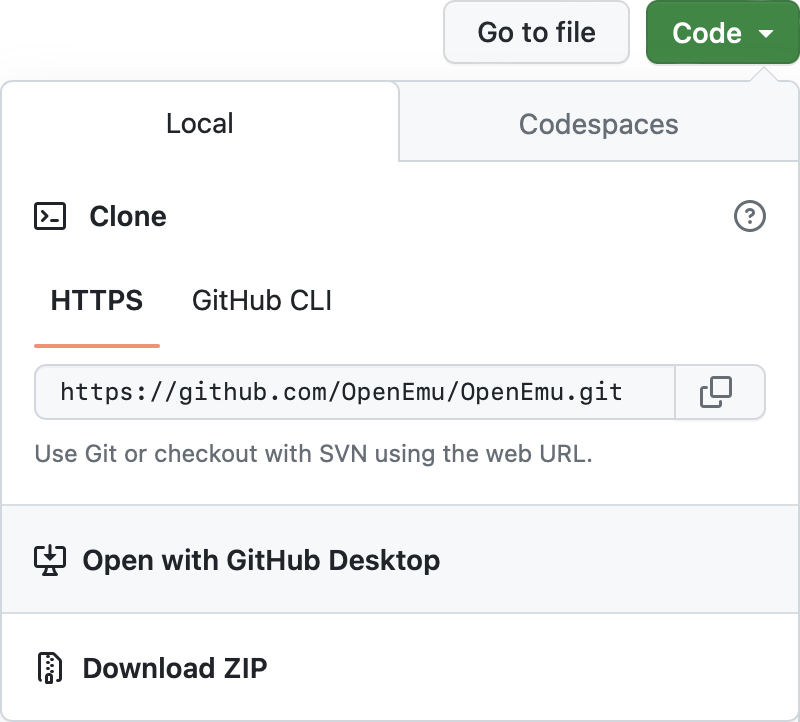
With Xcode downloaded and installed on your Mac, we now need to clone the source code for OpenEmu. Install GitHub Desktop for Mac, then navigate to the OpenEmu repository and click 'Code' > 'Open with GitHub Desktop'.
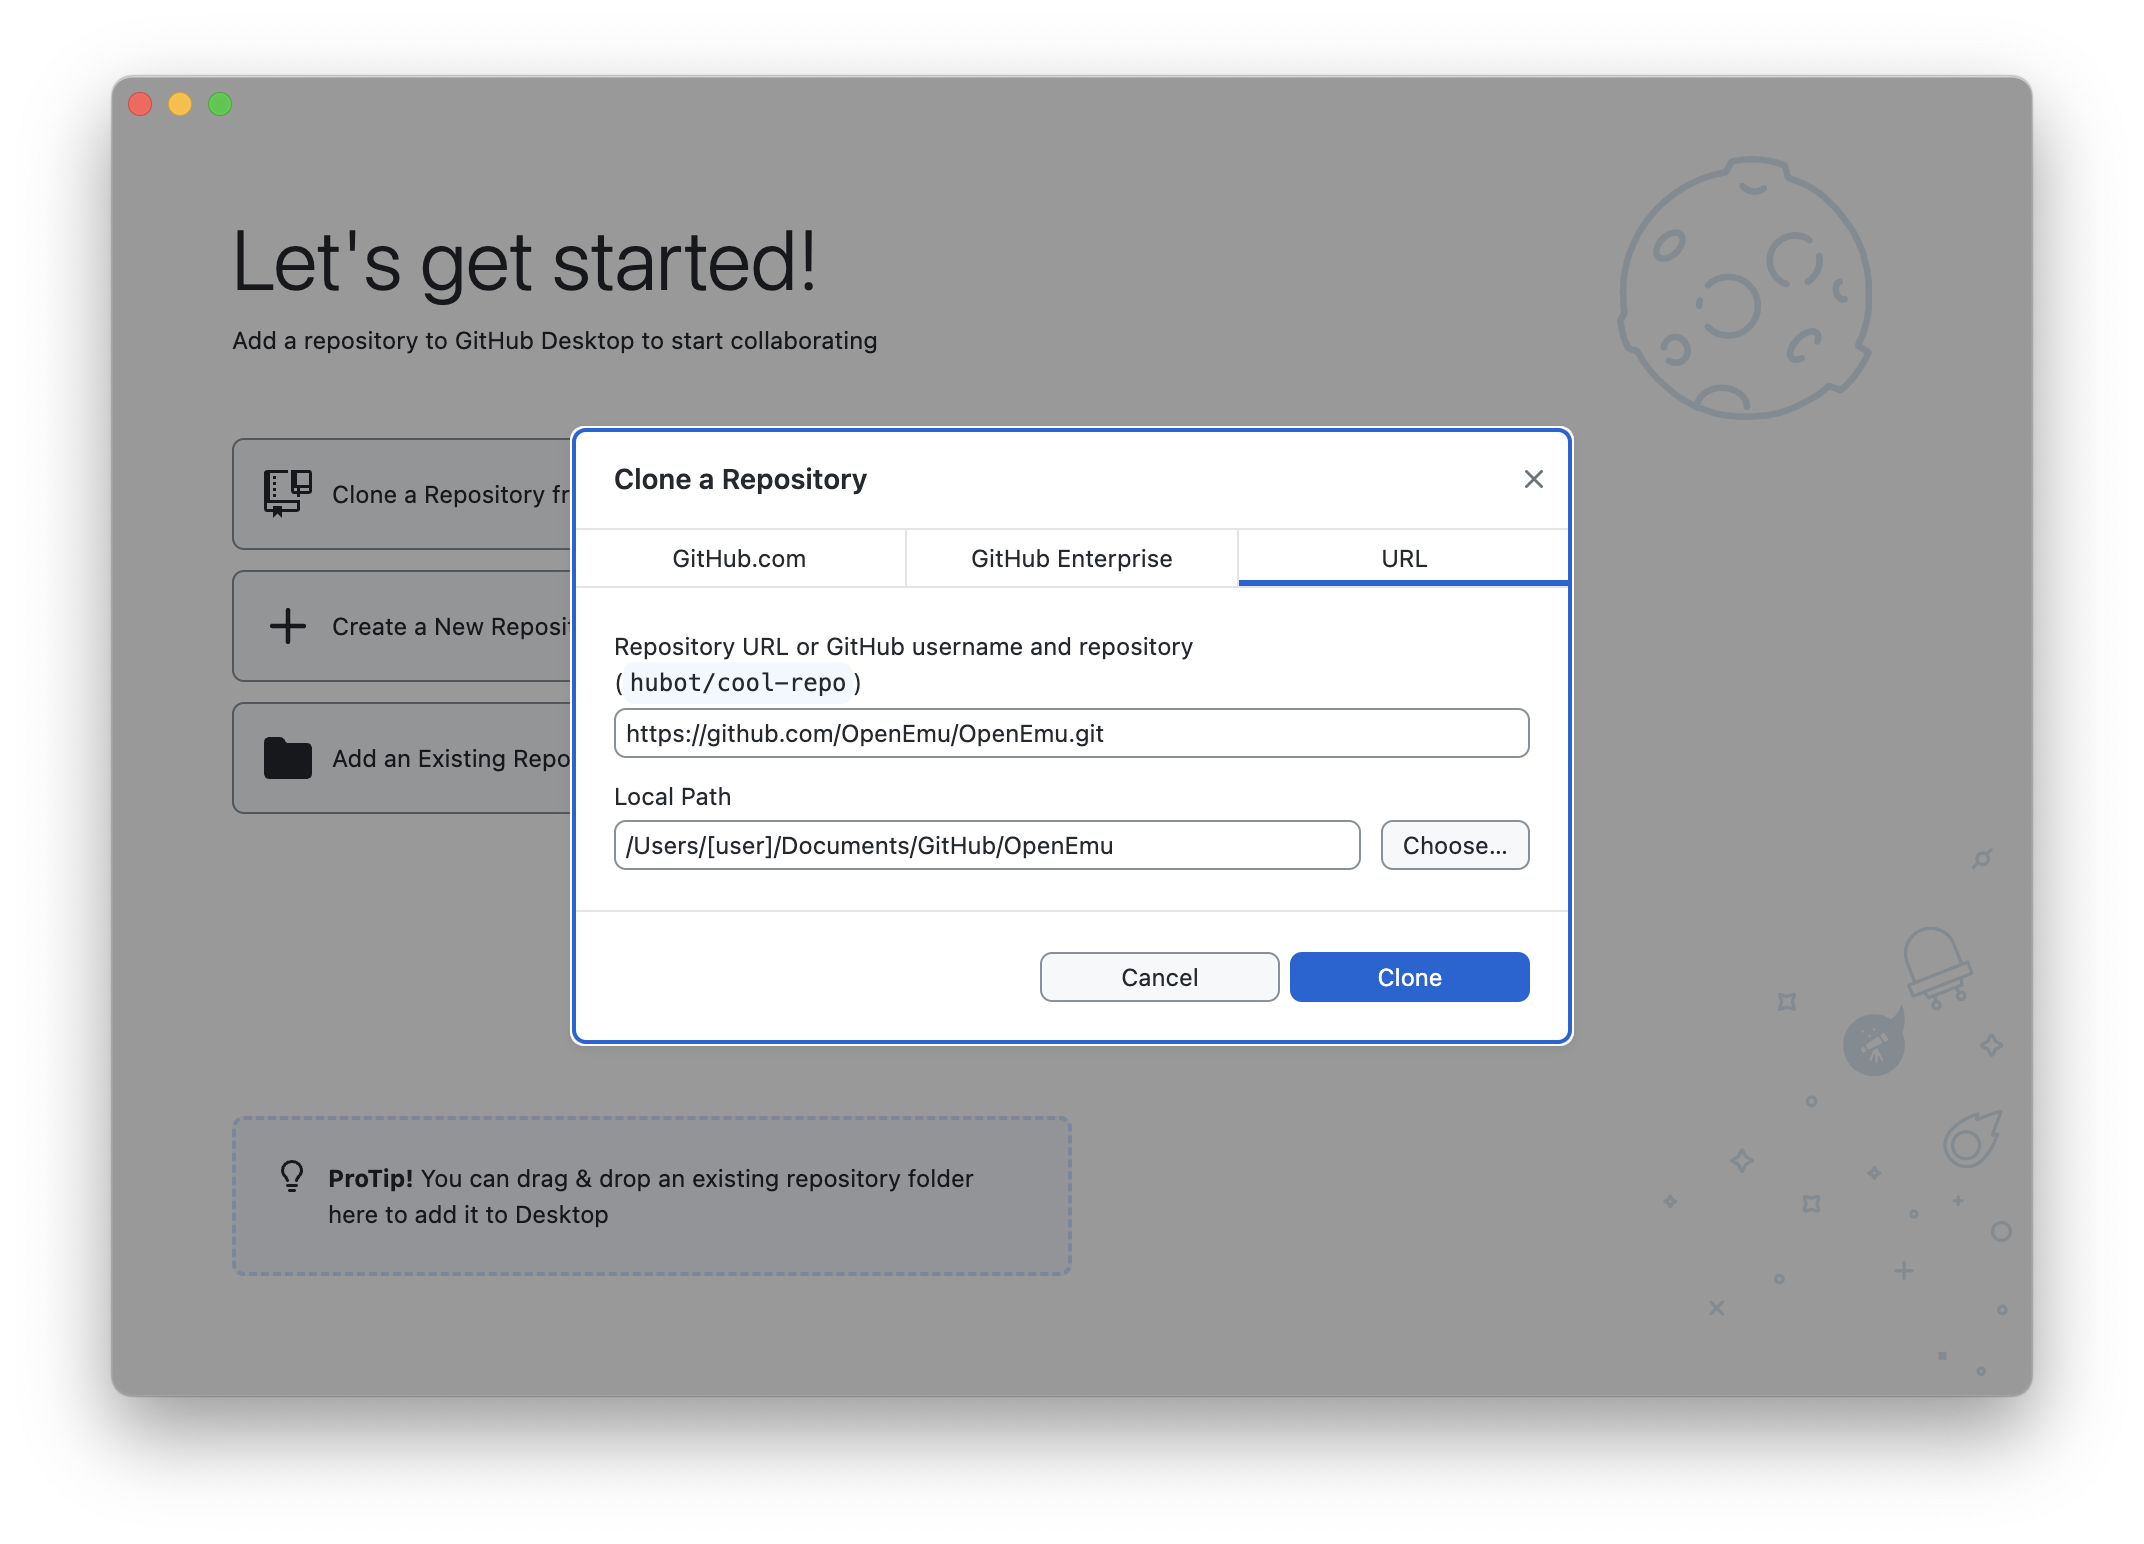
In GitHub Desktop, click 'Clone'.
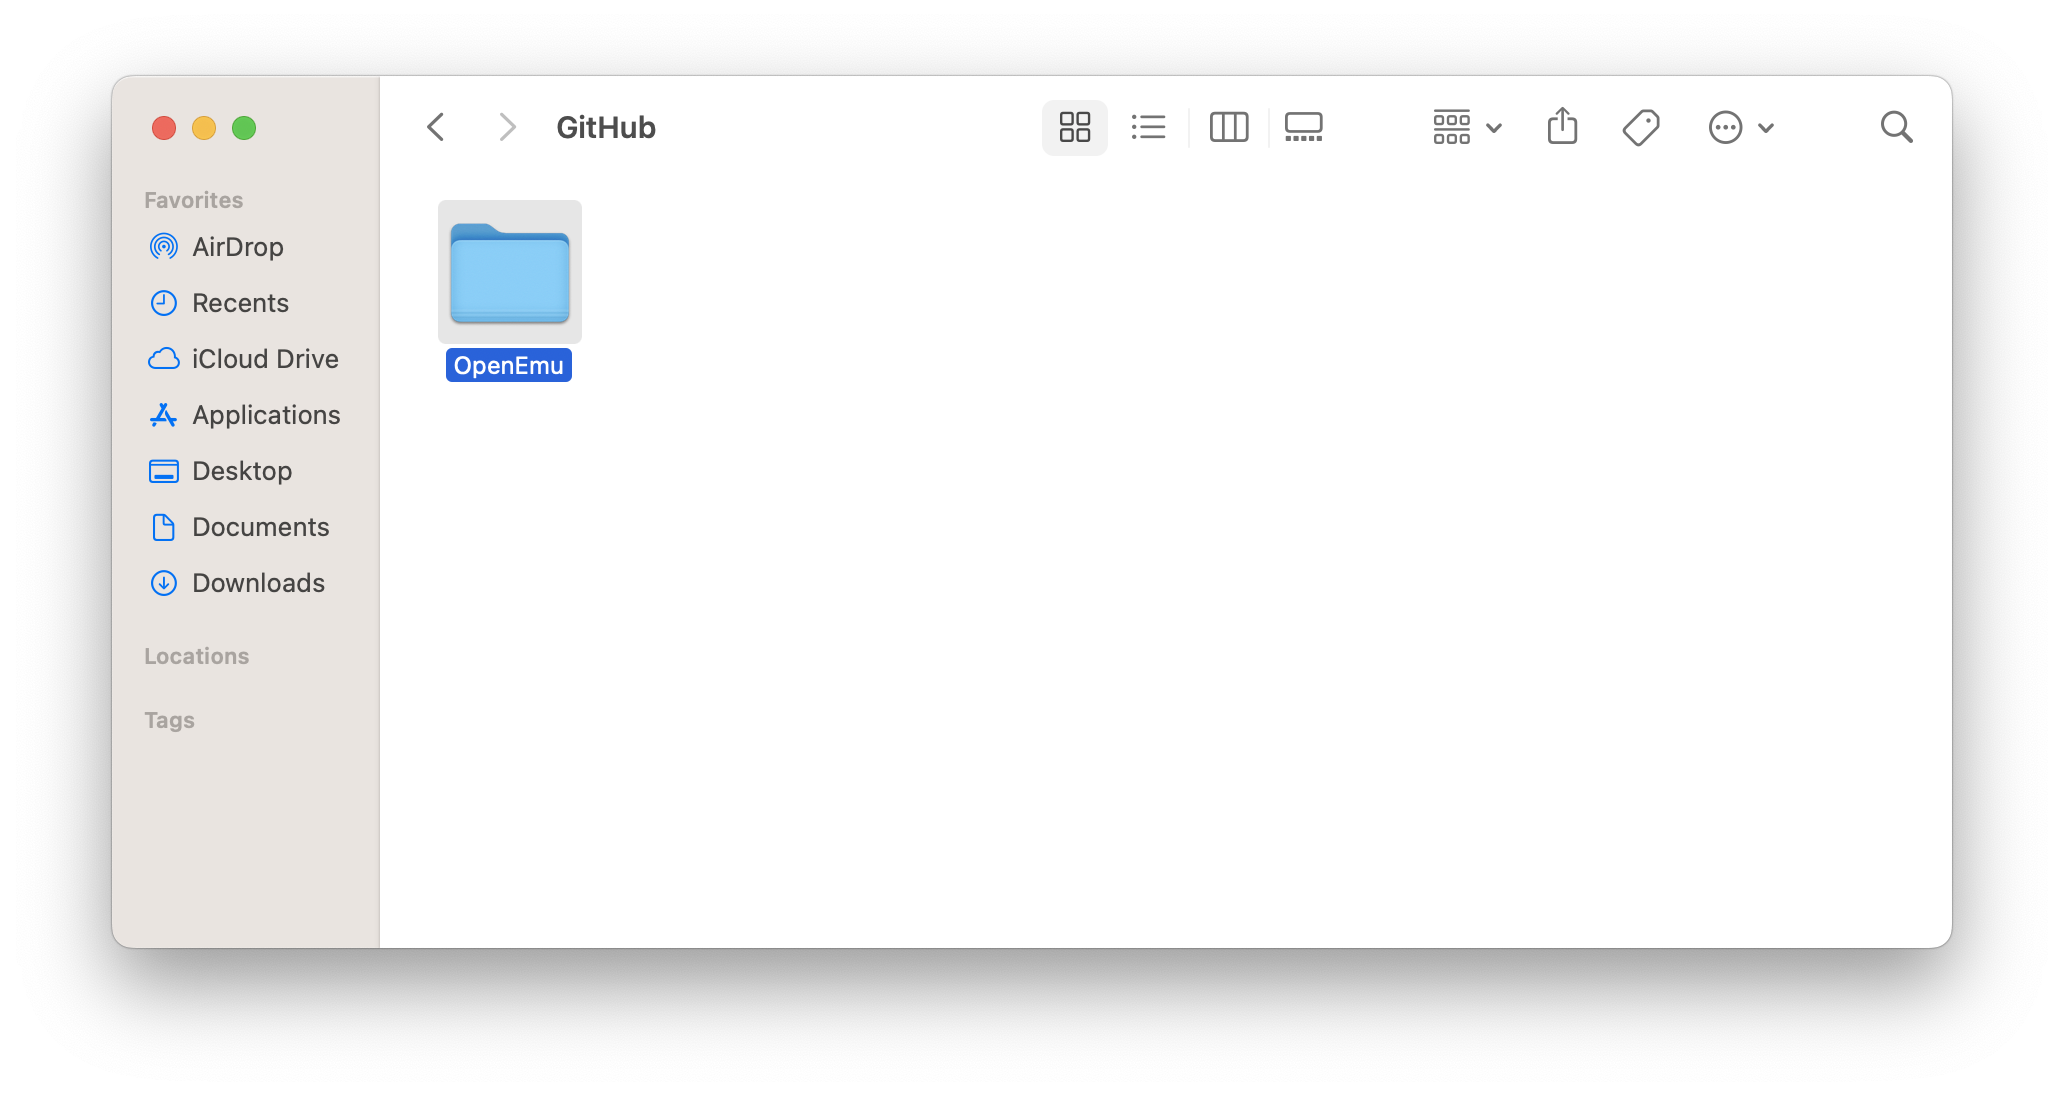
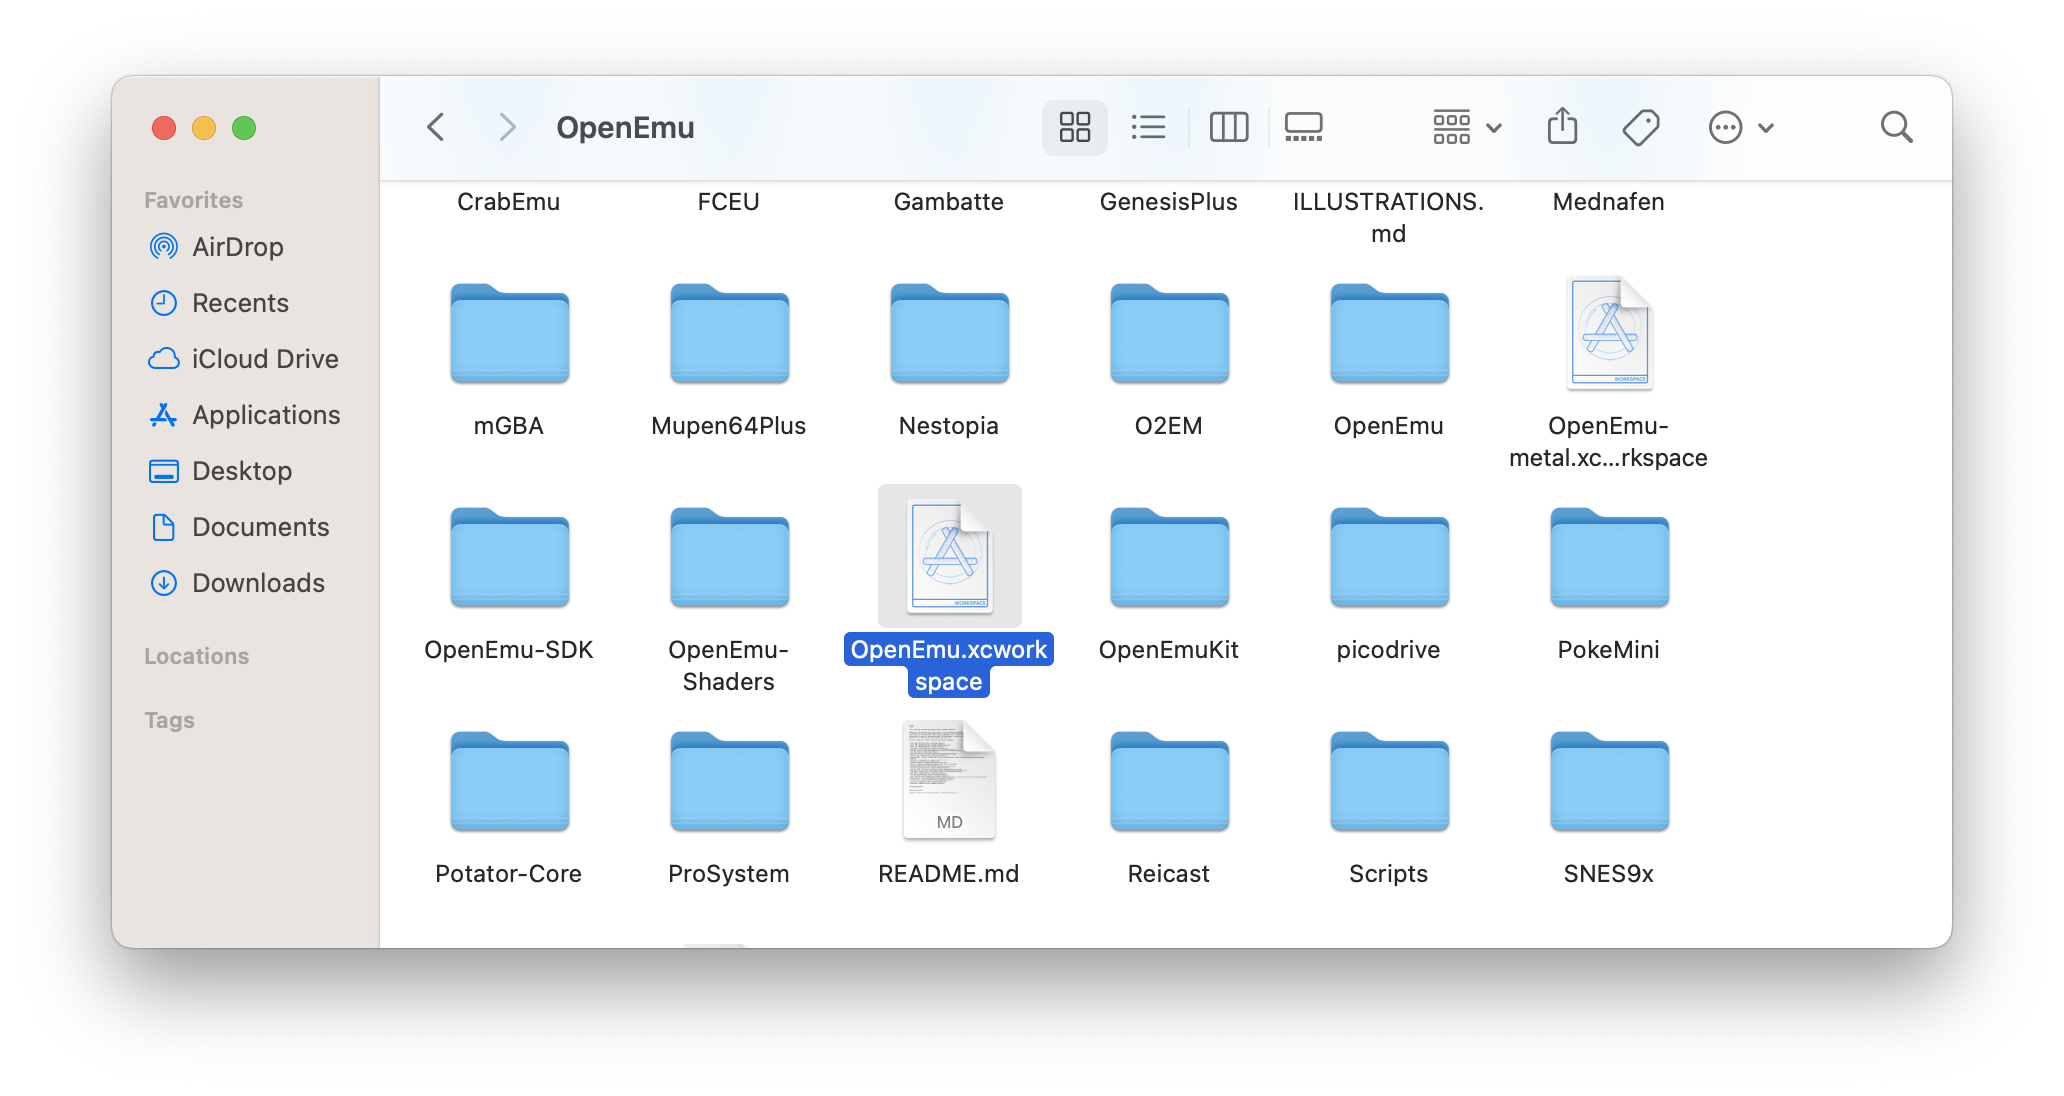
Once GitHub Desktop has finished cloning, browse to the 'OpenEmu' folder it cloned to.
Open the 'OpenEmu' folder and browse through the files until you find the Xcode workspace file called 'OpenEmu.xcworkspace'. Double click this file and it should open in Xcode.
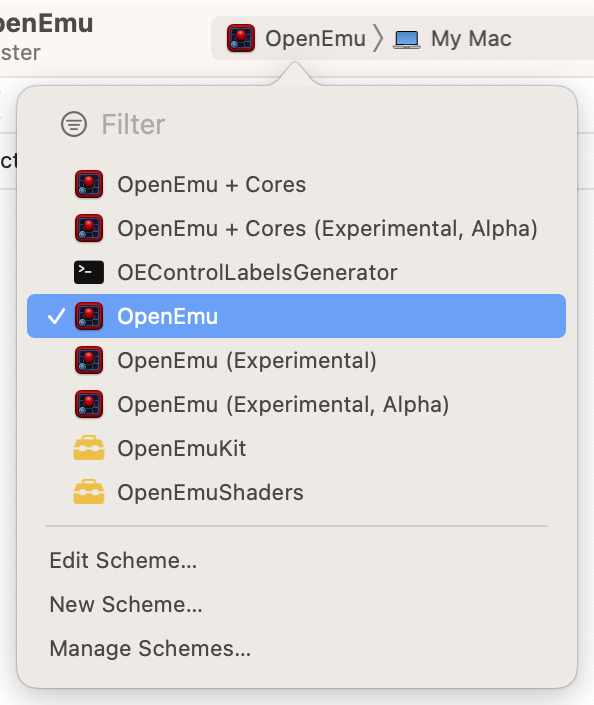
With Xcode open, you will see a lot of files and 'cores' that make up the OpenEmu application in the left sidebar. At the top of the application, you need to click on the long bar to the right of the branch selector and select the correct 'scheme'.

Click on the left-most portion of this bar, and be sure to scroll through the popovers and select 'OpenEmu' and 'My Mac'.
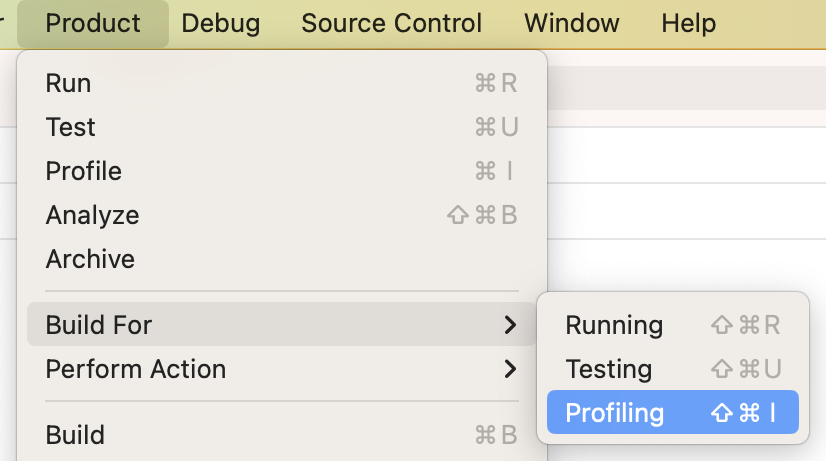
With the correct scheme selected in Step 5, you are now ready to compile the application. To do so, either press ⇧⌘I or click on 'Product' > 'Build For' > 'Profiling' in the menu bar. This makes sure that you get a release build that makes use of optimizations.
OpenEmu will now begin compiling. This process might take a while to complete.

Once Xcode has compiled OpenEmu, simply click on 'Product' > 'Show Build Folder in Finder' in the menu bar, then navigate to 'Products' > 'Release' in Finder and look for 'OpenEmu'.

You can launch the app directly from this folder or move it over to your Applications folder.
From here, you can begin adding and playing your favorite games and using the application as normal (assuming that the source code you downloaded is in a usable state!)
If you have installed or used earlier versions of OpenEmu, some things have changed that require manual cleanup to ensure proper functionality of OpenEmu 2.0.
Navigate to your ~/Library/Application Support/OpenEmu/Cores/ folder and delete it.
Navigate to your ~/Library/Application Support/OpenEmu/Systems/ folder and delete it (If applicable. This is old and not everyone has this folder).
Navigate to your ~/Library/Application Support/OpenEmu/Bindings/ folder and delete it.
Run the following command in Terminal.app: defaults delete org.openemu.OpenEmu