Releases: PeterSuh-Q3/tinycore-redpill
v1.0.2.7
1.0.2.5 Provides menu option to disable i915 module loading to prevent console blackout
         in ApolloLake (DS918+), GeminiLake (DS920+), and Epyc7002 (SA6400)
1.0.2.6 Added multilingual support languages (locales) (Arabic, Hindi, Hungarian, Indonesian, Turkish)
1.0.2.7 dbgutils Addon Add/Delete selection menu
v1.0.2.4
1.0.1.1 Fix monitor fuction about ethernet infomation
1.0.1.2 Fix for SA6400
1.0.2.0 Remove restrictions on use of DT-based models when using HBA (apply mpt3sas blacklist instead)
1.0.2.1 Changed extension file organization method
1.0.2.2 Recycle initrd-dsm instead of custom.gz (extract /exts), The priority starts from custom.gz
1.0.2.3 Added RedPill bootloader hard disk porting function
1.0.2.4 Added NVMe bootloader support
In the "Tiny Core Image Build" boot entry in /boot/grub/grub.cfg of the first deployment image img,
the part that changed to search for the UUID of the file system instead of "set root" was missing,
so the img file was modified and distributed again.
"set root=(hd0,msdos3)"
-> "search --set=root --fs-uuid 6234-C863 --hint hd0,msdos3"
If you cannot adjust the order of boot devices, such as in the case of a laptop
You may not be able to enter the "Tiny Core Image Build" boot entry.
because,
When dynamically finding the boot device by searching UUID,
You can also find cases where it exists as a device after hd1 rather than hd0.
When using set root=(hd0,msdos3) statically
Booting may not be possible due to a mismatch with hd# instead of hd0.
(한국어 번역)
최초 배포이미지 img 의 /boot/grub/grub.cfg 의 "Tiny Core Image Build" 부트엔트리내용에서
"set root" 대신 파일시스템의 UUID를 검색하도록 변경한 부분이 누락되어 img 파일을 다시 수정배포했습니다.
"set root=(hd0,msdos3)"
-> "search --set=root --fs-uuid 6234-C863 --hint hd0,msdos3"
랩탑의 경우과 같이 부트 장치의 순서를 조정할 수 없는 경우
"Tiny Core Image Build" 부트엔트리에 진입을 못할 수 있습니다.
왜냐하면,
UUID 를 검색해서 부트장치를 동적으로 찾는 경우는
hd0 가 아닌 hd1 이후의 장치로 존재하는 경우도 찾아낼 수 있는데,
set root=(hd0,msdos3) 를 정적으로 사용하는 경우
hd0 가아닌 hd# 으로 미스매치해서 부팅이 안될 수 있습니다.
v1.0.1.0
In the "Tiny Core Image Build" boot entry in /boot/grub/grub.cfg of the first deployment image img,
the part that changed to search for the UUID of the file system instead of "set root" was missing,
so the img file was modified and distributed again.
"set root=(hd0,msdos3)"
-> "search --set=root --fs-uuid 6234-C863 --hint hd0,msdos3"
If you cannot adjust the order of boot devices, such as in the case of a laptop
You may not be able to enter the "Tiny Core Image Build" boot entry.
because,
When dynamically finding the boot device by searching UUID,
You can also find cases where it exists as a device after hd1 rather than hd0.
When using set root=(hd0,msdos3) statically
Booting may not be possible due to a mismatch with hd# instead of hd0.
(한국어 번역)
최초 배포이미지 img 의 /boot/grub/grub.cfg 의 "Tiny Core Image Build" 부트엔트리내용에서
"set root" 대신 파일시스템의 UUID를 검색하도록 변경한 부분이 누락되어 img 파일을 다시 수정배포했습니다.
"set root=(hd0,msdos3)"
-> "search --set=root --fs-uuid 6234-C863 --hint hd0,msdos3"
랩탑의 경우과 같이 부트 장치의 순서를 조정할 수 없는 경우
"Tiny Core Image Build" 부트엔트리에 진입을 못할 수 있습니다.
왜냐하면,
UUID 를 검색해서 부트장치를 동적으로 찾는 경우는
hd0 가 아닌 hd1 이후의 장치로 존재하는 경우도 찾아낼 수 있는데,
set root=(hd0,msdos3) 를 정적으로 사용하는 경우
hd0 가아닌 hd# 으로 미스매치해서 부팅이 안될 수 있습니다.
1.0.1.0 Upgrade from Tinycore Linux version 12.0 (kernel 5.10.3) to 14.0 (kernel 6.1.2)
to improve compatibility with the latest devices.

v1.0.0.5
1.0.0.1 Improved platform release ID identification method
1.0.0.2 Setplatform() function converted to custom_config.json reference method
1.0.0.3 To prevent partition space shortage, custom.gz is no longer used in partition 1
1.0.0.4 Prevents kernel panic from occurring due to rp-lkm.zip download failure
        when ramdisk patching occurs without internet.
1.0.0.5 Add offline loader build function
[ Assign drive letter to USB 3rd partition in Windows 10 and prepare to pre-download github module for offline loader build ]
-
After downloading, installing, and running MiniTool Partition Wizard Free, assign a letter to the 3rd USB partition (change letter menu)
https://cdn2.minitool.com/?p=pw&e=pw-free
(It is normal if the drive letter is not visible immediately after changing) -
Run powershell and install git app
winget install --id Git.Git -e --source winget -
Rerun powershell
-
Move to the given drive root d: e: etc…
-
Execute the git clone / curl download command below
curl -Uri https://raw.githubusercontent.com/PeterSuh-Q3/tinycore-redpill/main/prepare-offline.bat -OutFile prepare-offline.bat
./prepare-offline.bat -
Access Synology Download Center and download pat file
https://www.synology.com/en-us/support/download
Change the file name of the download folder ( remove DSM_, other English letters are all lowercase, + changes to p )
DSM_SA6400_69057.pat -> sa6400_69057.pat
DSM_DS920+_69057.pat -> ds920p_69057.pat
Copy the renamed pat file into the auxfiles folder created above.
[Mount the third USB partition on MacOS and prepare to pre-download the Github module for building an offline loader]
-
Run the terminal app
-
Check disk#s3 (disk number) with diskutil list
-
Create temporary directory for mounting and mount USB 3rd FAT32 partition RW
(Assuming TCRP USB is disk3)
sudo mkdir /Volumes/disk3s3
sudo mount -t msdos /dev/disk3s3 /Volumes/disk3s3 -
Go to the mounted path
cd /Volumes/disk3s3 -
Execute the git clone / curl download command below
curl -kLO https://raw.githubusercontent.com/PeterSuh-Q3/tinycore-redpill/main/prepare-offline.bat
./prepare-offline.bat -
Access Synology Download Center and download pat file
https://www.synology.com/en-us/support/download
Change the file name of the download folder ( remove DSM_, other English letters are all lowercase, + changes to p )
DSM_SA6400_69057.pat -> sa6400_69057.pat
DSM_DS920+_69057.pat -> ds920p_69057.pat
Copy the renamed pat file into the auxfiles folder created above.
[ Mount the third USB partition in Linux-Ubuntu Try and prepare to pre-download the Github module for offline loader building ]
-
Select USB Media 1.5 GB Volume from the left activity bar and open the folder.
-
Right-click inside the 1.5 GB Volume folder, select “Open In Termial” menu, and open terminal.
Make sure you stay in the path "/media/ubuntu/6234-C863" -
Install curl and git
sudo apt install curl git -
Execute curl download command (git clone script included in bat file)
curl -kLO https://raw.githubusercontent.com/PeterSuh-Q3/tinycore-redpill/main/prepare-offline.bat
./prepare-offline.bat -
Access Synology Download Center and download pat file
https://www.synology.com/en-us/support/download
Change the file name of the download folder (remove DSM_, change all other English letters to lowercase, + to p)
DSM_SA6400_69057.pat -> sa6400_69057.pat
DSM_DS920+_69057.pat -> ds920p_69057.pat
Copy the renamed pat file into the auxfiles folder created above.
v1.0.0.0
0.9.6.0 To prevent partition space shortage, rd.gz is no longer used in partition 1
0.9.7.0 Improved build processing speed (removed pat file download process)
0.9.7.1 Back to DSM Pat Handle Method
1.0.0.0 Kernel patch process improvements
v0.9.5.0
Added storage panel size selection menu and applied processing Addon (StoragePanel).
Thanks to @wjz304.
If you enter the loader build menu, you will see the new menu below activated by automatic update.
The bay size of the storage panel is basically selected as the size of the genuine model.

You can choose the size you would like to change.
After that, just build the loader as usual.

If you want to change the bay panel type again after using it,
Even if DSM is already installed, you can run the Change Storage Panel registered in the manual scheduler.
The size selected at the time of the loader build is the last one recorded.
After editing, you can record one of the examples written after the # in the option at the back of storagepanel.sh in the task settings without typos.
The size of the M.2 bay is arbitrarily set to 1X4.
If you write only the desired number in ?/# in the form of ?X#, the size of the M.2 bay changes accordingly. The ? number in front is the singular number, and the # number after it is the quantity for each stage.
Modify the option after .sh, check it, execute it, and reboot once to reflect it.

Contributors
Assets 2
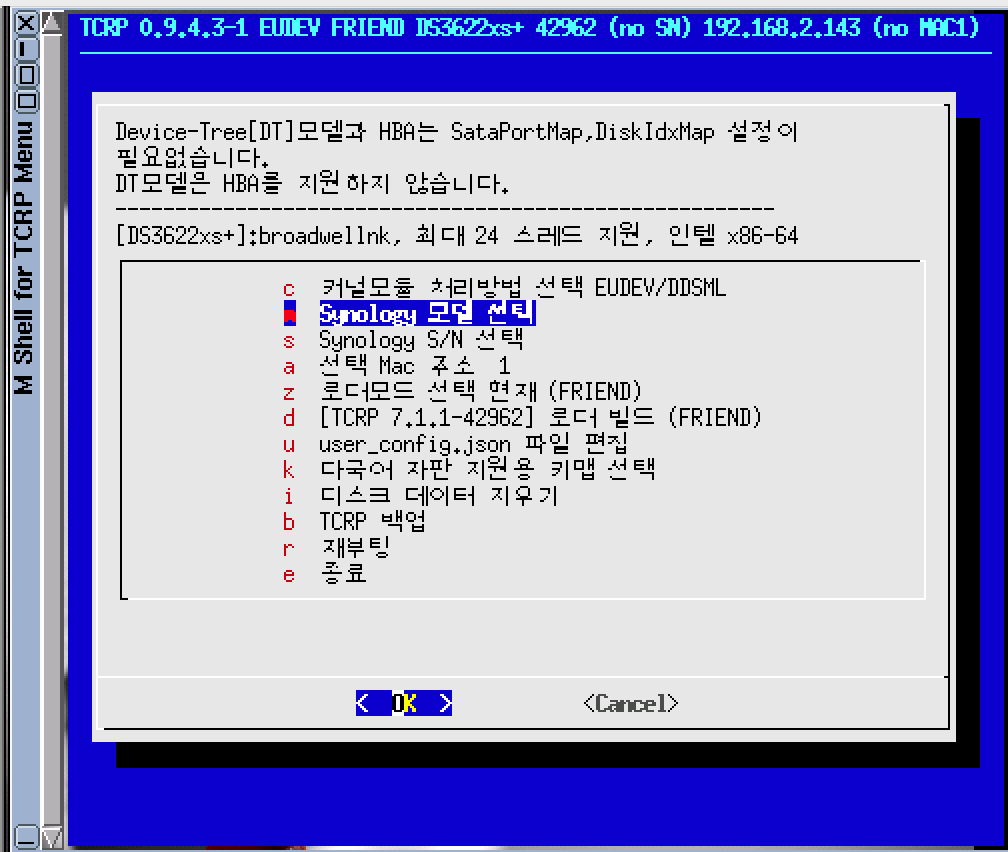
v0.9.4.3-2
Integration of DDSML and EUDEV.

v0.9.4.3-1
Update : Multilingual menu support started (Korean, Chinese, Japanese, Russian, French, German, Spanish, Brazilian, Italian supported)
2023.03.25
|

|

|

|

|

|

|

|

|
v0.9.4.0-1 partition sizeup & modified for M Shell


This distribution file is released by adding the m shell file to the original TCRP release of pocopico.
extra Include file : my.sh.gz my.sh myv.sh myfunc.h menu.sh sngen.sh macgen.sh
There is a new distribution of menu.sh that looks like an APRL-style menu.
[ Fixes ] 2022.11.27
-
By using a USB stick, all the elements that were unstable in bare metal have been improved.
(It is recommended that the USB stick use version 3.0 and 3.0 or higher ports if possible.
Fast processing of USB stick reduces the chance of encountering file corruption messages in 55% of the DSM installation stage.) -
The necessary dialog.tcz and kmaps.tcz are included as built-in packages so that they are not downloaded every time they are executed, and the execution speed on a relatively slow USB stick is increased.
-
When the rploader monitor on the left is executed for the first time, the time is automatically synchronized when menu.sh is executed so that there is no discrepancy in UTC time.
-
In the rploader monitor, the current time and the extension required for the Ethernet interface have been added.
-
In the process of updating from TCRP FRIEND to DSM 7.1.1-42962 Update 2, the size of the first partition has been increased to 72M to prevent insufficient space in the first partition. (Worked with tinycore gparted.)
The first partition has been increased from 48M to 72M.
The vmdk third partition has been increased from 900M to 4GB.Fixed an issue where M Shell auto-updating did not work in img images.
-
Mac address input is supported up to 4 nics.
-
The multilingual keymap has not yet been verified in operation.
v0.9.3.0-1 partition sizeup
my.sh.gz