FAQ
ReaCoMa works by leveraging the ReaScript API. Lua script function as bridges between the FluCoMa command line tools and ask them to operate on the media items created and stored in the REAPER session. When slices are made, or new outputs are created by these command-line tools, they are automatically inserted or used to update the REAPER session. The following steps describe roughly how the lifecycle of a ReaCoMa script works:
- Lua script is executed
- GUI is launched
- Parameters are set by user
- ReaCoMa forms a command-line call
- FluCoMa command-line executables perform function
- ReaCoMa extracts output
- ReaCoMa updates REAPER session
Once ReaCoMa has been installed properly (see installation) the ReaCoMa scripts are available directly within the source code following the convention of fluid-*.lua. If you used the automatic installation method, ReaCoMa will be in the Scripts directory in the REAPER "Resource Path".
You can bind individual scripts to custom actions in REAPER. I've provided instructions for how to do this in the ReaComa 1.0 tutorial video series. The link to that video is here:
https://youtu.be/ejQu06GDDXE?t=28
The resource path is a location REAPER sets aside to manage extensions, scripts, preferences and lots of different aspects of the REAPER installation. I preference installing and modifying ReaCoMa within the bounds of the Resource Path for two reasons.
- If you want to uninstall or update ReaCoMa, it is easy to locate the files.
- Files, scripts and other assets are less likely to be moved or deleted by other programs.
The interface for ReaCoMa offers range inputs for manipulating the parameters of the process that will be executed. When you want to perform the slicing or decomposition process you can press the appropriate button at the top of the interface or press enter.
Some people, myself included find editing the sliders tedious. You can use TAB and the keyboard to edit the parameters with more precision. Repeatedly pressing TAB will cycle through the different parameters.

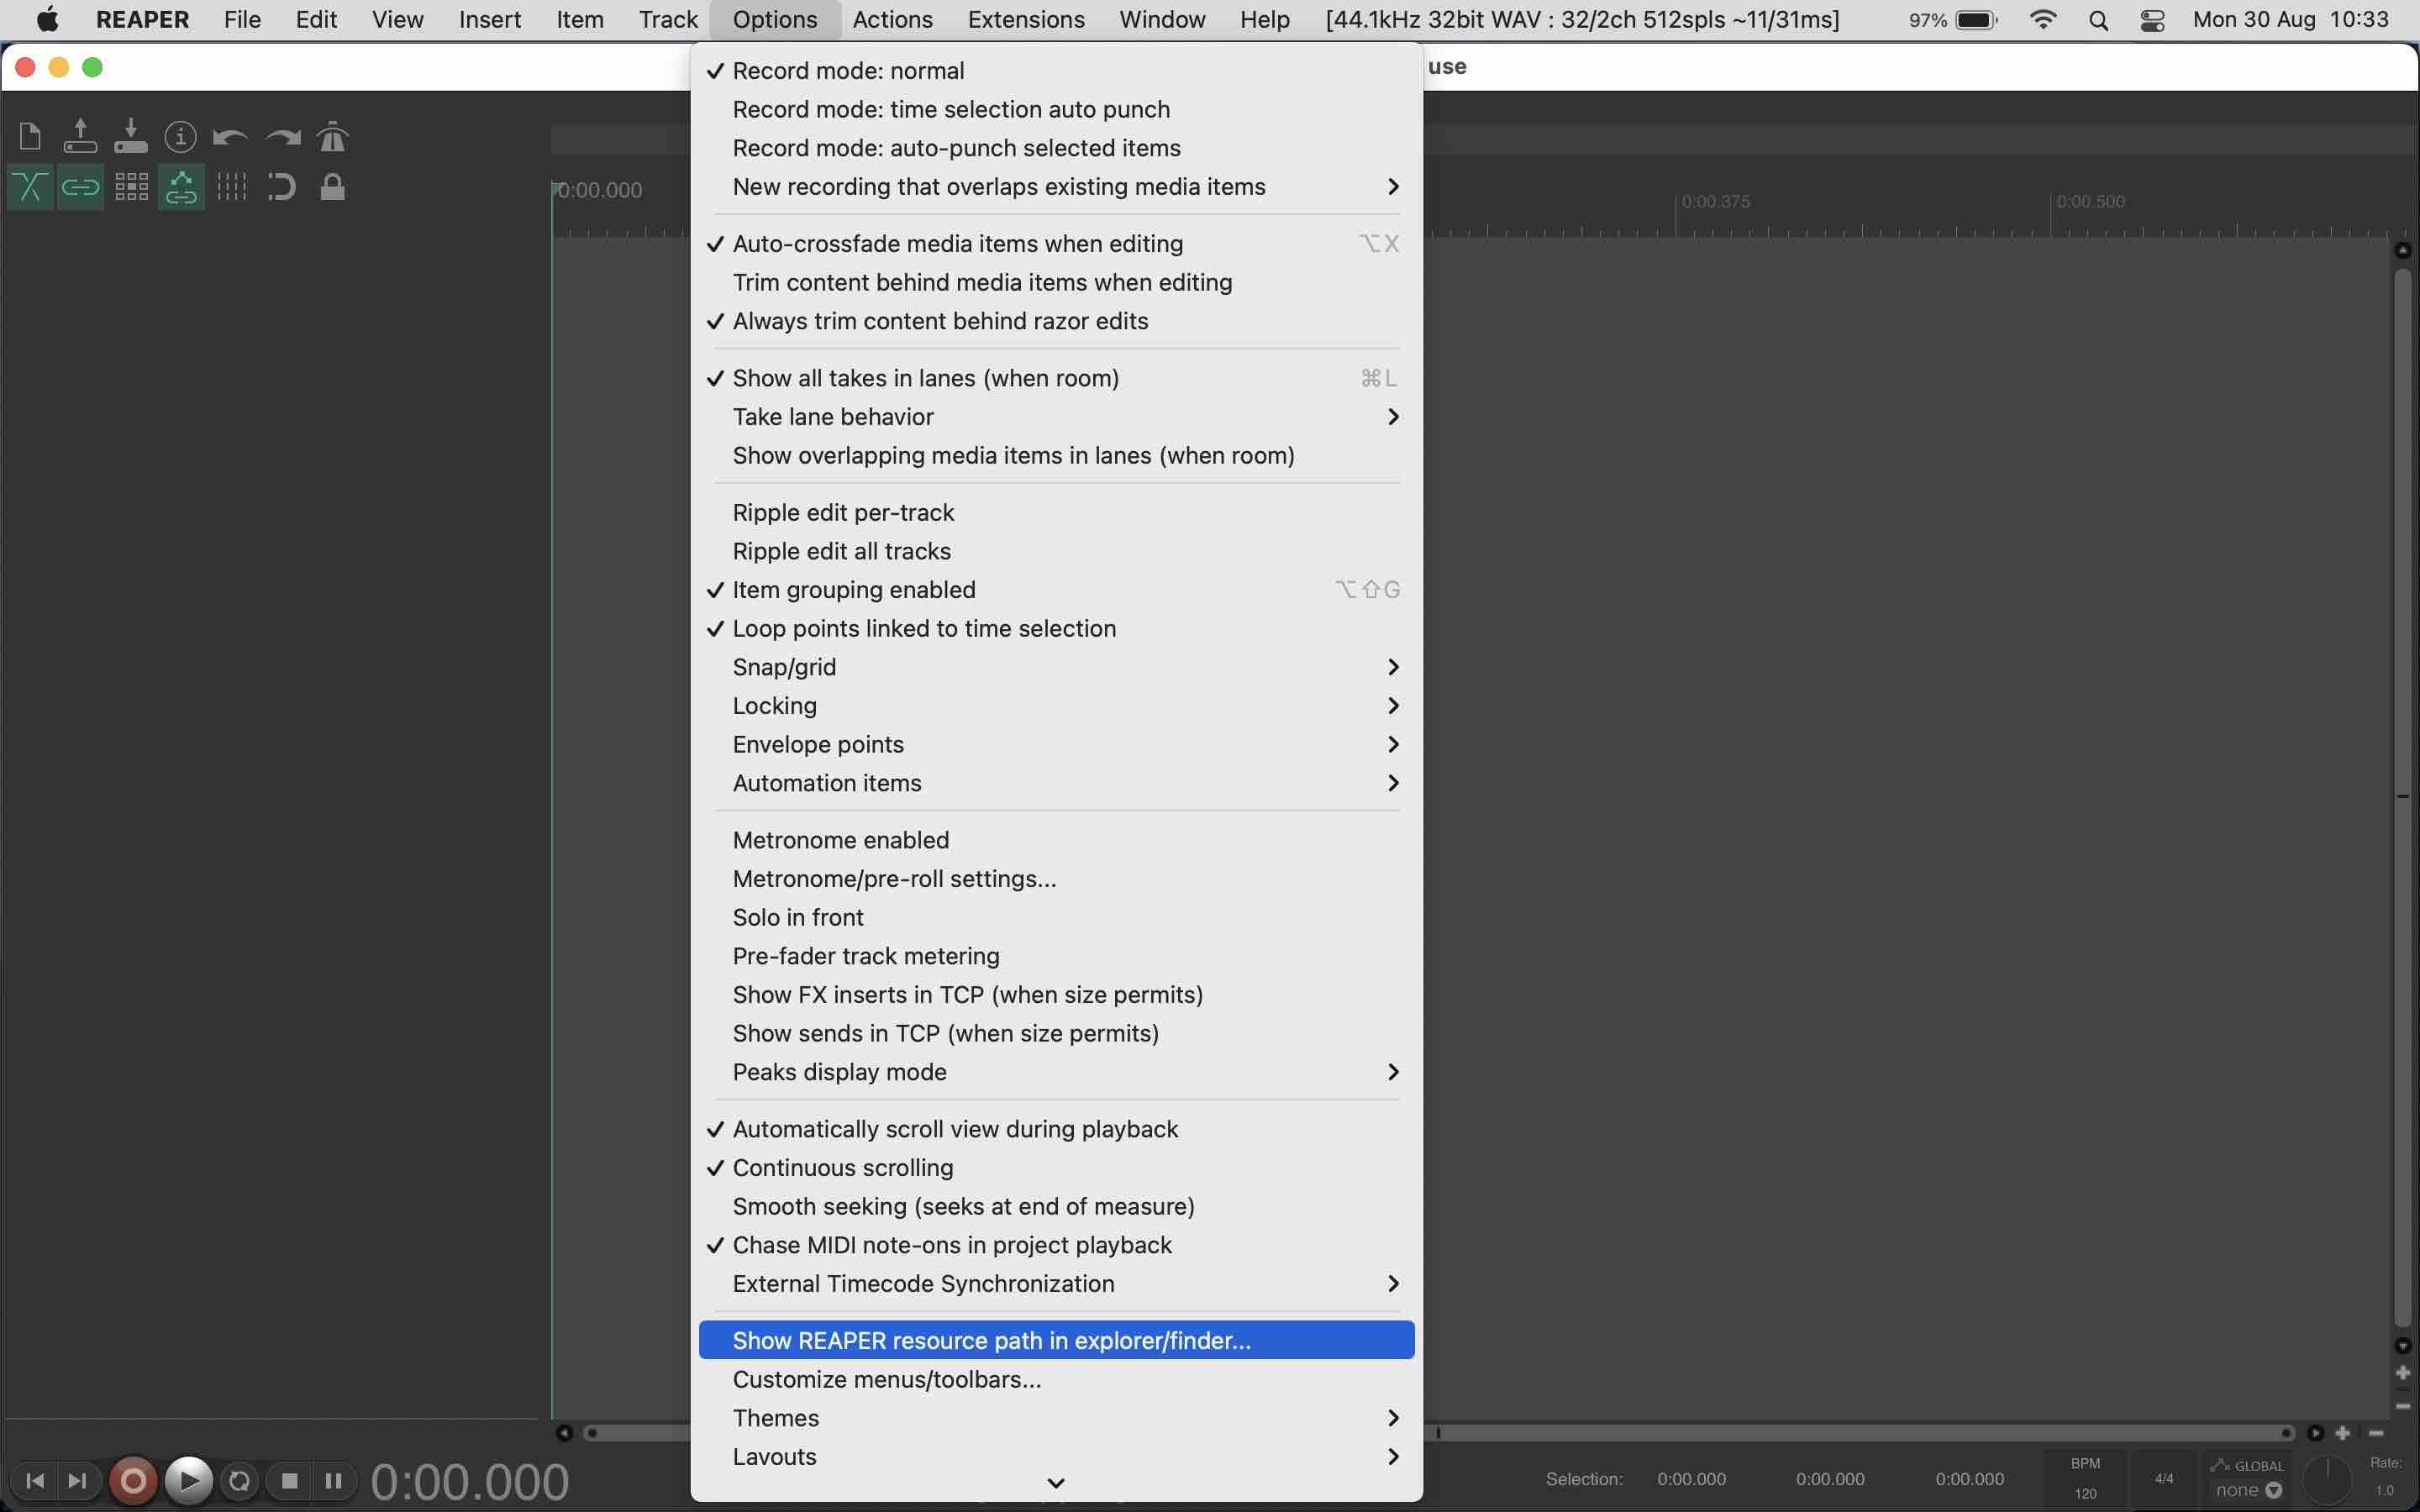
- ReaCoMa folder. If you used the manual installation method you will have put this wherever you wanted to. If you used the automatic installation it will be in the "Resource Path". You can find this by going to Options -> Show Resource Path.
-
ReaImGui Shared library. This is located in the "Resource Path" in the "UserPlugins" folder.
-
FluCoMa executables. If you used the manual installation method you will have put this wherever you wanted to. If you used the automatic installation method it will be in the /bin folder inside the ReaCoMa folder. The ReaCoMa folder is in the
Scriptsdirectory inside the "Resource Path".