Notice!! Now I'm using lua version for my neovim configuration and management :)
If you want to copy My neovim configuration, this readme tutorial may help you a lot.
Also, this configuration help me to remember the forgotten function. After all, the configuration is so much.
If you use neovim-win64, you may want to apply this branch
- Of course you have to install
Neovim:
-
for Windows:
choco install neovim
-
for Linux:
apt install neovim
-
for MacOS:
brew install neovim
- clone the repo into your
$HOME/.config/
git clone https://github.com/Rogerskelamen/nvim.git
mv ./nvim $HOME/.config/-
get into your neovim and add plugin:
:PlugInstall(optional but recommended) -
(optional)if you want to use semshi, you have to run
:UpdateRemotePlugins(see #60)
-
python3 -
node -
clang -
ctags
My neovim use vim-plug as default plugin manager
You can change it into other plugin manager as you wish
I use the coc.nvim as default code completion tool
-
coc-explorer -
coc-yank -
coc-vimlsp -
coc-syntax -
coc-snippets -
coc-marketplace -
coc-json -
coc-html -
coc-emmet -
coc-vetur -
coc-tsserver -
coc-jedi -
coc-java -
coc-go -
coc-css -
coc-clangd -
coc-markmap -
coc-translator -
coc-tabnine -
coc-calc
You can easily change one of them by adding the following settings:
let g:coc_global_extensions = ['coc-explorer']My Neovim now use the everforest as default
There are some other options to choose:
-
A nice dark theme for I use it for a long time
-
A low-contract theme with cold color (mainly blue)
-
The very classic colorscheme, the Dracula!
-
A very elegant theme, really nice!
If your terminal support 24-bit(true color), you can use this command below to make your Neovim also use 24-bit:
set termguicolors
let $NVIM_TUI_ENABLE_TRUE_COLOR=1
ps: and I have set it for you
You may find all the color scheme have their transparent background, but it is actually configured by Neovim. You can release the certain line to turn on/off the effect:
autocmd vimenter * hi Normal guibg=NONE ctermbg=NONEAll of these has coded into the init.vim, you can turn on one of them by release the certain comment
my neovim makes the cursor as a block when you in normal mode, and it will changes into a slim line once you insert some content
First of all, My LEADER key is Space, do remember
S for Save, and Q for Quit
Ctrl+q for Quit All!
These four has been changed into move 5 lines or 5 columns
use m to jump to the end or start of the line
-
<LEADER>+ movement keyMove toward the exact direction that you press the key between different windows.
-
direction key (UP...)
Expand or shrink the windows size according to your direction key
-
<LEADER>+ v or + sCreate a split window, v for vertical, s for no vertical
-
sv,shsplit vertically, split horizontally
Change the format of current split window,
svfor vertical one,shfor horizontal one.
Since I integrated the wildfire and vim-surround, it becomes easy to select a code block and change it into other code blocks(or surrounded by other brackets).
-
Enter+
S": select the code block and make it surrounded by" -
cs'": change'bracket into"
-
tu: open a new tab -
th,tl: move to a left/right tab
use only one
>or<to indent the line
-
<LEADER>rc: open the$NVIM/init.vimwith nvim. -
<LEADER>sc: open the Spell Check function -
<LEADER>y: open the clipboard history -
<LEADER>o: toggle fold
the default s key has been disabled. You can either transform it into some other key function
-
<LEADER> + /: make the highlight disabled -
\v: visual mode make to line end -
\s: the global replace -
double press
<LEADER>Press space twice to jump to the next '<++>' and edit it, this is a little trick to make your coding more sufficiently
Line number is shown at left, cursorline is also able. And if you want to turn on the relativenumber, please set set relativenumber
I have made the neovim shows the | when you press Tab (polyglot support), and the ▫ when you press Space as long as the cursor at end of the line.
Also, when you open a file, I make the neovim to put your cursor on the position the last place you closed the file.
In addition, when you scroll you screen, the cursor will stay 5 lines above the bottom of the screen and 5 lines below the top of the screen.
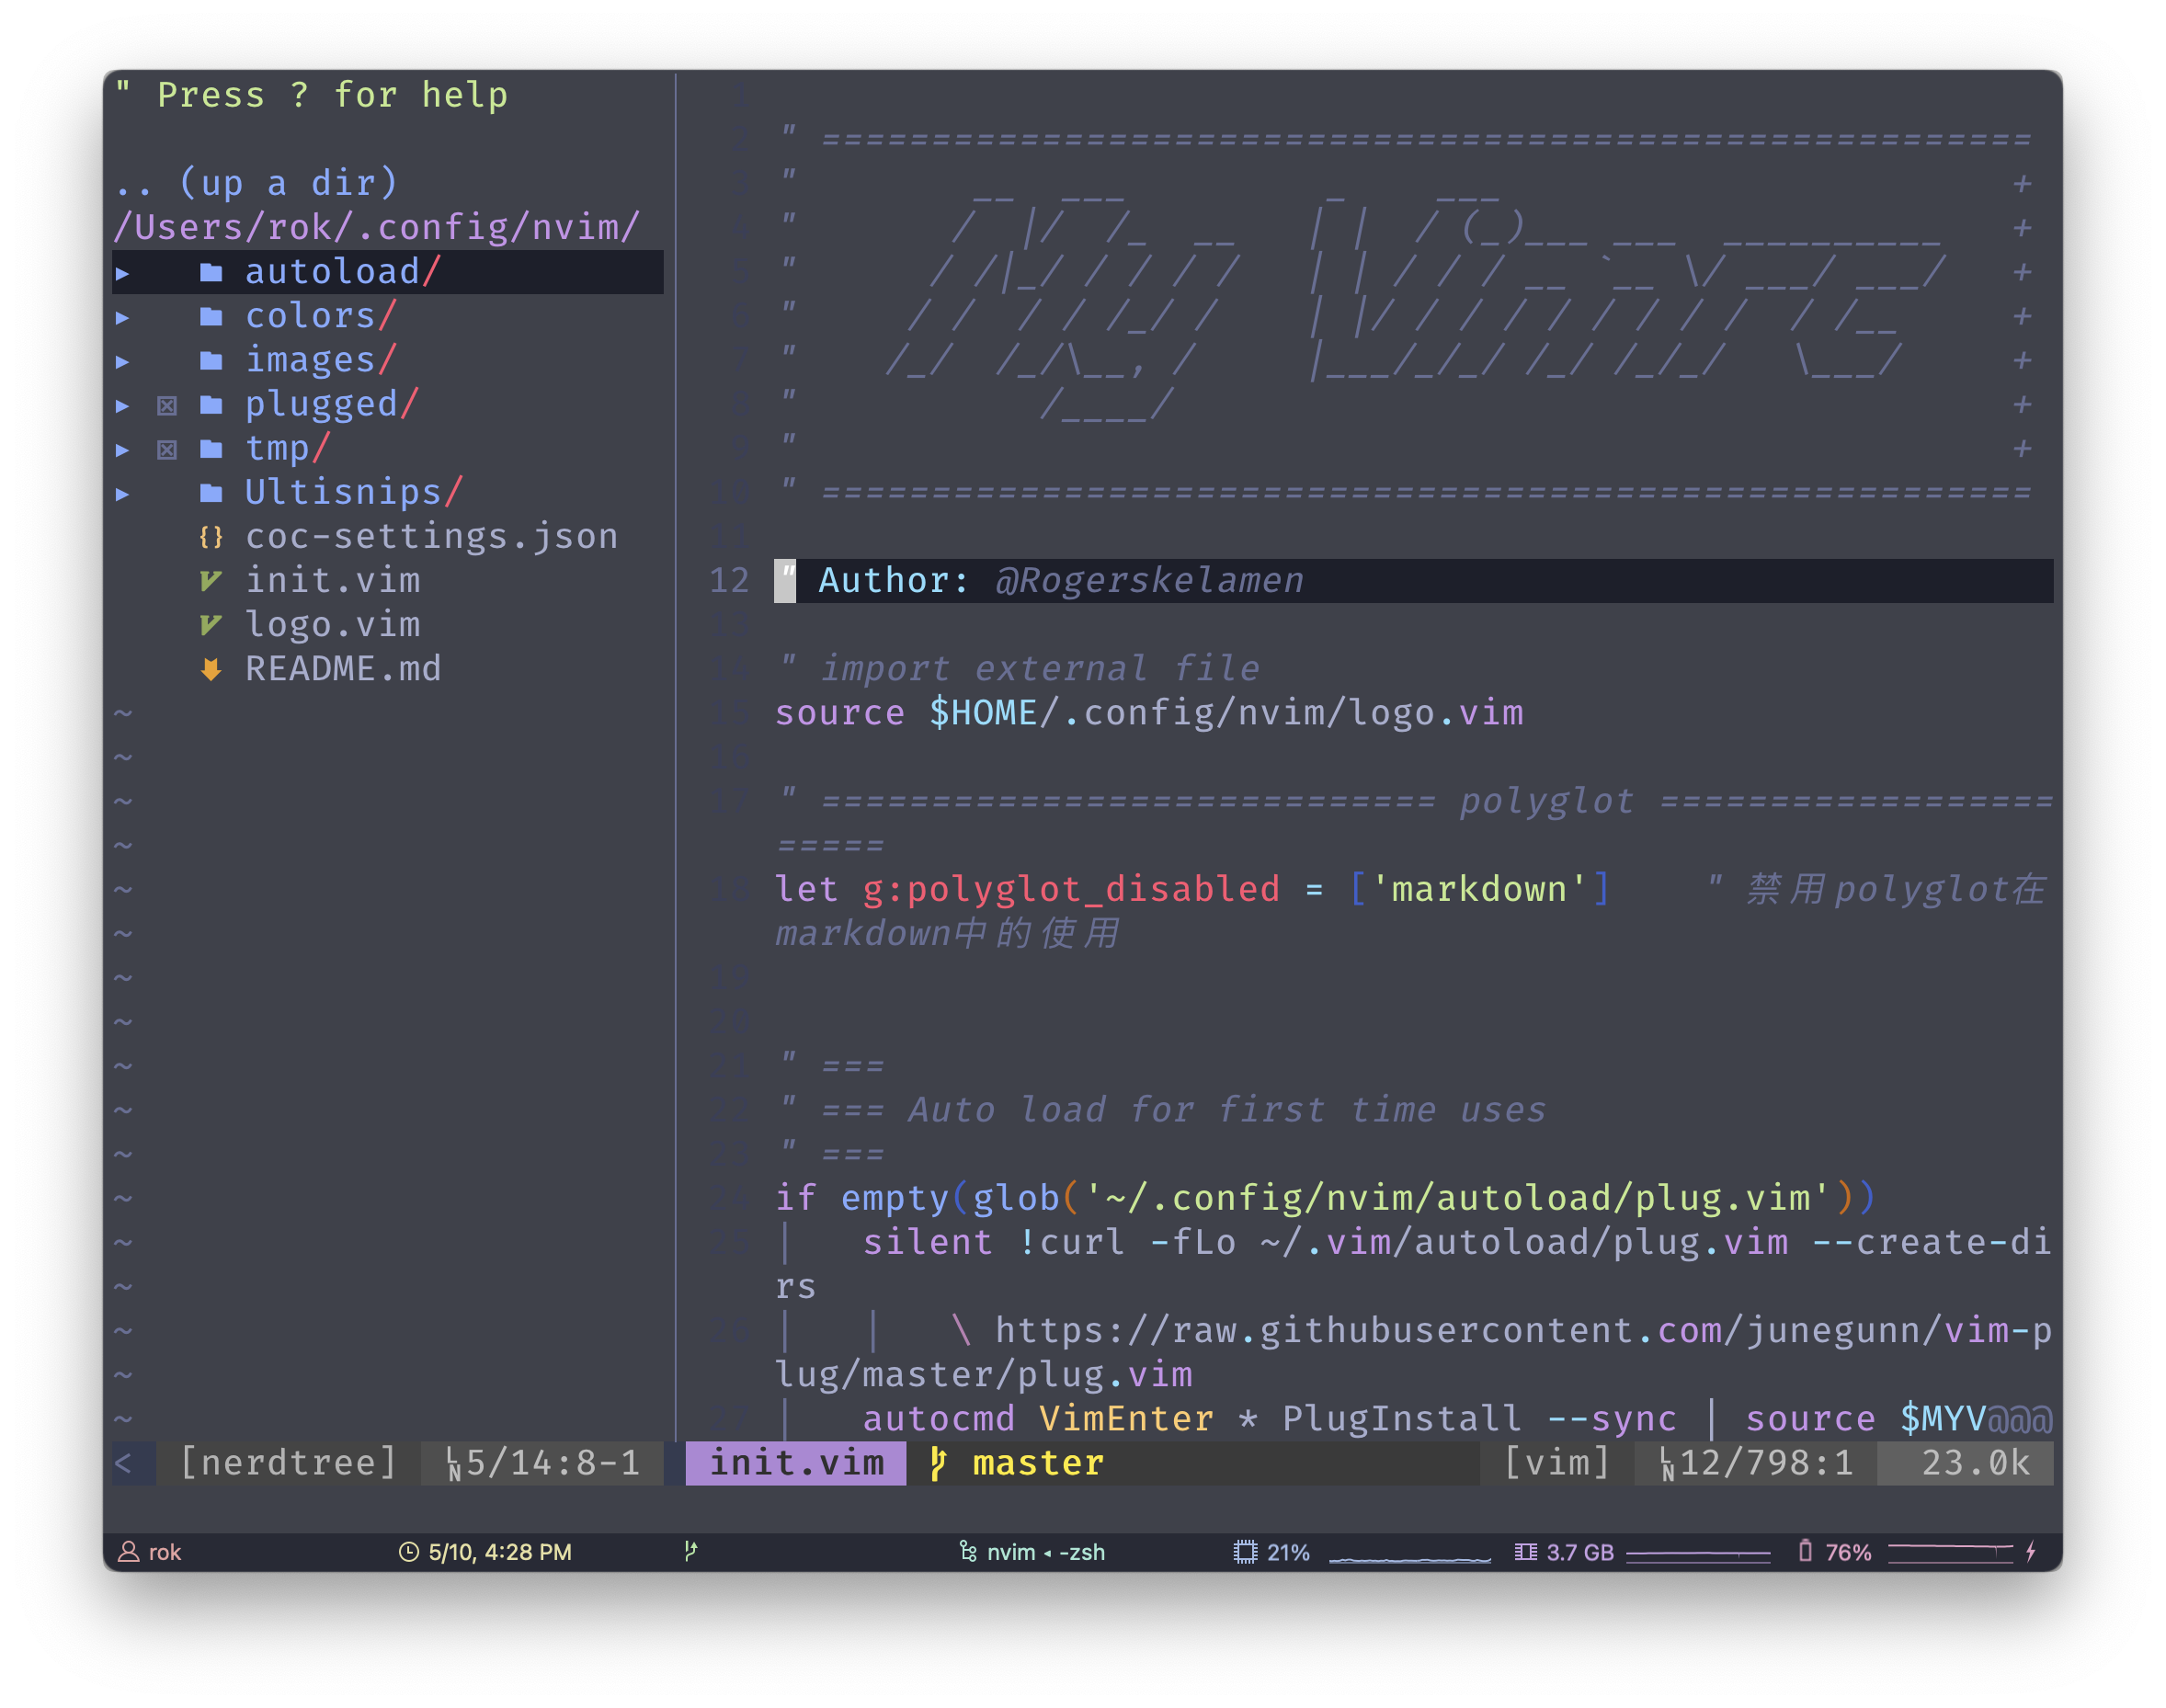
Now I use a static neovim logo
I use figlet to draw the 3D-ascii, so you have to get figlet installed in your machine if you want the ascii picture.
As well, you have to add 3d.flf to figlet which makes sure the command works well.
you can run your code just simply press r key, and the supported languages are listed below:
-
c -
c++ -
java -
shell -
python -
html -
markdown -
tex -
javascript -
go
Of course you have to get the correct compiler first
-
Ctrl+i or Tab: open coc-explorer
-
tt: open the Tagbar -
<LEADER>c<LEADER>: comment or discomment one line or a block -
<LEADER>f: open the fzf in neovim -
<LEADER>b: open the buffers view window -
<LEADER>rg: open the ranger in neovim -
<LEADER>m: open the cmus controller in neovim -
<LEADER>g: open the lazygit interface -
<LEADER>e: open the chinese translator -
<LEADER>x: calculate out the result of current expression -
<LEADER>u: toggle the UndoTree -
g]: go to the next error place -
g[: go to the previous error place -
gd: go to the definition -
gy: go to the type definition -
gi: go to the implementation -
gr: go to the references -
Ctrl+h: show document
-
<LEADER>H: preview the Git Change -
<LEADER>gf: fold git Gutter -
g-: go to previous git change -
g=: go to next git change
The Ctrl+i has been mapped as coc-explorer, so I map the Ctrl+l to return the next changed area
Use LEADER+Enter to open a terminal below your edit workspace
-
Ctrl+n: quit inputting in terminal
-
Ctrl+o: quick back to editing file
Warning: by now you could only use one terminal for your editing session, I will continue to improve it.
For a better experience of markdown writing, you should add a file named
.ctagsin your$HOMEdirectory. It contains following content:
--langdef=markdown
--langmap=markdown:.md
--regex-markdown=/^(#+)[ \t]+([^#]*)/\1 \2/h,header,Markdown Headers/
--regex-markdown=/\[([^\[]+)\]\(([^\)]+)\)/\1/l,link,Markdown Links/
--regex-markdown=/!\[\]\(.*[\/ ](.*\.[a-z]{3})\)/\1/i,image,Markdown Image/
Then you could press tt to call your ctags to show markdown outline.
Make sure that you have installed ctags
-
,b: bold text -
,i: italic text -
,u: underline text -
,k: keyboard text -
,$: latex math text -
,c: code block -
st: toggle markdown table mode -
<LEADER>z: open the markmap in browser