Malware analysis lab: how to configure a virtualized environment to analyze malware as well as the process of downloading and running malware. This write-up will follow both LetsDefend's modules on static/dynamic malware analysis as well as TCM Security (Matt Husky's) Practical Malware Analysis & Triage course.
Personally, I prefer using VMware Workstation over Virtual Box, but for this lab it's important to use Virtual Box due to SNAPSHOTS. This allows you to revert the virtual machine back in time, so once malware infects the virtual machine, you are able to revert back before it even happened. As with my other labs, I'm not going to go over how and where to download Windows ISO files or the step-by-step of setting up virtual machines. I will talk about the settings that I used on the initial Virtual Box setup to make sure that we can work as efficiently and safely as possible. Once your Windows 10 machine is installed and you're logged in, one of the first things to do is CREATE A SNAPSHOT of the base installation. God forbid something goes wrong or you install the wrong thing, at least you won't have to sit through the installation process again. I downloaded Google Chrome, installed it, and then made a snapshot of the base install.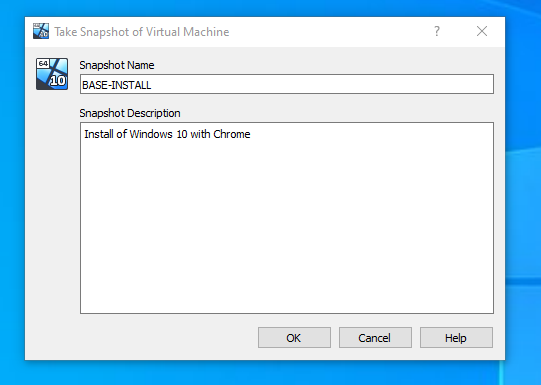
Now we need to install FLARE-VM, which is a bunch of malware analysis tools (can be found here: https://github.com/mandiant/flare-vm). We are going to scroll down a bit to the Installation section, and right click on the "install.ps1" script to copy the link address. Open up PowerShell as an administrator. Below are the PowerShell commands we can run in order to download and install these tools on our Desktop.

Set-ExecutionPolicy Unrestricted
Type A for yes to all
wget https://github.com/fireeye/flare-vm/raw/master/install.ps1 -UseBasicParsing -outfile C:\Users\[YOUR_USERNAME_HERE]\Desktop\install.ps1
Be sure to change your username inside of your path
cd C:\Users\[YOUR_USERNAME_HERE]\Desktop\
Again, be sure to change your username
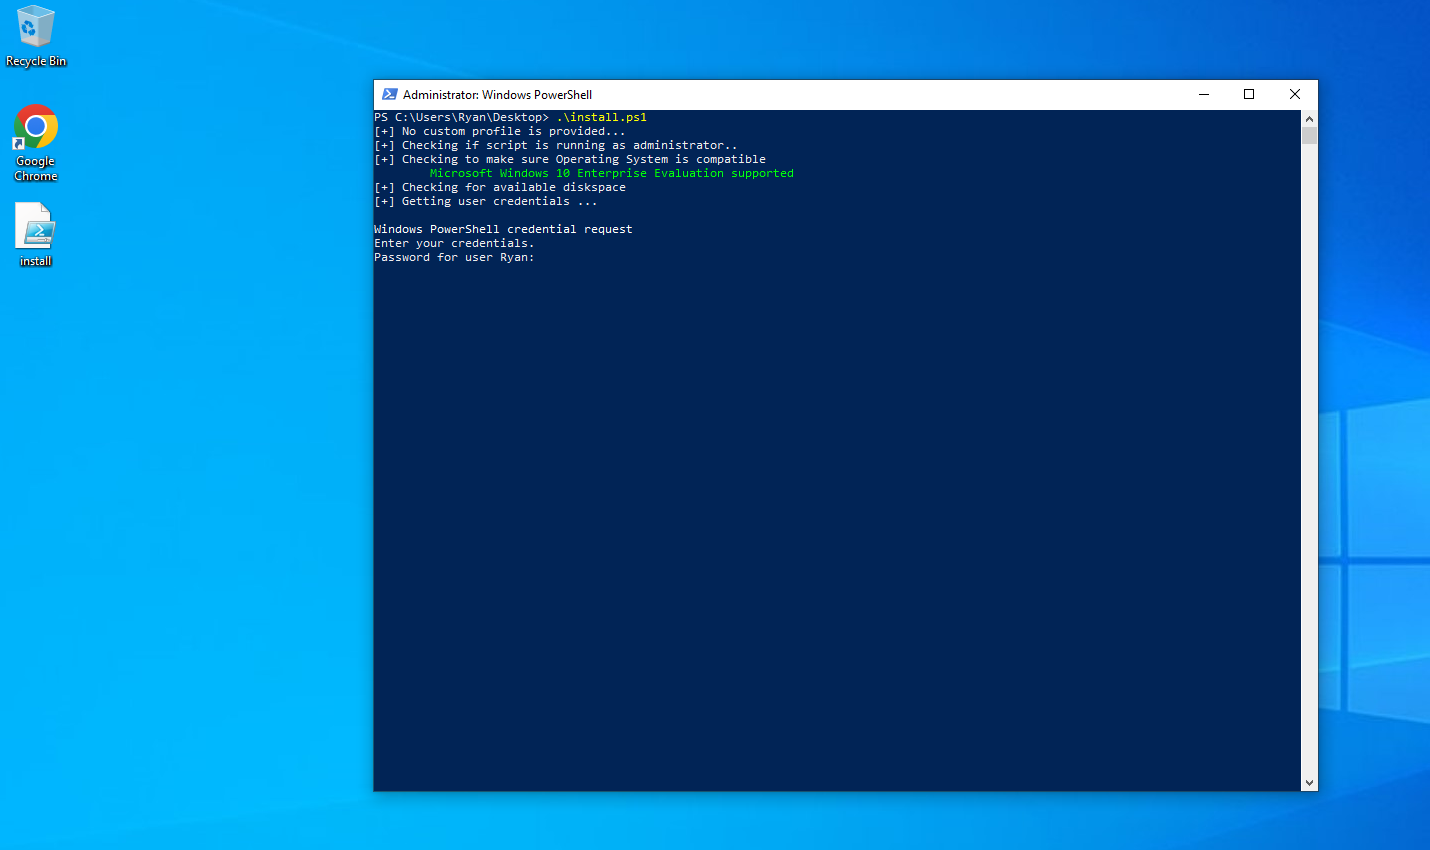
.\install.ps1
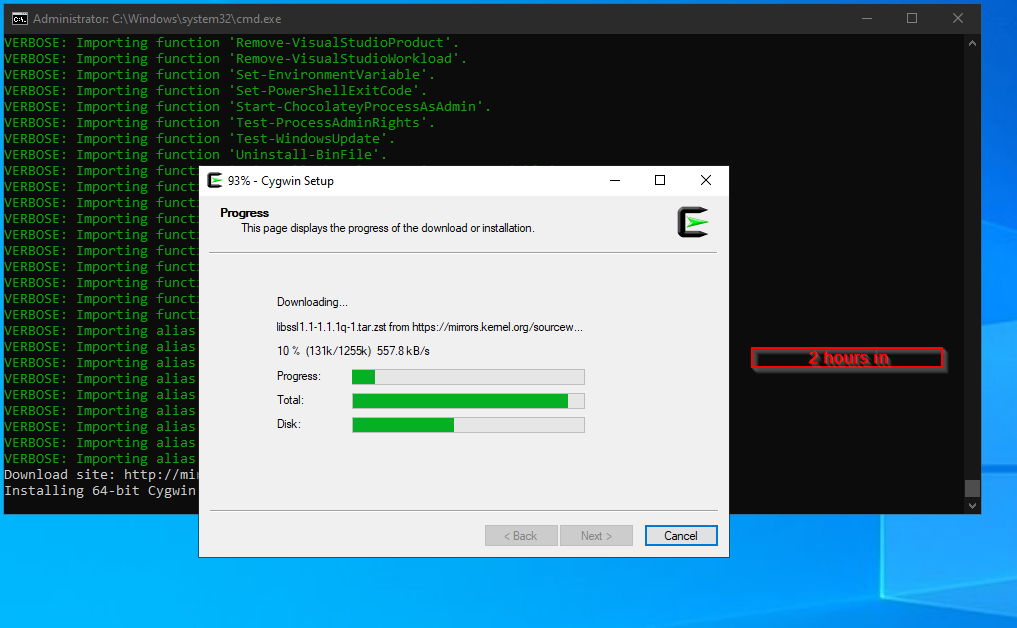
Enter your password and now you wait for about 4 hours for the installation. No, seriously - this took a few hours for me. I did have to press enter a few times after certain parts of the installation in order to continue, but just keep checking back every so often.
Once everything is done installing, your background should have been changed. Go ahead and restart, log back in, and CREATE YOUR SNAPSHOT.

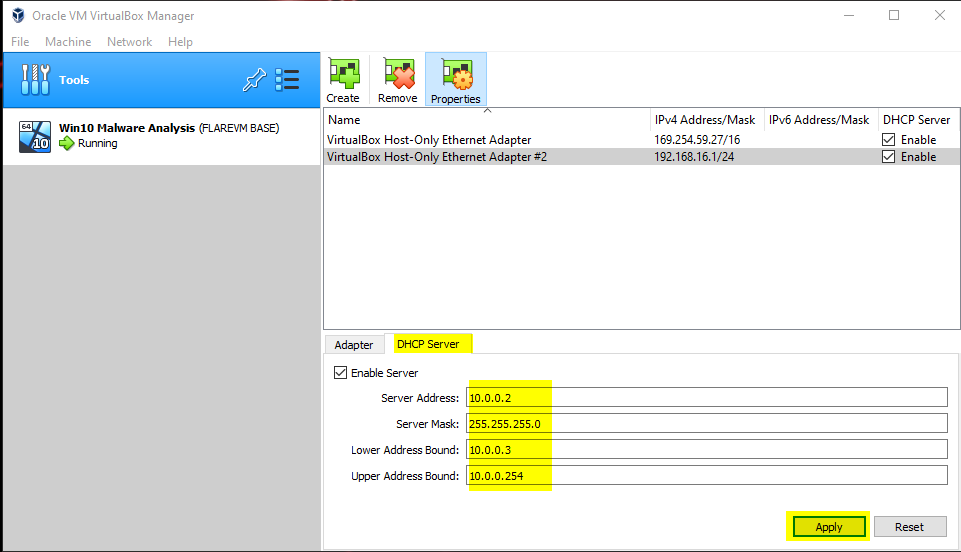
I know that I was thinking about the security of my actual, physical computer during this setup, and you should be too. With that in mind, we have to configure a private virtual network so that any malware we play with doesn't spread throughout our real network. Inside of Virtual Box, click on Tools and select Network. We are then going to create a new network. We are then going to check the box to enable DHCP, and change our network's classful address to something different than what we use on our home network.


Now we'll go to the DHCP Server tab and identify the server as 10.0.0.2, add in our upper and lower ranges, and then apply.
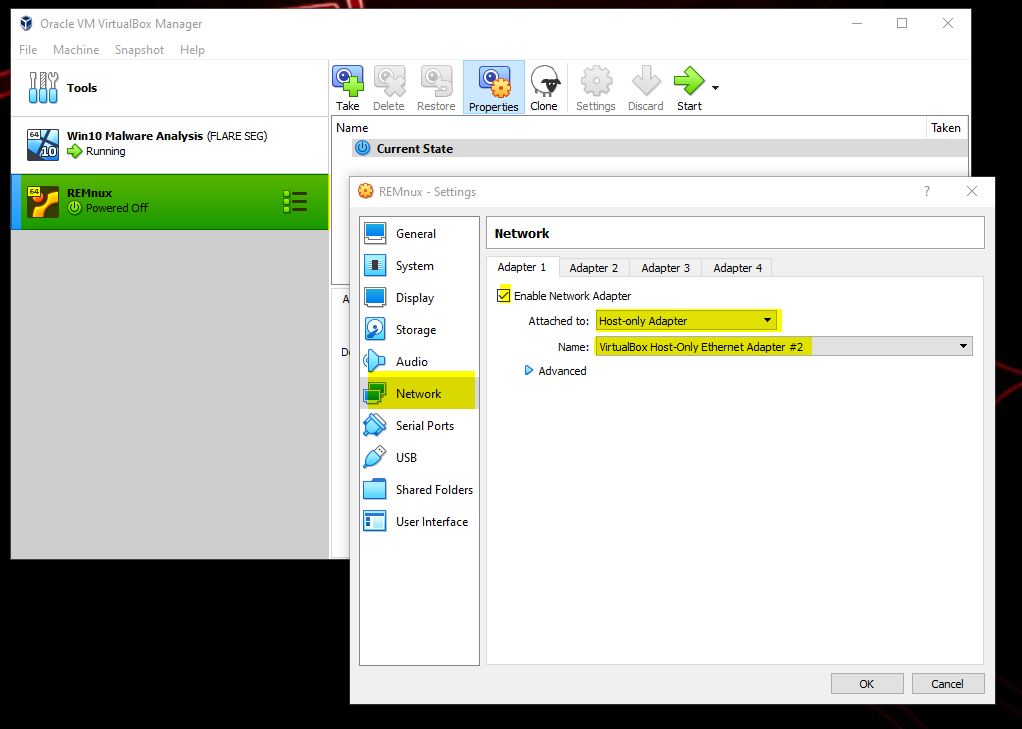
We're going to go back to Virtual Box settings for our machine and change our adapter to HOST-ONLY ADAPTER instead of NAT or BRIDGED. Make sure you select the adapter name that you just created. Also verify that in the other tabs for adapter 2, 3, and 4, the checkbox to enable the adapter is UNCHECKED.

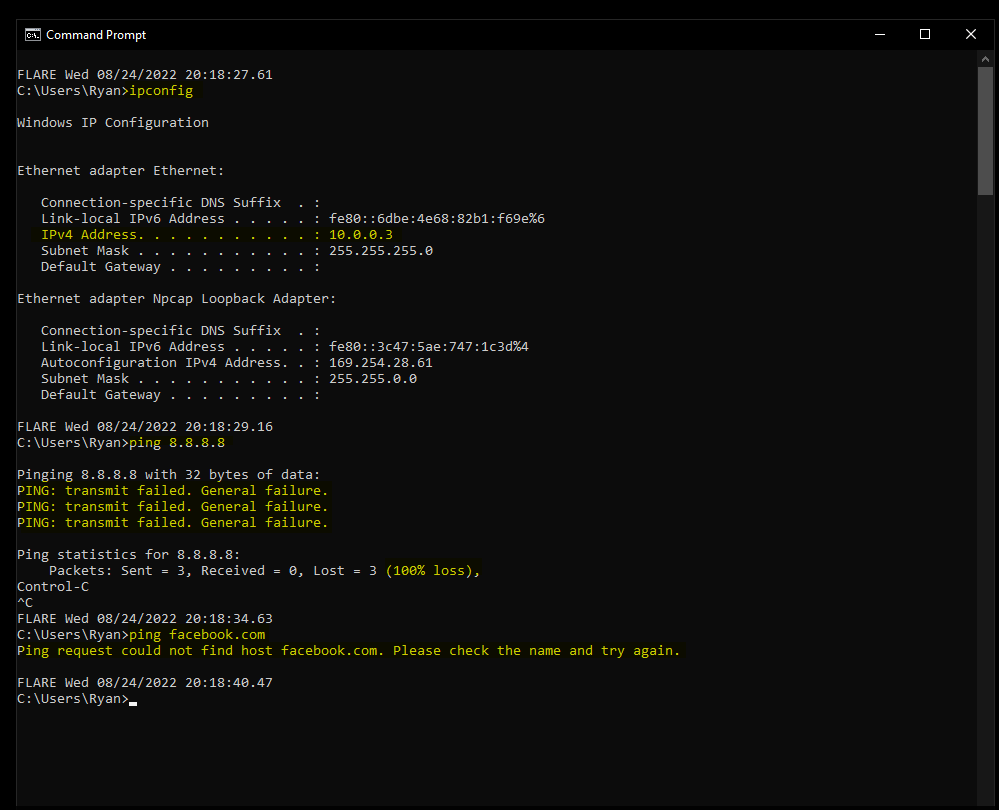
You can verify everything is correct by running an ipconfig command, verifying you're on the 10.x.x.x network, and attempting to ping 8.8.8.8. With this virtual network setup, you should be unable to ping outside of the virtual network.
We are going to configure the same network adapter settings as we did with the Windows 10 machine - HOST-ONLY ADAPTER.
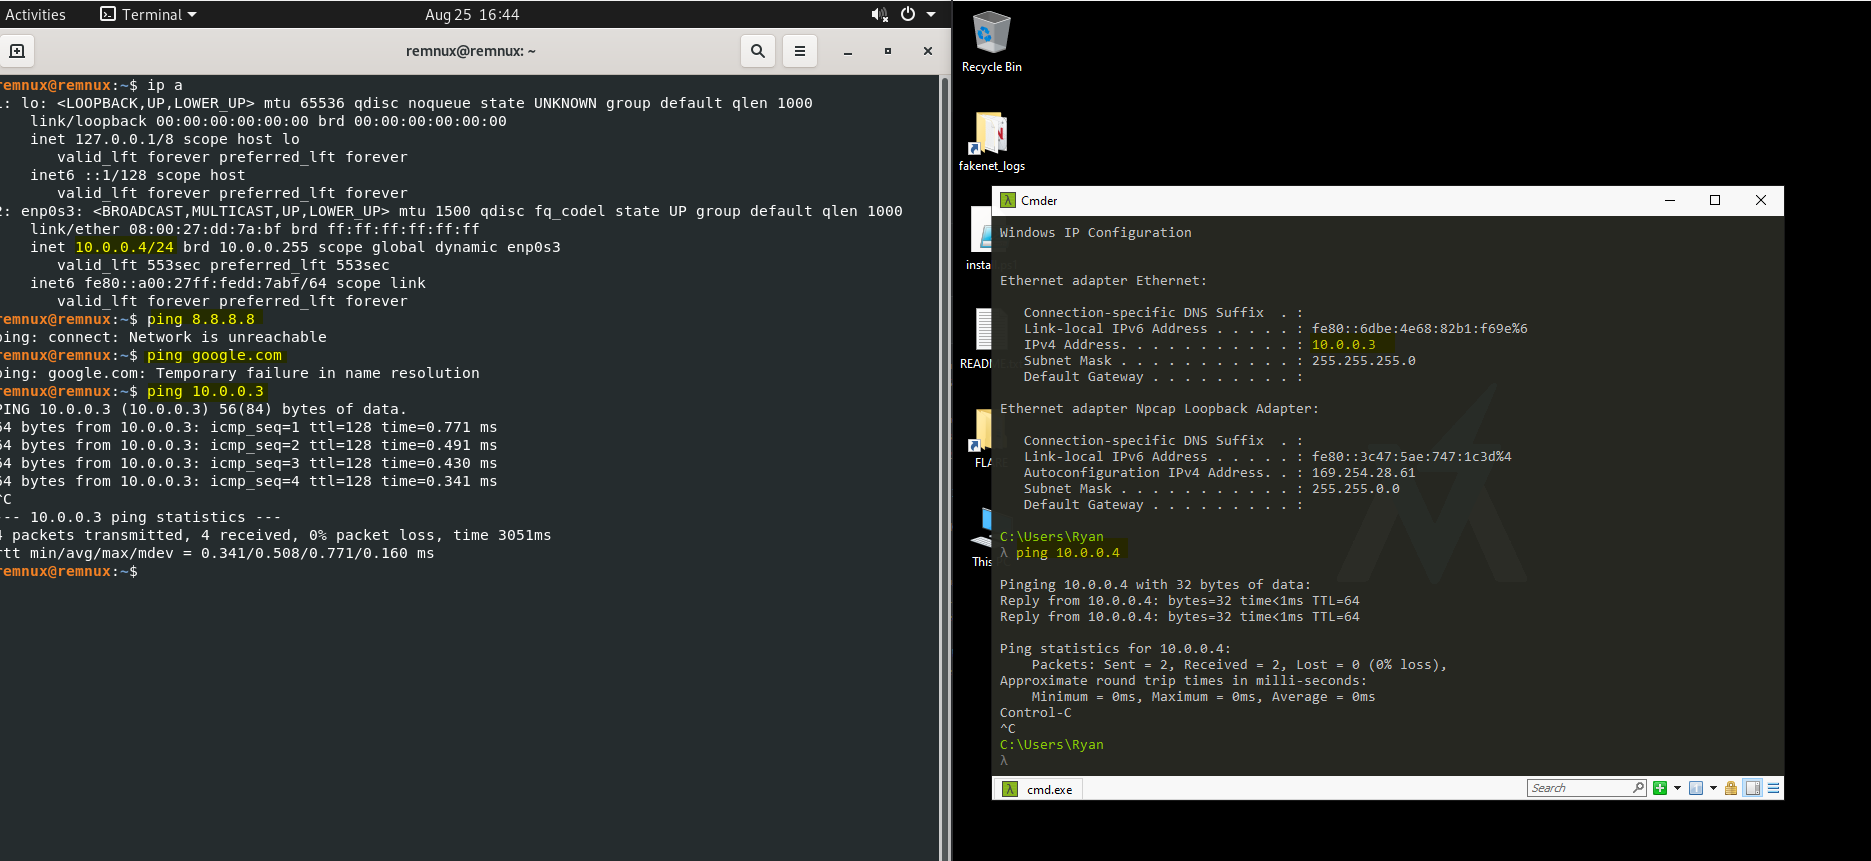
You can verify network settings are correct by the ping test. In addition, you can have both your Windows 10 and REMnux VMs open at once, and make sure they can ping each other.
Now we're going to change some settings with INetSim, which will start some services on the REMnux machine such as HTTPS, FTP, and SMTPS, and acts like an internet simulator. In our terminal, let's open the configuration file by using: sudo nano /etc/inetsim/inetsim.conf

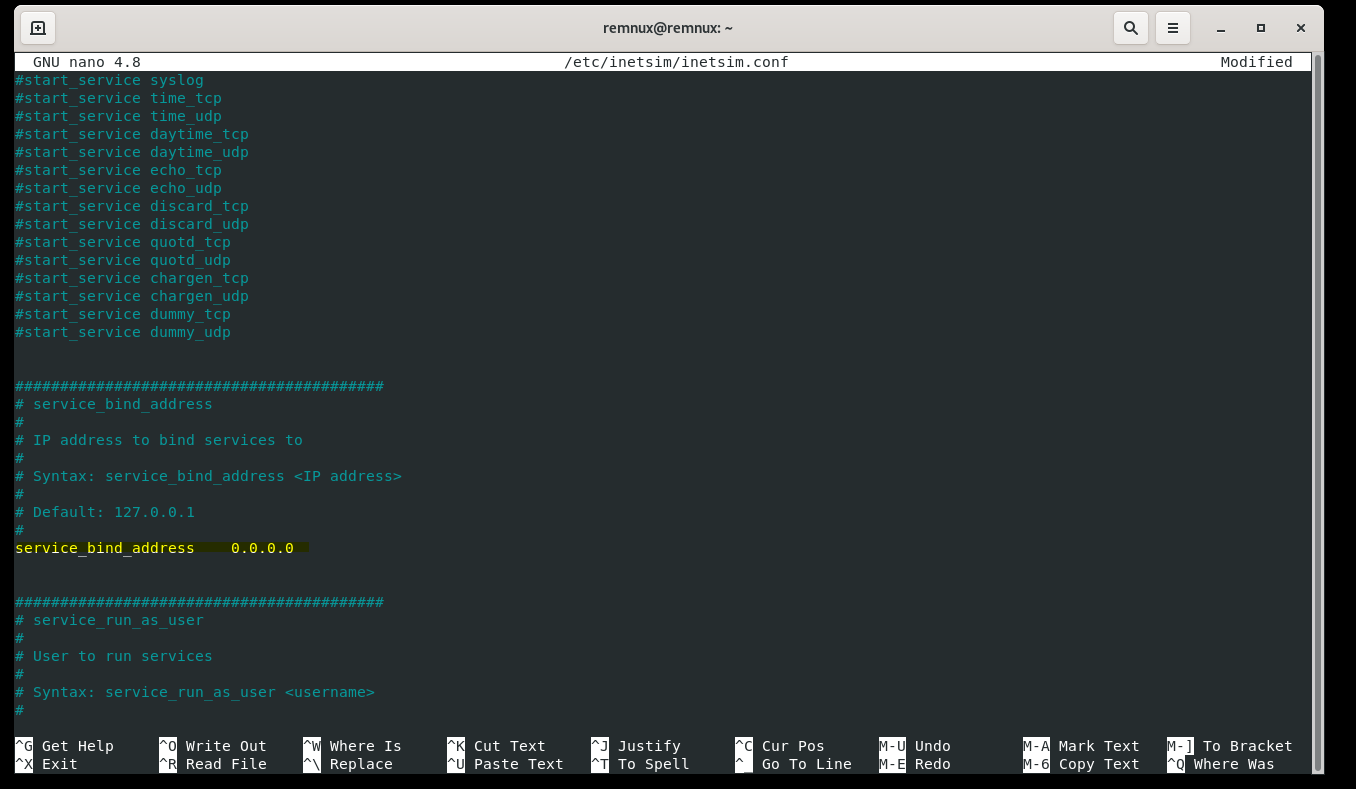
We are going to un-comment the "start_service dns" by removing the leading # symbol. Next, let's scroll down to the "service_bind_address" and un-comment it, and change the address to 0.0.0.0.
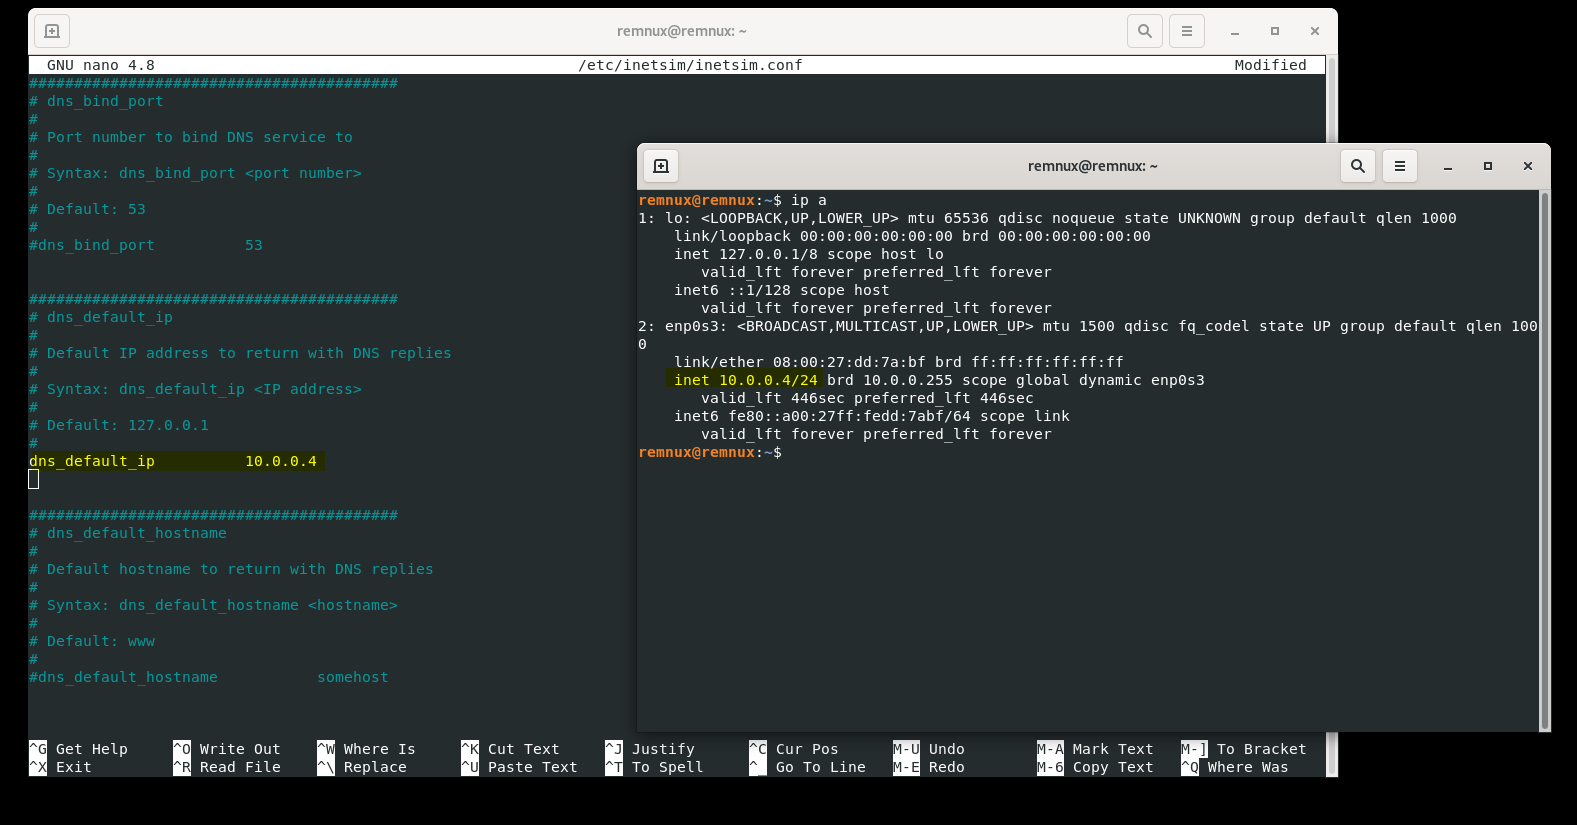
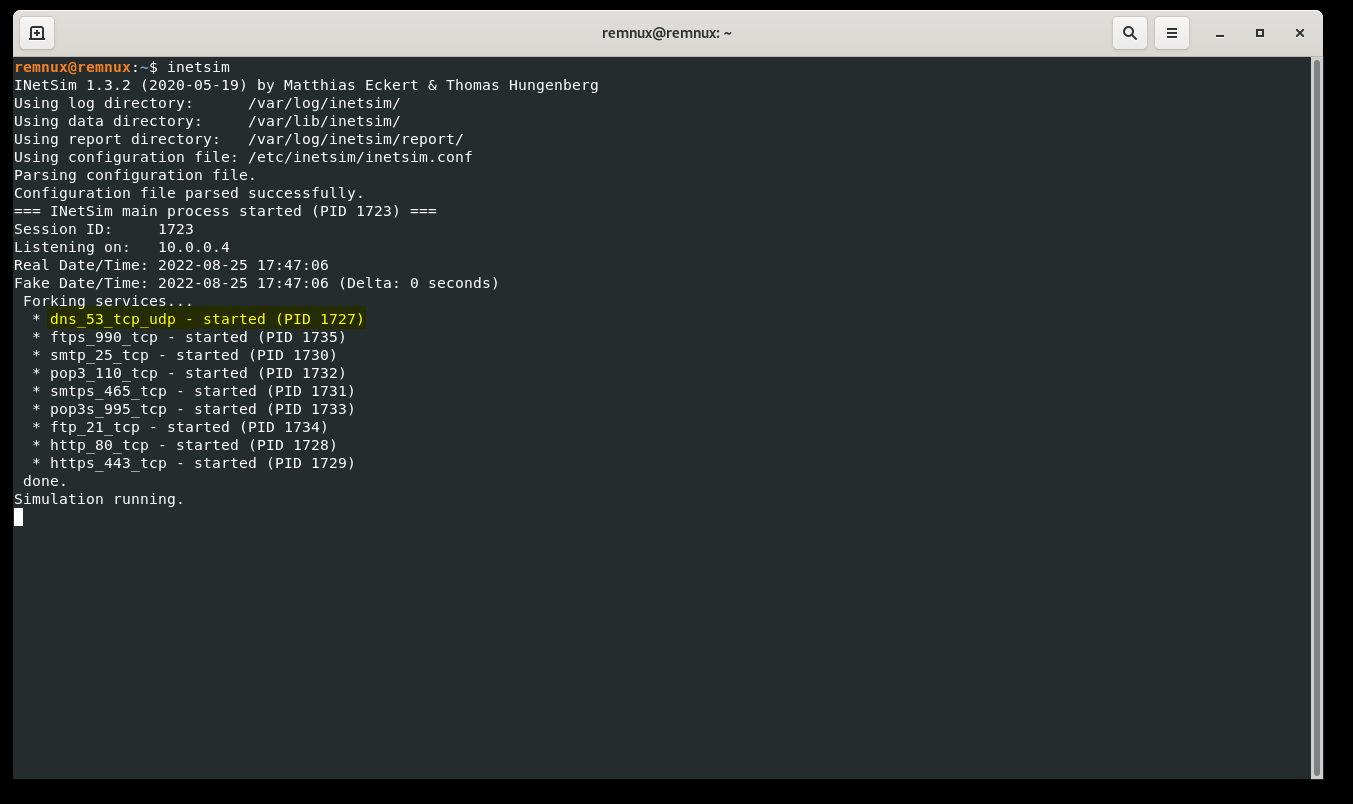
Let's scroll down some more under DNS Settings and find "dns_default_ip". We're going to un-comment this as well, and change the address to the IP address of the REMnux machine (in my case, 10.0.0.4). Go ahead and overwrite the file and exit. You can see that it worked by running inetsim in the terminal and seeing that the DNS service is started.
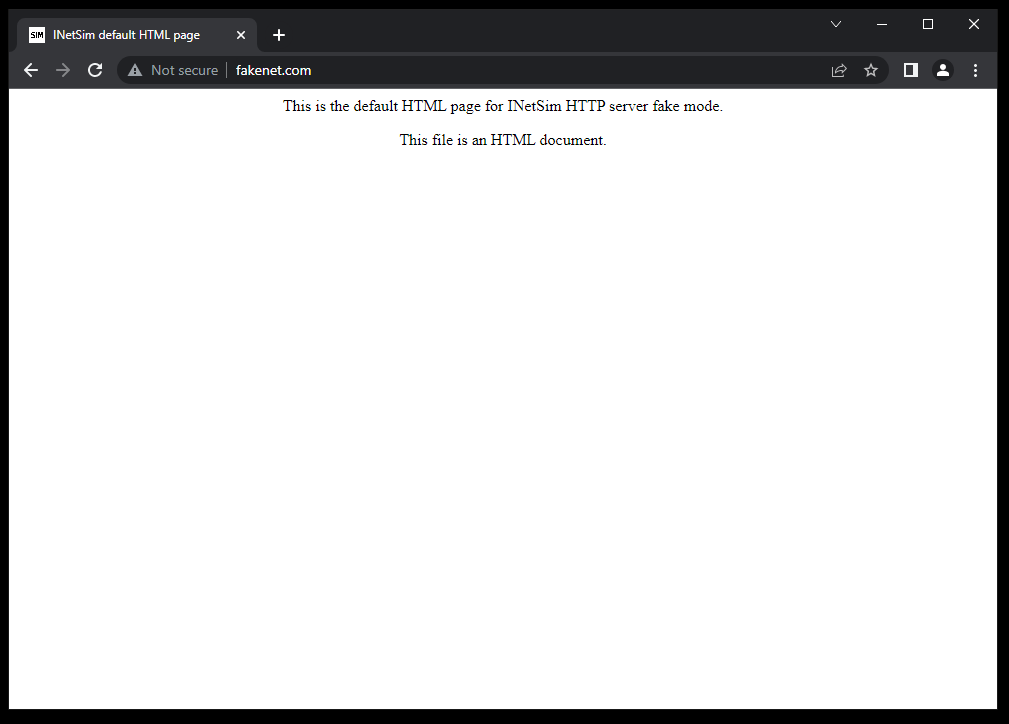
One last thing to do now is to go back into our Windows 10 VM and configure the DNS settings. We want to change the default DNS server to that of our REMnux VM, so again in my case, it's 10.0.0.4. With INetSim running on our REMnux VM, we can open up a browser on our Windows 10 machine and navigate to any website, and it will show us the default INetSim page. On your REMnux machine, CREATE A SNAPSHOT so that you don't have to go back through the configurations again.

Now, I went back to my Windows 10 VM and made sure to set it up with the GitHub repository with the malware samples, and then I CREATED A SNAPSHOT prior to detonation of my first malware sample. With all of this prep work out of the way, I (and hopefully you) now have a lab for malware analysis! Further files in this repository will be used for my documentation of what I'm doing to identify, analyze, and triage the malware infections.