

Taking screenshots of your app on every device and localization quickly becomes time-consuming. With 2 languages, 6 different iPhones and 10 screenshots, you are faced with 120 screenshots per release. If we increase the number of languages to 10 and add iPad support, this number explodes to 10 (languages) x 11 (devices) x 10 (screenshots) = 1 100 screenshots!
Xnapshot enables you to use C#, together with Xamarin.UITest, to automatically take the screenshots for you. Just derive from the abstract Screenshots class, implement one method per screenshot and use your time productively while your computer takes the screenshots.
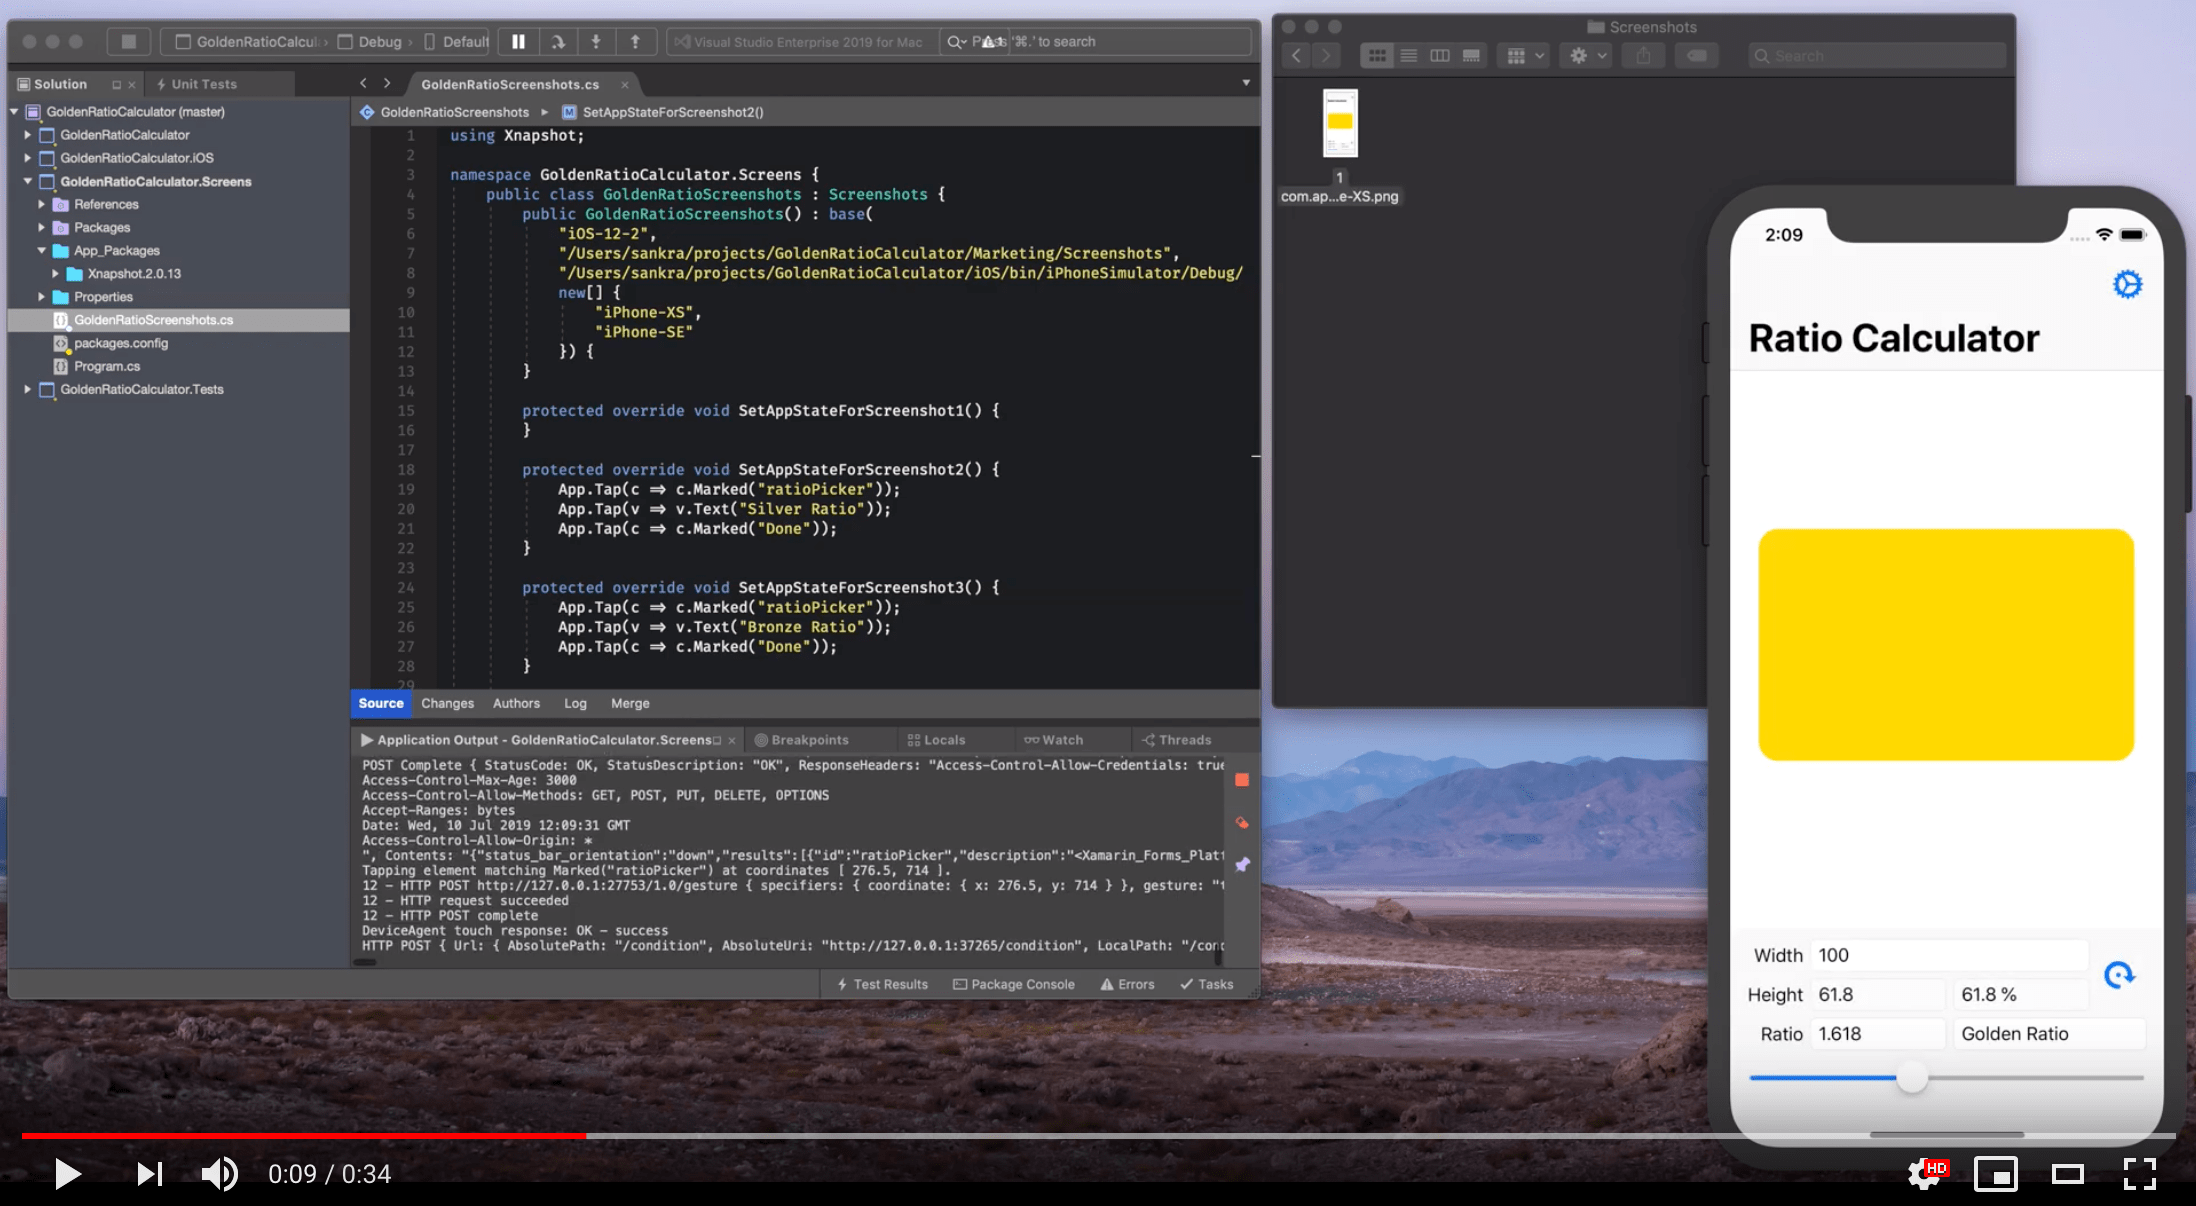
See Xnapshot in action in the video below:
Download this repository, open the solution in Visual Studio for Mac and run Xnapshot.Example.Usage to see a working example. The solution contains the Xnapshot source, an iOS app to be screenshotted and the configuration of Xnapshot needed to actually take screenshots.
- Create your awesome iOS app using C# and Xamarin.
- Add the Xamarin.TestCloud.Agent NuGet package to your iOS project and update your
AppDelegateclass to enable Calabash, the remote control for your app, while running in debug mode.
public override void FinishedLaunching(UIApplication application) {
  #if DEBUG
    Xamarin.Calabash.Start();
  #endif
  // Rest of method omitted for brevity
}I use the settings for one of my own apps, Golden Ratio Calculator, to illustrate the usage of Xnapshot.
- Add a new .Net Framework
Console projectto your solution and add the Xnapshot NuGet package. I name such projects[AppName].Screens. The project must a .Net Framework project, version 4.5 or newer. .Net Core is not supported as Xamarin.UITests, which is needed to automate the before each screenshot, does not support .Net Core. - Create a new class,
[AppName]Screenshotsand derive from the abstract Xnapshot.Screenshots class. - Add your iOS version, screenshots folder, the path to your App bundle and devices you wish to screenshot as constructor arguments. The devices listed below covers all iPhone screen sizes of the time of writing.
public class GoldenRatioScreenshots : Screenshots {
  public GoldenRatioScreenshots() : base(
    "iOS-12-2",
    "/Users/sankra/Projects/GoldenRatioCalculator/screenshots/en-US",
    "/Users/sankra/Projects/GoldenRatioCalculator/iOS/bin/iPhoneSimulator/Debug/GoldenRatioCalculatoriOS.app",
    new[] {
      "iPhone-XS-Max",
      "iPhone-XS",
      "iPhone-XR",
      "iPhone-8-Plus",
      "iPhone-8",
      "iPhone-SE"
    }) {
  }
}- It’s now time to implement the SetAppStateForScreenshotX methods in
[AppName]Screenshots. Xamarin.UITest is used in these methods to automate your app, putting it in the correct state before each screenshot.SetAppStateForScreenshot1is empty below because the first screenshot is of the first screen.
protected override void SetAppStateForScreenshot1() {
}

protected override void SetAppStateForScreenshot2() {
  App.Tap(c => c.Marked("ratioPicker"));
  App.Tap(v => v.Text("Silver Ratio"));
  App.Tap(c => c.Marked("Done"));
}

protected override void SetAppStateForScreenshot3() {
  App.Tap(c => c.Marked("ratioPicker"));
  App.Tap(v => v.Text("Bronze Ratio"));
  App.Tap(c => c.Marked("Done"));
}

protected override void SetAppStateForScreenshot4() {
  App.Tap(c => c.Marked("ratioPicker"));
  App.Tap(v => v.Text("Yamato Ratio"));
  App.Tap(c => c.Marked("Done"));
  App.Tap(c => c.Marked("rotateButton"));
}

protected override void SetAppStateForScreenshot5() {
  App.Tap(c => c.Marked("Cog.png"));
}- Add the
TakeScreenshots()method of your class to Program.cs and run your console app to take the screenshots.
public static void Main(string[] args) {
var screenshots = new GoldenRatioScreenshots();
screenshots.TakeScreenshots();
Environment.Exit(0);
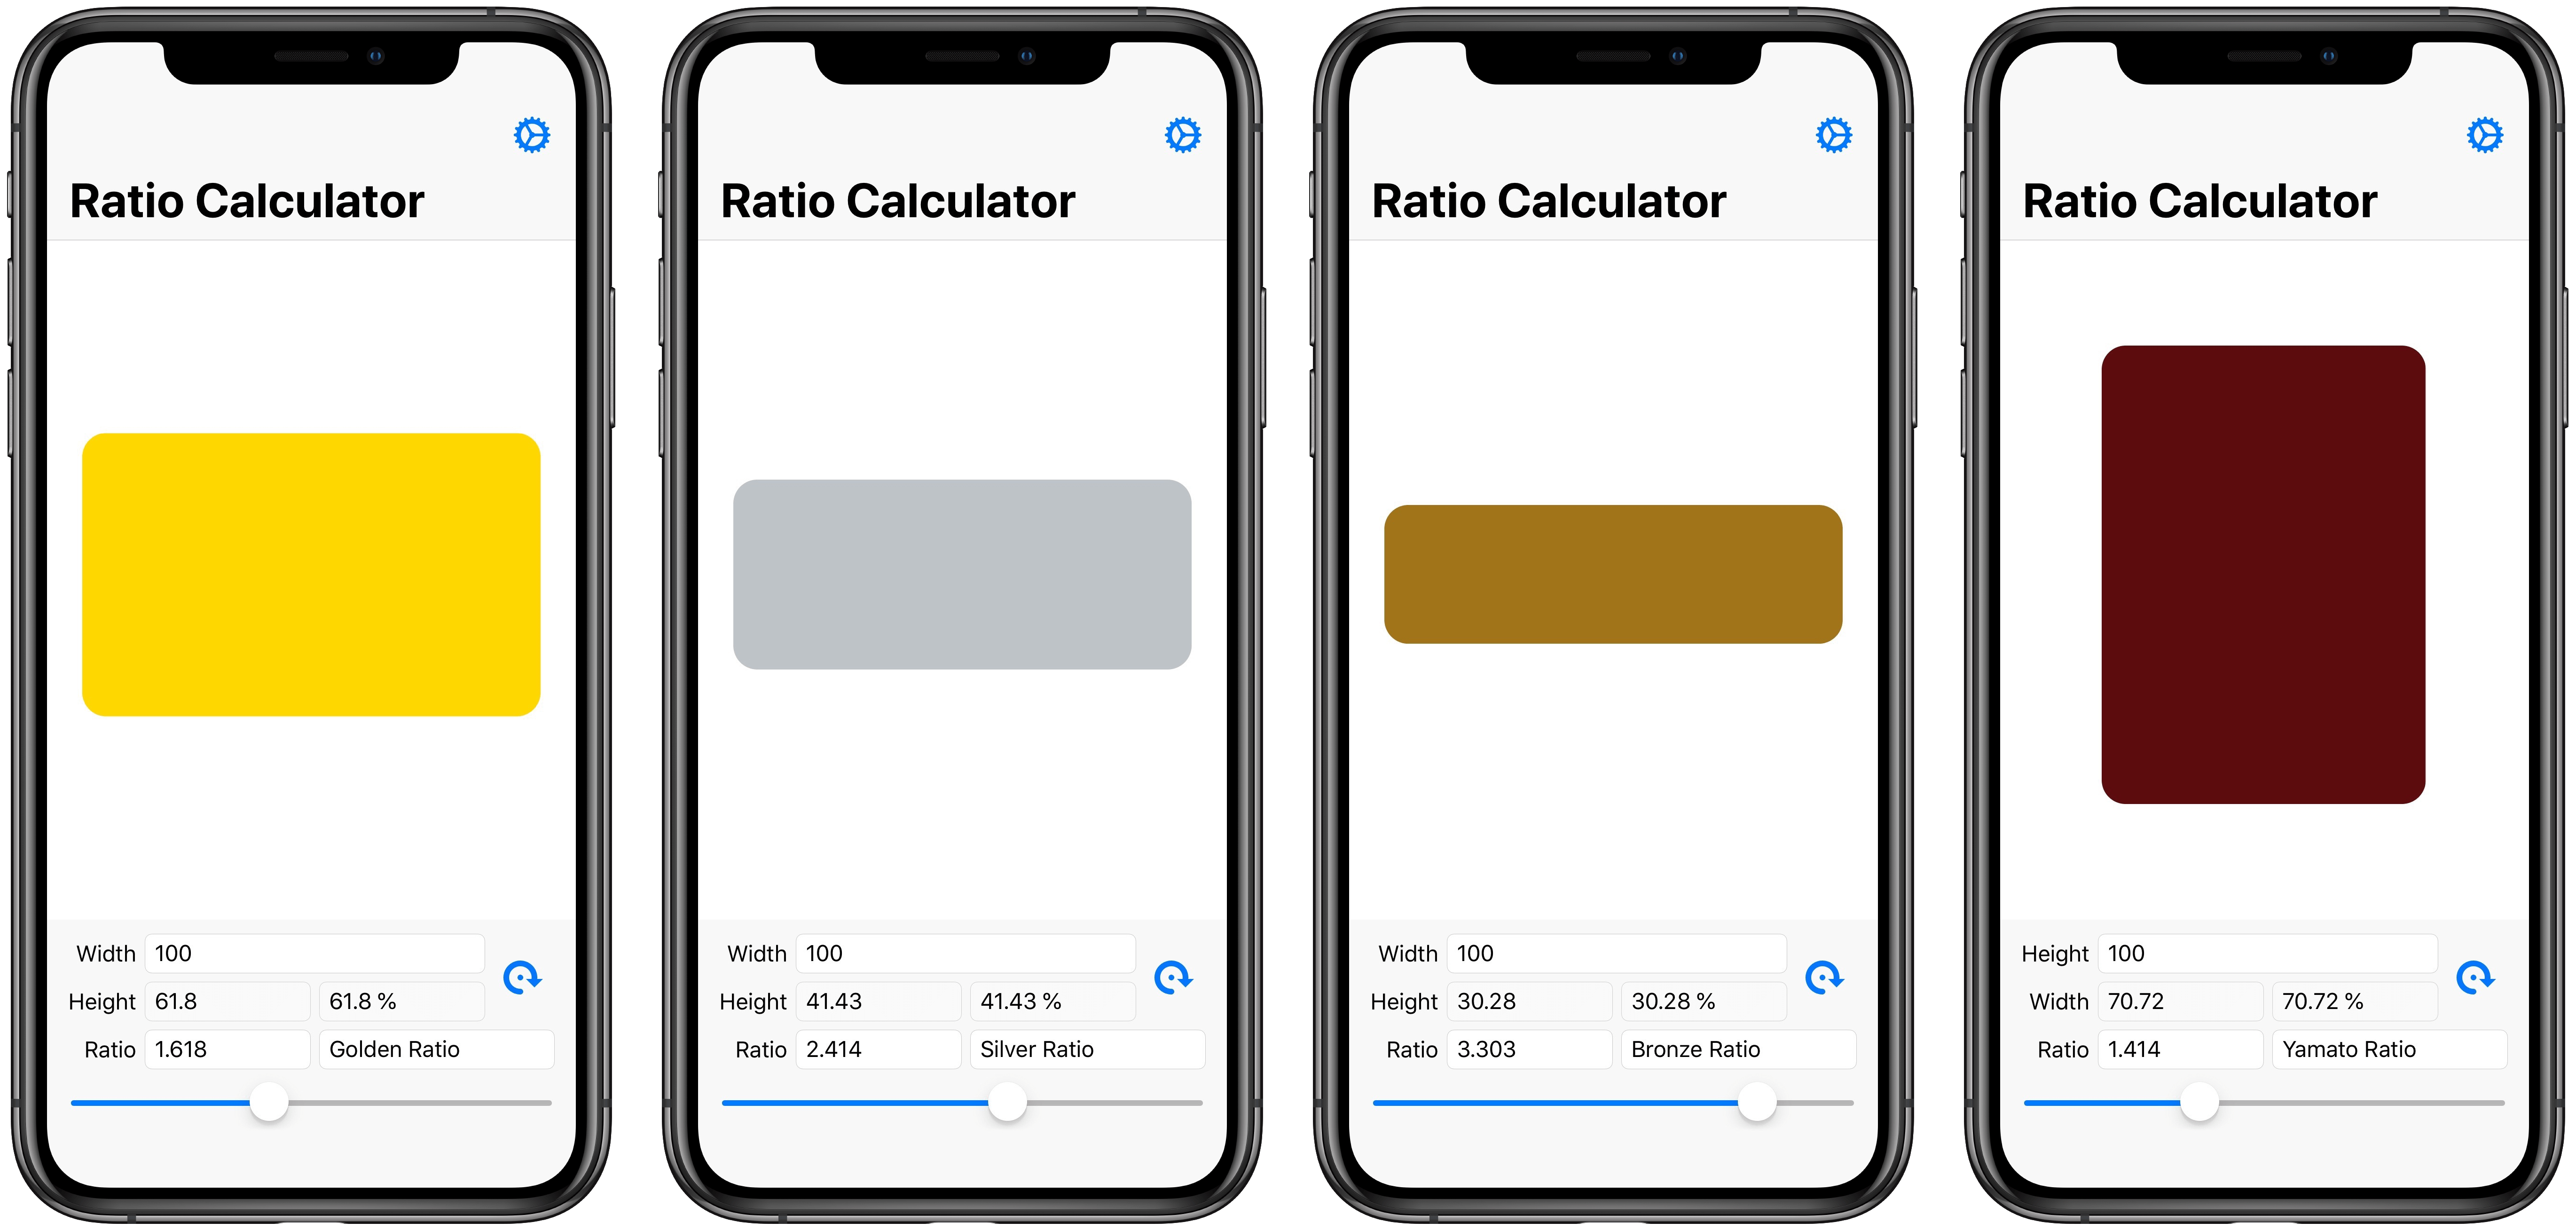
}My screenshots look like this after this example app has run (I've framed them for the occasion):
And the screenshots folder contains screenshots for all configured devices:

The abstract Screenshots class has a couple of advanced options that can be optionally set in your [AppName]Screenshots constructor:
public class ExampleScreenshots : Screenshots {
  public ExampleScreenshots() : base(/*removed for brevity*/) {
    SaveScreenshots = true;
    OptimizeImagesAfterSave = false;
  }
}Set to true as default. Set this to false if you want to do a dry run, testing your SetAppStateForScreenshotX methods without actually taking screenshots. The methods will be run in the same order, the only difference being that nothing is saved.
Set to false as default. Set this to true if you want to run ImageOptim on every screenshot after save. ImageOptim must be installed in your Applications folder and will losslessly decrease the file size of the screenshots.
Version 2.x contains breaking changes. Here's how you update your code from 1.x to use the new version.
- Update the Xnapshot Nuget-package to 2.x.
- Change your
[AppName]Screenshotsconstructor from:
public class GoldenRatioScreenshots : Screenshots {
  public GoldenRatioScreenshots() : base(
    DeviceType.iPhone,
    "iOS-9-2",
    "/Users/sankra/Projects/GoldenRatioCalculator/screenshots/en-US",
    "/Users/sankra/Projects/GoldenRatioCalculator/iOS/bin/iPhoneSimulator/Debug/GoldenRatioCalculatoriOS.app") {
  }
}
to
public class GoldenRatioScreenshots : Screenshots {
  public GoldenRatioScreenshots() : base(
    "iOS-12-2",
    "/Users/sankra/Projects/GoldenRatioCalculator/screenshots/en-US",
    "/Users/sankra/Projects/GoldenRatioCalculator/iOS/bin/iPhoneSimulator/Debug/GoldenRatioCalculatoriOS.app",
    new[] {
      "iPhone-XS-Max",
      "iPhone-XS",
      "iPhone-XR",
      "iPhone-8-Plus",
      "iPhone-8",
      "iPhone-SE"
    }) {
  }
}
The rest of the code should work as is.