Welcome to the Games Workshop at Unity AI Summit! In this workshop, you will learn how to set up simulations to playtest a sample match-3 game.
- Introduction - 5 minutes
- Overview of the workshop and demo of the sample game - 10 minutes
- Learn about Game Simulation Integration with the sample game and launch simulations in groups - 50 minutes
- Q&A - 15 minutes
- Have a Unity ID. If you don't have a Unity ID, please create one at https://id.unity.com/.
- Sign up Unity Game Simulation service here using the Unity ID and organization of your choice. We offer you a one-time credit of 500 simulation hours. You will not be charged in this workshop.
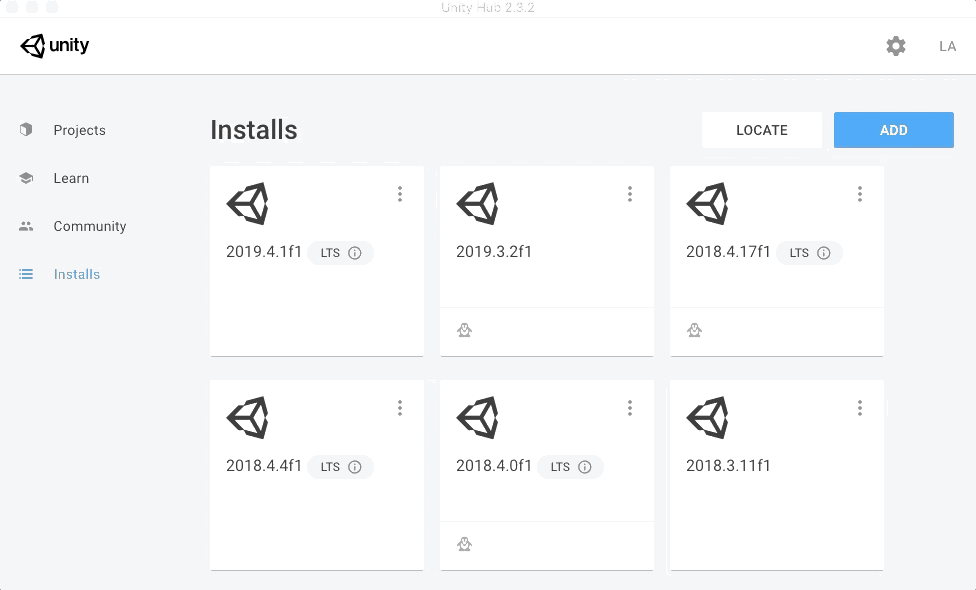
- Install Unity 2018.3 and later from Unity Hub. For this workshop, we recommend 2019.4.
Game Simulation currently requires a Linux build, which requires the Linux Build Module to be installed for your selected version of Unity.
- Unity Game Simulation Package Guide is the best place to get started with Unity Game Simulation.
- Implementing Game Simulation offers a step-by-step guide on how to install the Unity Game Simulation Package and integrate it with your game.
- Game Simulation window provides instruction on setting up parameters and uploading a build to run simulations.
- Unity Game Simulation Dashboard Guide is a step-by-step uide of launching game simulation and downloading results through the web dashboard.
If you have any questions, please contact gamesimulation@unity3d.com.
In this repository, click "Code -> Download ZIP" to get the sample game. Once you have downloaded the game, unzip the game code. Next, Open "Unity Hub", and "Add" the game to Unity Hub. We recommend using Unity 2019.4.10 for the sample game. Now you are all set to open the sample game.
Unity Game Simulation Match 3 Sample Project is a tile-matching puzzle game. In the game, you match the gems with limited amount of moves, and win a level in the game by achieving the target score. The game consists of different levels. In each level (found in Assets > Match3 > Levels), you can change the following features:
- Gem type
- Board size
- Goal type
- Number of movement allowed
- Target score for winning
There is a list of levels that are defined,
including Level_A, Level_B, Level_C, Level_D, Level_E.
In Unity Editor, you can open Assets -> Levels and see each level's definition in the Inspector.
In the sample game, we have implemented a Bot Match3Bot that knows how to play the game.
In Unity Editor, find the Match3Bot Game Object and make sure that it is enabled.
Now hit the "Play" button in Unity Editor, and you should see the bot playing the game.
Imagine you are a game designer or developer of the Match 3 game, you would like to know if the game is balanced and fun. You may want to find the answer to the following questions:
- What is the average number of moves to win a level?
- What is the win rate of each level?
- Is level B too difficult compared to level A?
- How does the board size affect the game?
- How does changing the gem types affect the game play?
With Unity Game Simulation, you can instrument your game with remote configurable parameters and metrics. Next, you set up simulations in the cloud to playtest the game to answer game balancing questions.
In the breakout sessions, you will follow the integration guide to complete the following exercises.
Design a simulation to find the average number of moves used in order to win a level. The level names are: Level_A, Level_B, Level_C, Level_D, and Level_E.
Design a simulation to find the average win rate of each level. The level names are: Level_A, Level_B, Level_C, Level_D, and Level_E.
In Level_A, how does changing the "Move Amount" and "Target Score" affect the win rate?
Open the sample game in Unity Editor, then navigate to Assets > Match3 and open the GameScene_Match3 scene.
- In the Hierarchy and make sure the “Match3Bot” Component is enabled.
- Then, hit the "Play" button to verify the bot is playing the match 3 game. Click the "Play" button again to exit the play mode.
Then go to the "Account" menu in the upper right corner of the editor and log in using your Unity ID. Set up a new Unity project (or use an existing project) under your organization for the sample project to link to.
- Note, make sure you use the same organization that you signed up Game Simulation with.
For this workshop, we have already set up a game object named Match3GameSimulation with script Match3GameSimulation.cs that integrates the game with Unity Game Simulation.
You will practice setting up a simulation in the Match3GameSimulation.cs script.
Let's integrate the sample game with Unity Game Simulation package following the Implementing Game Simulation Guide:
-
Install Unity Game Simulation package
Add the following dependencies to the project's
Packages/manifest.json:"com.unity.simulation.games": "0.4.5-preview.2", -
Set up parameters for Grid Search.
In this sample project, we would like to find the average number of moves to win in each level. We make the level name remotely configurable. In the Game Simulation window, add a parameter
levelwith the type asstringand default value asLevel_A. Click Save when done. -
Load parameters for grid search
In the sample project, we want to load the parameter "level" when the game starts. The game renders the features specified in a level. Open
Match3GameSimulation.csin your IDE. Find theAwake()method, and implement loading parameters with a callbackOnFetchConfig. -
We would like to track the number of moves used when the bot wins/loses a level. We would also want to track if the bot wins/loses a level. Please implement
Match3_OnWinandMatch3_OnOutOfMovesmethods. -
Now you are ready to test your implementation! Make sure you enable the
Match3GameSimulationgame object in the Hierarchy. Click the "Play" button to run a simulation locally. Exit the play mode once the bot stops playting the sample game. Verify that there is a file calledcounters_0.jsonin your system’s default Application.persistentDataPath. The json file includes the metrics that you instrumented in the sample game. -
Connect metrics & Upload your build
In order to capture the metrics you defined in previous steps, from the Game Simulation window, navigate to the "Build Upload" tab and list them under "Metrics" section. For example, if you want to track the metrics: "Level_A_Win_Moves" and "Level_A_Lose", you would set the value of "Metrics" > "size": 2, and add the metric names as the elements.
Now you are ready to run a simulation!
Once you have implemented the Unity Game Simulation package and have uploaded your build, you can start to run simulations through the dashboard.
From the Game Simulation window in the editor, click the "Create Simulation" button in the upper right corner.
You can refer to the Unity Game Simulation Dashboard Guide in this section.
- Log in gamesimulation.unity3d.com using your Unity ID
- Access your project using the navigation on the left. Select the project that you just uploaded a build to.
- Create a Simulation
Once you select your project, click the "Create Simulation" button on the top right corner, which takes you to create a new simulation.
You will design a grid search when creating a simulation. In the sample project, we only created one parameter: level.
We can specify a list of levels to search, and find how the number of moves varies in each level.
In "Parameters", set the key "level"'s values to Level_A, Level_B, Level_C, Level_D, Level_E, which allows the simuaulation to search through all 5 levels. For the number of runs for each combination, we would recommend to set it to 3 for demo purpose. For the max timeout per run, we would suggest set it to 15 minutes.
After filling in all the details on the "Create Simulation" page, hit "Run" button to launch your simulation.
Once the simulation completes, you can download the results. You will see the metrics in both Raw Data and Aggregate Data.