


There are two parts to an Alexa skill. The first part is the Voice User Interface (VUI). This is where we define how we will handle a user's voice input, and which code should be executed when specific commands are uttered. The second part is the actual code logic for our skill, and we will handle that in the next step of this instructions guide.
-
Go to the Amazon Developer Portal. In the top right corner of the screen, click the Sign In button.
(If you don't already have an account, you will be able to create a new one for free.) -
Once you have signed in, click the Alexa button at the top of the screen.
-
On the Alexa page, choose the Get Started button for the Alexa Skills Kit.
-
Select Add A New Skill. This will get you to the first page of your new Alexa skill.
-
Fill out the Skill Information screen. Make sure to review the tips we provide below the screenshot.
-
Skill Type For this skill, we are creating a skill using the Custom Interaction Model. This is the default choice.
-
Language Choose the first language you want to support. You can add additional languages in the future, but we need to start with one. (This guide is using U.S. English to start.)
-
Name This is the name of the skill as it will be displayed in the Alexa app.
-
Invocation Name This is the name spoken by your users to start the skill. Use a name like "calendar reader" for this sample skill. Some common issues that developers experience with invocation names are listed in the following table. In addition, please review the Invocation Name Requirements as you consider an invocation name for your skill.
Invocation Name Requirements Examples of incorrect invocation names The skill invocation name must not infringe upon the intellectual property rights of an entity or person. korean air; septa check Invocation names should be more than one word (unless it is a brand or intellectual property), and must not be a name or place horoscope; trivia; guide; new york Two word invocation names are not allowed when one of the words is a definite article, indefinite article, or a preposition any poet; the bookie; the fool The invocation name must not contain any of the Alexa skill launch phrases and connecting words. Launch phrase examples include "launch," "ask," "tell," "load," and "begin." Connecting word examples include "to," "from," "by," "if," "and," "whether." trivia game for star wars; better with bacon The invocation name must not contain the wake words "Alexa," "Amazon," "Echo," "Computer," or the words "skill" or "app." hackster initial skill; word skills The invocation name must be written in each language you choose to support. For example, the German version of your skill must have an invocation name written in German, while the English (US) version must have an invocation name written in English. kitchen stories (German skill) -
Audio Player For this calendar reader skill, we won't be using any audio files, so you can select No for this option. If you would like to learn more about adding audio to your skills, please check out our Audio Player Guide.
-
-
Click the Next button to move to the Interaction Model.
-
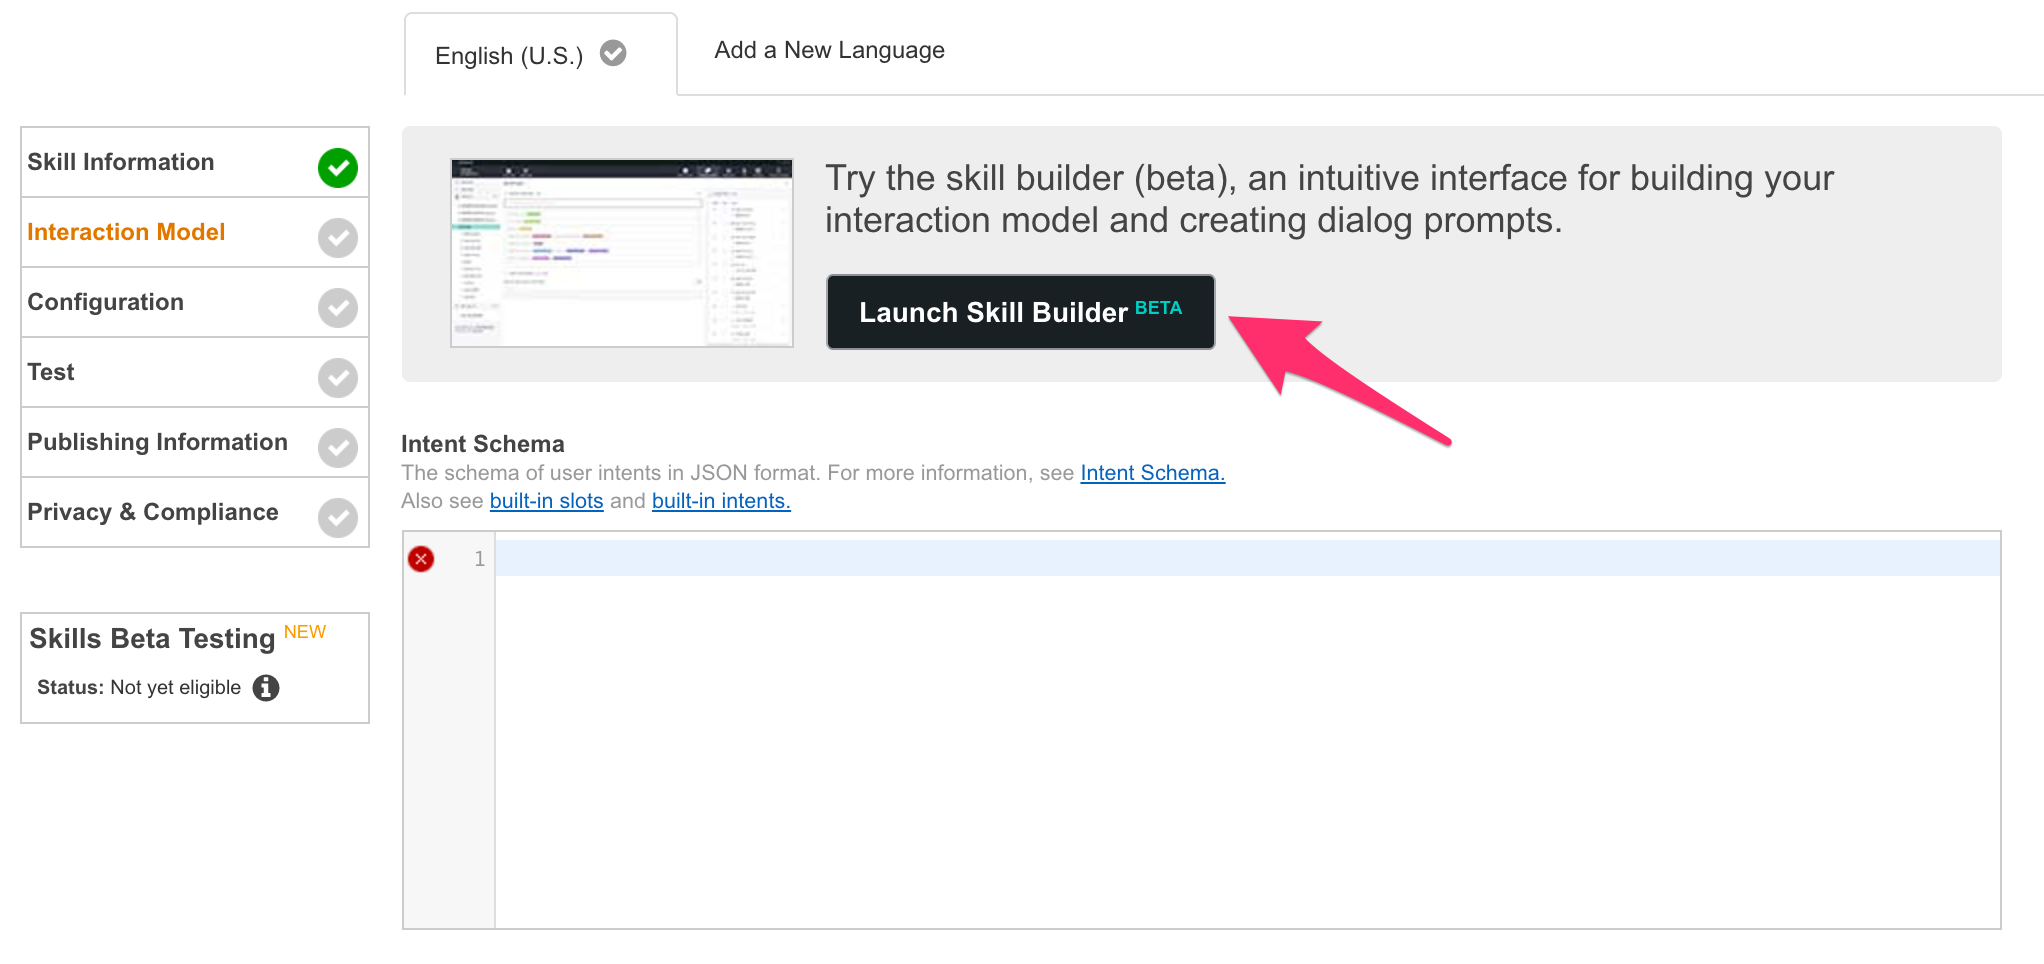
Click on the Launch Skill Builder (Beta) button . This will launch the new Skill Builder Dashboard.
-
Click on the "Code Editor" item under Dashboard on the top left side of the skill builder.
-
In the textfield provided, replace any existing code with the code provided in the Interaction Model, then click "Apply Changes" or "Save Model".
-
Click on the "Dashboard" button.
-
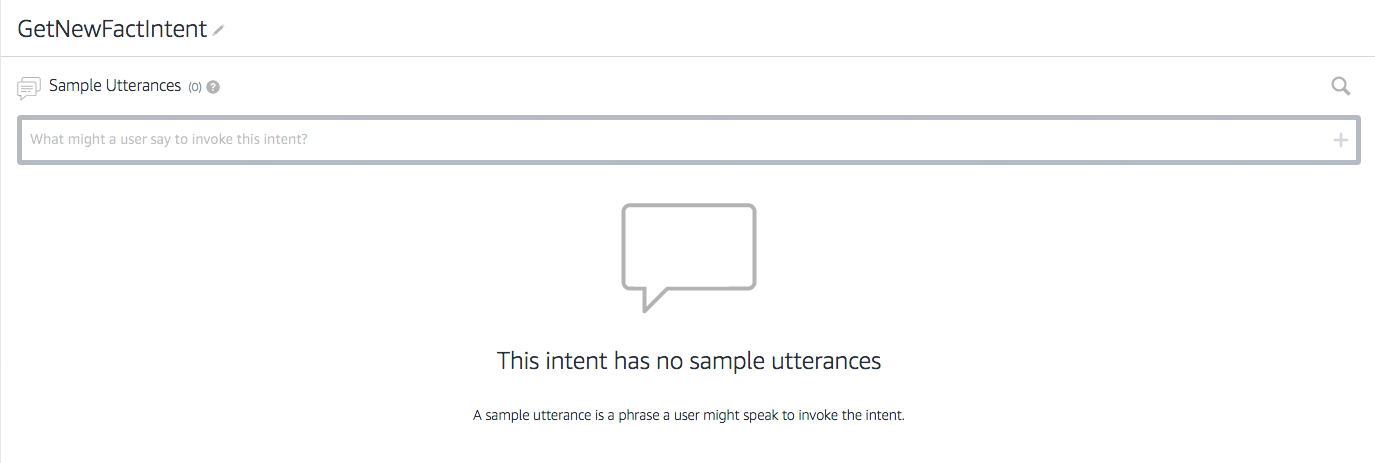
Add some more sample utterances for your newly generated intents. These are the things a user would say to make a specific intent happen. Here are a few examples:
- am I free {date}
- whats am i doing {date}
- what are my plans {date}
- what meetings do i have {date}
-
Click on the Save Model button, and then click on the Build Model button.
-
If your interaction model builds successfully, click on Configuration button to move on to Configuration. In our next step of this guide, we will be creating our Lambda function in the AWS developer console, but keep this browser tab open, because we will be returning here on Page #3: Connect VUI to Code.


If you get an error from your interaction model, check through this list:
- Did you copy and paste the provided code into the appropriate boxes?
- Did you accidentally add any unwanted characters to the Interaction Model or Sample Utterances?
