At this point, you should have a working copy of our Calendar Skill. In order to make it your own, you will need to customize it with data and responses that you create. Here are the things you will need to change:
-
In the Skill Information section in the Developer Console, edit the Skill Information Tab to reflect your new calendar reader skill:
-
Provide a skill name that represents the new skill you are creating.
-
Come up with a cool Invocation Name that users will use to invoke your skill. Make sure to read the rules for creating invocation names, as this is a common failure point during certification.
-
Create a fun icon. Be sure you have the rights to whatever icons you are uploading – you will need to provide both 108x108px and 512x512px images. Need help finding an image? Try The Noun Project or Pixabay as a possible source for royalty-free images. Use an image editor (such as Paint on Windows or Preview on Mac) to change the size of the image.
Everything else can stay as-is for now in the Developer Portal.
-
-
Open the source file for your Lambda function, index.js, in an editor of your choice. This is in the src directory of the repository you downloaded earlier. You will see on line 17 the address of the .ICS file at Stanford. You will want to replace this with the calendar source you're using for your skill. (If you need ideas for a calendar source, check out iCalShare for a huge list of user created calendars.)
-
Change the skillName variable to the name of your skill.
var skillName = 'Events calendar:' -
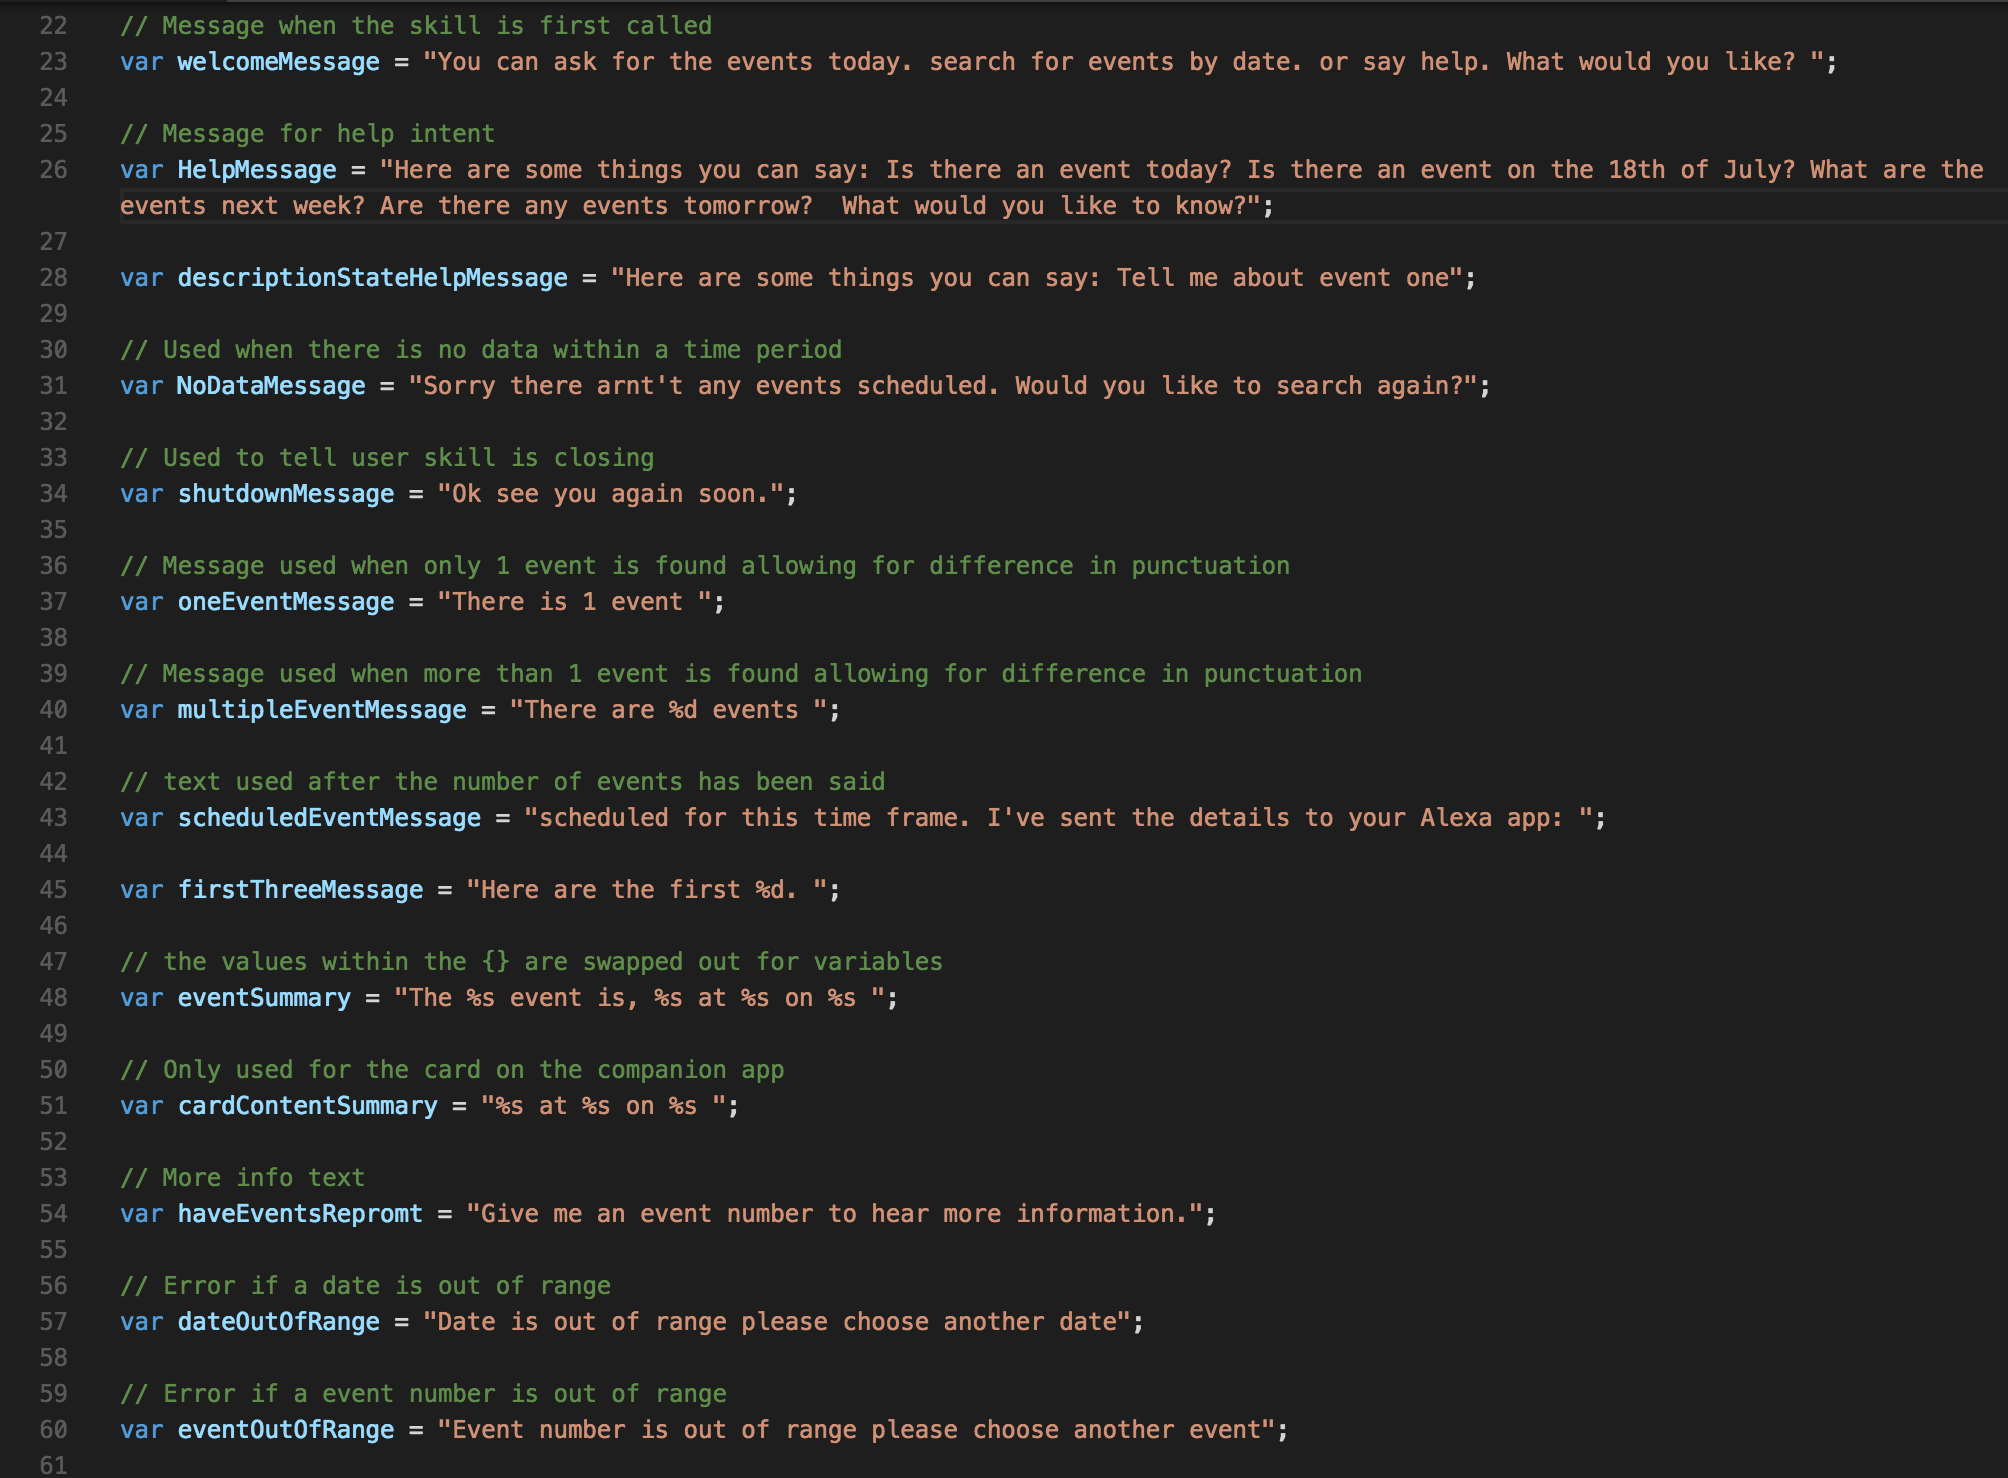
You may also want to change the speech responses we've provided. These are the things Alexa will use to respond to your user's intents, and customizing them will make your skill feel more authentic to your data. You don’t have to edit them, but we highly recommend making some customizations. If one of our predefined messages ends with a question, please keep an ending question in your modified message, as Alexa will continue to listen for customer's answer after speaking the message.
-
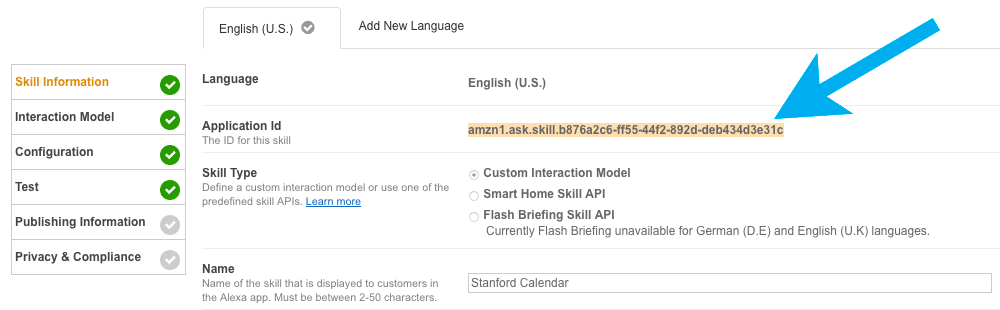
AWS Lambda built-in security will make sure only our Alexa service can call your Lambda function. To add an extra layer of security, we should validate the application id in requests made to your function. Let’s go back to your Alexa skill in your Developer Portal for a moment. Copy in your Application ID from the ‘Skill Information’ section in your developer portal / skill:
-
Copy the application id into the value of the APP_ID variable. Make sure to place the app id in quotation marks.
-
Be sure to select SAVE when you are all done. Note: we test initially in the Developer Portal, not in our Lambda function in the AWS console.
-
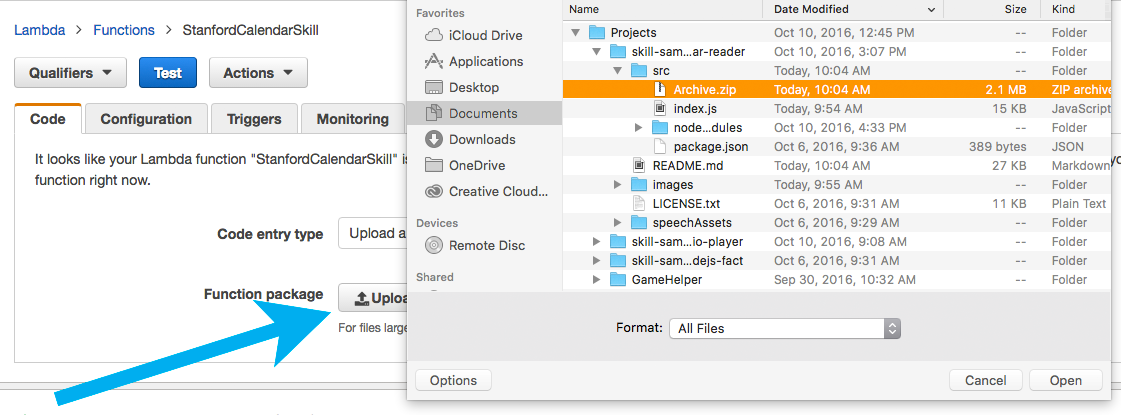
Log back into your AWS console and upload the changes you have just made. First you will need to zip up the files into a new archive. You can do this by selecting the files that you need in the src directory (the node_modules directory and your updated index.js) into a new archive. Be sure that you compress the files in the folder, not the folder itself.
-
Select your Lambda function and on the Code tab, select “Upload” to add the archive you just created.
-
Once you have successfully added the file you will see it on the screen, then select “Save”.
-
Repeat the tests you performed earlier to ensure your changes are functioning properly. See step 4 for a review of how to perform functional tests.
-
Once you have made the updates listed on this page, you can click "Next" to move on to Publishing and Certification of your skill.