How to connect
DroidPlanner connects to the APM board on the drone via Wifi or USB. Let's do a quick explanation of how to do that
To connect via USB you will need a USB On-the-Go cable and a 3DR telemetry module like the on in the following picture.
- 3DR Radio USB "Ground" module

USB OTG cable
Connect a 3DR module to the Android device via this cable and droiplanner should pop up. From there you just need to hit "Connect".

(Thanks for user afernan for this picture) Here is a video explaining it: http://vimeo.com/63518230
The first step to connect via Bluetooth is to get a Bluetooth/serial module, here are some options:
- DealExtreme - http://dx.com/p/jy-mcu-arduino-bluetooth-wireless-serial-port-module-104299
- SparkFun - https://www.sparkfun.com/products/10269
Now you have two options to connect to your ArduPilot (All the hardware parts are bold):
- APM<==>3DR module<=3DR RF link=>3DR module / Bluetooth module<==Bluetooth==>Android Phone/Tablet
- APM<==>Bluetooth module<==Bluetooth==>Android Phone/Tablet
For both methods you need to set your Bluetooth module to output a baud-rate of 56700. To do this check the datasheet of the module. On the dealextreme module you can do the following:
These adapters come preconfigured for 9600 baud, you'll need to change them to 57600. To do this, temporarily connect the provided cable to a FTDI serial adapter, connect to the device at 9600 baud and then paste in the following string "AT+BAUD7". If the device responds with OK57600, you are good to go, otherwise try again.
Now i'll just explain how to do the connections first method, especially the inner bridge between the 3DR and bluetooth modules. Just connect them as the following picture:

Now to finish the connection power up your bridge device. Go to Android settings and pair your device with the Bluetooth module ( the default PIN is 1234 normally). On DroidPlanner go to the settings and select the connection type as Bluetooth. Back on the main screen you should be able to just select Connect to make it communicate.
There are multiple ways to connect via a TCP connection, let's go trough some of them:
- EthernetGCS board - This is probably the best option since it has a 3DR RF module already on board, just plug and play.

- (fast way to test the app) Use some software to redirect a serial port from your pc to a TCP port, you need to have a 3DR RF module connected to the PC. I use Pira CZ Remote COM with the following settings (replace the COM port to the port your RF module is connected):

- Chinese Serial-to-TCP bridge from ebay ($20).

- Chine Serial-to-Wifi module from ebay

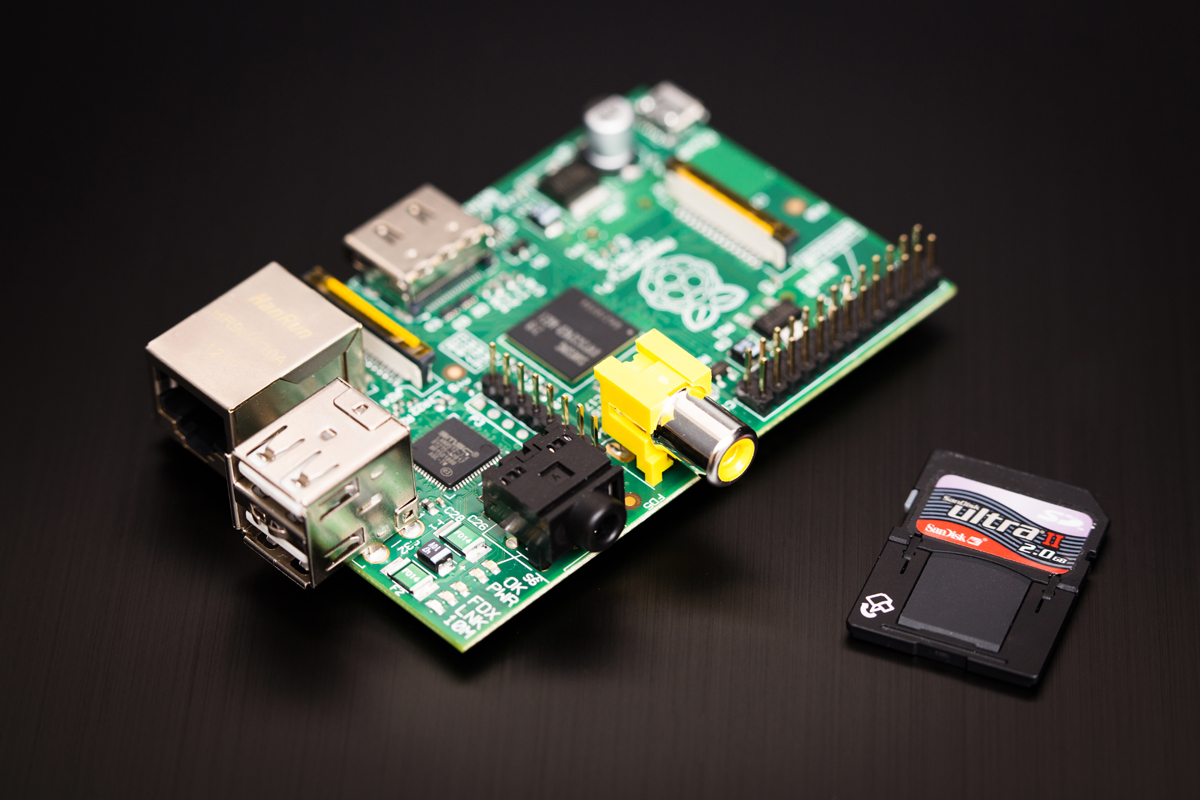
- A Raspberry PI board with a TCP to serial redirection software
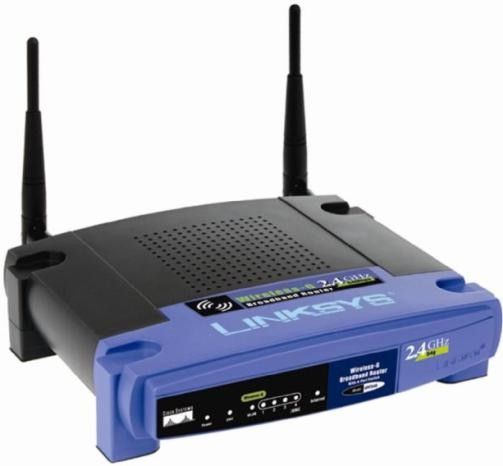
- A modified WRT54GS router. With custom firmware to create a bridge to one of the internal serial ports.Take a look at this link to see how to do that.
Some of the above options just give a serial to TCP bridge, you still need to add a 3DR RF radio to communicate with the drone. And most have a Ethernet port on the TCP side so you will need a WiFi router to be able to connect wireless via the Android Device.
Here is a picture of the complete base station system (using the EthernetGCS board):
