Starting with Blade Engine Tutorial 2
tutorial created by Patricio Land
You can download the full project created in this tutorial from here.
--
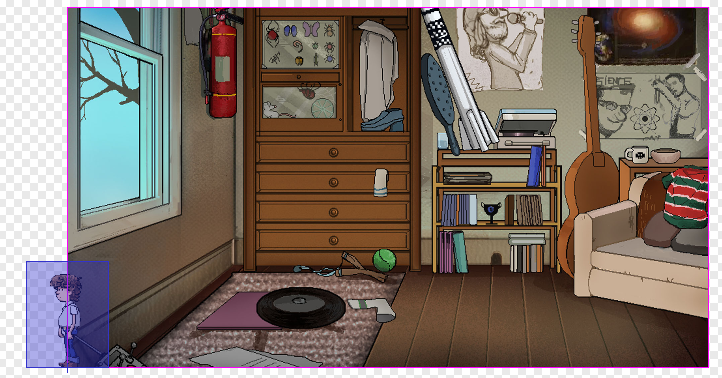
We’re starting this tutorial where we left, this is a working project with a background and a few objects on it.
As we learnt we have the following kind of Actors in Blade Engine: Background, sprite, character, obstacle and anchor. This time we’re going to focus the character actor, as this is the most important actor of them all. Actually our player is going to be a Character Actor.
As you can imagine we need to provide some basic animations for each of the character movements. Each of this set of animations is going to be related to the corresponding action or verb that the player will be able to perform. So if we need to make the actor character to move in the screen, we’re going to create an animation cycle to make him walk (or run, or jump, or swim, you get the idea…)
There’s no limit about how complex can be the actor’s performance… but we need -at least- the following 3 animations
- walk (to the left side of screen)
- stand
- talk
Note that the engine only needs the left (or right) animation for this 3 actions. If we want the character to crawl to the right, we only need to supply the left animation cycle and the engine will flip the frames to accomplish the opposite animation, or vice versa. That’s very handy to save us a lot of extra work and to save some extra memory specially when targeting mobile devices.
As we said, those 3 animations are the minimum required to start. At any time we can boost the player’s (actor character) performance with a more complex set of actions like:
A typical setup is made of the following animations:
- stand.left
- walk.left
- talk.left
- stand.front
- stand.back
- walk.front
- walk.back
- talk.front
And for the eight direction movement, we can add those ones:
- stand.frontleft
- stand.backleft
- talk.frontleft
- talk.backleft
So, to make this tutorial easier to follow you can download the basic left setup animations for our character from here.
Each animation cycle is composed of several .png images. You can use as much frames as you need. The only condition is to follow the name convention:
-
walk.left_1
-
walk.left_2
-
walk.left_3
-
etc...
-
talk.left_1
-
talk.left_2
-
etc...
in order to make our cycles compatible with the engine’s expectations.
It’s always a good idea to have one atlas (with all the animations on it) for an actor. In the next tutorial we’ll see that Blade Engine can have multiple actor players in the same screen (that’s pretty amazing, isn’t it?).
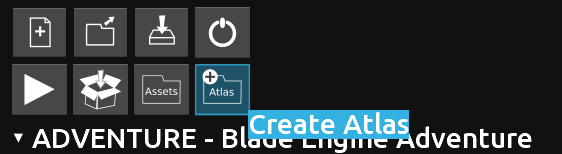
The next step is to create an atlas for those animations.
So, go to Atlas and make one called Player1 and choose the folder with all the different animations.
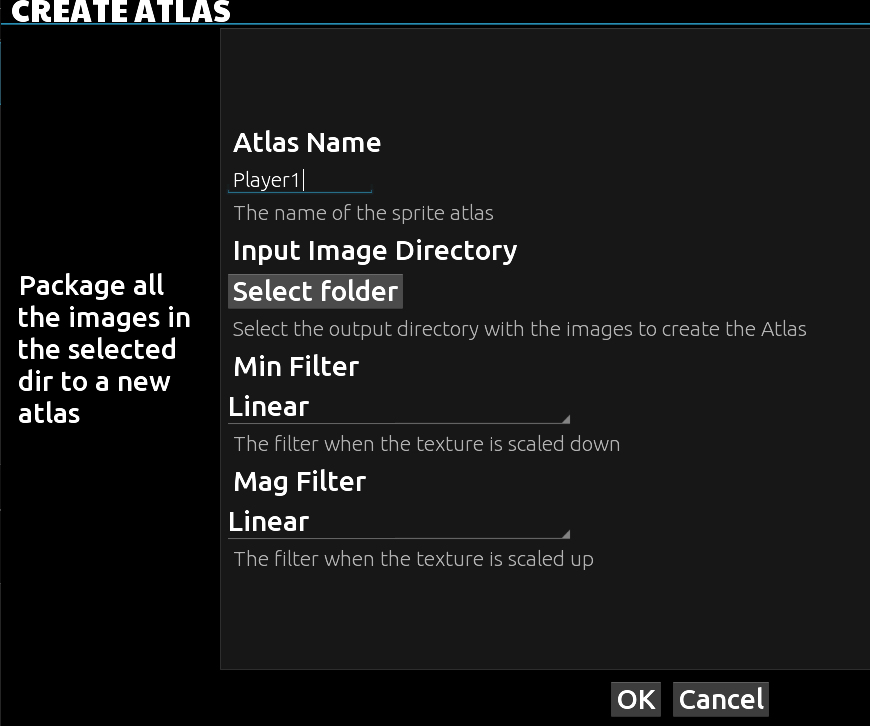
Note that you can always check (and eventually erase or modify) your atlases from the Asset button.

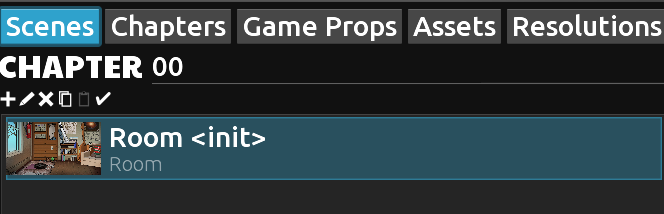
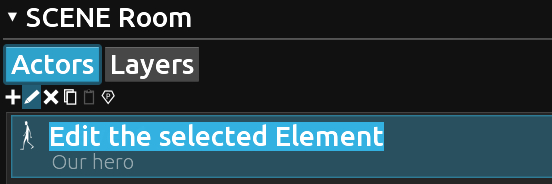
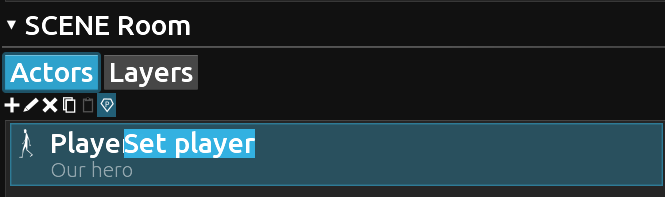
Select now the scene (with the Scene button) in order to create a new character into this scene.
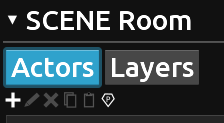
Go to the + symbol on the Actor menu.
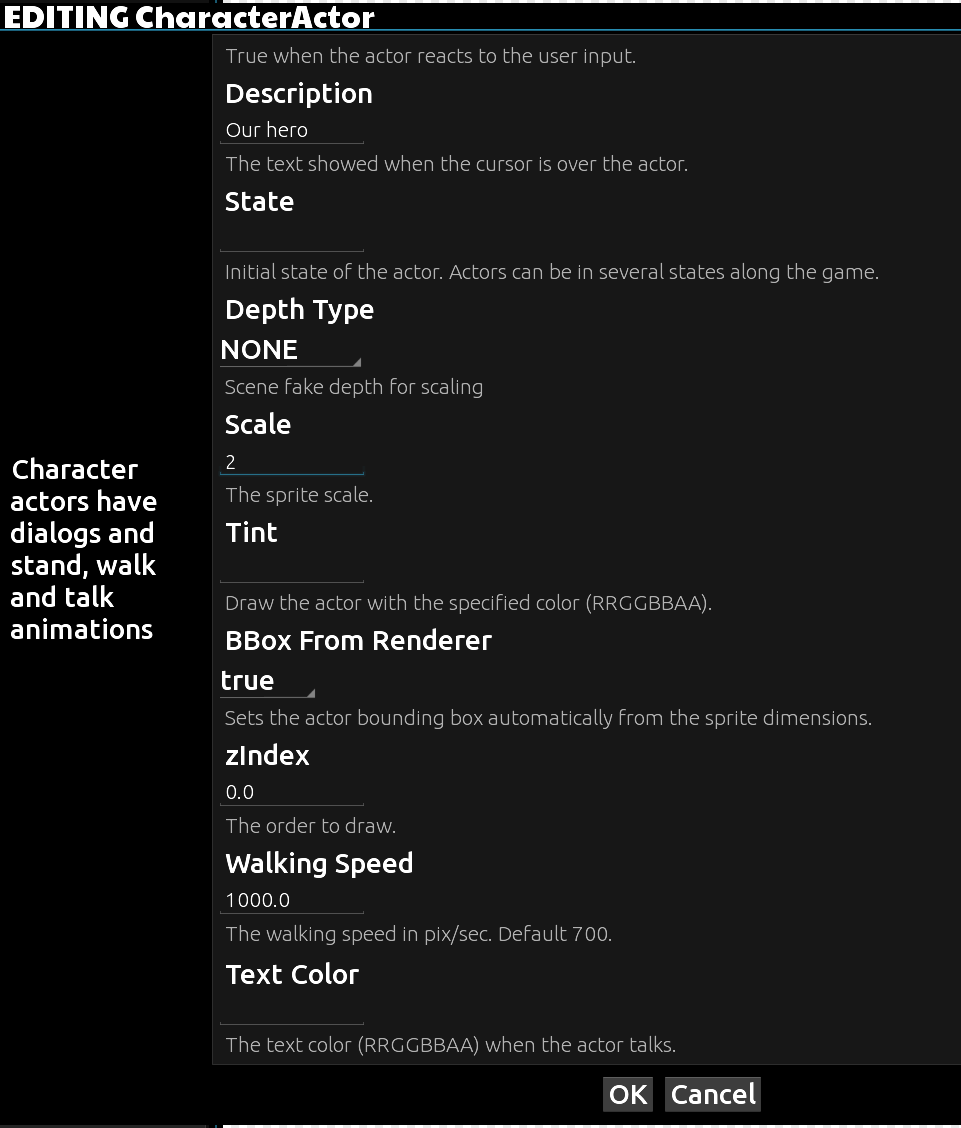
And the Create object window will pop out. Choose the option Character from the Actor type menu, and give it a name in the Actor ID field. Player1 will work for now.
Then go down until Description field and enter a short description to describe our character, like in the picture.
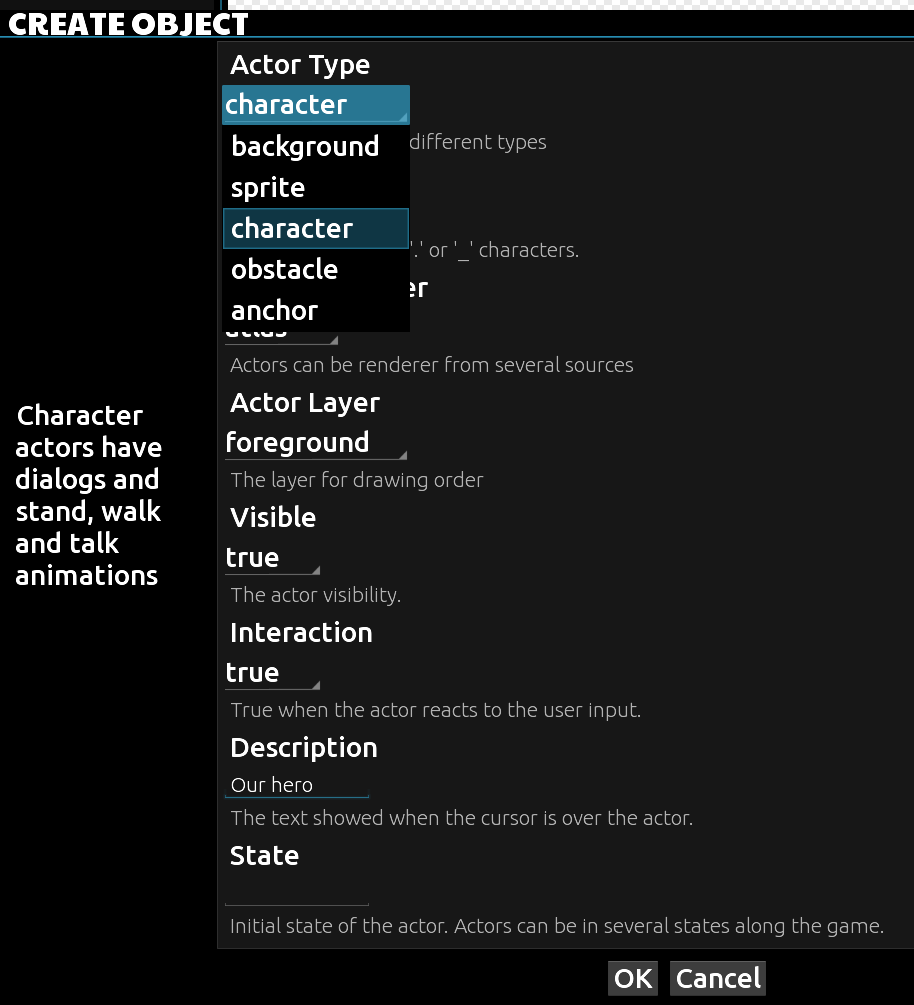
Then hit Ok.
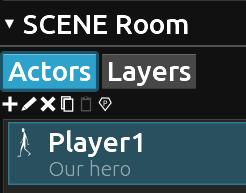
You’ll notice that the character Player1 (our hero) is now added to the scene.
An its canvas is also ready to be filled with the animations from the atlas we made earlier.
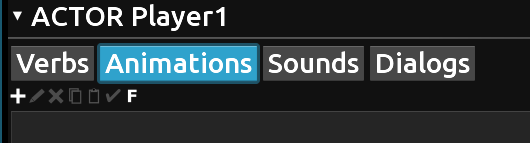
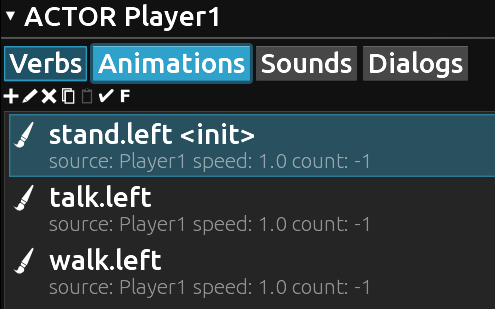
The next step is to assign all the animation cycles for this character. In order to accomplish this task be sure to have the Player1 selected in the left menu and also select the Animation button from the Actor Player1 menu at the right. Then hit the + symbol
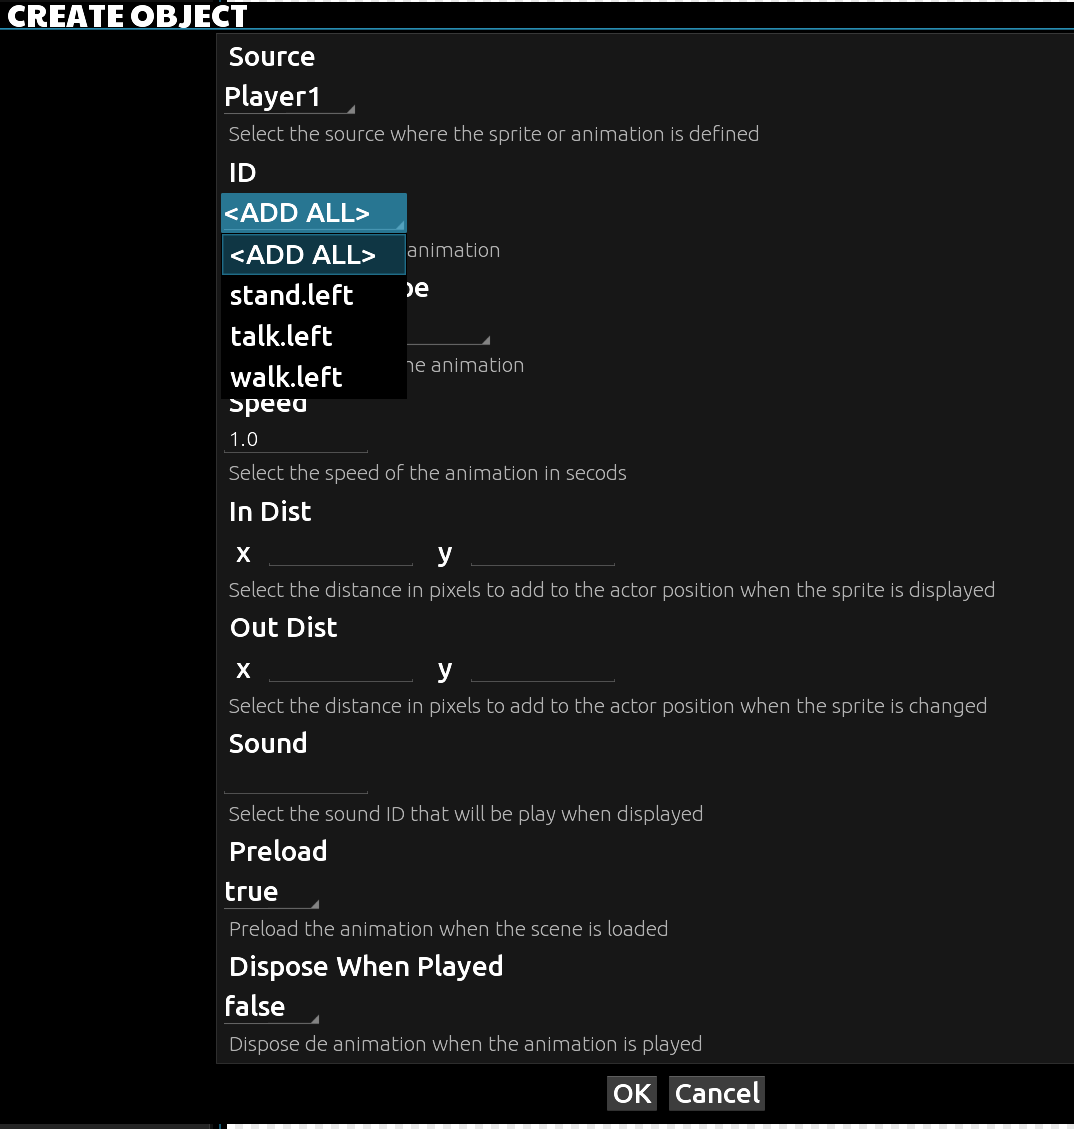
Now we have access to a large window by the name of Create Object. Be sure that Player1 is the current source and hit the ID field in order to reveal all the animations contained into the atlas for this character. From here we can choose each individual anim (stand.left, talk.left, walk.left) or add them all in a single action. Choose .
Leave the rest of the options as default an check what’s now going on in the center of the editor. Our main character is now alive!
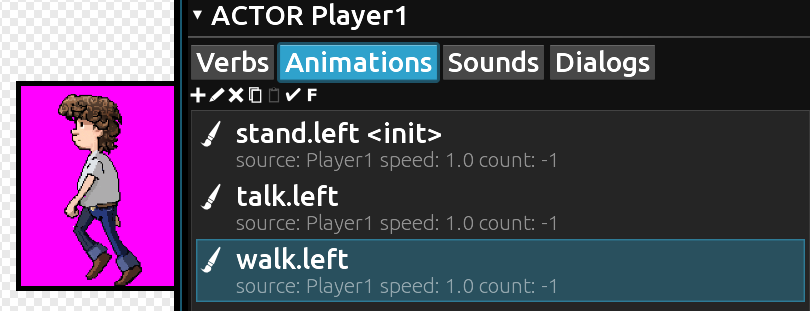
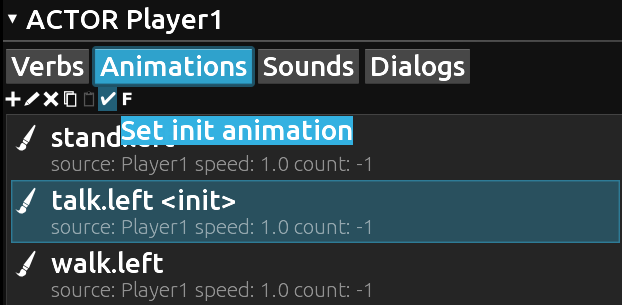
Check any of those animations by clicking each name from the list. Notice that one of them -in this case the first- is marked as . As you can imagine this is going to be the default or initial animation for this character. But we can change easily change this attribute by choosing another animation from the list and hitting the check marker under the Animations button.
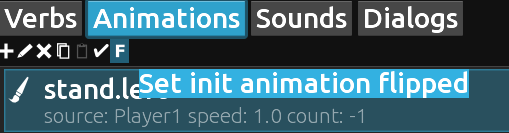
Also notice that’s is possible to flip the initial animation by using the F button.
Now all we have to do is to put our character into the stage. You can simply drag the canvas sprite inside the scene. In this case the sprite is way to small. Don’t panic, we can quickly change the size of our hero with the edit option from the Actor’s menu
Hit the little pencil icon and modify the current value (of 1.0) from the Scale field to 2
If you can’t find the Scale field remember that you can always navigate into these windows with the mouse’s wheel.
Now simply draw the player into the scene!
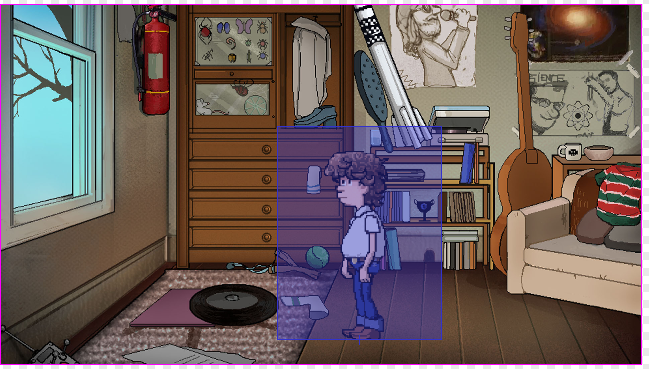
Be sure to have the Stand.left animation selected as in the right menu before testing our progress so far.
One great option at our disposal is the test scene option. You’ll find a handy button by the name of Test at the bottom of the screen under the main scene play field.

Press the Test button and the game will launch. You must now have our hero standing to the left in a kinda of passive attitude! No worry’s this is just the beginning, he’s truly a warrior.
Close the running window and go back to the editor.
Change the animation for the walking.left one. Press Test again.
You’ll notice that the player moves a little bit before he stops. Actually he performed just one walk cycle. As everybody knows a good walk cycle is actually a loop. Let’s find a way to have our hero constantly strolling.
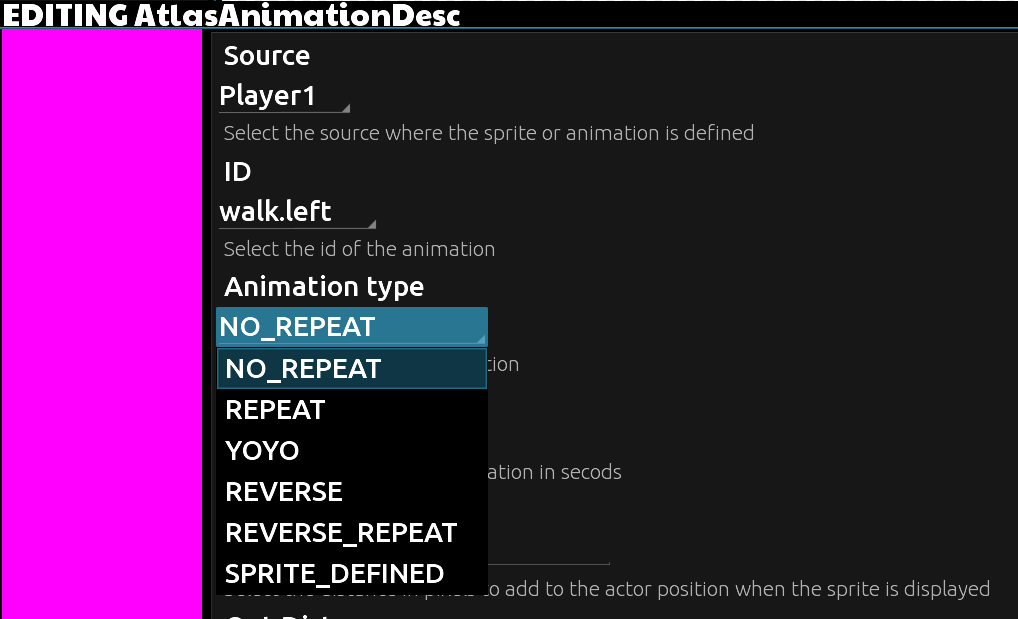
Close the small play window again and go right to the animation’s menu. Find the walk.left one and edit it with the pencil icon.

Click into the Animation Type field and a list of options will show. From here you must select the Repeat option. This option will put the animation into our desired infinite loop.
No_repeat, Yoyo, Reverse, Reverse_repeat and Sprite_defined are classic animation behaviors also available from here. Feel free to check them at the end of this tutorial.
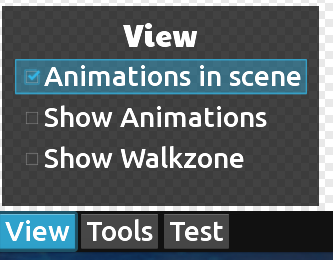
If you did right, the actor should be restless walking in very same place at the middle of the scene. That’s absolutely ok, we can stop this madness unchecking the Show Animations option from the View menu at the bottom.
Run the scene with the Test or the Play button. Hit inside the playable area of the scene to check if our actor follows the mouse. Don’t forget that this is a Point and Click adventure! But…we can only check the actor’s description by now.
sigh
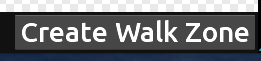
Close the window and go back to the editor. If you look closer at the bottom, to the right of the View menu, there’s a Create Walk Zone.
That’s very handy, as we need to tell the player where he freely can move inside the scene, and which are the out of limit’s areas.
So the traditional technique is to make a polygon to delimitate this zones. Inside the polygon the actor can walk, outside will be out of reach.
Hit the Create Walk Zone button and you’ll notice a thin green line with four vertex around the scene. You can move the vertex with your mouse to adapt the polygon to the image. But as only 4 are not enough, it’s possible to add as many vertex as you need by double click over the green line. You can also delete a vertex with the key Ctrl+double click.
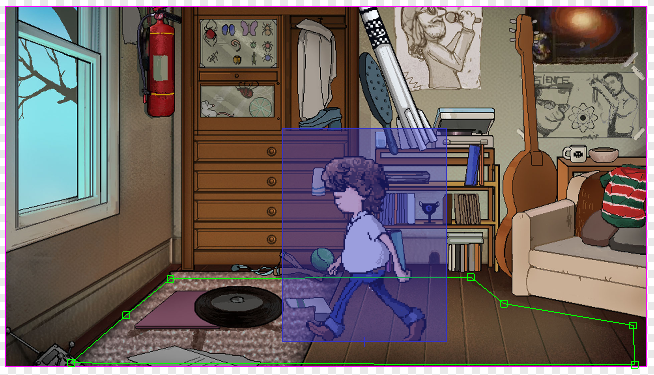
Make a walkzone similar to this one before continue
As we established earlier, Blade Engine is capable to have several players in the same adventure. But we must set one of them as the active player.
One easy way to do this is by choosing the P icon from the Scene and assign it to the current player.
Now we’re ready to test again the scene.
Click around the player to make him move. It should walk now. Maybe, even too fast! Close the player and go back to the editor.
In order to adjust the speed of the actor crossing the room, edit the Player1 actor by clicking the little pencil button. Find the Speed field and change the current value from 1.000 to something like 600.
Test again and have fun adding more animations to this character.
Until our next tutorial!