View this project on my website
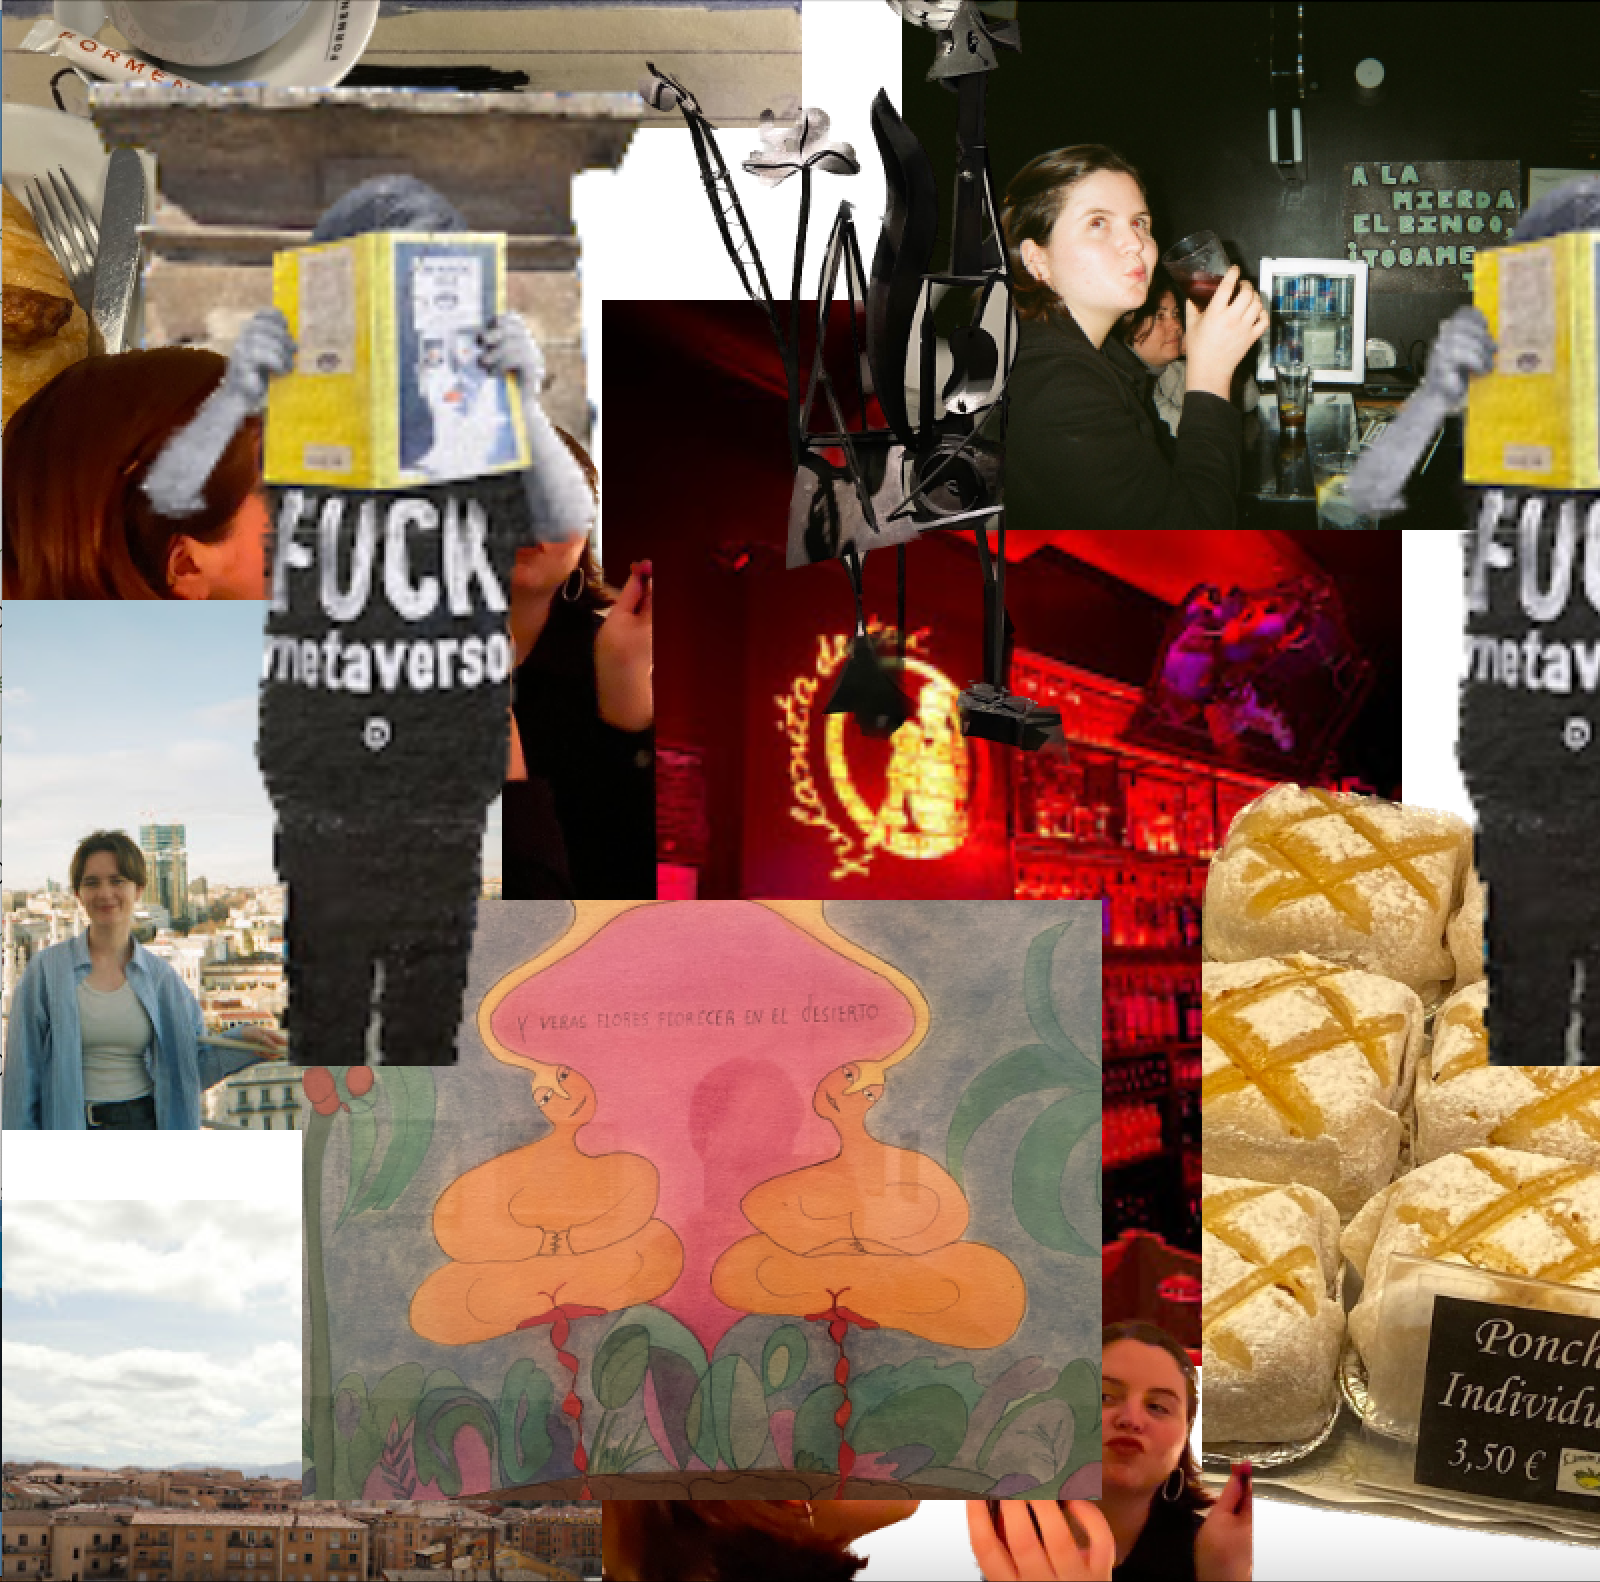
This March, I had the privilege to visit a friend in Madrid for a week. Upon my return, I found myself wondering what to do with all the wonderful photos and souveniers I'd collected along the way. The result was this project– a generative digital scrapbooking device. With a joystick and a button, the user can move their selection of images around on the screen and place them where they choose.
When the device starts, it immediately loads up an array of images and then selects one at random by indexing the array at a random number. Moving the joystick moves the image, pushing the button places the image, and pushing the joystick skips to a different randomly selected image. Pushing the button and the joystick simultaneously exits the program.
I chose these actions because I felt that they let the user have the scrapbooking experience while still constraining them enough to force creativity. As I used this device, the constraint of the software choosing the image for me forced me to go in directions that I wouldn't normally seek out on my own, creating opportunities for creativity and newness.
In another iteration of this device, I would love to add additional hardware that would allow the user to resize or rotate the images, but with only a single joystick and button at my disposal, these options weren't in the cards for this device.
- Arduino ESP-32 TTGO T-display like this one
- USB-C cord (make sure that your cord support data transfer, not just power!) see more about this here
- Breadboard
- Joystick
- Button
- Wires Depending on your setup, you may need male-to-male, male-to-female, or female-to-female wires. My setup uses 7 male-to-female wires.
- Arduino IDE download here
- Processing IDE download here
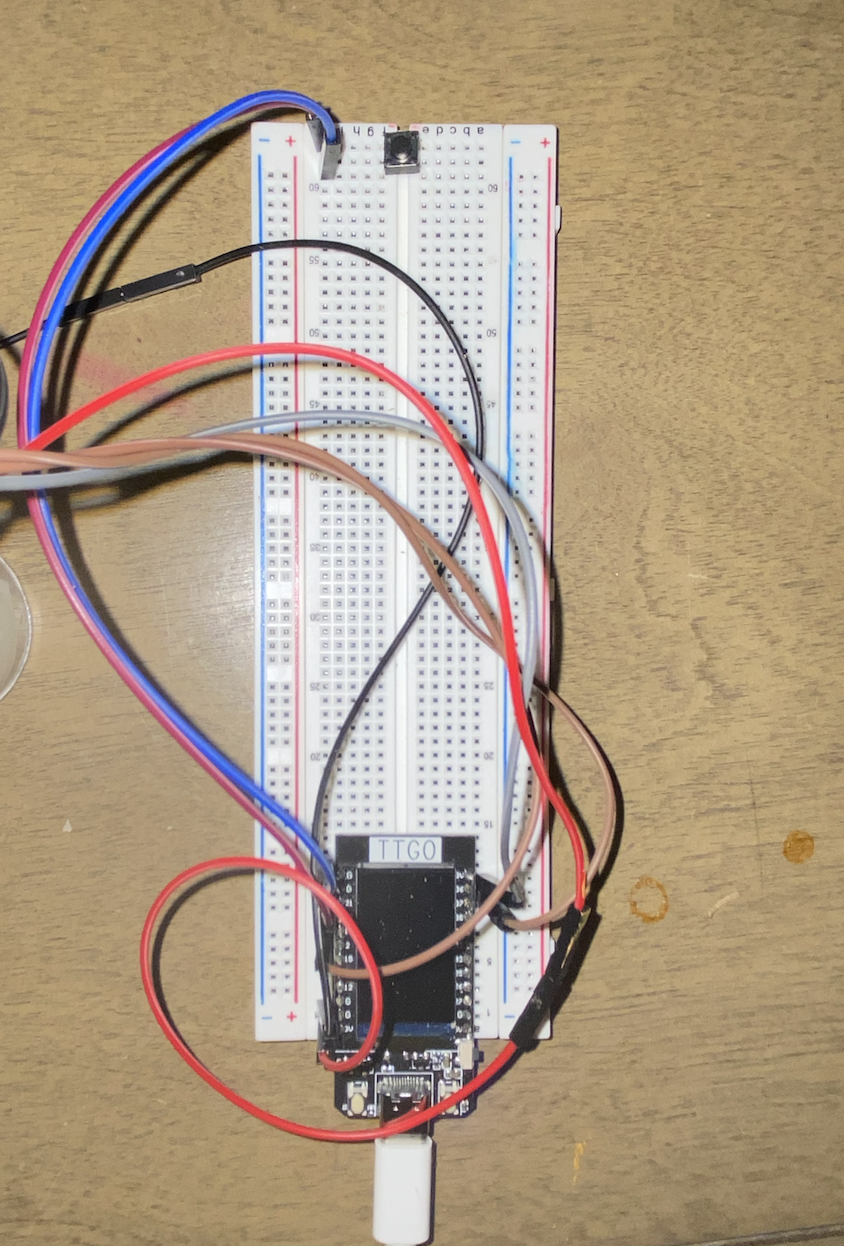
I used a breadboard and wires to connect the ESP-32 to the joystick and button. The joystick requires 5 connections– ground, 5V, and three numeric pins. You can use any numeric pins, but I used 36, 37, and 2. The button must be connected to ground and to one numeric pin. Again, you can use any numeric pin, but I used 22.
I flashed code to my ESP-32 that printed on one line the 4 outputs from the joystick and button. To do this, I hardcoded the numbers of my pins into my code:
#define PIN_BUTTON 22
int xyzPins[] = {36, 37, 2};
I then wrote the setup() function. In that function, I established a baud rate of 115200. Which baud rate you pick is not important so long as it matches between your Arduino IDE and your Processing IDE. I set the pin modes for all the pins to INPUT_PULLUP.
void setup() {
  Serial.begin(115200);
  pinMode(xyzPins[2], INPUT_PULLUP);
  pinMode(PIN_BUTTON, INPUT_PULLUP);
}
In the loop() function, the ESP-32 reads the data from the four input pins and prints it out onto one line to the Serial output. This will allow Processing to read from the Serial output and know the positions of the joystick and button.
void loop() {
  int xVal = analogRead(xyzPins[0]);
  int yVal = analogRead(xyzPins[1]);
  int zVal = digitalRead(xyzPins[2]);
  int buttonVal = (digitalRead(PIN_BUTTON) == HIGH);
  Serial.printf("%d\t%d\t%d\t%d\n", xVal, yVal, zVal, buttonVal);
  delay(500);
}
In Processing, I set X_MAX, Y_MAX, X_MIN, and Y_MIN variables to distinguish the minimum and maximum values that would qualify as a movement of the joystick. When the value from the x-value or y-value of the joystick is not between the minimum and maximum value, the ESP-32 clocks it as a movement of the joystick and moves the image accordingly.
The setup() function first establishes the screen size and connects to the ESP-32 and to the Serial output. Make sure that your Serial connection uses the same baud rate here as the code from your Arduino IDE that you flashed to your ESP-32. The setup() function then loads up an ArrayList of images from the local computer, and by calling the function getNextImage(), uses a random number generator to pick an image from that ArrayList with which to begin the scrapbooking functionality.
void getNextImage() {
  //This should randomly choose an image from an array. It should not repeat images.
  int index = int(random(0, images.size()));
  img = images.get(index);
  img.resize(400, 0);
  x = 0.0;
  y = 0.0;
}
In Processing, the draw() function runs over and over until the program exits. The draw() function for this program looks like this:
void draw()
{
  getCoordinates();                    // Get joystick and button info
  background(255);                     // Set background to white
  loadPreviousImages();               // Place all previously set images

  if (button_val == 0) {
    placeImage();
    while (button_val == 0) {               //waits for the button to be unpressed to prevent multiple reads of the same click
      getCoordinates();
      if (z_val == 0) {
         finish();
      }
    }
  }
  if (z_val == 0) {
    getNextImage();
    while (z_val == 0) {            //waits for the button to be unpressed to prevent multiple reads of the same click
      getCoordinates();
      if (button_val == 0) {
        finish();
      }
    }
  }
  moveImage();
  image(img, x, y);
}
The getCoordinates() function gets the data from the ESP-32 on the positions of the joystick and button. The background() function then clears the screen, and the loadPreviousImages() places any images that have already been set onto the screen. Then, based on the input from the joystick and button, the function either moves the image, skips to the next image, sets the image, or does nothing. If both buttons are pushed simultaneously, the program exits.
The moveImage() function reads the joystick x- and y-values and decides whether and where to move the image:
void moveImage() {
  if (x_val > X_MAX) { //pos horizontal translation
    x = x + 5 < width ? x + 5 : width;
  }
  if (x_val < X_MIN) { //neg horizontal translation
    x = x - 5 > (0 - img.width) ? x - 5 : (0 - img.width);
  }
  if (y_val > Y_MAX) { //pos vertical translation
    y = y + 5 < height ? y + 5 : height;
  }
  if (y_val < Y_MIN) { //neg vertical translation
    y = y - 5 > (0 - img.width) ? y - 5 : (0 - img.width);
  }
}
I completed this project for Module 1 of Mark Santolucito’s Creative Embedded Systems course at Barnard College. See more about the assignment and his work on his website here!

