Bridge Listeners
To get an operation started, you will want to start a new listener. Covenant supports native listeners and "bridge" listeners. This guide is for bridge listeners, native listeners are discussed here.
A BridgeListener is used to communicate with a C2Bridge. A C2Bridge provides an outbound C2 protocol that Grunts will communicate with. A BridgeListener is a simple TCP connection that allows a C2Bridge to communicate the C2 traffic with Covenant. This guide is for the BridgeListener, C2Bridges are discussed here.
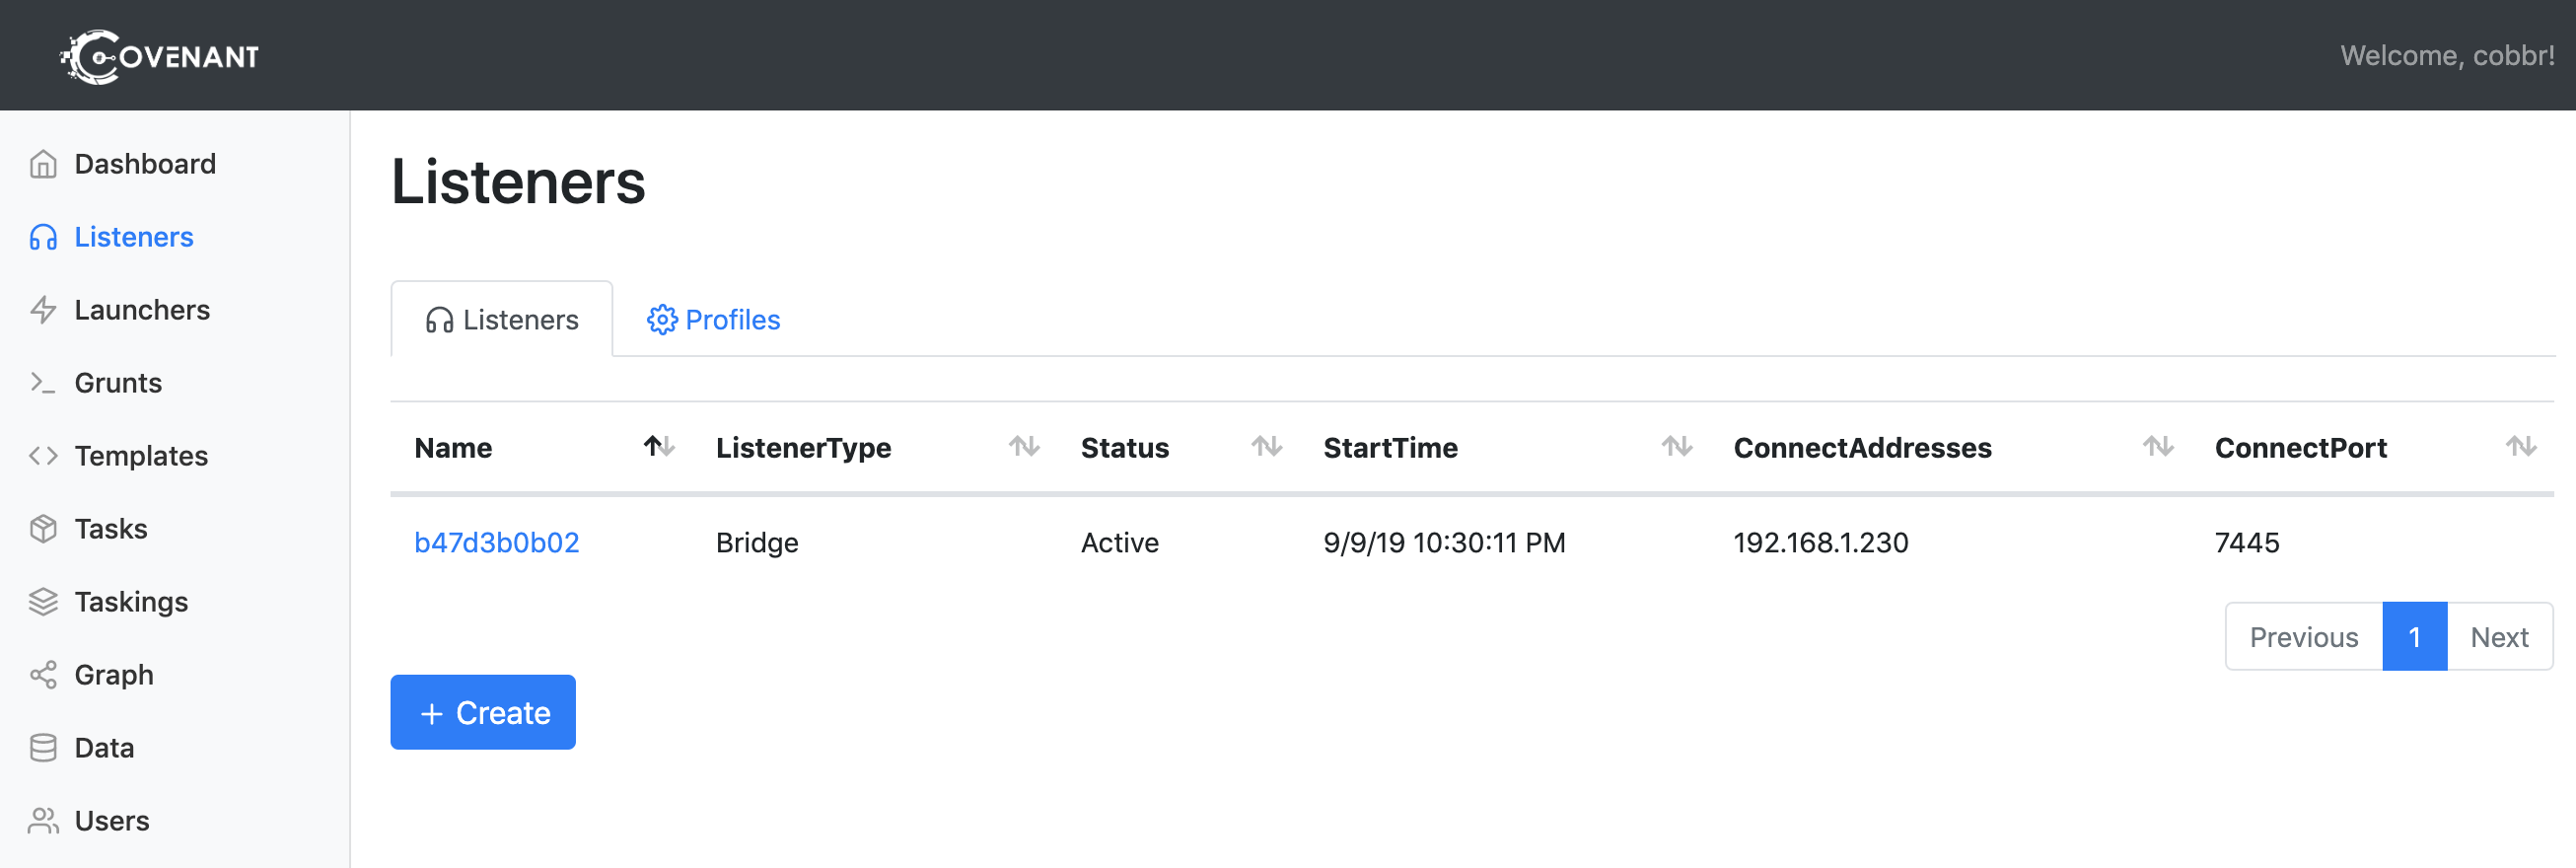
To create a new BridgeListener, you'll first navigate to the Listeners navigation page:

Currently, there are no listeners in the listener table, but this will change once we create one. Click on the "Create" button to configure the listener, and select the "BridgeListener" tab:

The following options will need to be configured when creating the listener:
-
Name - The
Nameof the listener that will be used throughout the interface. Pick something recognizable! -
BindAddress - The
BindAddressis the local ip address that the listener will bind to. This can be helpful in cases where the Covenant host has multiple NICs. Usually, this value will be0.0.0.0. -
BindPort - The
BindPortis the local port that the listener will bind to. This is the port that the C2Bridge will connect to. -
ConnectPort - The
ConnectPortis the callback port that Grunts will be directly connecting to. This is the port the C2Bridge should listen on. -
ConnectAddress - The
ConnectAddressis the callback address that Grunts will be directly connecting to. This should be the external address of the C2Bridge, or if you are using redirectors this should be the address that points to the external redirector. -
BridgeProfile - The
BridgeProfiledetermines the behavior of Grunt and Listener communication. The profile must specify BridgeMessengerCode that is compatible with the C2Bridge you choose to use.
Once these options are configured, click on the "Create" button to start the listener. The newly active listener should now appear in the listeners table:
Listeners can be started and stopped by clicking on the listener's name within the listeners table. Selecting a listener will also reveal the detailed information about the listener that was configured earlier:
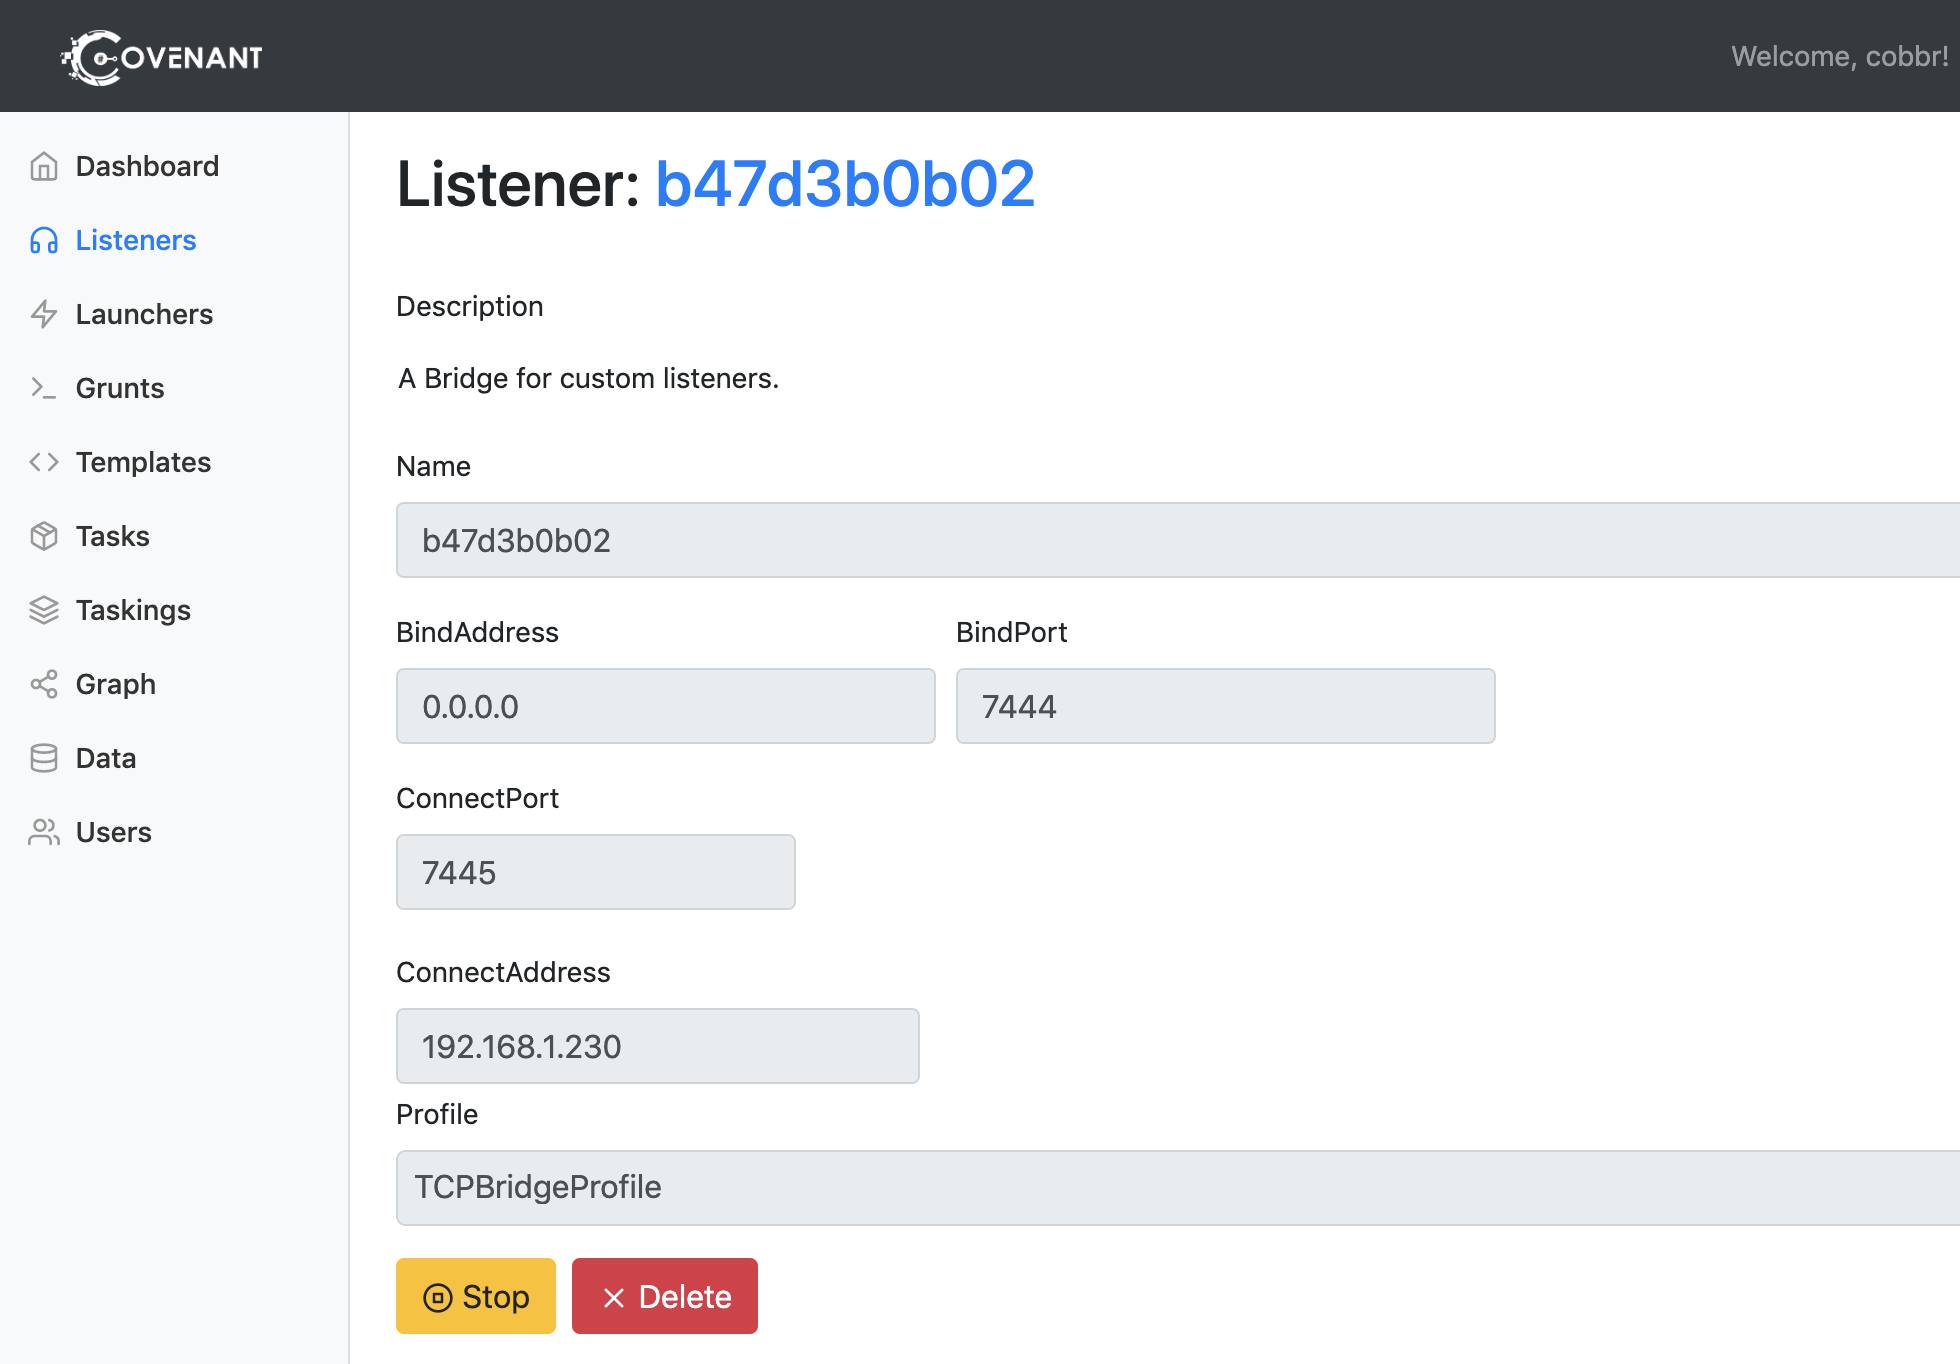
You can start and stop the listener using the buttons at the bottom of the page.