
Table of Contents
Automated machine translation using Google translation API from .sdlxliff file and output the translation as .csv/.sdlxliff file.
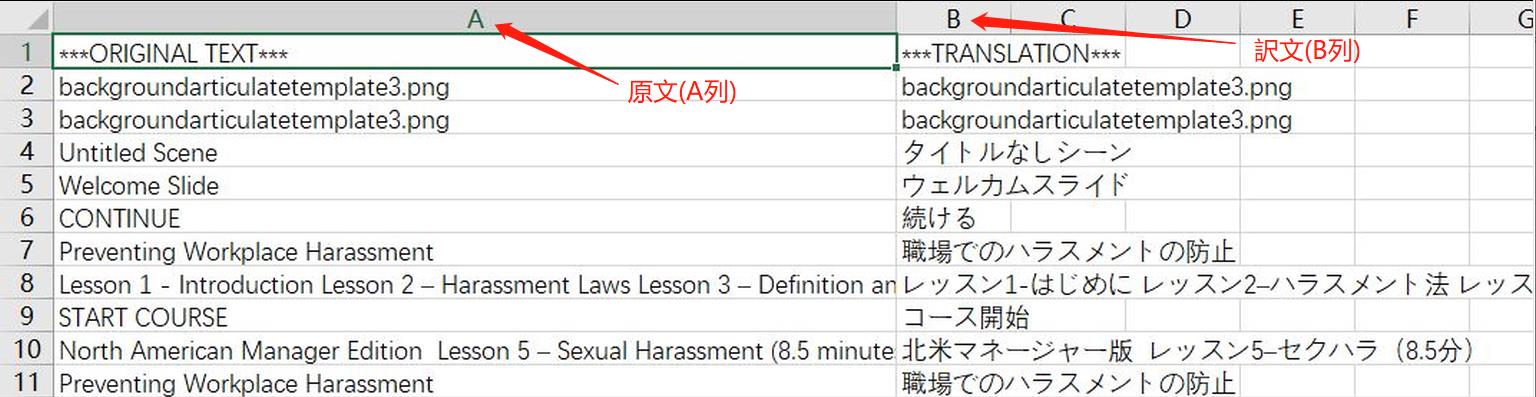
翻訳支援ソフトTrados専用形式の.sdlxliffファイルから、原文を自動抽出して、Google自動翻訳した後、訳文をcsvファイルまたはsdlxliffファイルとして出力するプログラム。
-
sdlxliff_sample/Harassment_NA_Managers_S01_Introduction SM.xlf.sdlxliff
.sdlxliff sample file -
AllSdlxliffFilename.csv
sdlxliff file name list for input -
GTAuto_ToCSV.py
Program (input: sdlxliff, output: csv)
Automated machine translation using Google translation API from .sdlxliff file and output the translation as .csv file. -
GTAuto_ToSdlxliff.py
Program (input: sdlxliff, output: sdlxliff)
Automated machine translation using Google translation API from .sdlxliff file and output the translation as .sdlxliff file. -
pyBatchTest01.bat
Batch file for "GTAuto_ToCSV.py" -
pyBatchTest02.bat
Batch file for "GTAuto_ToSdlxliff.py"
-
Windows 10 x64
-
Anaconda 5.2.0 (conda 4.9.2)
-
Python 3.8.5
-
SDL Trados Studio 2019 (optional)
requests/lxml packages can be installed by (if necessary):
$ conda install requests$ conda install lxmlRun pyBatchTest01.bat or pyBatchTest02.bat after updating input file names in AllSdlxliffFilename.csv.
-
How to change translation language pair ?
Default language pair is "English -> Japanse". If you have to change the language pair, you can change the following line inpyBatchTest01.batandpyBatchTest02.bat:trans_url = my_google_trans_api + '?text=' + source + '&source=en&target=ja'
If you want to use "Japanse -> English" pair, you can change as below:
trans_url = my_google_trans_api + '?text=' + source + '&source=ja&target=en'
If you want to use "Chinese -> Japanese" pair, you can change as below:
trans_url = my_google_trans_api + '?text=' + source + '&source=zh-CN&target=ja'
*Note: you can change any source and target langage code as you like.
This software is released under the MIT License, see LICENSE.