This repository is a boilerplate with which you can install Craft 3 locally and on Heroku as well. It has some Plugins already preinstalled, so you don't have to take care of the basics.
Click this button and directly deploy this repository to a new instance on your Heroku account.
Go ahead and try:

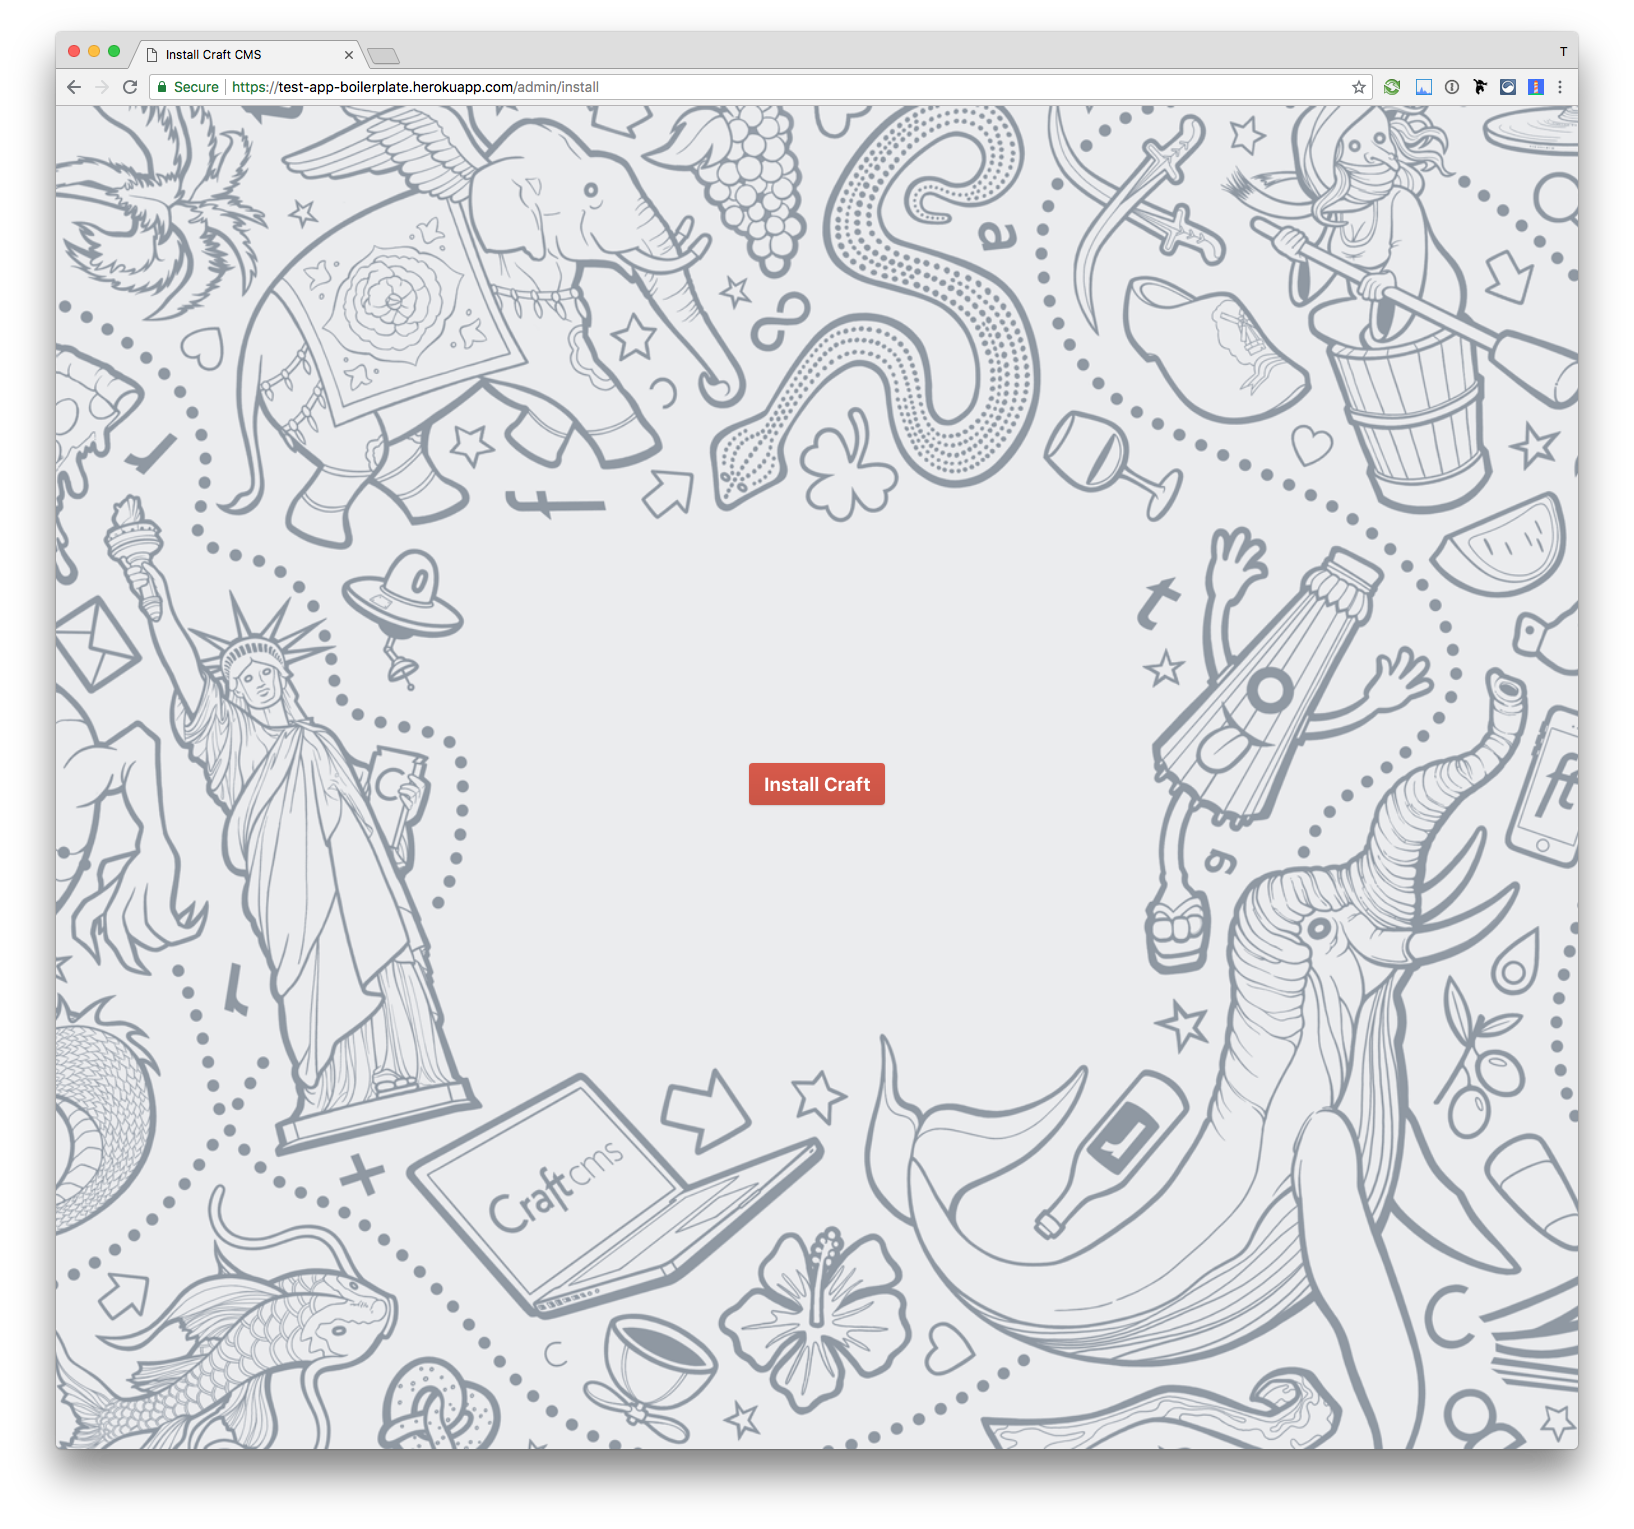
After the install process, visit the URL of your app and add /admin/install to it:
https://HERE-GOES-YOUR-URL.herokuapp.com/admin/install
Fill out all details and you are good to go!
$ git clone git@github.com:edenspiekermann/craft-heroku-boilerplate.git$ cd craft-heroku-boilerplate
$ rm -rf .git
$ git init
$ git add .
$ git commit -m '🎈 project start 🎈'
$ git remote add origin YOUR-REMOTE-PROJECT-URL
$ git push --set-upstream origin masterMake sure you create an empty git repository (no .git or README.md or similar)*
- Create a
.envfile in the root of your project - Copy over all dummy content from
.env.example. These are all the details Craft needs for installation. - Install all dependencies
$ composer install- In Mamp, make
webthe root path you project - Go to
localhost:8888/admin/install - Follow the Craft install guide
- With your right hand, make a fist (not a tight one)
- Smoothly extend both your pinky and your thumb
- Lightly shake your hand (too fast makes you like a tourist, and too slow make you look stupid)
- Softly but confident vocalise the word "Shaka"
- Now let's start coding 🎈

I would recommend using php with homebrew.
Install a specific php version with brew. For example: brew install php@7.1. Like this you will be also able to install packages with PECL. To switch between PHP Versions, a very nice helper is the php switcher which is described here. Jump to the section: "PHP Switcher Script" and instsall it.
If you encounter an issue during the install process with pkg-config, install it with homebrew: brew install pkg-config.
Now you can install imagemagick with PECL as well: pecl install imagick, which is the recommended way to have it native with your php version.
This step is optional. If you want to deploy the project to Heroku then read on. If you only want to work locally, skip the section and jump to Start working with the project.
To make your repository work on Heroku, we first have to update the reference URL with your freshly created repository.
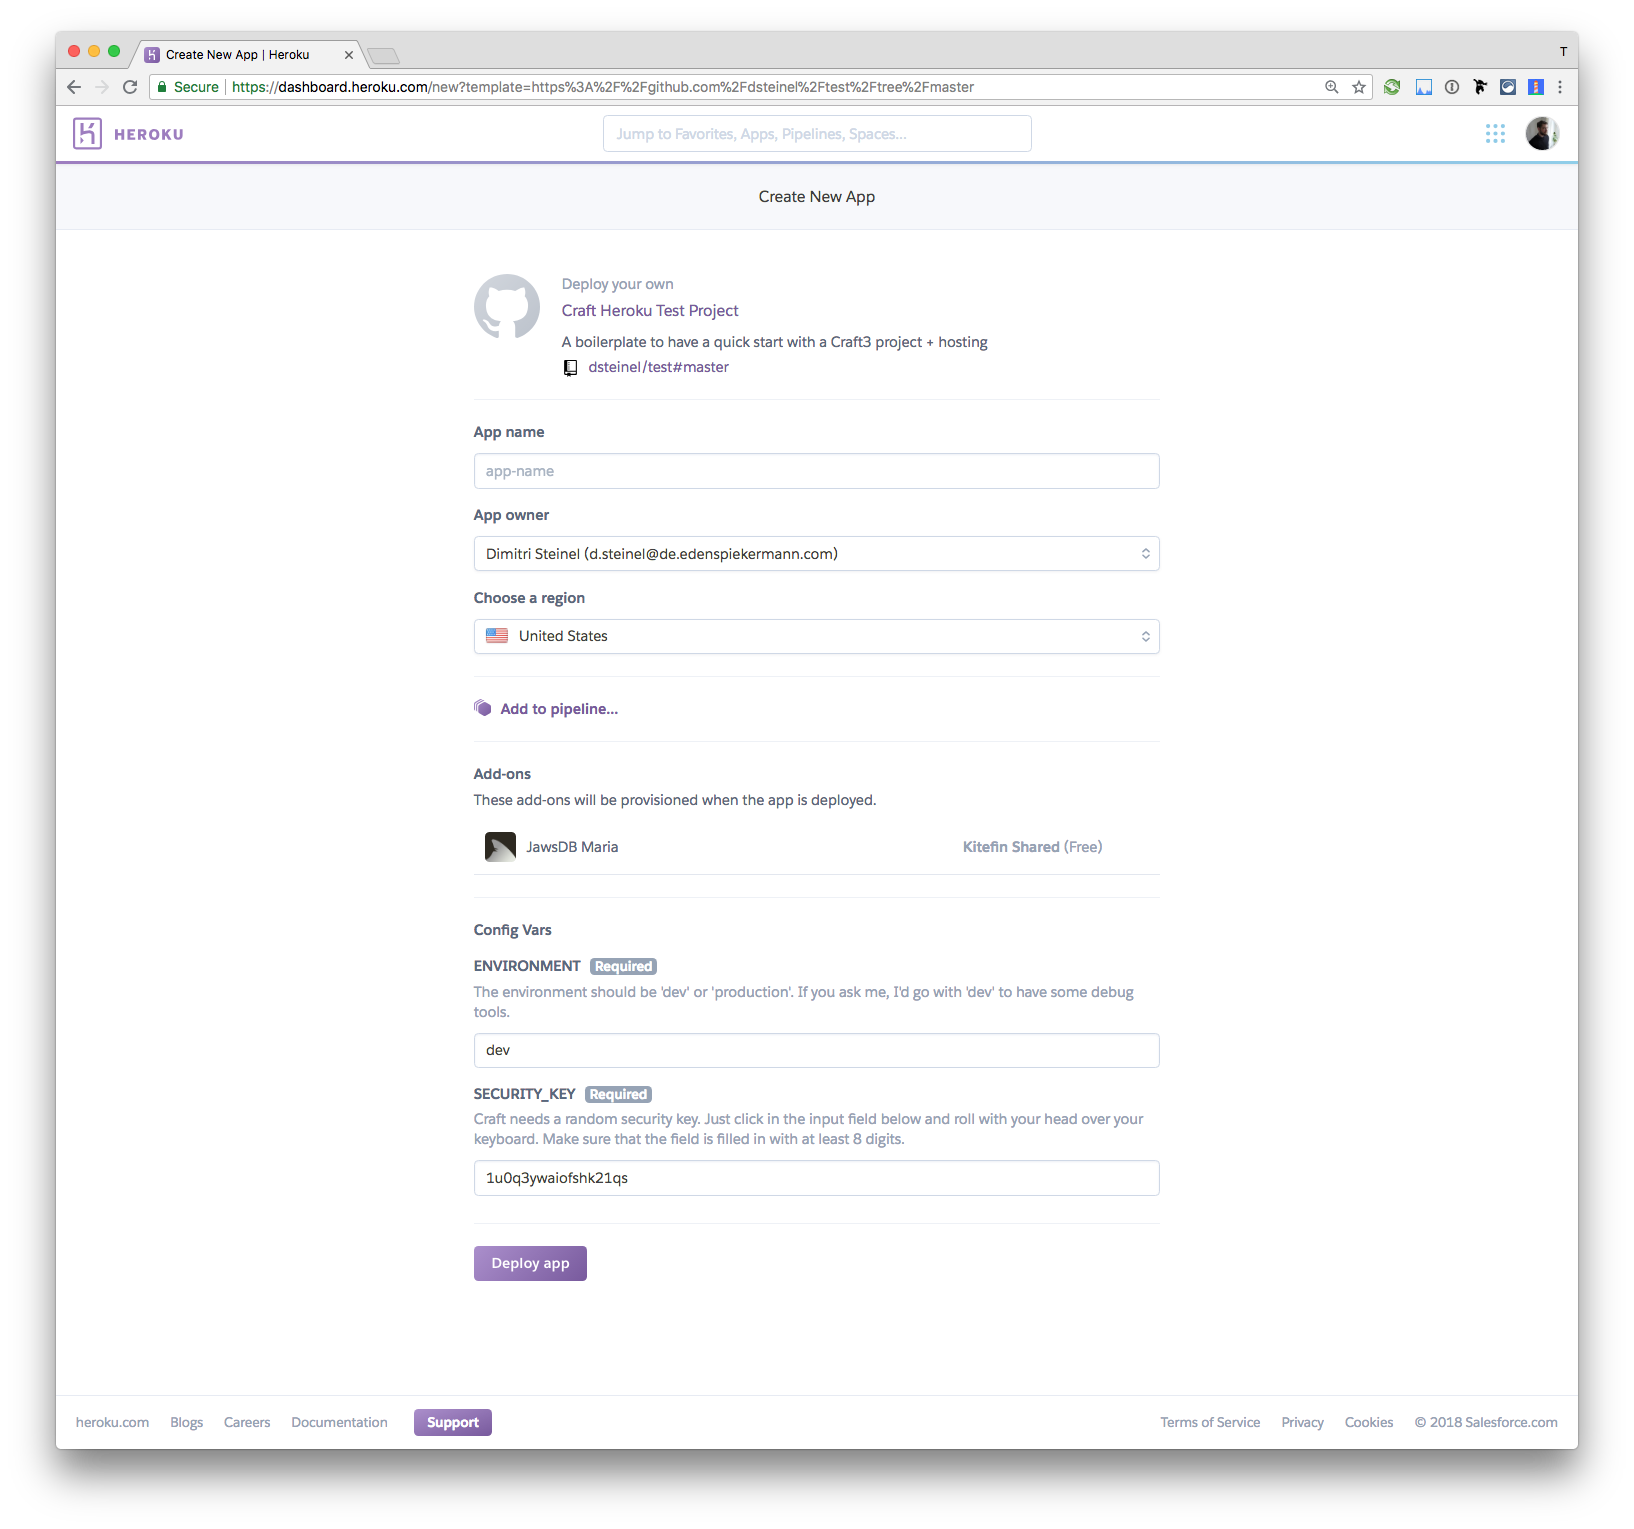
Heroku reads all the deploy details from the app.json file. So we need to go there and replace the "repository" URL with your repository URL. Push the changed app.json and go to the Heroku deploy URL:
https://heroku.com/deploy?template=https://github.com/edenspiekermann/craft3-heroku-starterkit/tree/master
for example: https://heroku.com/deploy?template=https://github.com/edenspiekermann/craft3-heroku-starterkit/tree/master
You will see a Heroku page for creating a new instance. Please fill out all the details and don't forget to choose the region. If you are in Europe, please use Europe and US if you are in the US or nearby. If you chose the wrong region, it could be that your website is slower than it could be.
If you have multiple Users, it is recommended, that you upgrade at least the database to a paid plan. It can happen, that the max_connections of the free database plan is used up, when you had too much database traffic. This means, that you can not access the website anymore (Error 500 on both, local environment and Heroku as well) and you have to upgrade the database plan.
Depending on the traffic, you also may have to upgrade the Heroku servers to a paid plan.
After the deployment process is successful, go to your new created website and add /admin/install to the URL. Craft will help you to make the setup complete.
- Use the recommended node version with
nvm use(read more) - Install all dependencies with
yarn install - Start MAMP
- Run
yarn watchfrom the Terminal. This will start a webserver and proxy port :8888 (MAMP) to :3000 (webpack) - Go to
localhost:3000and enjoy hot reloading - If you want to make the bundle production ready, do
yarn build
All bundled files will live in the web folder. I would recommend to not change the name of the folder.
If you feel like changing it, please read the Docs and don't forget to change the folder path after the bootscript in the Procfile as wella s in the webpack files.
You can safely skip that part if you are not interested in CSS and JS guidelines.
We are using Semistandard as our JavaScript style guide. To make sure we all write in the same manor, we lint our code with eslint.
Sass Guidelines are the way we write our CSS.
To enforce consistency, we use the tool stylelint with the configuration from sass-guidelines which you can find in the .stylelintrc file.
- Start the webserver and watch JS and SCSS files with
yarn watch - The
postinstalltask is mainly for Heroku, after the installing the dependencies - Lint all JS files with
yarn run lint:js - Lint all SCSS files with
yarn run lint:styles - If you want to fix some easy js linting errors, go with
yarn run lint:js:fix. This will fix for example double quote to single. precommitis the default task which runs before commiting. If this task fails, you can not commitwatchruns the webserver onlocalhost:3000and has a hot reload on JS and SCSS filesbuildbundles all JS and SCSS files and minifies the. Output path is the main Craft folder,/web/
All webpack settings for development are in the webpack.dev.config.js. There is no minification/uglify of the code.
All webpack settings for production are in the webpack.prod.config.js. A minified JS and CSS file will be generated.
|--config ⭐           // Here are the basic configs for CraftCMS ([read more here](https://craftcms.com/docs/folder-structure))
|--modules             // Holds any [Yii modules](https://www.yiiframework.com/doc/guide/2.0/en/structure-modules) your site might be using.
|--src ⭐              // Asset folder for styling and scripting
|  |--js               // All the .js files
|  |--scss             // All the .scss files
|--storage             // This is where Craft stores a bunch of files that get dynamically saved during use.[read more here](https://docs.craftcms.com/v3/directory-structure.html)
|  |--logs             // Stores Craft’s logs and PHP error logs.
|  |--rebrand          // Stores the custom Login Page Logo and Site Icon files, if you’ve uploaded them.
|  |--runtime          // Pretty much everything in here is there for caching and logging purposes. Nothing that Craft couldn’t live without, if the folder happened to get deleted.
|--templates ⭐        // CraftCMS templates
|--vendor              // CraftCMS plugin folder
|--web ⭐              // All files for production will go here (js, css, fonts, ...)
All folder you will most likly have to touch are marked with ⭐
If you want to develop locally, I can highly recommend you to use a local database, otherwise the website will be quite slow.
To change the database, head over to you .env variable, change the value of JAWSDB_MARIA_URL and restart the server.
Craft has its main folder not in the root directory (in this project it is the web folder), so we need to do some adjustments on the Heroku web server settings. Heroku provides optional configurations in the Procfile.
In this project we need to start an Nginx as a web server and make web the root diretory of the server.
This project is using MariaDB instead of MySQL. MariaDB is a complete drop-in-replacement for MySQL. If you need to migrate some datas, you should not have problems here. If you do, you can change the database connection at any time in the Heroku interface by replacing the JAWSDB_MARIA_URL URL with your database URL (settings --> config vars).
Craft3 Cloudinary is an integration of the cloud-based image managment cloudinary to your Craft3 project.
The Blitz Plugin is only for production. It is a intelligent static file caching for creating lightning-fast sites. If you enable this, your site will be very fast, but you will not see the debugger toolbar. So make sure to disable it in development from the admin panel.
Most projects do need a wysiwyg editor. Redactor claims to be the most advanced and human-friendly one. Well ... it is a very nice and customizable editor. GitHub
If the page is still under construction, it is a good idea to password protect it. Therefore we use Gatekeeper.
- 10GB is for free
- Has Image transforms and is able to minify your images
- Super Fast
- Easy to use
- No access issues like AWS S3
- Create a cloudinary account
- After you are logged in, go to your cloudinary dashboard
- On top you can see your credentials (Cloud Name, API Key and API Secret). Copy them
- Go to your Admin -> Settings -> Assets
- Create a new Volume
- Type in a name you like (f.e.
Cloud Images) - Enable
Assets in this volume have public URLs - You can decide on your Base URL (f.e.
@webis the root of your website but you can also go with@web/imagesif you want to havehttp://yourwebsite.com/images/as your public image path) - Volume Type must be
Cloudinary - Now fill in the Cloudinary credentials
- Go to the Assets and upload the first image