Library is focused on specific, addionational features, it is a part of Elkyc ecosystem.
- OTP Verification
- Signature Capturing
- Diia integration
- Capture selfie with document
ElkycSpecificToolsSDK does not have any components but it is dependent on ElkycCoreSDK
- iOS 11.0+
- Xcode 11+
- Swift 5.1+
CocoaPods is a dependency manager for Cocoa projects. For usage and installation instructions, visit their website. To integrate ElkycSpecificToolsSDK into your Xcode project using CocoaPods, specify it in your Podfile:
source 'git@github.com:elkyc/ElkycPodsRepo.git'

pod 'ElkycSpecificToolsSDK'The Swift Package Manager is a tool for automating the distribution of Swift code and is integrated into the swift compiler.
Once you have your Swift package set up, adding ElkycSpecificToolsSDK as a dependency is as easy as adding it to the dependencies value of your Package.swift.
dependencies: [
    .package(url: "https://github.com/elkyc/ElkycCoreSDK.git", .branch("main")),
    .package(url: "https://github.com/elkyc/ElkycSpecificToolsSDK.git", .branch("main"))
]
If you prefer not to use any of the aforementioned dependency managers, you can integrate ElkycSpecificToolsSDK into your project manually.
-
Open up Terminal,
cdinto your directory, and run the following:$ git clone git@github.com:elkyc/ElkycSpecificToolsSDK ElkycSpecificToolsSDK
-
Open the new
ElkycSpecificToolsSDKfolder, and drag theElkycSpecificToolsSDK.xcframeworkinto the Project Navigator of your application's Xcode project.
ElkycSpecificToolsSDK will help you to verify the person's email or phone number, capture signature or do an integration with Diia app, the goal is to build easy steps which you can run and get the result to your system or in your application.
Don't forget that framework depends on ElkycCoreSDK. Please read the documentation there first.
The whole process is going synchronously from the first to the last step. During the process, data will be sent to our or your backend. The process will stop if any of the steps will return an error.
In this section, I will describe all available steps in the current framework, their configs and will show how they look like.
Right now all steps localized in Russian and English.
SignaturePad helps you to collect customer signature as an image.

Input:
- config - configuration for this step
struct Config {
    var signatureColor: UIColor
    var signatureWidth: CGFloat
    var signatureBorderColor: UIColor
    var signatureBorderWidth: CGFloat
    var title: String
    var retryButtonTintColor: UIColor
    var retryButtonTitle: String

    var continueButtonBackground: UIColor
    var continueButtonTintColor: UIColor
    var continueButtonTitle: String
}
Output:
As output, you will receive a UIImage signature.
OTPStep provides ability to verify client's email or phone.


Input:
- visibility - with this property you can setup what kind of verification you will do
public enum OTPVisibility {
    case phone
    case email
    case both
}
Output:
As output, you will receive a Response struct. Which lets you understand what value was verified succesfully by the system.
public struct Response {
	public let type: OTPMode
	public let value: String
	public let code: String
}
Diia provides integration with ukrainian application "Дія" by the Ministry of Digital Transformation in Ukraine. You can use this step ONLY if your backend implements all needed services. Cloud backend, right now, does not provide this functionality.
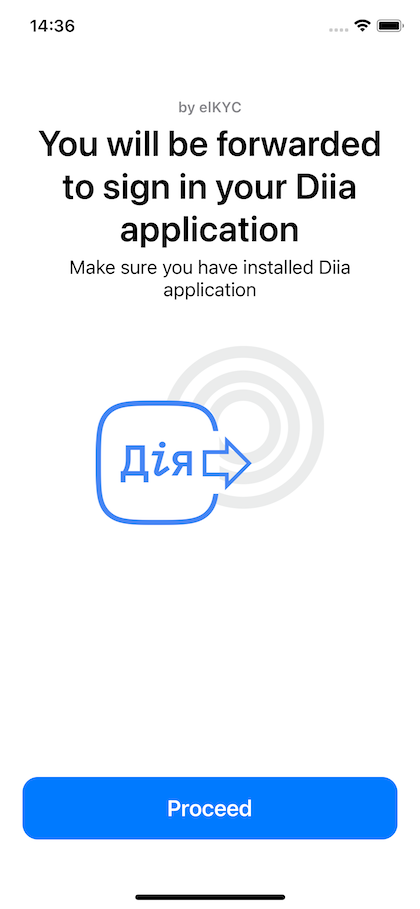

Input:
- config - configuration for this step
struct Config {
    public struct Intro {
        public var title: String
        public var description: String
        public var mainBtnBackgroundColor: UIColor
        public var mainBtnTintColor: UIColor
        public var mainBtnTitle: String
    }

    public struct Result {
        public var successTitle: String
        public var failTitle: String
        public var failDescription: String
        public var mainBtnBackgroundColor: UIColor
        public var mainBtnTintColor: UIColor
        public var mainBtnTitleSuccess: String
        public var mainBtnTitleFail: String
    }
    public var intro: Intro
    public var result: Result
}
Output:
As output, you will receive a UIImage contains photo from a user document.
Use this step if you want to take a person picture with a document and then confirm it.
Output:
struct StepResult {
    public let image: UIImage
    public let confirmResult: DocumentConfirm.StepResult
}- image: UIImage - the main image
- confirmResult: DocumentConfirm.StepResult - DocumentConfirm step result.