
This document explains the necessary steps for the web frontend deployment connected to a eva bot. The frontend is developed in the Angular 7 framework with Angular Elements(web components) wich allows to include new HTML elements into a site, independent from framework.
- Angular 7
- Package install static-server
- Amazon AWS account
- Open your IDE (as Visual Studio Code) to view the source code:

- Open the project frontend-eva and open the terminal and execute the followings commands:
$ npm install
$ ng serve
$ ng start
$ ng build
This section will indicate the steps to configure the AWS account in order to create the Parameter Store and to create and connect your Access keys.
Security credentials allow you to authorize and associate your front end with an AWS account. To perform this configuration you must perform the following steps.
- In the top right menu, go to the option My Security Credentials:

- Then, select the option Access keys (access key ID and secret access key) and click in the button Create New Access Key:

- Click in the button Download Key File (download the file for using after):

For establish a connection between the web frontend and the bot must to create and configurate a parameter store inside AWS:
- First, enter to the AWS administration console and insert the credential acess:

- Then, it will show the following screen:

- Find the option Systems Manager:

- Then, select from the side menu the option Parameter store.

- In this option, create a new parameter:

Here is an example of how to configure the parameters.
| Input | Value |
|---|---|
| Name | The length of a parameter name, including the full ARN path, must be between 1 and 1011 characters. |
| Description(optional) | Short description of the parameter to create. |
| Tier | Standard - Advanced |
| Type | The type of parameter to create (String - StringList - SecureString |
| Data type | Data type of the parameter to configure. |
| Tags | keywords |
| Value | Code below |
{"BOT_NAME":{
      "domain":[
         "URL_DOMAIN"
      ],
      "avatar":"URL_IMAGE_AVATAR",
      "avatar2":"URL_IMAGE_AVATAR",
      "before_you_go":"¡Gracias!",
      "bot_name":"BOT_NAME",
      "button_background":"#ff8300",
      "button_color":"#ffffff",
      "chat_input_hint":"Escribe tu consulta",
      "client_name":"CLIENT_NAME",
      "code":"BOT_NAME",
      "favicon":"URL_FAVICO",
      "feedback_greeting":"Gracias por responder la encuesta.",
      "feedback_message_01":"Para nosotros es muy importante conocer tu opinión sobre el servicio que te hemos brindado.",
      "feedback_message_02":"¿Qué tal ha sido tu experiencia con nuestro servicio?",
      "feedback_message_03":"¿Tienes un comentario u opinión? Escríbela a continuación",
      "feedback_send_button":"Enviar",
      "feedback_url":"satisfactions",
      "headers":{
         "API-KEY":"API_KEY,
         "Accept":"application/json",
         "BROWSER":"Chrome",
         "BROWSER-VERSION":"10",
         "BUSINESS-KEY":"123",
         "CHANNEL":"CHANNEL",
         "Content-Type":"application/json",
         "LOCALE":"LOCALE",
         "OS":"windows",
         "OS-VERSION":"10",
         "PROJECT":"PROJEC_NAME",
         "USER-REF":"USER_REF"
      },
      "logo":"",
      "offline":"Desconectado",
      "online":"En línea",
      "primary_color":"#EBF6FF",
      "secondary_color":"#F4F4F4",
      "show_customer_form":false,
      "text_button_color":"#ffffff",
      "text_header_color":"#ffffff",
      "text_primary_color":"",
      "typing":"Escribiendo...",
      "url":"URL_CONVERSATION",
      "welcome_message":"WELCOME_MESSAGE",
      "write_your_opinion":"Escribe tu opinión"
   }
}
- Once all the fields have been configured, click in the button Create parameter and it will show the parameter created:

To pass to this item we must have resolved:
- Parameters Store
- Security credentials
- Open the local-config.service.ts file located in the path src/app/chat/services:

-
Add the two parameters generated in the option Access Key of AWS account:
 AWS.config.region = 'sa-east-1';
 let cred1 = 'Input_AccessKeyId';
 let cred2 = 'Input_AWSSecretKey';
The parameter AWS.config.region appears in the option Last Used Region of the generated Access Key ID.
-
Then, go to the variable awsParamStore.getParameter and add the path of the parameter created. For example:

awsParamStore.getParameter( '/app/evachat/apikeydata', { region: 'sa-east-1' } )-
Execute the following command for build the web component:
$ npm run build:elements
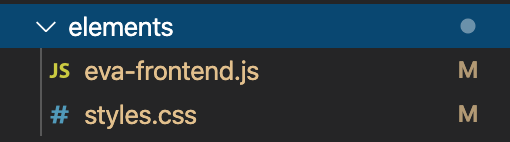
This will generate a folder under the root folder called elements:
This folder contains the files eva-frontend.js and styles.css:
-
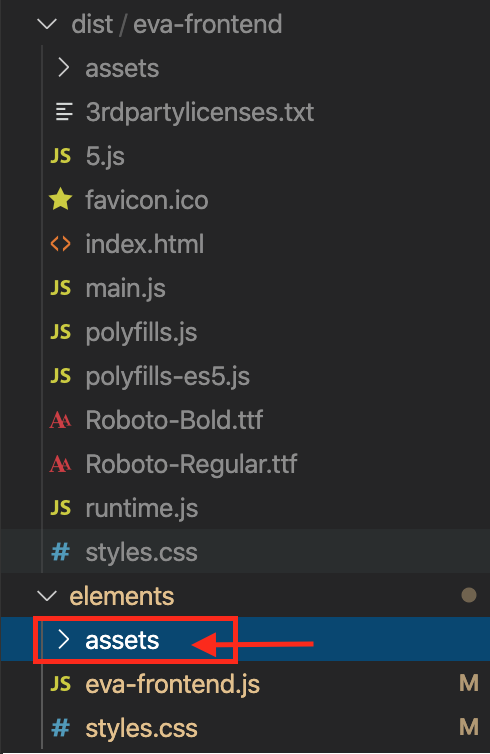
For finish, copy the folder assets from the compiled project (dist) into the folder "elements" of the web component:
-
For testing the web component, go to the path of the folder elements and execute the following command:
$ static-server
Note: In case that static-server isn't configured, must to install it as described in https://www.npmjs.com/package/static-server


We create the index.html file with the following structure.
<html lang="es"><head>
   <meta charset="utf-8">
   <title>Angular Elements</title>
   <base href="/">
   <meta name="viewport" content="width=device-width, initial-scale=1">
   <link rel="stylesheet" href="styles.css"> <!-- Library css-->
</head>
<body>
   <eva-frontend></eva-frontend> <!-- Tag Chatbot -->
   <script type="text/javascript" src="eva-frontend.js"></script> <!-- Library js-->
</body>
</html>